Redhat Developers  Logo
  • Products

    Featured

    • Red Hat Enterprise Linux
      Red Hat Enterprise Linux Icon
    • Red Hat OpenShift AI
      Red Hat OpenShift AI
    • Red Hat Enterprise Linux AI
      Linux icon inside of a brain
    • Image mode for Red Hat Enterprise Linux
      RHEL image mode
    • Red Hat OpenShift
      Openshift icon
    • Red Hat Ansible Automation Platform
      Ansible icon
    • Red Hat Developer Hub
      Developer Hub
    • View All Red Hat Products
    • Linux

      • Red Hat Enterprise Linux
      • Image mode for Red Hat Enterprise Linux
      • Red Hat Universal Base Images (UBI)
    • Java runtimes & frameworks

      • JBoss Enterprise Application Platform
      • Red Hat build of OpenJDK
    • Kubernetes

      • Red Hat OpenShift
      • Microsoft Azure Red Hat OpenShift
      • Red Hat OpenShift Virtualization
      • Red Hat OpenShift Lightspeed
    • Integration & App Connectivity

      • Red Hat Build of Apache Camel
      • Red Hat Service Interconnect
      • Red Hat Connectivity Link
    • AI/ML

      • Red Hat OpenShift AI
      • Red Hat Enterprise Linux AI
    • Automation

      • Red Hat Ansible Automation Platform
      • Red Hat Ansible Lightspeed
    • Developer tools

      • Red Hat Trusted Software Supply Chain
      • Podman Desktop
      • Red Hat OpenShift Dev Spaces
    • Developer Sandbox

      Developer Sandbox
      Try Red Hat products and technologies without setup or configuration fees for 30 days with this shared Openshift and Kubernetes cluster.
    • Try at no cost
  • Technologies

    Featured

    • AI/ML
      AI/ML Icon
    • Linux
      Linux Icon
    • Kubernetes
      Cloud icon
    • Automation
      Automation Icon showing arrows moving in a circle around a gear
    • View All Technologies
    • Programming Languages & Frameworks

      • Java
      • Python
      • JavaScript
    • System Design & Architecture

      • Red Hat architecture and design patterns
      • Microservices
      • Event-Driven Architecture
      • Databases
    • Developer Productivity

      • Developer productivity
      • Developer Tools
      • GitOps
    • Secure Development & Architectures

      • Security
      • Secure coding
    • Platform Engineering

      • DevOps
      • DevSecOps
      • Ansible automation for applications and services
    • Automated Data Processing

      • AI/ML
      • Data Science
      • Apache Kafka on Kubernetes
      • View All Technologies
    • Start exploring in the Developer Sandbox for free

      sandbox graphic
      Try Red Hat's products and technologies without setup or configuration.
    • Try at no cost
  • Learn

    Featured

    • Kubernetes & Cloud Native
      Openshift icon
    • Linux
      Rhel icon
    • Automation
      Ansible cloud icon
    • Java
      Java icon
    • AI/ML
      AI/ML Icon
    • View All Learning Resources

    E-Books

    • GitOps Cookbook
    • Podman in Action
    • Kubernetes Operators
    • The Path to GitOps
    • View All E-books

    Cheat Sheets

    • Linux Commands
    • Bash Commands
    • Git
    • systemd Commands
    • View All Cheat Sheets

    Documentation

    • API Catalog
    • Product Documentation
    • Legacy Documentation
    • Red Hat Learning

      Learning image
      Boost your technical skills to expert-level with the help of interactive lessons offered by various Red Hat Learning programs.
    • Explore Red Hat Learning
  • Developer Sandbox

    Developer Sandbox

    • Access Red Hat’s products and technologies without setup or configuration, and start developing quicker than ever before with our new, no-cost sandbox environments.
    • Explore Developer Sandbox

    Featured Developer Sandbox activities

    • Get started with your Developer Sandbox
    • OpenShift virtualization and application modernization using the Developer Sandbox
    • Explore all Developer Sandbox activities

    Ready to start developing apps?

    • Try at no cost
  • Blog
  • Events
  • Videos

How MIG maximizes GPU efficiency on OpenShift AI

February 6, 2025
Ido Pal
Related topics:
Artificial intelligenceContainers
Related products:
Red Hat OpenShift AIRed Hat OpenShift

Share:

    Modern data science workloads demand high computational power, and Graphic Processing Units (GPUs) are often at the heart of these operations. However, sharing GPU resources efficiently among multiple users or workloads can be challenging. NVIDIA Multi-Instance GPU (MIG) technology offers a solution. This article explores how I tested MIG on Red Hat OpenShift AI using an NVIDIA Ampere architecture GPU and the benefits for AI and data science teams.

    The NVIDIA MIG solution and test

    GPUs in a Kubernetes environment are assigned to pods in a 1:1 ratio by default. This means a single GPU is dedicated to one pod, regardless of whether the workload fully utilizes the GPU’s capacity. This limitation can lead to inefficient resource usage, especially for smaller workloads. NVIDIA MIG solves this issue by splitting a single GPU into multiple independent instances to be used by different pods. This feature maximizes GPU utilization and ensures resources are not wasted. In the next sections, I will demonstrate how I tested MIG on Red Hat OpenShift AI.

    Prepare the environment

    For this test, certain preparatory steps are required to leverage MIG on OpenShift. I used Azure’s Standard_NC24ads_A100_v4 virtual machine (VM), equipped with an NVIDIA A100 PCIe 80GB GPU as an OpenShift worker (Figure 1).

    lspci output from the GPU OpenShift worker
    Figure 1: lspci output from the GPU OpenShift worker.

    Step 1: Install NFD

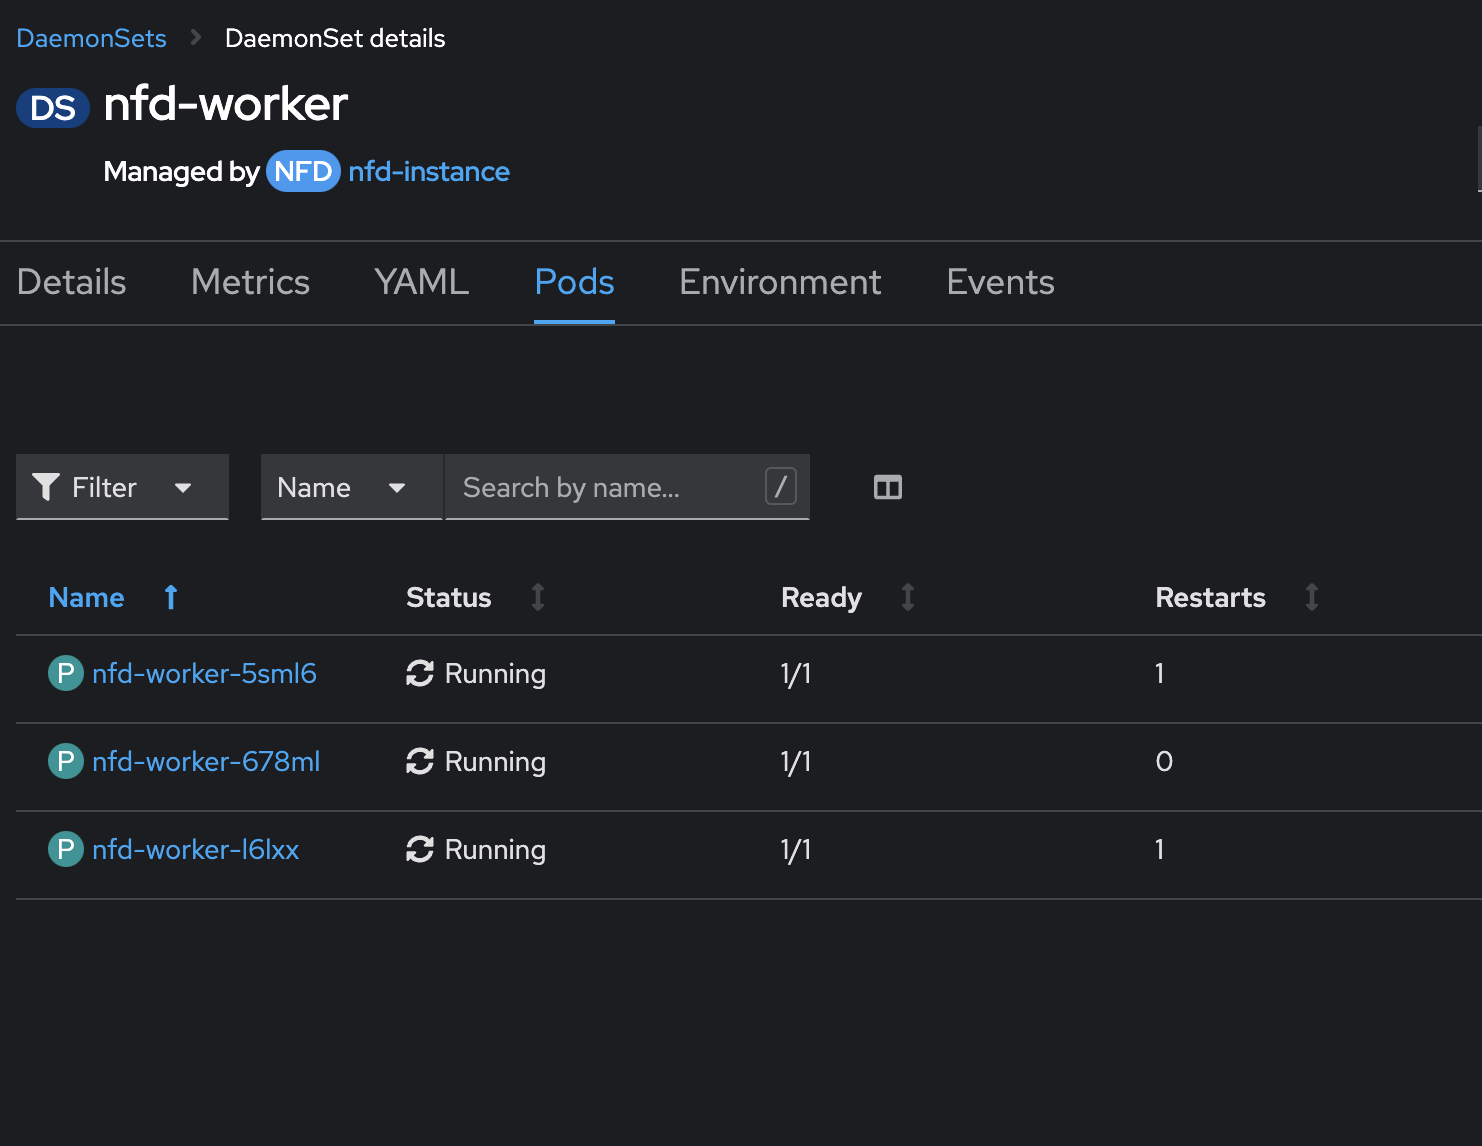
    First, I installed the Node Feature Discovery (NFD) operator, as shown in Figures 2 and 3.

    NFD operator installation page
    Figure 2: NFD operator installation page.

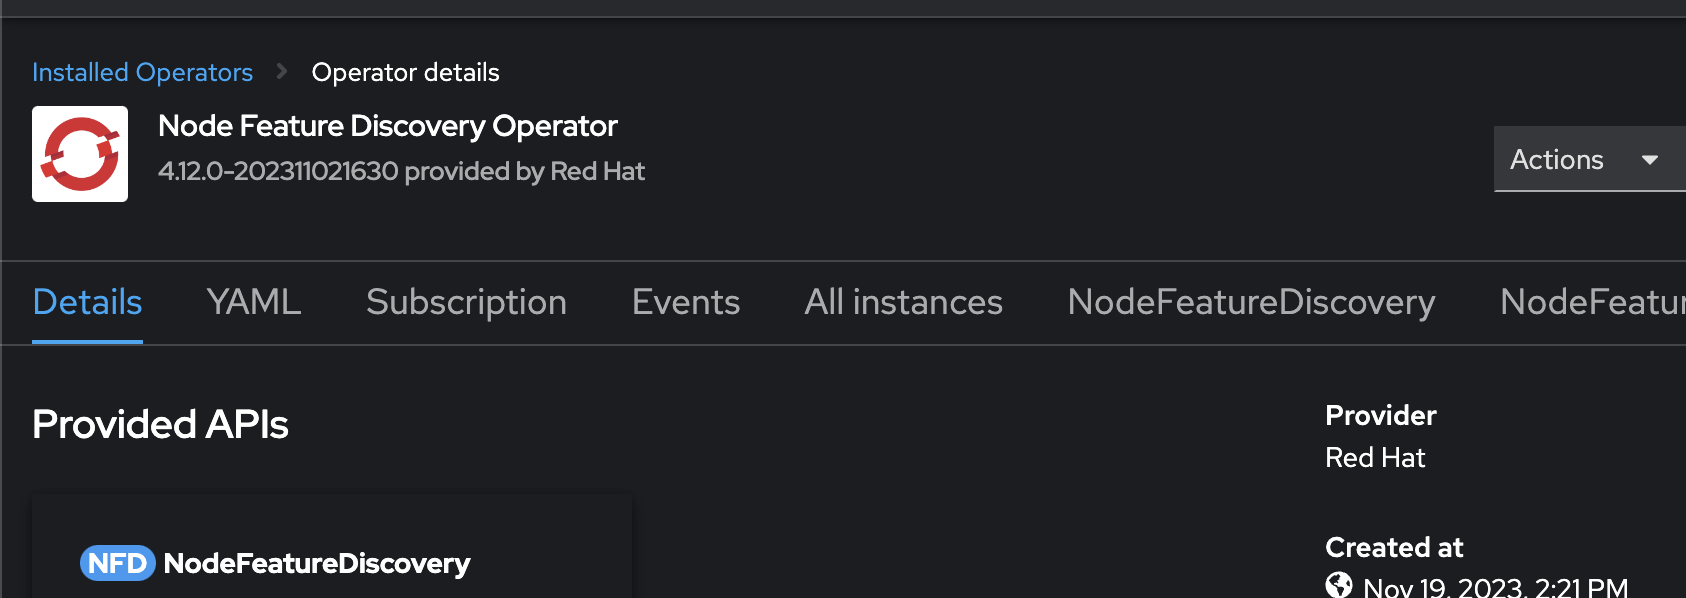
    This operator detects hardware features and ensures that GPUs are discoverable by the NVIDIA GPU operator.

    NFD deamonset
    Figure 3: NFD deamonset.

    We will see many labels added to the node, indicating the operator detects its GPU:

    $ oc describe node/ods-cluster-mqt7l-worker-eastus2-fn5w8
                            Labels:             beta.kubernetes.io/arch=amd64
                                              feature.node.kubernetes.io/cpu-cpuid.ADX=true
                                              feature.node.kubernetes.io/cpu-cpuid.AESNI=true
                                              ...
                                              feature.node.kubernetes.io/cpu-cpuid.FMA3=true
                                              feature.node.kubernetes.io/gpu.present=true
                                              feature.node.kubernetes.io/gpu.memory=80GB
                                              feature.node.kubernetes.io/gpu.vendor=nvidia
                                              feature.node.kubernetes.io/gpu.model=A100

    Step 2: Install the NVIDIA GPU operator

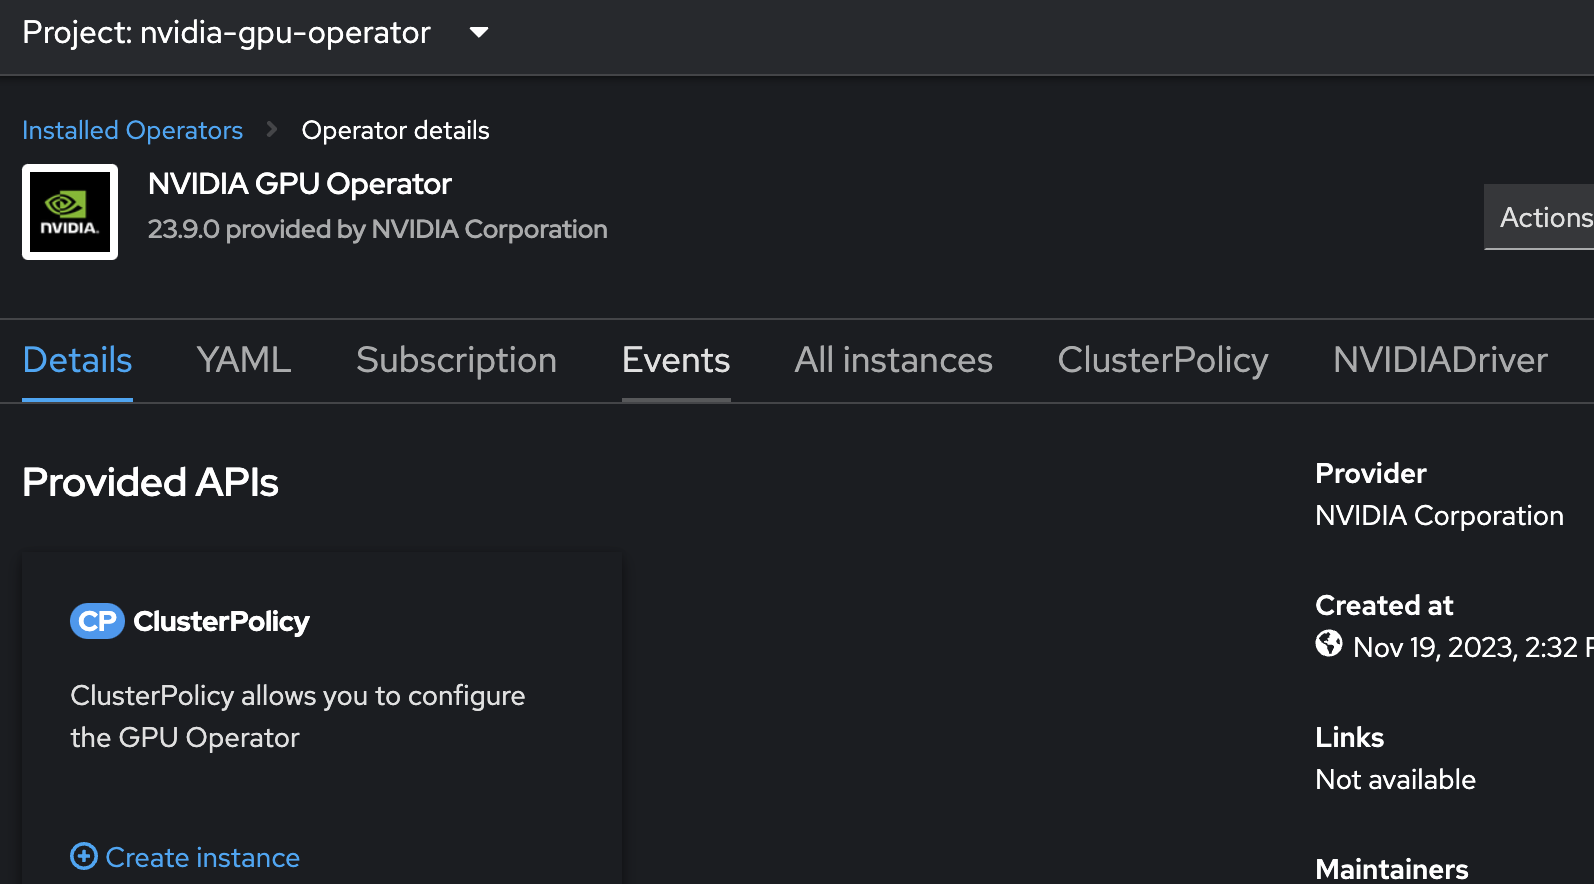
    Next, I installed the NVIDIA GPU operator, which handles the configuration of GPU resources (Figure 4).

    GPU Operator installation page
    Figure 4: GPU Operator installation page.

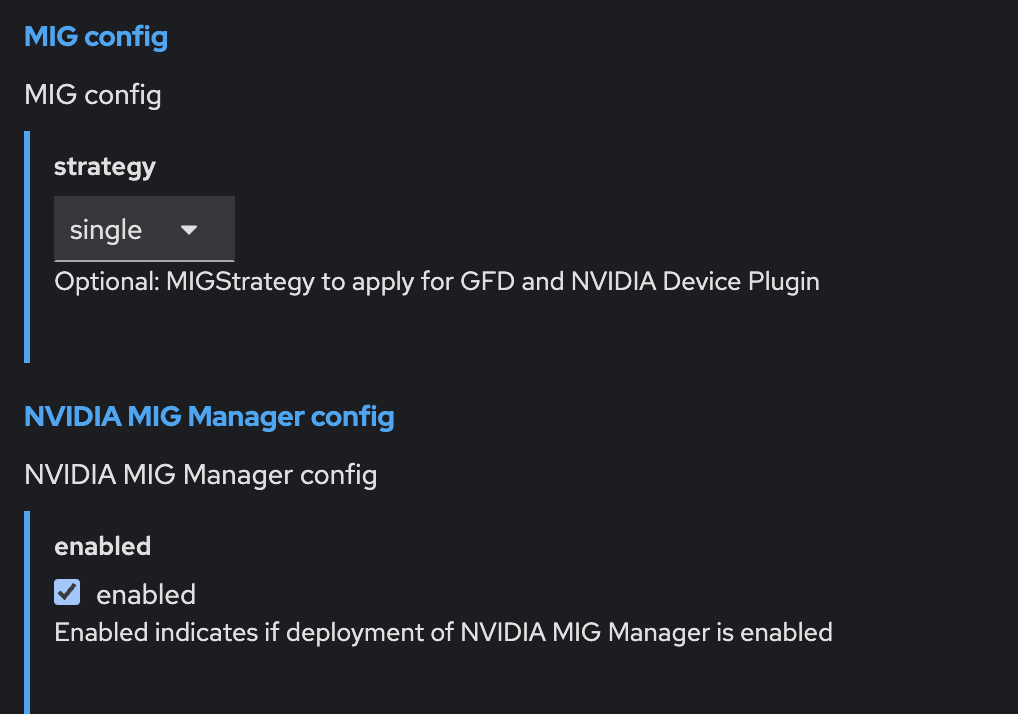
    I made sure to enable the MIG manager in the ClusterPolicy configuration to facilitate the MIG setup (Figure 5).

    MIG configuration
    Figure 5: MIG configuration.

    Step 3: Check the pods

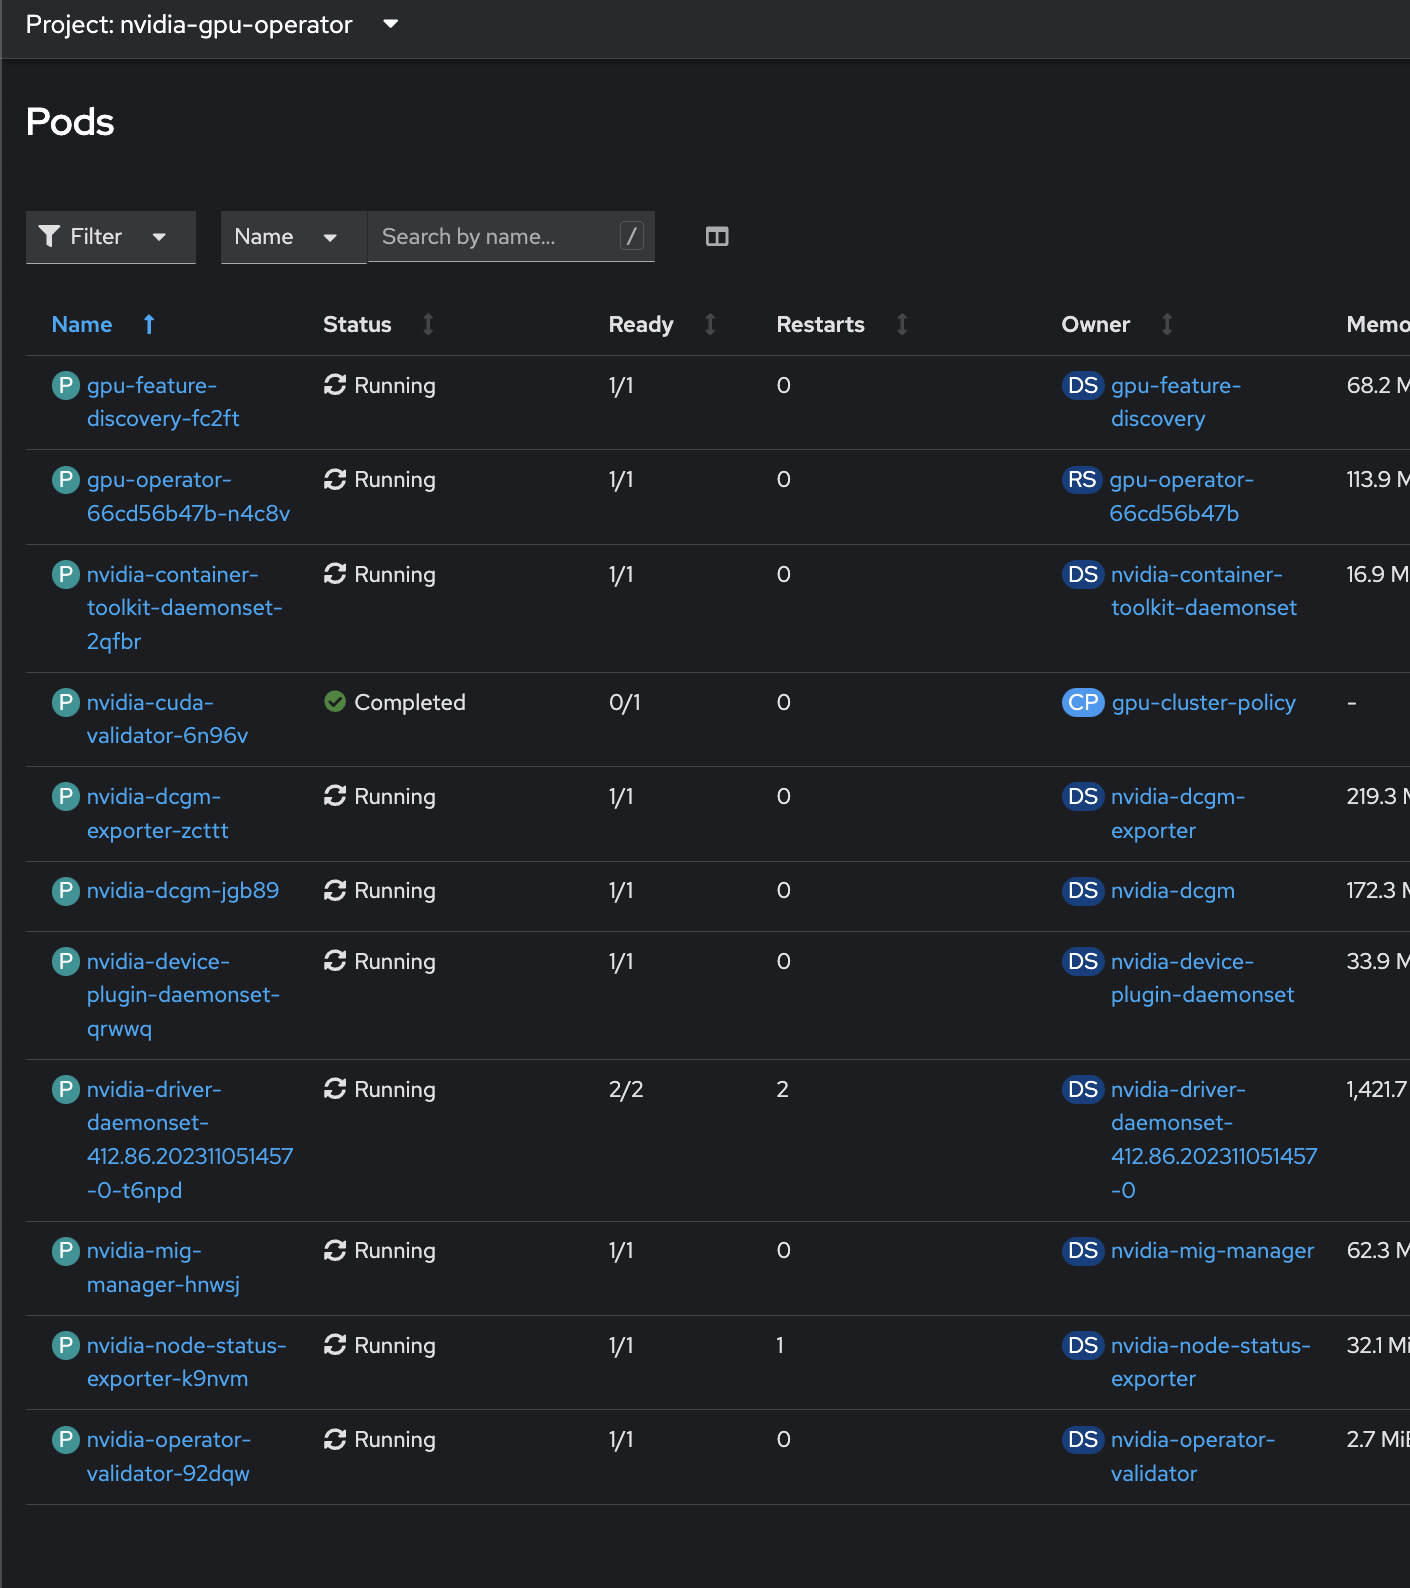
    There are two ways to make sure all pods under the nvidia-gpu-operator namespace are up and running:

    1. From the CLI:

      $ oc get pods -n nvidia-gpu-operator
    2. From the console, as shown in Figure 6:
    GPU Operator pods
    Figure 6: GPU Operator pods.

    Choose the right MIG configuration

    MIG offers a variety of configurations tailored to different GPU models and workload requirements. You have to understand which configurations are supported for the NVIDIA A100–80GB GPU. For example, I ran the command oc describe configmap/default-mig-parted-config, explored the available configurations, and selected one that matched my requirements.1g.10gb, which divides the GPU into seven instances.

    The following configuration is ideal for workloads that require smaller, dedicated slices of GPU power.

        # H100-80GB, H800-80GB, A100-80GB, A800-80GB, A100-40GB, A800-40GB
         all-1g.10gb:
           # H100-80GB, H800-80GB, A100-80GB, A800-80GB
           - device-filter: ["0x233010DE", "0x233110DE", "0x232210DE", "0x20B210DE", "0x20B510DE", "0x20F310DE", "0x20F510DE", "0x232410DE"]
             devices: all
             mig-enabled: true
             mig-devices:
               "1g.10gb": 7

    Enable and verify MIG

    To verify the setup, I used the nvidia-smi tool to query the GPU status and configurations. When MIG was initially disabled, I enabled it and restarted the node:

    sh-4.4# nvidia-smi -i 0 -mig 1
                            Enabled MIG Mode for GPU 00000001:00:00.0
                            All done.

    To verify that MIG is enabled for the GPU, I connected to the nvidia-mig-manager pod in OpenShift and used the terminal tab to query GPU=0 configurations with the following command:

    sh-4.4#
                            sh-4.4# nvidia-smi -i 0 -q
                            ==============NVSMI LOG==============
                            Timestamp                           : Tue Dec  5 15:41:13 2023
                            Driver Version                      : 535.104.12
                            CUDA Version                        : Not Found
                            Attached GPUs                       : 1
                            GPU 00000001:00:00.0
                                Product Name                    : NVIDIA A100 80GB PCIe
                                Product Brand                   : NVIDIA
                                Product Architecture            : Ampere
                                Display Mode                    : Enabled
                                Display Active                  : Disabled
                                Persistence Mode                : Enabled
                                Addressing Mode                 : None
                                MIG Mode
                                    Current                     : Enabled
                                    Pending                     : Enabled

    After selecting the configuration, I labeled the node with the following command:

    $ oc label node <node-name> nvidia.com/mig.config=all-1g.10gb --overwrite

    The MIG manager pod logs insights into the status of the node labeling process (Figure 7).

    MIG-manager logs
    Figure 7: MIG-manager logs.

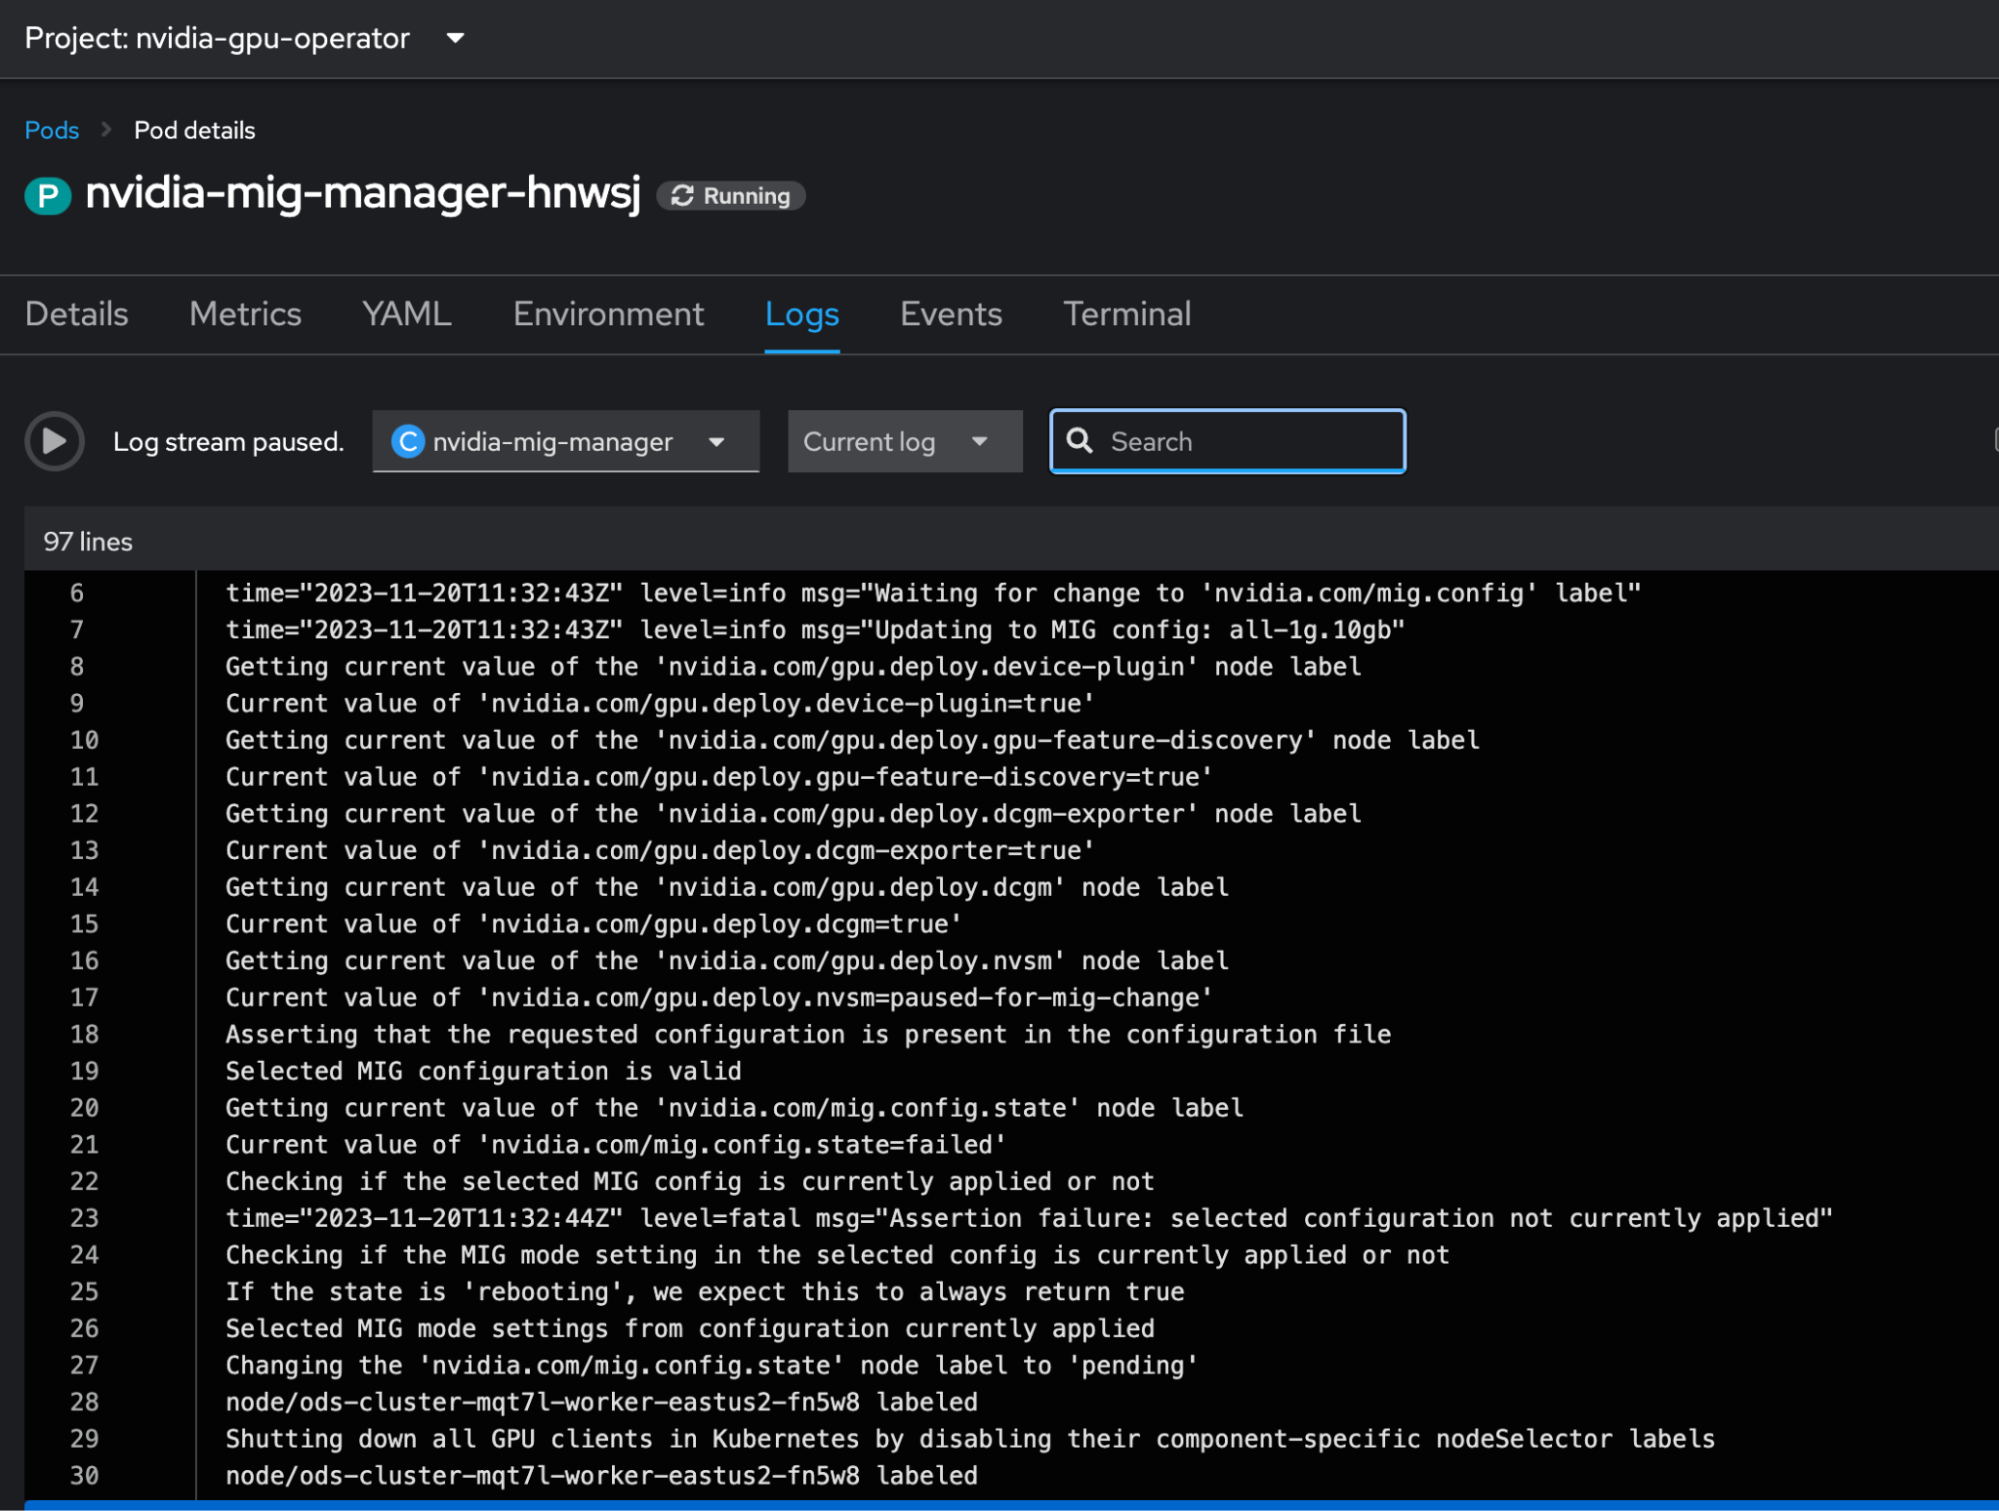
    Once successful, the node reported multiple allocatable GPUs instead of a single one.

    Let's describe the node to confirm that it recognizes seven GPUs:

    $ oc describe node/ods-cluster-mqt7l-worker-eastus2-fn5w8
                            Capacity:
                              attachable-volumes-azure-disk: 8
                              cpu: 24
                              ephemeral-storage: 133682156Ki
                              hugepages-1Gi: 0
                              hugepages-2Mi: 0
                              memory: 226965748Ki
                              nvidia.com/gpu: 7
                              pods: 250
                            Allocatable:
                              attachable-volumes-azure-disk: 8
                              cpu: 23500m
                              ephemeral-storage: 122127732942
                              hugepages-1Gi: 0
                              hugepages-2Mi: 0
                              memory: 225814772Ki
                              nvidia.com/gpu: 7
                              pods: 250

    Consume the sliced GPUs via Red Hat OpenShift AI

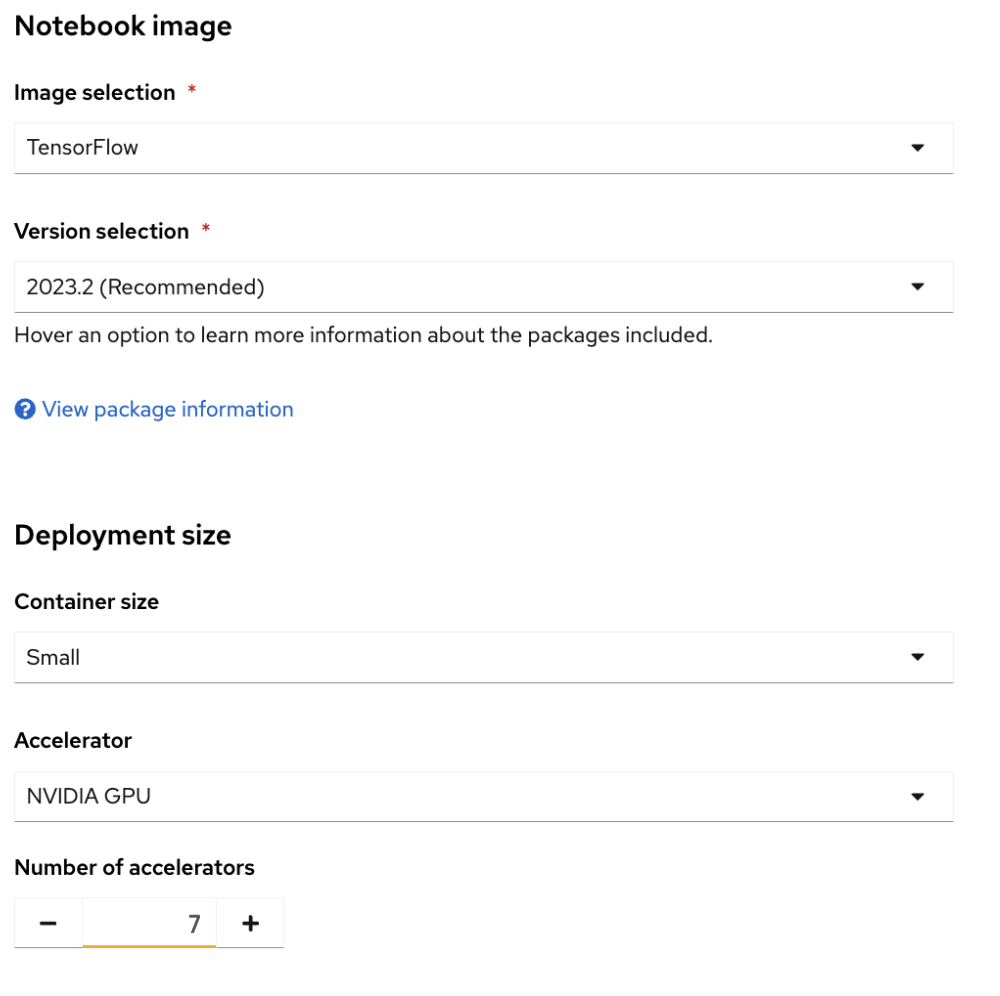
    With MIG enabled, the OpenShift AI dashboard reflected the increased availability of GPU resources. I could select up to seven GPUs for my workbench (Figure 8). This setup empowers AI and data science teams to run diverse workloads simultaneously without bottlenecks.

    Allocating GPUs in the OpenShift AI notebook
    Figure 8: Allocating GPUs in the OpenShift AI notebook.

    Unlock GPU potential with NVIDIA MIG and OpenShift AI

    NVIDIA MIG technology, integrated with Red Hat OpenShift AI, transforms GPU resource management by facilitating scalable and efficient workloads. By partitioning GPUs into smaller, independent units, organizations can achieve maximum resource utilization, cost savings, and streamlined AI/ML operations. MIG on OpenShift AI helps teams fully harness the power of GPU technology, whether they manage diverse workloads or scale multi-user environments.

    Learn more about using NVIDIA NIM on Red Hat OpenShift AI and the performance results shown by Red Hat AI Performance and Scale when testing NVIDIA GPUs with MIG.

    Related Posts

    • Model training in Red Hat OpenShift AI

    • Red Hat OpenShift AI and machine learning operations

    • Deliver generative AI at scale with NVIDIA NIM on OpenShift AI

    • Sensitive information detection using the NVIDIA Morpheus AI framework

    • How to integrate Quarkus applications with OpenShift AI

    Recent Posts

    • How to run AI models in cloud development environments

    • How Trilio secures OpenShift virtual machines and containers

    • How to implement observability with Node.js and Llama Stack

    • How to encrypt RHEL images for Azure confidential VMs

    • How to manage RHEL virtual machines with Podman Desktop

    What’s up next?

    This hands-on learning path demonstrates how retrieval-augmented generation (RAG) works and how users can implement a RAG workflow using Red Hat OpenShift AI and Elasticsearch vector database.

    Start the activity
    Red Hat Developers logo LinkedIn YouTube Twitter Facebook

    Products

    • Red Hat Enterprise Linux
    • Red Hat OpenShift
    • Red Hat Ansible Automation Platform

    Build

    • Developer Sandbox
    • Developer Tools
    • Interactive Tutorials
    • API Catalog

    Quicklinks

    • Learning Resources
    • E-books
    • Cheat Sheets
    • Blog
    • Events
    • Newsletter

    Communicate

    • About us
    • Contact sales
    • Find a partner
    • Report a website issue
    • Site Status Dashboard
    • Report a security problem

    RED HAT DEVELOPER

    Build here. Go anywhere.

    We serve the builders. The problem solvers who create careers with code.

    Join us if you’re a developer, software engineer, web designer, front-end designer, UX designer, computer scientist, architect, tester, product manager, project manager or team lead.

    Sign me up

    Red Hat legal and privacy links

    • About Red Hat
    • Jobs
    • Events
    • Locations
    • Contact Red Hat
    • Red Hat Blog
    • Inclusion at Red Hat
    • Cool Stuff Store
    • Red Hat Summit

    Red Hat legal and privacy links

    • Privacy statement
    • Terms of use
    • All policies and guidelines
    • Digital accessibility

    Report a website issue