Cryostat is a container-native JVM application that provides a secure API for profiling and monitoring containers with JDK Flight Recorder (JFR). When deployed on Kubernetes or the Red Hat OpenShift Container Platform, Cryostat uses a permission configuration that maps Kubernetes resources to Cryostat-managed resources to authorize users to perform certain actions, such as creating a recording or viewing discovered targets.
Table 1 outlines definitions that represent Cryostat-managed resources:
| Resource | Definition |
|---|---|
CERTIFICATE |
SSL certificates that connect to JVM applications with enabled encryption. |
CREDENTIALS |
Stored credentials for targets with JMX enabled authentication. |
RECORDING |
Recordings created for JVM applications. |
REPORT |
Report content generated from recordings. |
RULE |
Automated rules that start recordings on matching targets as they become available to Cryostat in a non-interactive way. |
TARGET |
Discovered JVM applications to monitor. |
TEMPLATE |
Event templates to configure recordings. |
By default, Cryostat sets the following role-based access control (RBAC) mapping configuration:
TARGET=pods,services
RECORDING=pods,pods/exec,cryostats.operator.cryostat.io
CERTIFICATE=pods,cryostats.operator.cryostat.io
CREDENTIALS=pods,cryostats.operator.cryostat.io
Note: Cryostat-managed resources (i.e., those on the left side) that are not specified are implicitly granted full access.
However, a single set of mappings does not always fit all. For example, you might want to use a custom resource in this mapping. Therefore, since Cryostat Operator 2.2.0, we allow this mapping to be configurable via the Cryostat custom resource.
Prerequisites
To get started, you will need to install Cryostat Operator 2.2.0 on an OpenShift cluster. These steps outlined in this article assume a local OpenShift cluster with Red Hat OpenShift Local (formerly Red Hat CodeReady Containers).
Step 1: Define a ConfigMap with permission mappings
To set up custom mapping, the user must define a ConfigMap that is compatible with the defaults above. For example, create a ConfigMap as follows:
$ cat <<EOF | oc apply -f -
apiVersion: v1
kind: ConfigMap
metadata:
  name: auth-properties
data:
  auth.properties: |
    TARGET=pods,deployments.apps
    RECORDING=pods,pods/exec
    CERTIFICATE=deployments.apps,pods,cryostats.operator.cryostat.io
    CREDENTIALS=cryostats.operator.cryostat.io
EOF
Note: Using a Secret in mapping can fail with access denied due to security protection against escalations. Find more details about this issue here.
Step 2: Define a ClusterRole for OAuth token scope
If a custom mapping is specified, a ClusterRole must exist and should contain permissions for all Kubernetes objects listed in custom permission mapping. For example, define the manifest auth_clusterrole.yml:
$ cat <<EOF | oc apply -f -
apiVersion: rbac.authorization.k8s.io/v1
kind: ClusterRole
metadata:
 name: additional-oauth-client
rules:
- apiGroups:
  - operator.cryostat.io
  resources:
  - cryostats
  verbs:
  - create
  - patch
  - delete
  - get
- apiGroups:
  - ""
  resources:
  - pods
  - pods/exec
  verbs:
  - create
  - patch
  - delete
  - get
- apiGroups:
  - apps
  resources:
  - deployments
  verbs:
  - create
  - patch
  - delete
  - get
EOF
Step 3: Configure Cryostat custom resource
The property spec.authProperties of the Cryostat custom resource can then be set to configure Cryostat to use this mapping instead of the default ones.
apiVersion: operator.cryostat.io/v1beta1
kind: Cryostat
metadata:
  name: cryostat-sample
spec:
  authProperties:
    configMapName: auth-properties
    filename: auth.properties
    clusterRoleName: oauth-cluster-role
You can also do this on the OpenShift console. Open the Advanced Configuration section (Figure 1).

Choose the corresponding ConfigMap and ClusterRole, and enter the key of the ConfigMap that holds the content of the authorization properties (Figure 2).

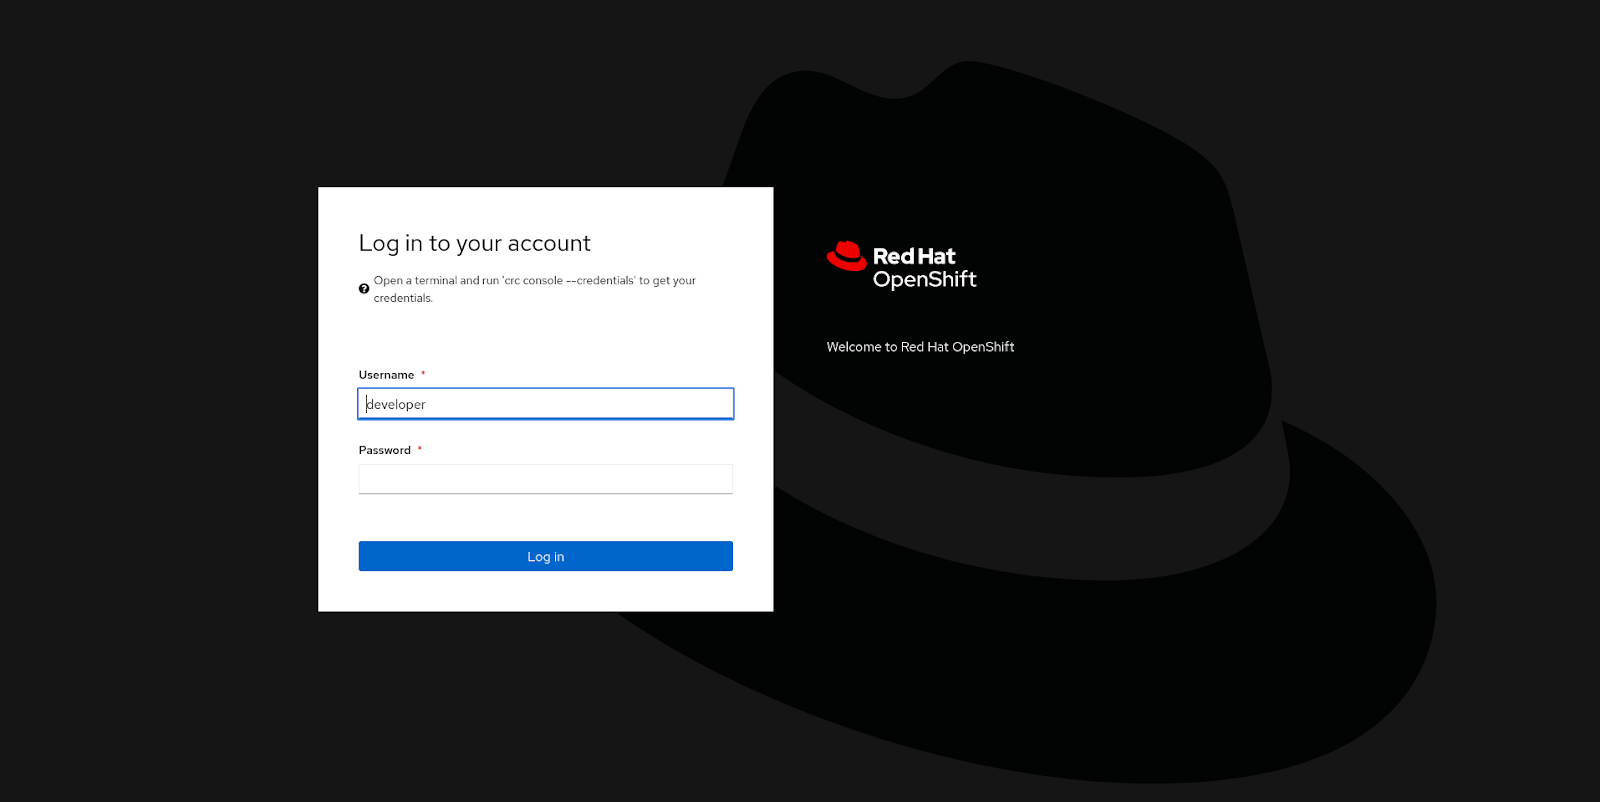
Step 4: Log into the Cryostat web console
Once the Cryostat pod is up, access the Cryostat web console via Application URL status. You will be redirected to the OpenShift login page (Figure 3).
Step 5: Check and accept requested permissions
Enter your credentials and you will be asked to delegate specific permissions of your user to generate an access token. Notice now we have another role that defines additional requested rules at the bottom (Figure 4).
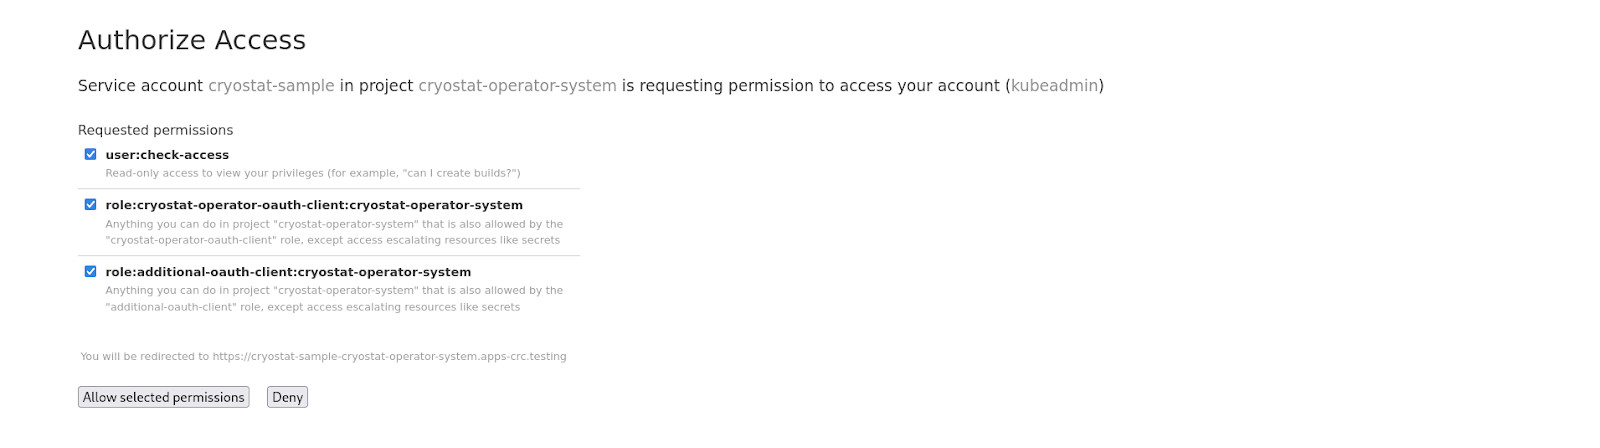
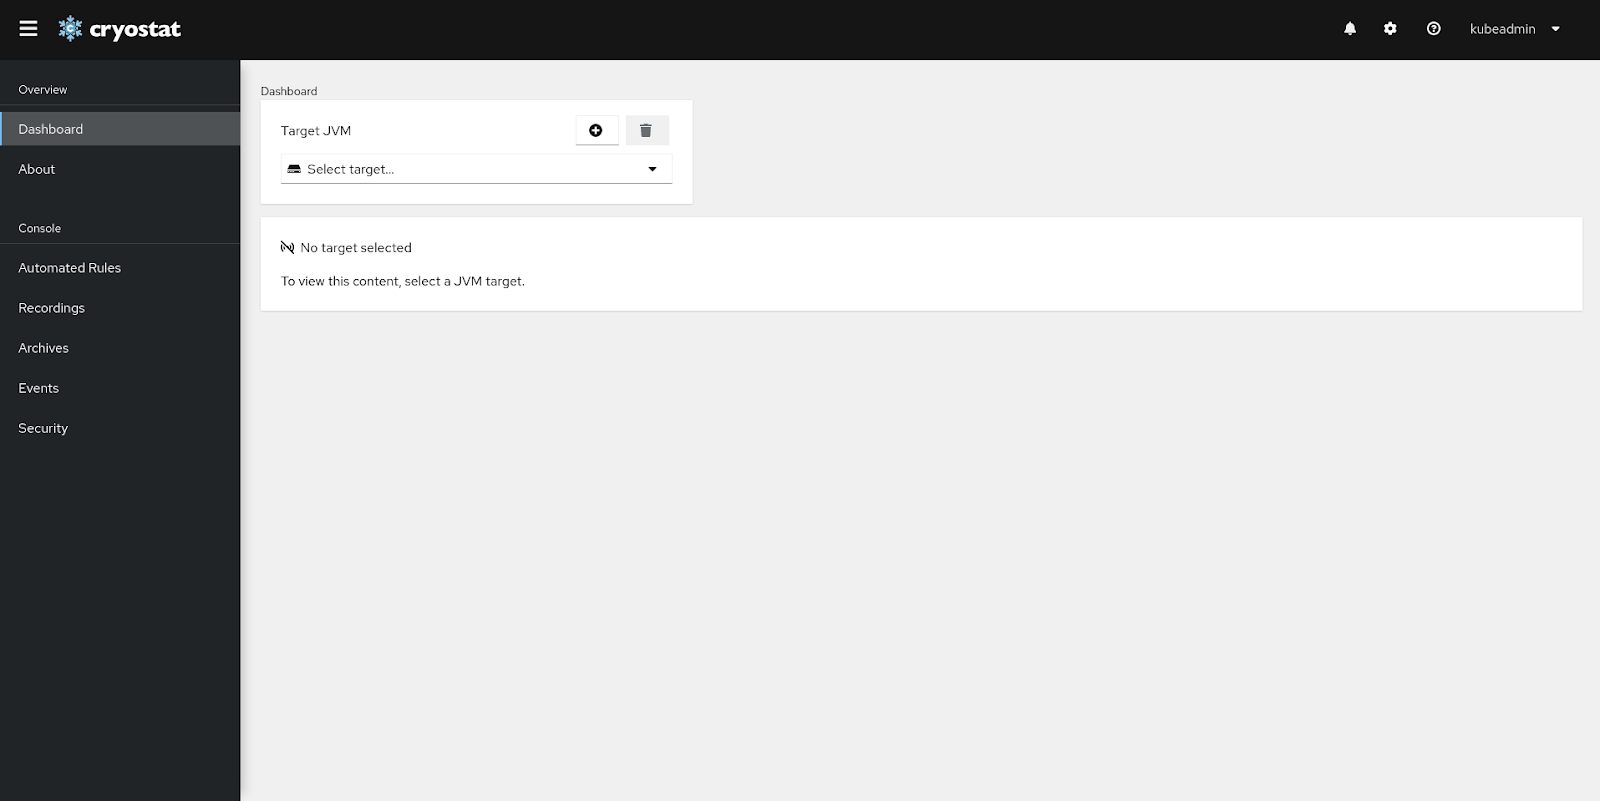
Accept and you will be successfully logged in Figure 5). Keep in mind that actions in the Cryostat web console are still subject to the permissions the access token has, and might be denied if these are insufficient.
Important: If the mapping is updated, Cryostat must be manually restarted—in other words, you must roll out a new deployment.
Summary
In Cryostat Operator 2.2.0 and later, you can configure permission mapping with a Cryostat custom resource. This requires a ConfigMap that holds these properties and a ClusterRole that defines appropriate access to specified Kubernetes resources. In this way, you can control the access level available to the Cryostat web console with your own settings. Note that updating to this mapping requires a manual restart of the Cryostat instance.