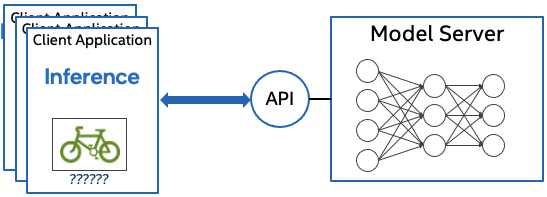
Model servers, as illustrated in Figure 1, are very convenient for AI applications. They act as microservices and can abstract the entirety of inference execution, making them agnostic to the training framework and hardware. They also offer easy scalability and efficient resource utilization.
Red Hat OpenShift and Kubernetes are optimal places for deploying model servers. However, managing them directly can be a complex task in a large-scale environment. In this article, you'll learn how the OpenVINO Model Server Operator can make it straightforward.
Operator installation
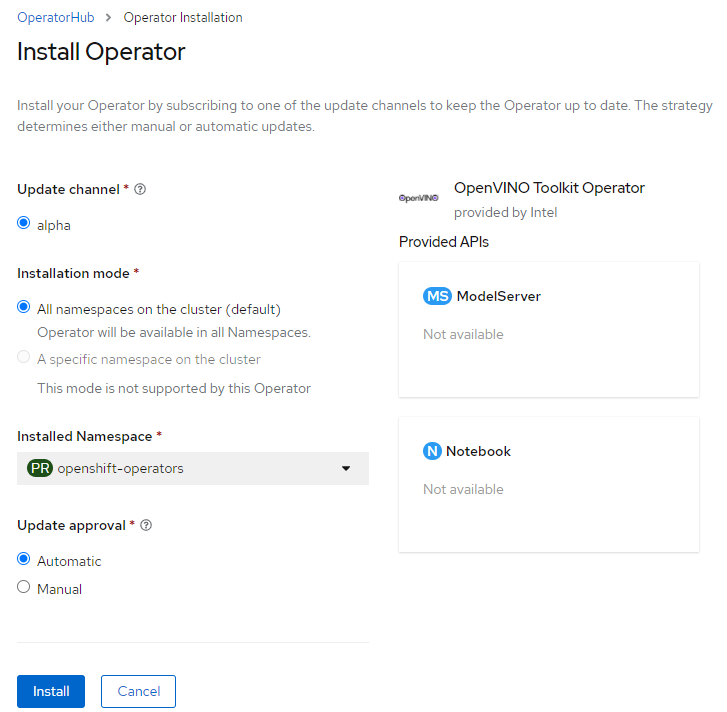
The operator can be easily installed from the OpenShift console. Just navigate to the OperatorHub menu (Figure 2), search for OpenVINO™ Toolkit Operator, then click the Install button.
Deploying an OpenVINO Model Server in OpenShift
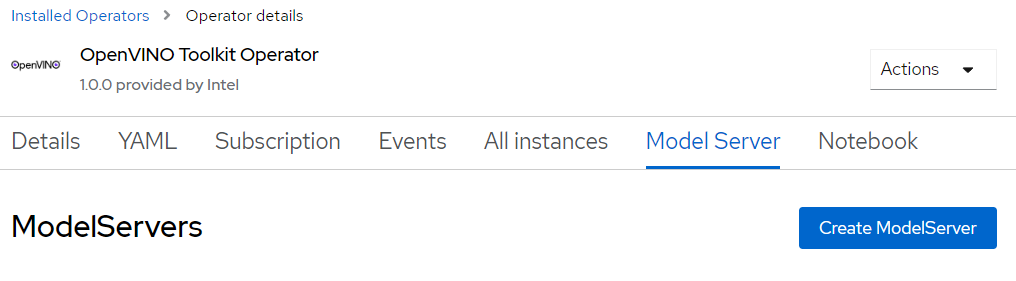
Creating a new instance of the model server is easy in the OpenShift console interface (Figure 3). Click the Create ModelServer and then fill in the interactive form.
The default exemplary parameters deploy a fully functional model server with the well-known image classification model ResNet-50. This model is available in the public cloud for anyone to use. Why are we using this model? Because it saves us time from creating our own image classification model from scratch.
A bit more information on the ResNet-50 model just in case you have never heard of it before: The model is a pre-trained deep learning model for image classification of the convolutional neural network, which is a class of deep neural networks most commonly applied to analyzing images. The 50 in the name represents the model being 50 layers deep. The model is trained on a million images in a thousand categories from the ImageNet database.
If you'd rather use the command-line interface (CLI) instead of the OpenShift console, you would use a command like this:
oc apply -f https://raw.githubusercontent.com/openvinotoolkit/operator/main/config/samples/intel_v1alpha1_ovms.yaml
More complex deployments with multiple models or DAG pipelines can also be deployed fairly easily by adding a config.json file into a configmap and linking it with the ModelServer resource.
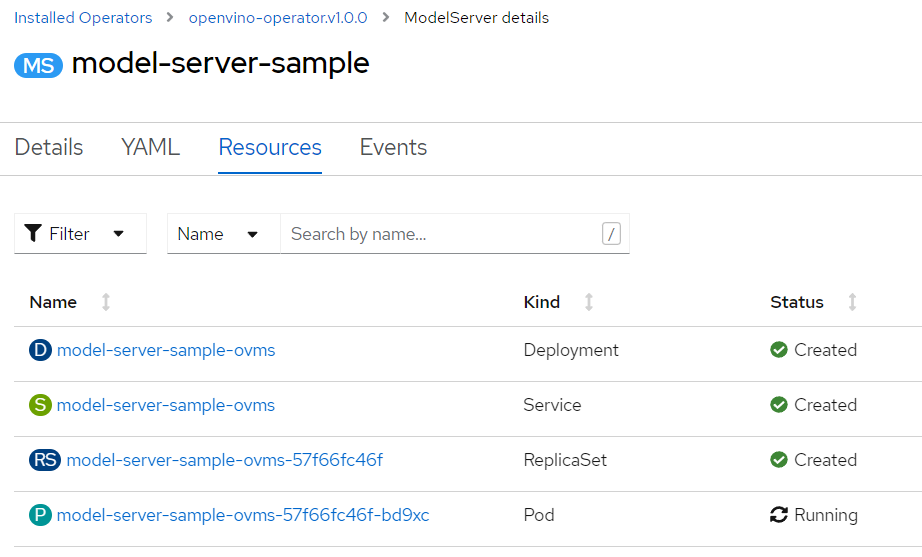
In this article, let's check the usage with the default Resnet model. While deployed, it will create the resources shown in Figure 4.
How to run inferences from ovmsclient
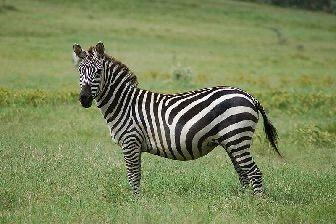
In this demonstration, let's create a pod in our OpenShift cluster that will act as a client. This can be done from the OpenShift console or from the CLI. We'll use a python:3.8.13 image with a sleep infinity command just to have a place for an interactive shell. We will submit a jpeg image of a zebra and see if the image can be identified by our model.
oc create deployment client-test --image=python:3.8.13 -- sleep infinity

oc exec -it $(oc get pod -o jsonpath="{.items[0].metadata.name}" -1
app=client-test) -- bash
From the interactive shell inside the client container, let's quickly test connectivity with the model server and check the model parameters.
 curl http://model-server-sample-ovms:8081/v1/config
 {
  "resnet" :
  {
   "model_version_status": [
   {
    "version": "1",
    "state": "AVAILABLE",
    "status": {
    "error_code": "OK",
    "error_message": "OK"
   }
  }
 }
}
Other REST API calls are described in the OpenVINO API reference guide.
Now let's use the Python library ovmsclient to run the inference request:
 python3 -m venv /tmp/venv
 source /tmp/venv/bin/activate
 pip install ovmsclient
We'll download a zebra picture to test out the classification:
curl https://raw.githubusercontent.com/openvinotoolkit/model_server/main/demos/common/static/images/zebra.jpeg -o /tmp/zebra.jpeg
Below are the Python commands that will display the model metadata using the ovmsclient library:
 from ovmsclient import make_grpc_client
 client = make_grpc_client("model-server-sample-ovms:8080")
 model_metadata = client.get_model_metadata(model_name="resnet")
 print(model_metadata)
Those commands produce the following response:
{'model_version': 1, 'inputs':
{'map/TensorArrayStack/TensorArrayGatherV3:0': {'shape': [-1,
 -1, -1, -1], 'dtype': 'DT_FLOAT'}}, 'outputs':
{'softmax_tensor': {'shape': [-1, 1001], 'dtype': 'DT_FLOAT'}}}
Now you can create a Python script with basic client content:
 cat >> /tmp/predict.py <<EOL
 from ovmsclient import make_grpc_client
 import numpy as np
 client = make_grpc_client("model-server-sample-ovms:8080")
 with open("/tmp/zebra.jpeg", "rb") as f:
 data = f.read()
 inputs = {"map/TensorArrayStack/TensorArrayGatherV3:0": data}
 results = client.predict(inputs=inputs, model_name="resnet")
 print("Detected class:", np.argmax(results))
 EOL

 python /tmp/predict.py
 Detected class: 341
Based on the ImageNet database which contains a thousand classes, our zebra image was matched to their zebra image, which happens to have the class ID 341 associated with it. This means that our image was successfully matched and is confirmed as a zebra image!
Conclusion
As you've seen, the OpenVINO Model Server can be easily deployed and used in OpenShift and Kubernetes environments. In this article, you learned how to run predictions using the ovmsclient Python library.
You can learn more about the Operator and check out other demos with OpenVINO Model Server.
Last updated: October 20, 2023