Page
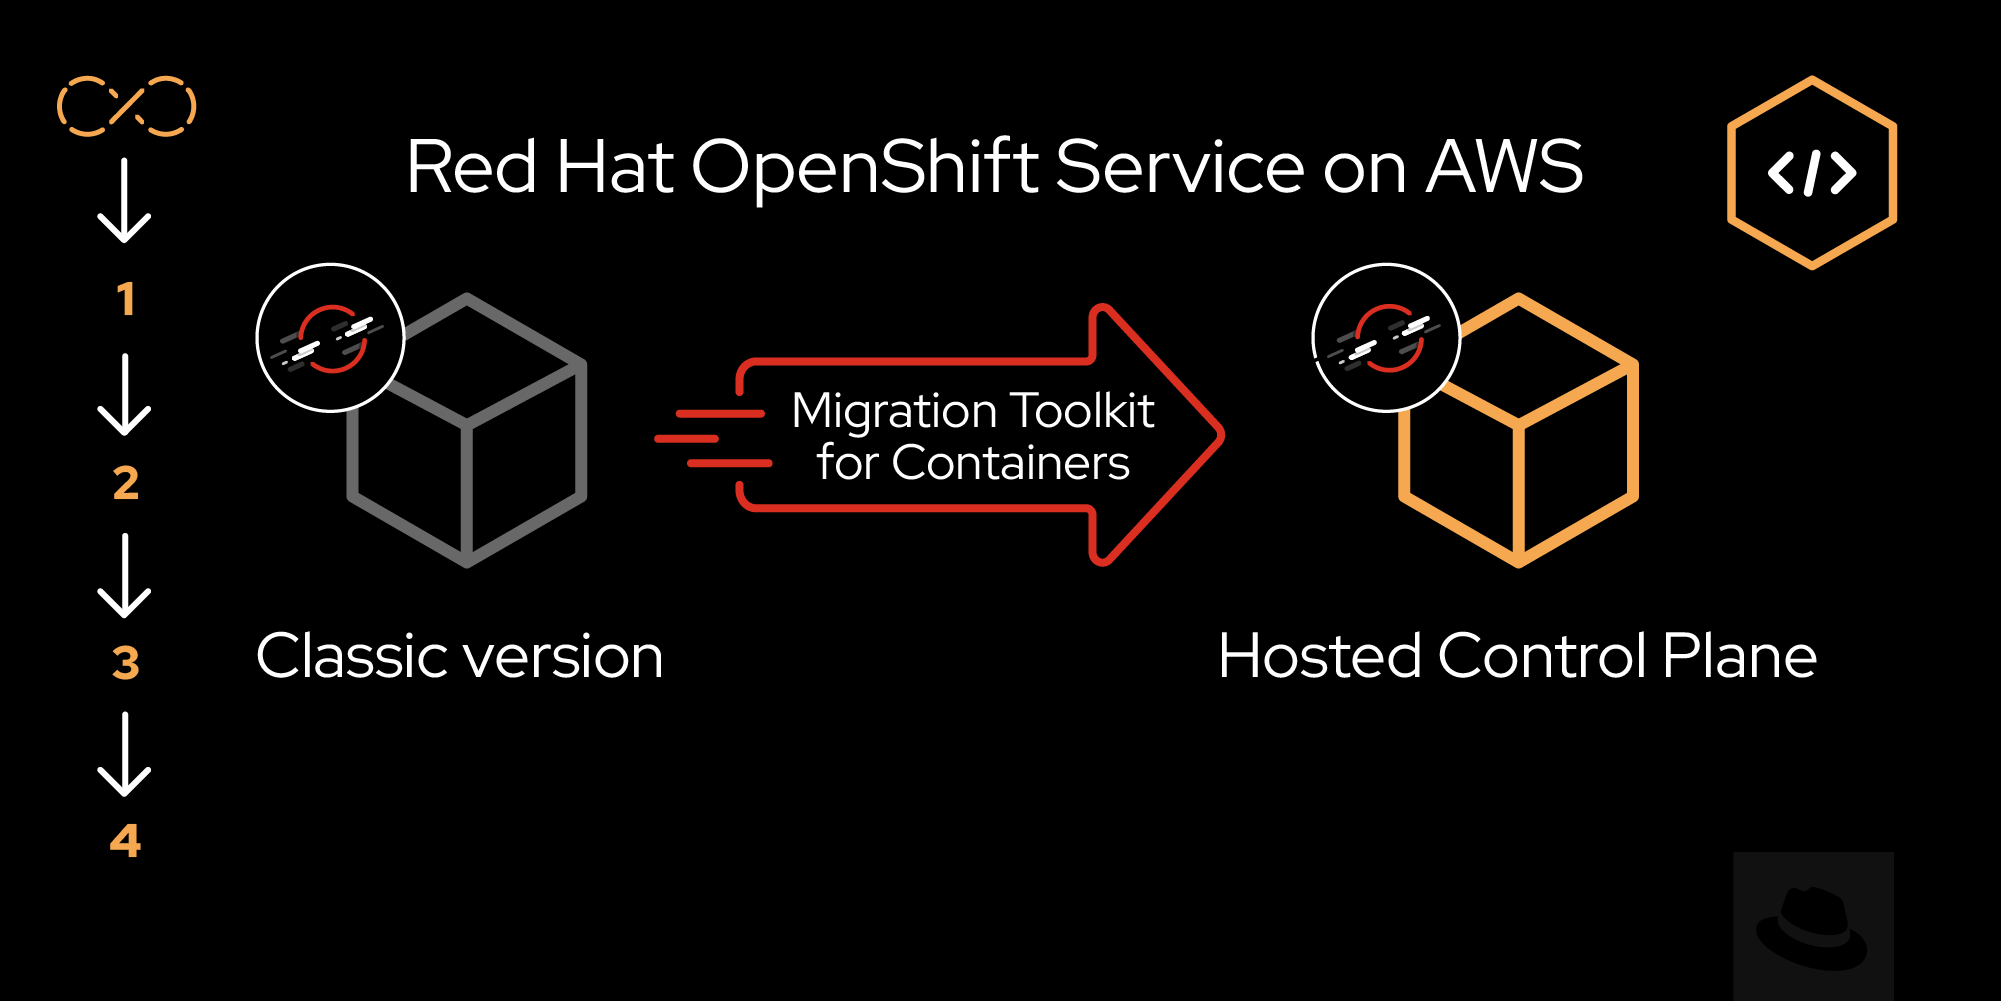
Application migration with MTC
Embarking on the journey of application migration can be daunting, but fear not! In this lesson we will explore migrating both stateless and stateful applications using MTC, empowering you with the confidence needed to navigate the process seamlessly.
In order to get the full benefit from taking this lesson, you need:
- A basic understanding of OpenShift concepts, such as projects, templates, routes, and deployment strategies.
- An understanding of Kubernetes objects like Pods, Deployments, Services, and PersistentVolumeClaims (PVCs).
- Knowledge of the differences between stateless and stateful applications, including their storage requirements.
In this lesson, you will learn:
- The techniques for migrating both stateless and stateful applications using MTC.
- Best practices and step-by-step instructions for migrating stateless applications.
- Strategies and considerations for migrating stateful applications, such as handling persistent data, managing PVCs, and ensuring data integrity throughout the migration process.
- Migration scenarios including stage migrations, cutover migrations, and rollback procedures, to gain practical insights and actionable strategies for managing migration.
- How to use MTC with multiple remote clusters.
Application migration
If you still don't have applications in your source clusters, let’s quickly create two sample applications in the cluster: one stateless and one stateful application.
Create a sample stateless application
We will start with the existing template in the openshift namespace. Since this template already has the openshift namespace, we will remove its namespace. And then we will create a template in a new project. Using the created template in the project, we start the application. The command flow is as below:
Check existing
nginxtemplates.oc get template -n openshift | grep nginxYou may find the
nginx-exampletemplate. Export it to a file as YAML.oc get template nginx-example -n openshift -o yaml > nginx-example.yamlNote that this file has
namespacehardcoded asopenshift.cat nginx-example.yaml | grep namespaceExample output:
namespace: openshift
namespace: ${NAMESPACE}
Let’s remove the line with a hardcoded
namespacevalue with the following command:sed -i '/namespace: openshift/d' nginx-example.yamlIf you are working on a Mac, use the following command to delete the line with the namespace:
sed -i '' '/namespace: openshift/d' nginx-example.yamlConfirm you no longer have any
namespacehardcoded values:cat nginx-example.yaml | grep namespaceExample output:
namespace: ${NAMESPACE}Let’s create a project.
oc new-project my-nginx-appNext, let's create a new template in the project with the YAML file.
oc create -f nginx-example.yamlFinally, let's create an application in the project using the template.
oc new-app --name=my-nginx --template=nginx-exampleNow we have a simple nginx stateless application in the
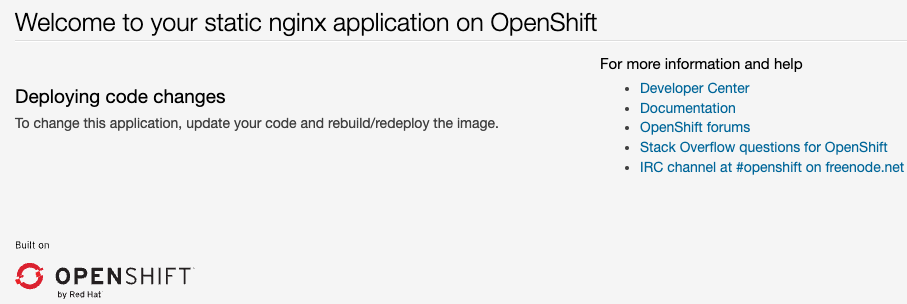
my-nginx-appnamespace. Check all the resources as:oc get allGet the route URL and access the stateless
nginxapplication with it (Figure 1).oc get routeUse http, not https.
Create a sample stateful application
Let’s create a stateful application.
Same as before, we will start with the existing template in the openshift namespace.
The command flow goes as follows:
oc get template -n openshift | grep mysql-persistent && \
oc get template cakephp-mysql-persistent -n openshift -o yaml > cakephp-mysql-persistent.yaml && \
sed -i '/namespace: openshift/d' cakephp-mysql-persistent.yaml && \
oc new-project cakephp-mysql-persistent && \
oc create -f cakephp-mysql-persistent.yaml && \
oc new-app --name=cakephp-mysql-persistent-app --template=cakephp-mysql-persistent
If you are working on a Mac, use the following command to delete the line with the namespace:
sed -i '' '/namespace: openshift/d' cakephp-mysql-persistent.yamlNow we have a stateful application in the
cakephp-mysql-persistentnamespace. Check all the resources as:oc get allGet the route URL and access the stateful CakePHP application with it (Figure 2).
oc get routeUse http not https.

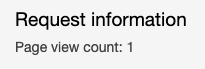
Figure 2: Stateful CakePHP application. Now the Page view count is saved in the
mysqldatabase instance with the PVC (Figure 3).
Figure 3: Page view count in stateful CakePHP application.

Create a migration plan
To migrate an application from the source cluster to the target cluster, we should create a Migration plan in the MTC Console.
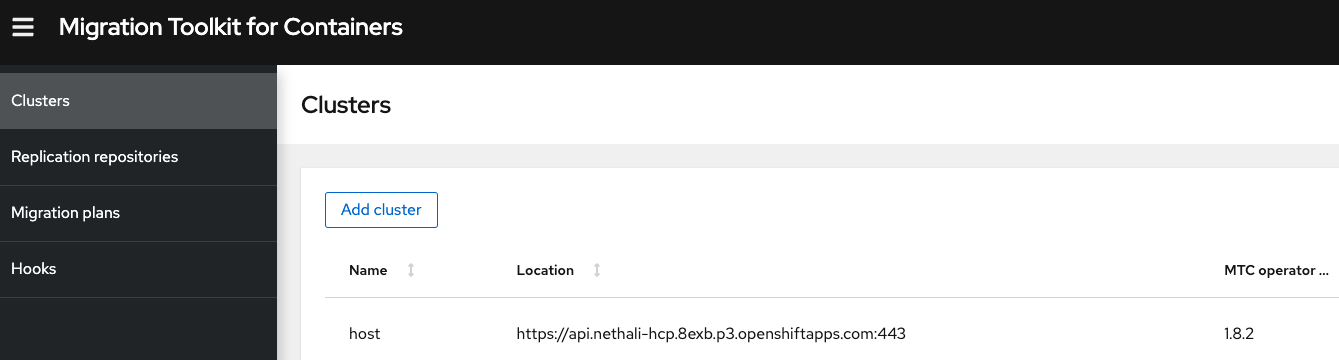
Go to the MTC Console in your Control Cluster and select the Migration plans option on the left menu (Figure 4).

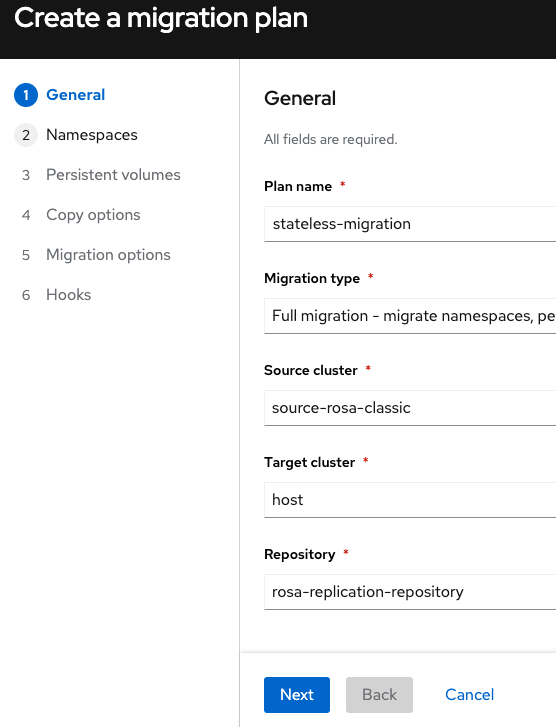
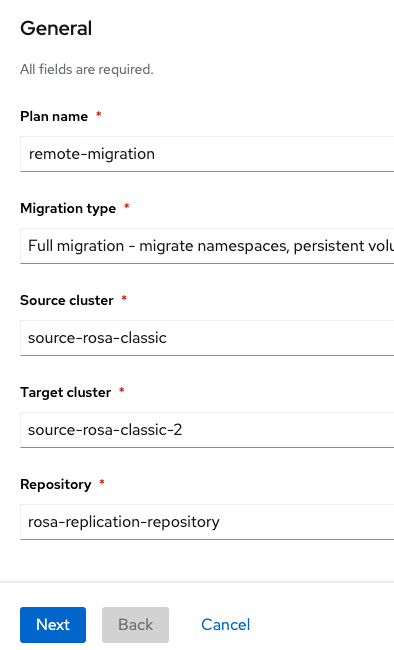
Figure 4: Migration plans in MTC console. Now it's time to create a migration plan for your stateless application. On the Create a migration plan screen, we will first create a Full migration for our stateless application (Figure 5).

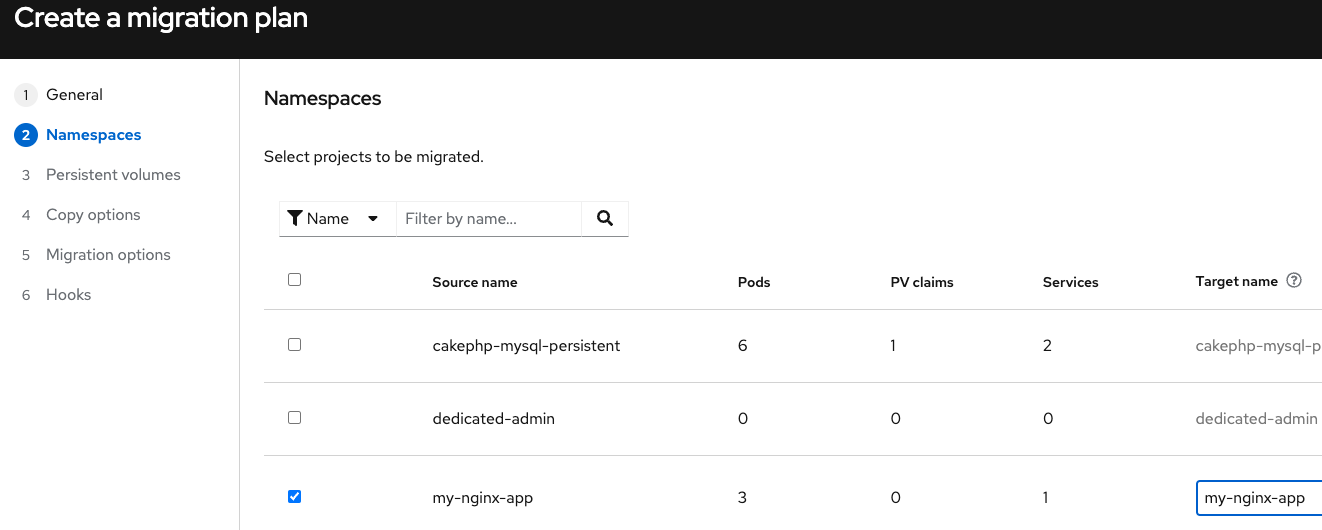
Figure 5: Select Full migration in General section of Create a migration plan in MTC console. Select your stateless application in the Namespace section (Figure 6). You can change the Target name if you want.
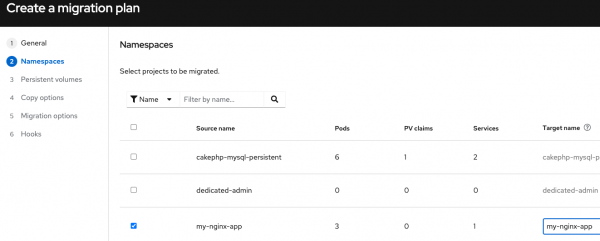
Figure 6: Select stateless application in the Namespace section of Create a migration plan in MTC console. Follow screen instructions and move forward. Under the migration option, you may select either Direct image migration or indirect migration. Note that we have no PVs for the stateless application. Thus the PV option is disabled. Let’s select Direct image migration for our stateless application (Figure 7).
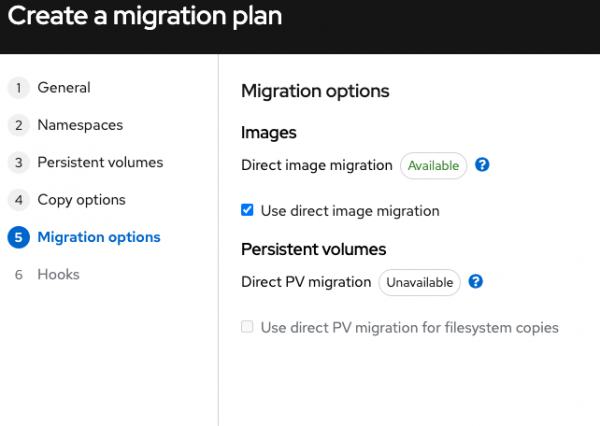
Figure 7: Migration options section of Create a migration plan in MTC console. You may skip the Hooks section and create the migration plan. If everything is OK, you will get a Validation successful message (Figure 8):
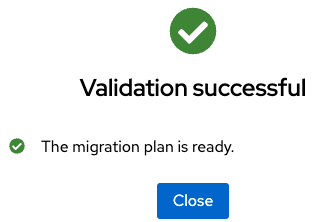
Figure 8: The Validation successful message for the migration plan.


Create a migration plan for your stateful application
Let’s create a Full migration for our stateful application. Let’s also create another migration plan following the same procedure as before.
When you come to the Namespace section, select your stateful application (Figure 9). You can change the Target name if you want.
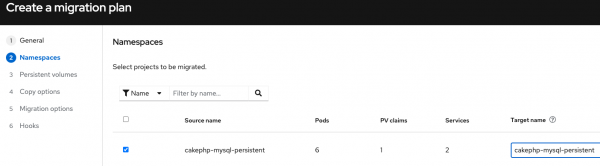
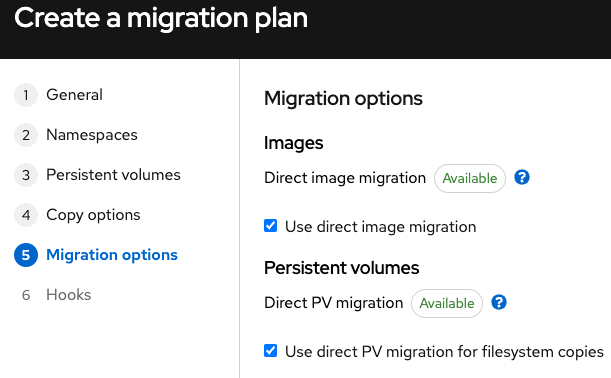
Figure 9: Select stateful application in the Namespace section of Create a migration plan in MTC console. Under the migration option, you may select either Direct image migration or indirect migration. This time, we can select both direct image and PV migration options. Let’s select Direct image migration for both images and PVs (Figure 10).

Figure 10: Migration options section of Create a migration plan in MTC console. If everything is OK, you will get a Validation successful message.

Migrate applications
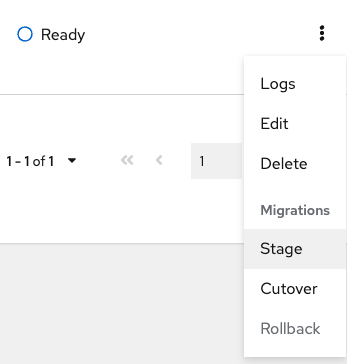
Once the Migration Plan is available, you can do one of the migrations (Stage, Cutover, or Rollback) according to the current status of your application (Figure 11).
For example, in a fresh Migration plan, Rollback is not possible (Figure 11).
Migration of a stateless application
Let’s start the Stage migration by selecting the Stage option for the stateless application. Figure 12 shows the details of a stateless application Stage migration.
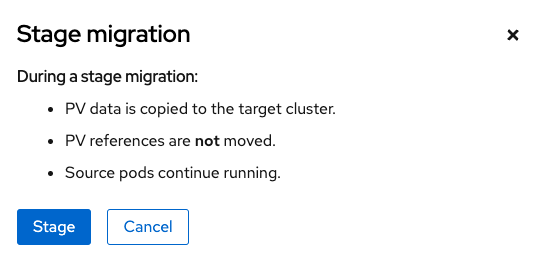
Figure 12: Stage migration details of stateless application. After the migration finishes, switch to your target cluster and inspect the new resources.
oc get all -n my-nginx-appExample output:
NAME                                           IMAGE REPOSITORY                                                              TAGS     ..
                        imagestream.image.openshift.io/nginx-example   image-registry.openshift-image-registry.svc:5000/my-nginx-app/nginx-example..
We have nothing much at this time except the image stream. Note that your application is still running in the source cluster.
Next, let’s do the Cutover migration. Select the Halt application option so the source application will be halted in the Cutover migration (Figure 13).
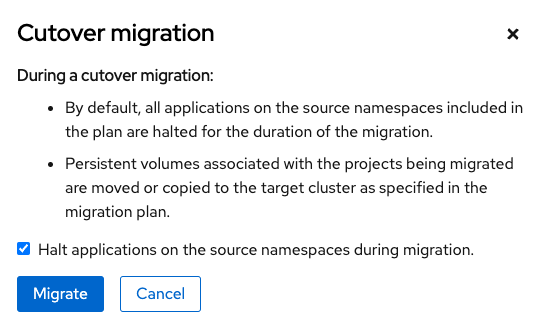
Figure 13: Cutover migration details of a stateless application. In the next screen, you can check the progress by clicking the small arrow under Migrations (Figure 14).

Figure 14: Click the arrow under Migrations to check progress. After the Cutover migration, the application is started in the target cluster. Wait until the migration finishes. Your application resources are now available and the application is running in the target cluster. Also, note that the application is not running in the source cluster.
As the last step, do a Rollback migration (Figure 15).

Figure 15: Rollback migration details of a stateless application.


After the Rollback migration finishes, your application will be restored in the source cluster and no longer available in the target cluster.
Migration of a stateful application
Let’s do the Stage migration of the stateful application. Since this is a stateful application, let’s create a known state.
In your source cluster, get the route URL and access the application with it.
Refresh your browser several times so that the Page view count is increased (Figure 16) and saved in the
mysqldatabase instance with the PVC.
Figure 16: Page view count as a known state of the stateful CakePHP application. Following the same instructions as before, do a Stage migration first. After the migration finishes, switch to your target cluster and inspect for the new resources:
oc get all -n cakephp-mysql-persistentNote that even the PVC is moved to the target cluster:
oc get pvcExample output:
NAME      STATUS           VOLUME                                          ...
mysql     Bound            pvc-a90ce166-7ae9-47cc-8987-161a73d3a9ca        ...
Your application should be still running in the source cluster.
Next, let’s do the Cutover migration. Select the Halt application option so the source application will be halted (Figure 17).

Figure 17: Cutover migration details of a stateful application. After the Cutover migration, the application is started in the target cluster. Check if your application resources are available in the target cluster and that the application is running in the target cluster and not in the source cluster.
Note that the Page view count in the target cluster is the same as before (Figure 18).

Figure 18: Page view count restored to the known state of the stateful CakePHP application. As the last step, let’s do a Rollback migration. Before that, refresh the application browser several times for the target cluster instance. This will increase the Page view count (Figure 19).

Figure 19: Page view count increased to a known state of the stateful CakePHP application. After the rollback, the Page view count should be in its original value in the source cluster; not the increased value in the target cluster. Let’s do the Rollback migration (Figure 20).
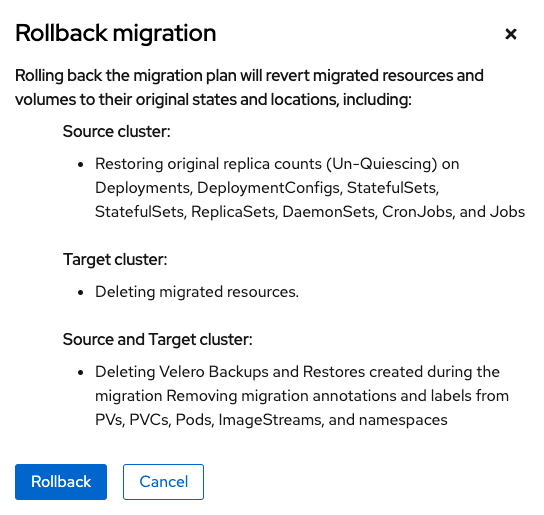
Figure 20: Rollback migration details of a stateful application. Click Rollback. In the next screen, click the small arrow under Migrations to check the migration status (Figure 21).
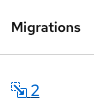
Figure 21: Arrow under Migrations to check progress. You will see the migration status (Figure 22).
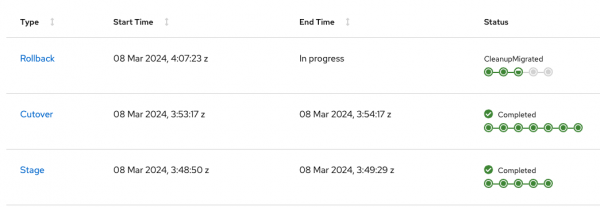
Figure 21: Migration status. Figure 22: Migration status. After the Rollback migration finishes, your application is restored in the source cluster and no longer available in the target cluster. Now, the Page view count is the same value as before the Cutover migration (Figure 23).

Figure 22: Page view count restored to the original known state of the stateful CakePHP application. Figure 23: Page view count restored to the original known state of the stateful CakePHP application.


Migrated data in the replication repository
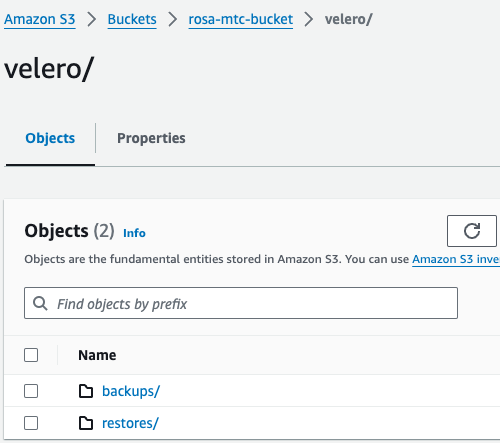
During the migration, the replication repository, or the S3 bucket object storage, is accessed by all clusters to copy images, volumes, and Kubernetes objects during indirect migration or for Kubernetes objects during direct volume migration or direct image migration. You can see these in your S3 bucket.
Go to your AWS S3 bucket and check the data in it. Since Velero backup and restore do the heavy lifting of MTC, you will see all the data in the following directory structure (Figure 24).
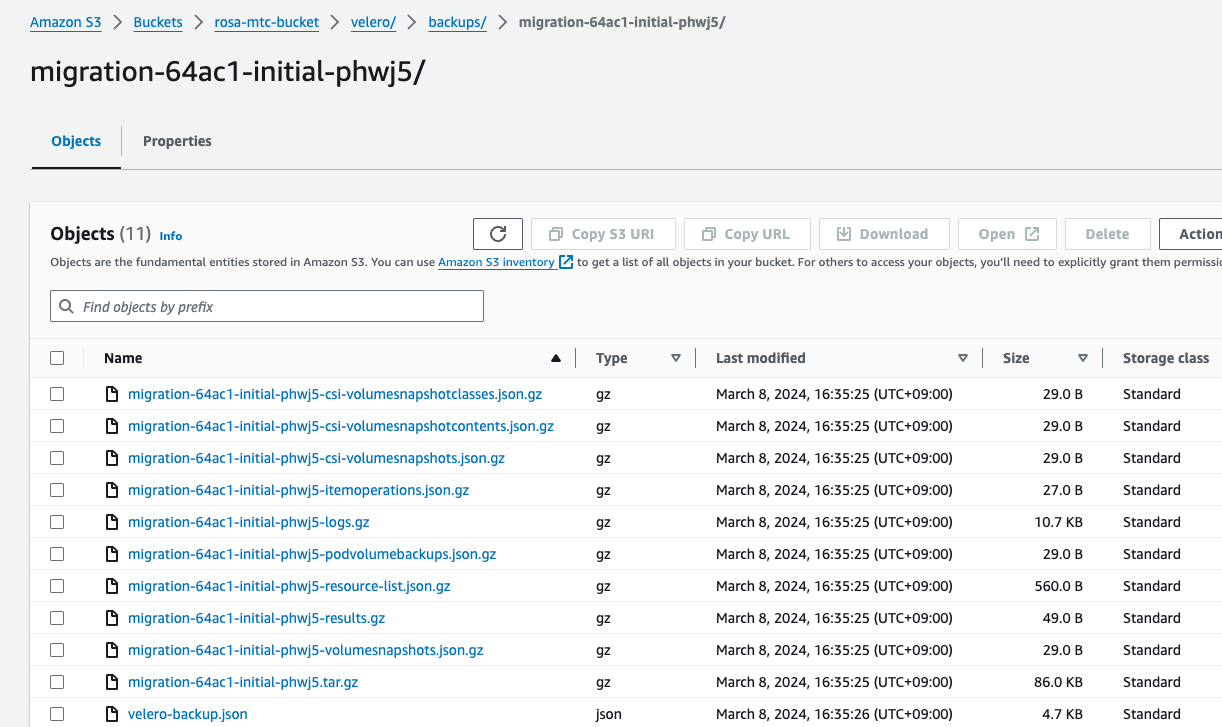
You can check each instance of either backup or restore one at a time to see the actual contents (Figure 25).
MTC with multiple remote clusters
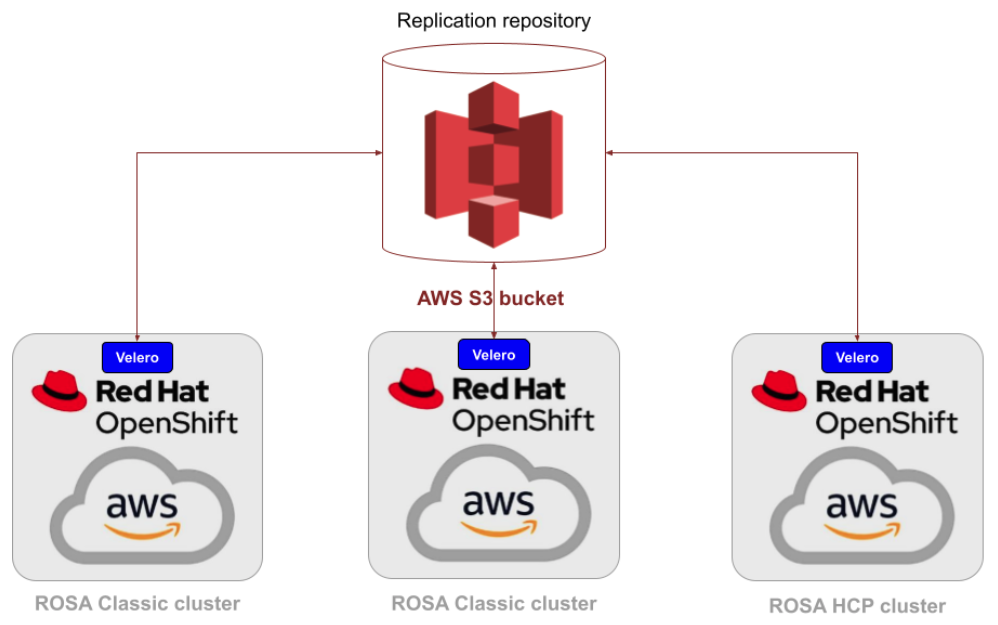
You can add more remote clusters to your control cluster following the same procedure explained earlier. You can also migrate applications between any pair of clusters. Note that you cannot have conflicting Migration plans at the same time. That means if there is a Migration plan to migrate the namespace "foo" of the source cluster "bar" to the target cluster "A", you cannot have another migration plan to migrate the same namespace "foo" of the source cluster "bar" to the target cluster "B".
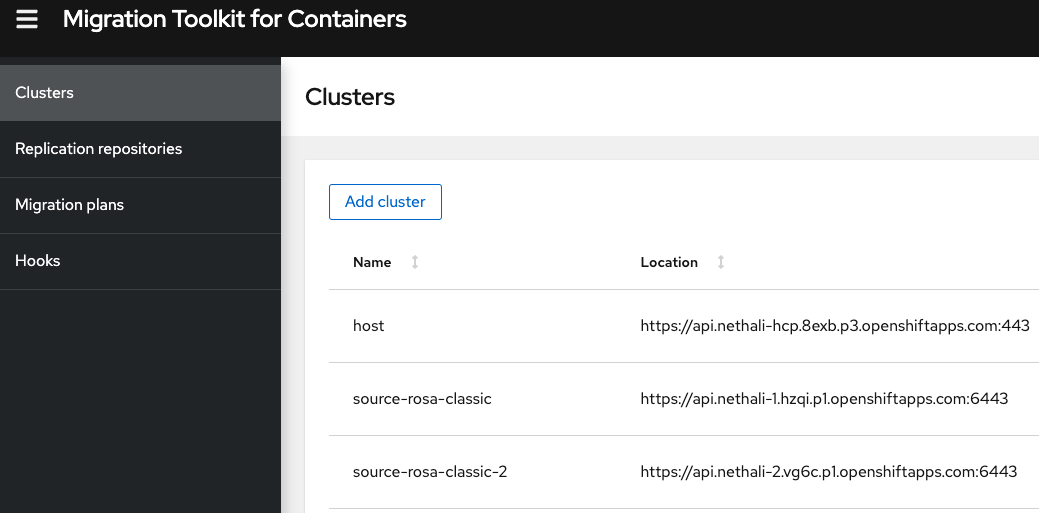
For example, you may have 3 ROSA clusters as below (Figure 26).
You can add all remote clusters to the control cluster with the MTC console (Figure 27).
And you can create a Migration Plan with any pair of the clusters available in the control cluster (Figure 28).
Summary
The migration journey from ROSA classic to HCP has gained significant interest among tech enthusiasts and existing customers, with its promises of cost savings and improvements. We have walked you through an MTC example, simplifying the entire migration process with its intuitive web console. It ensures a smooth transition at the namespace level, seamlessly moving all related objects and resources. We explored the diverse migration options facilitated by MTC, each with its unique features. You were guided through the installation of MTC, setting up remote clusters, the configuration of the replication repository, and the migration process.
Want to learn more? Try these:
