Page
Create a back-end RESTful service
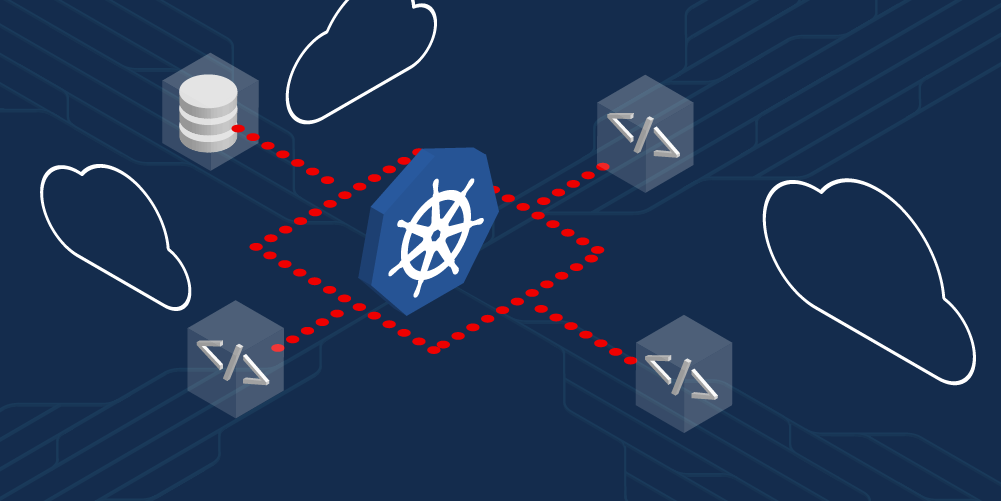
Now that you have set up your environment, it's time to create your first Kubernetes component: A back-end RESTful service (Figure 1).
In order to get full benefit from taking this lesson, you need to:
- Create services and programs
- Know the difference between Objects and Labels
In this lesson, you will:
- Create a back-end RESTful service
- Set environment variables
About the back-end RESTful service
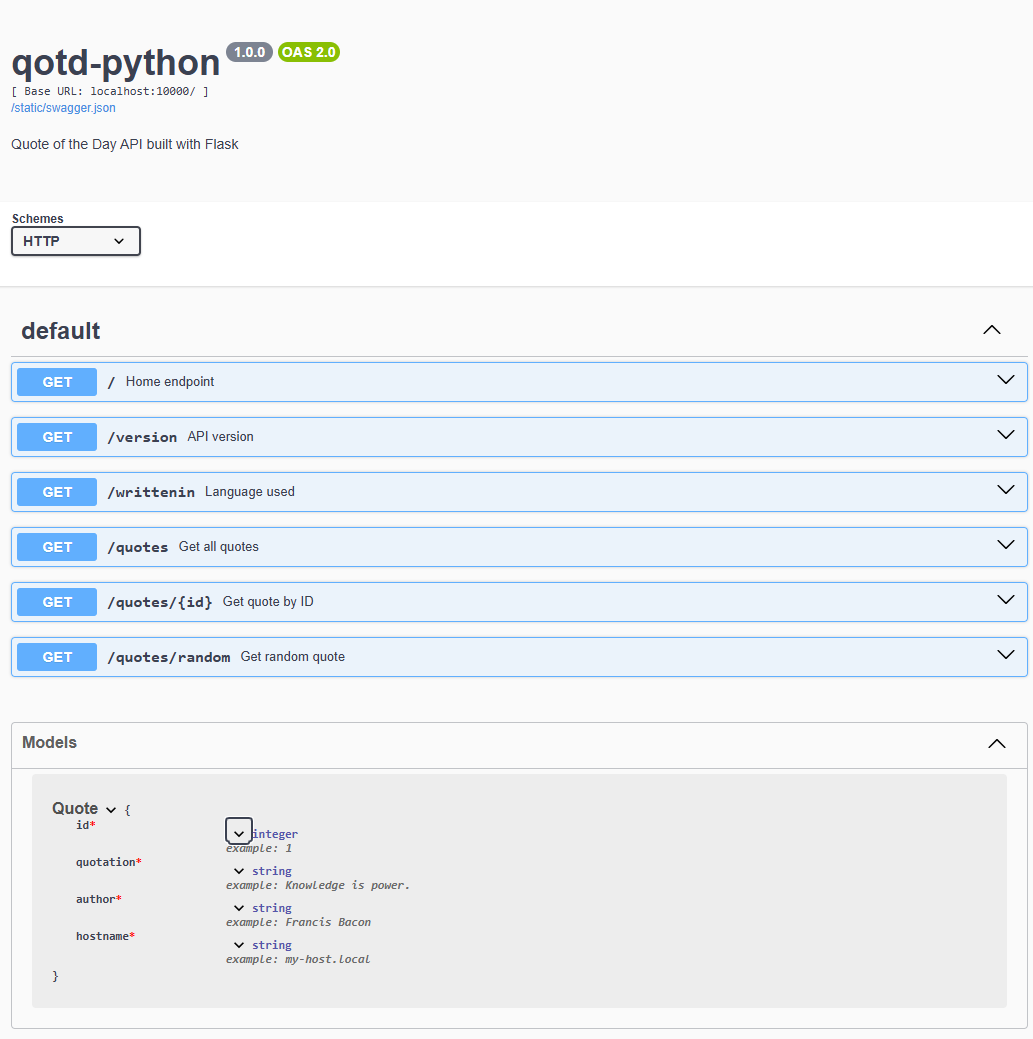
A back-end application, quotes, supplies Quote Of The Day-type data via a RESTful API. The endpoints are as follows:
Endpoint: /
HTTP method: GET
Result: Returns the string "qotd" to simply identify the service.
Endpoint: /version
HTTP method: GET
Result: Returns a string denoting the version id of the service, e.g. "2.0.0".
Result: /writtenin
HTTP method: GET
Result: Returns the programming language in which the service is written. In this case, it is Python, but this same service is available in several different programming languages.
Endpoint: /quotes
HTTP method: GET
Result: Returns a JSON array from all of the quotes.
Endpoint: /quotes/random
HTTP method: GET
Result: Returns a JSON object of one random quote from among the set of available quotes.
Endpoint: /quotes/{id}
HTTP method: GET
Result: Returns a JSON object of one specific quote within the set of available quotes.
Here’s the Swagger API page (Figure 2):
Create a back-end program called quotes, then set environment variables to be used by the code
In this step, we will create Kubernetes objects associated with the quotes application: a Deployment, a Service, and a Route (which is similar to the Ingress and Ingress Controller objects). We will also set an Environment Variable that will allow us to change the name of the database service if we want to.
About Route, Ingress, and Ingress Controller
Because the Developer Sandbox for Red Hat OpenShift is administered by Red Hat, you do not have administrator access to the Kubernetes cluster. One of the limitations of this is that you are not granted rights to create Ingress and Ingress Controller objects.
OpenShift has its own built-in Ingress-like object, the Route. For this tutorial, we're going to cheat and use the Route object.
Info alert: Remember that we are using this workaround; in your own Kubernetes cluster, you'll want to create the Ingress and Ingress Controller objects.
In the directory where you cloned the qotd-python repo, move into the k8s sub-directory and run the following three commands:
kubectl create -f quotes-deployment.yamlkubectl create -f service.yamlkubectl create -f route.yamlSee Figures 3-5 for examples.


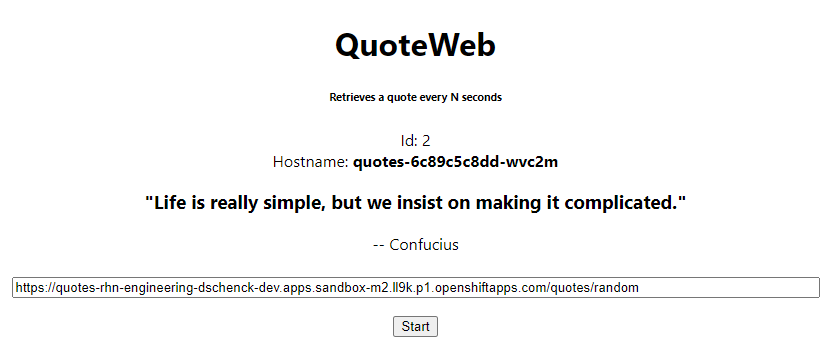
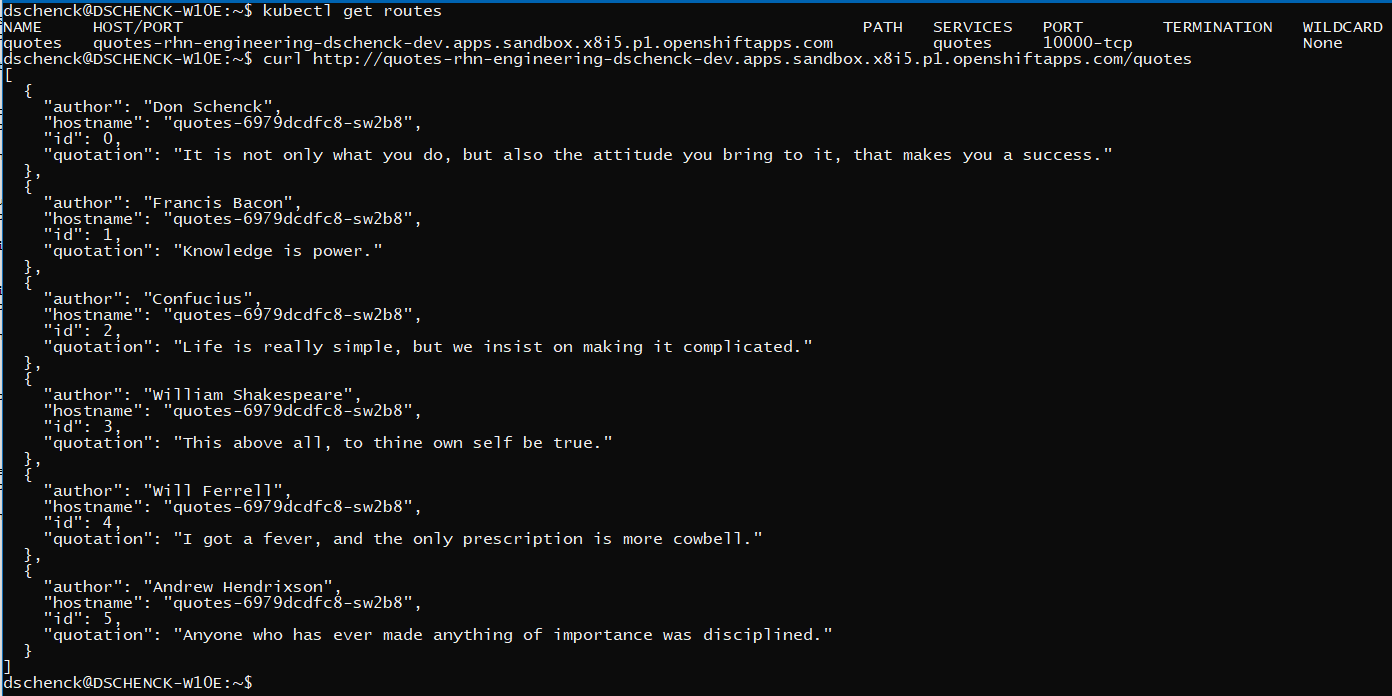
At this point, we have the back-end quotes application running in a pod. It's exposed within Kubernetes as a Service, and the Route allows anyone to access it over the internet. If you wish, you can run the command kubectl get routes then use the curl command with the "/quotes" route URL to see the service serving up data. Figure 6 shows a Linux example.
Info alert: The PowerShell equivalent is $(curl http://quotes-rhn-engineering-dschenck-dev.apps.sandbox.x8i5.p1.openshiftapps.com/quotes).content.
Objects and labels
When you create the objects for the quotes application, Kubernetes will pull the image from the image registry named in the YAML file and create a pod. It will also assign the labels which you specified in the deployment. The pod name is automatically generated from the deployment name, with random characters appended to it.
Viewing the contents of the file quotes-deployment.yaml, we can see that the containers will be named quotes (plus the random characters, e.g., quotes-5468c95fc6-5sp9j), and the labels will be named app: quotes, sandbox: learn-kubernetes, and learn-kubernetes: quotes.
kind: Deployment

apiVersion: apps/v1

metadata:

  name: quotes

  labels:

    app: quotes

    sandbox: learn-kubernetes

    sandbox-learn-kubernetes: quotes

spec:

  replicas: 1

  selector:

    matchLabels:

      app: quotes

  template:

    metadata:

      labels:

        app: quotes

    spec:

      containers:

        - name: quotes

          image: quay.io/donschenck/quotes:v1

          imagePullPolicy: Always

          ports:

            - containerPort: 10000

              protocol: TCP
Info alert: The labels and container names do not need to be the same. Be careful here; this is where good management or poor management can make a big difference. Developing a good standard for labeling objects is important. This subject is addressed in another sandbox activity.
Near the end of the YAML file, we can see that the deployment will use the following image:
quay.io/rhdevelopers/quotes:v1This is a pre-built Linux image that has data (six "Quote Of The Day"-type entries) hard-coded into the source code. Later, we'll upgrade to version 2, which reads quotes from a MariaDB database (which will also be running in our Kubernetes cluster).
Congratulations. You have created your back-end RESTful service. Now it's time to get your front end up and running.
