Page
How to serve IBM Granite with RamaLama in Red Hat OpenShift Dev Spaces

Prerequisites:
In this lesson, you will:
- Create a workspace in Red Hat OpenShift Dev Spaces
- Use the Continue extension to automatically connect to the IBM Granite Large Language Model (LLM)
For this learning path, we will be using OpenShift Dev Spaces to run an AI model in a cloud development environment. It offers ready-to-use development environments based on containers in Red Hat OpenShift.
With OpenShift Dev Spaces, all you need is a device with a web browser to write, build, test, and run code directly on OpenShift. Both developers and administrators can customize their Dev Spaces environments as well as other web-based Individual Development Environments (IDEs) to suit their workflows.
If you want to know more about OpenShift Dev Spaces, read the following articles:
- Welcome to the future of development with Red Hat OpenShift Dev Spaces
- Getting started with Red Hat OpenShift Dev Spaces
Deploy Granite
To deploy IBM Granite as a private AI coding assistant in OpenShift Dev Spaces using the Continue extension, follow these steps:
- Go to the Developer Sandbox, which requires creating a Red Hat account. Once you’ve created an account, you should be able to access OpenShift Dev Spaces.
To access OpenShift Dev Spaces, visit your user dashboard (Figure 1).
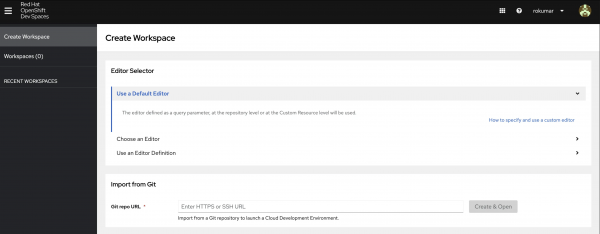
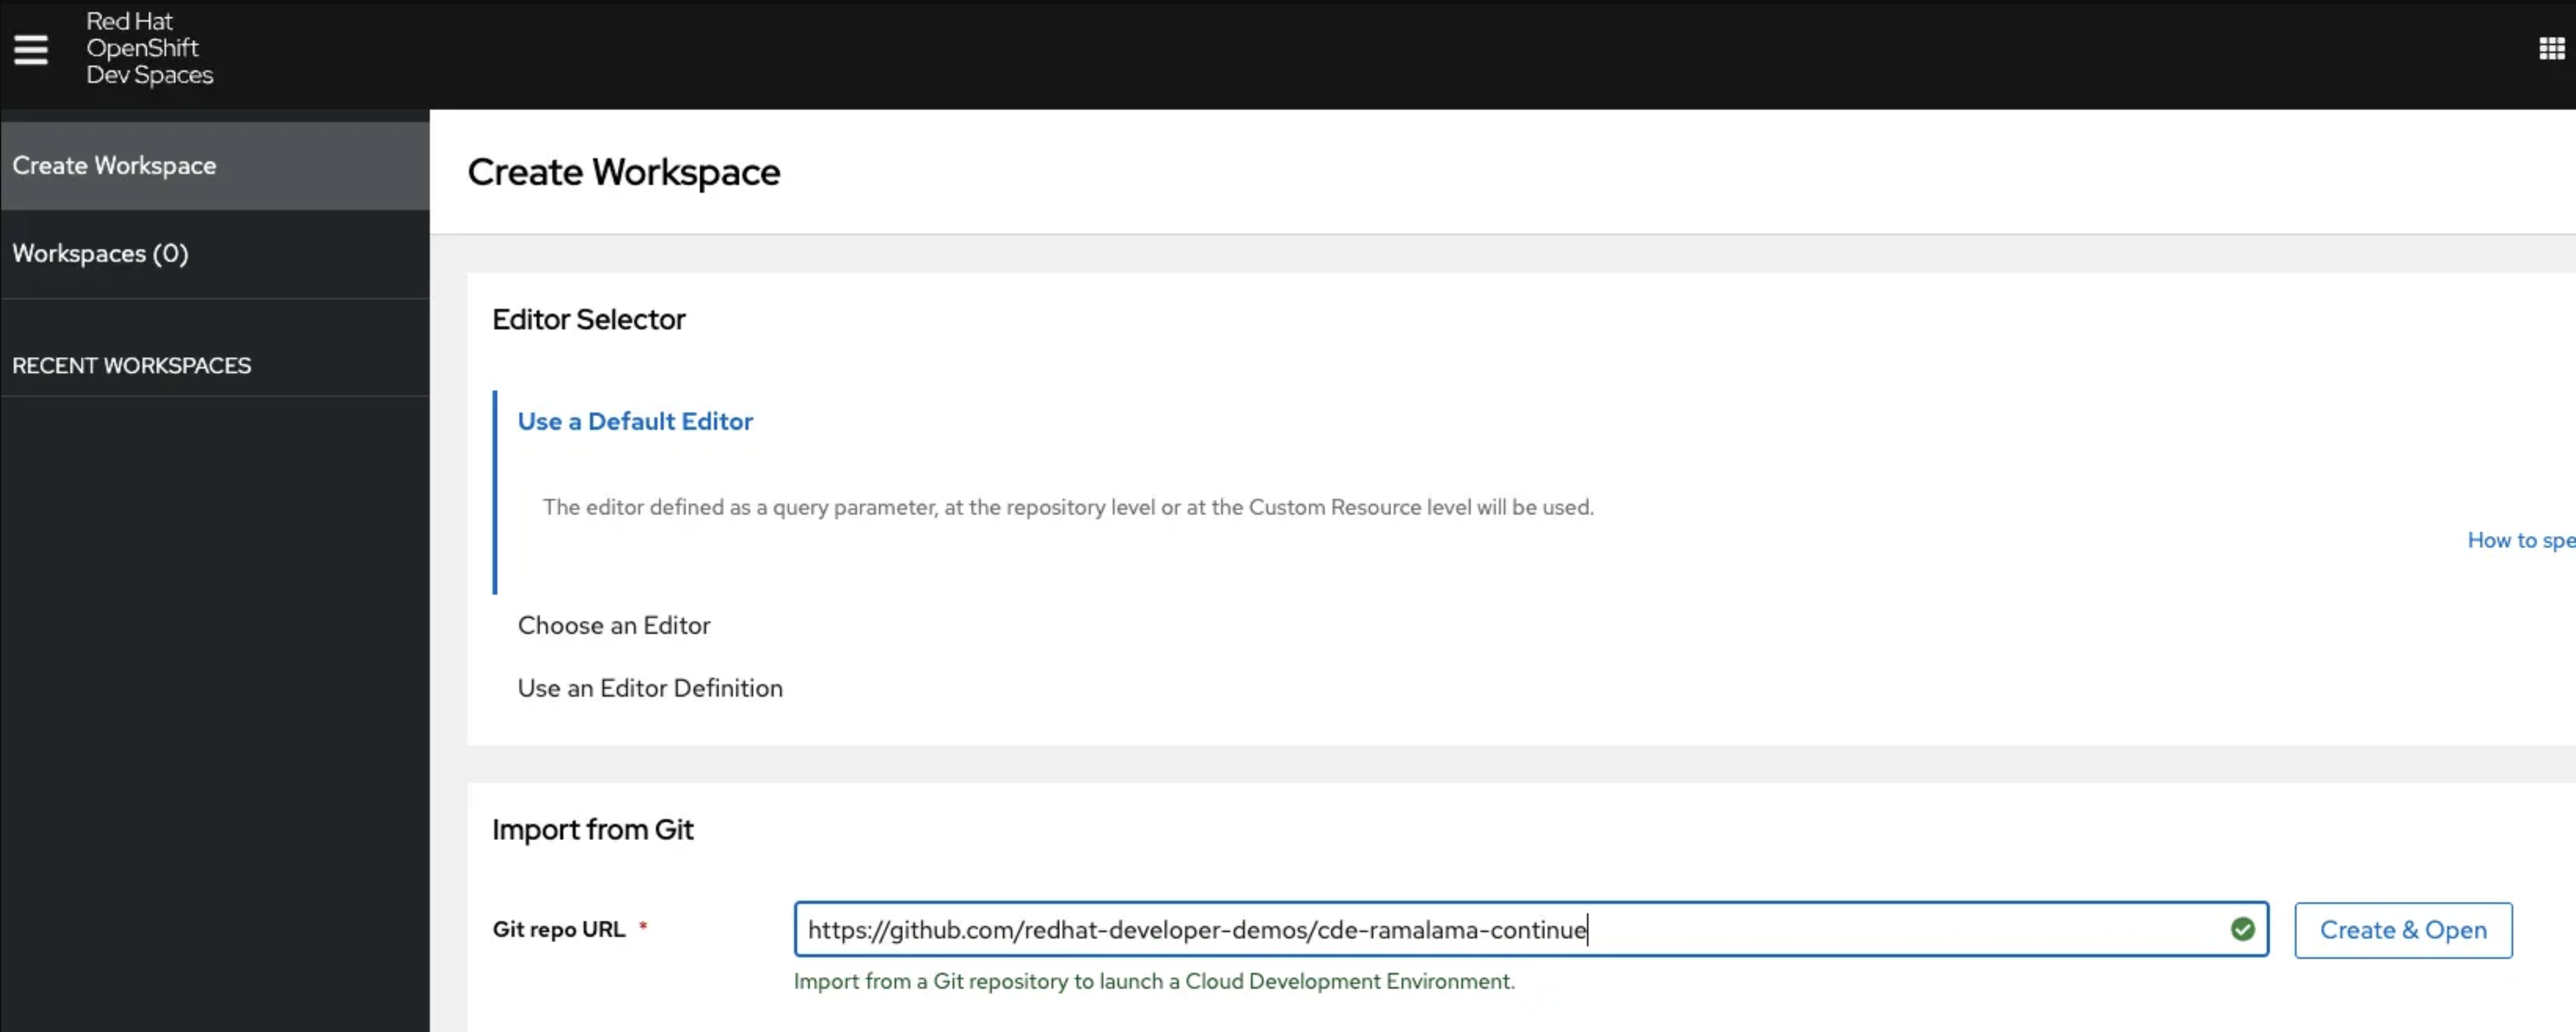
Figure 1. Red Hat OpenShift Dev Spaces user dashboard. In the user dashboard, go to the Create Workspace tab and enter the repository URL for this activity, https://github.com/redhat-developer-demos/cde-ramalama-continue, then select Create & Open to proceed (Figure 2).
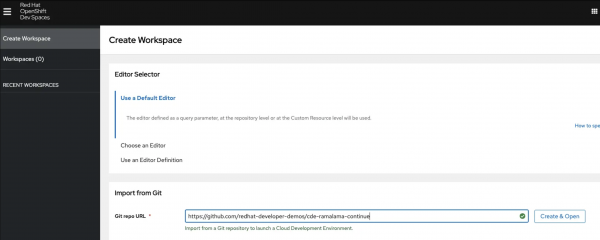
Figure 2. Starting the cloud development environment from the GitHub URL.

Note
As the workspace starts up, you will be prompted to grant authorization to the GitHub OAuth app.
After the workspace initializes, you will be prompted to confirm whether you trust the authors of the files within it. To proceed, click Yes, I trust the authors (Figure 3).
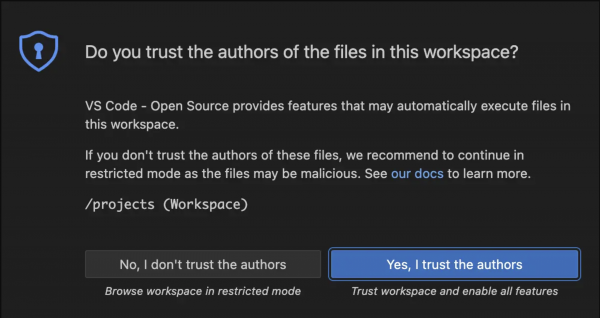
Figure 3. Visual Studio Code - Open Source (Code - OSS) warning pop-up. Your workspace will be automatically configured to install the Continue extension on startup. It is the extension we will be using to connect to the LLM running in our cloud workspace environment (Figure 4).
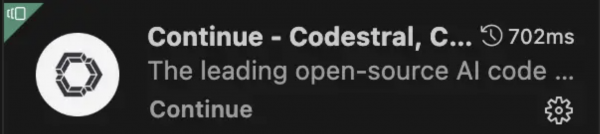
Figure 4. The Continue extension enables connecting to AI models. Notice that your workspace will notify you about the process running in the background. This is the LLM configured to serve our queries whenever we connect the Continue extension to it.

Figure 5. RamaLama running the AI model served in the background. Once the Continue extension gets installed, you can open it by clicking the Continue icon on the left sidebar. Click on the remain local option. Your workspace already contains the configuration to connect to the LLM running locally.
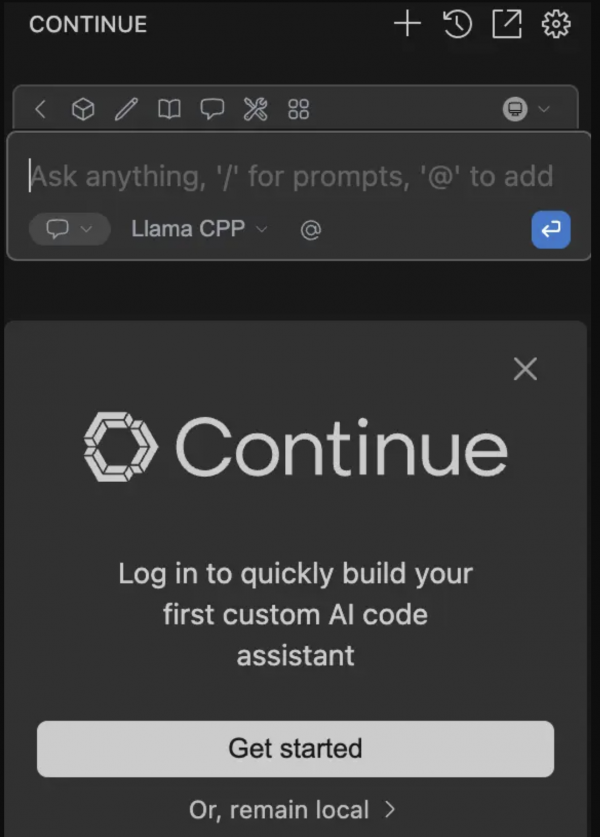
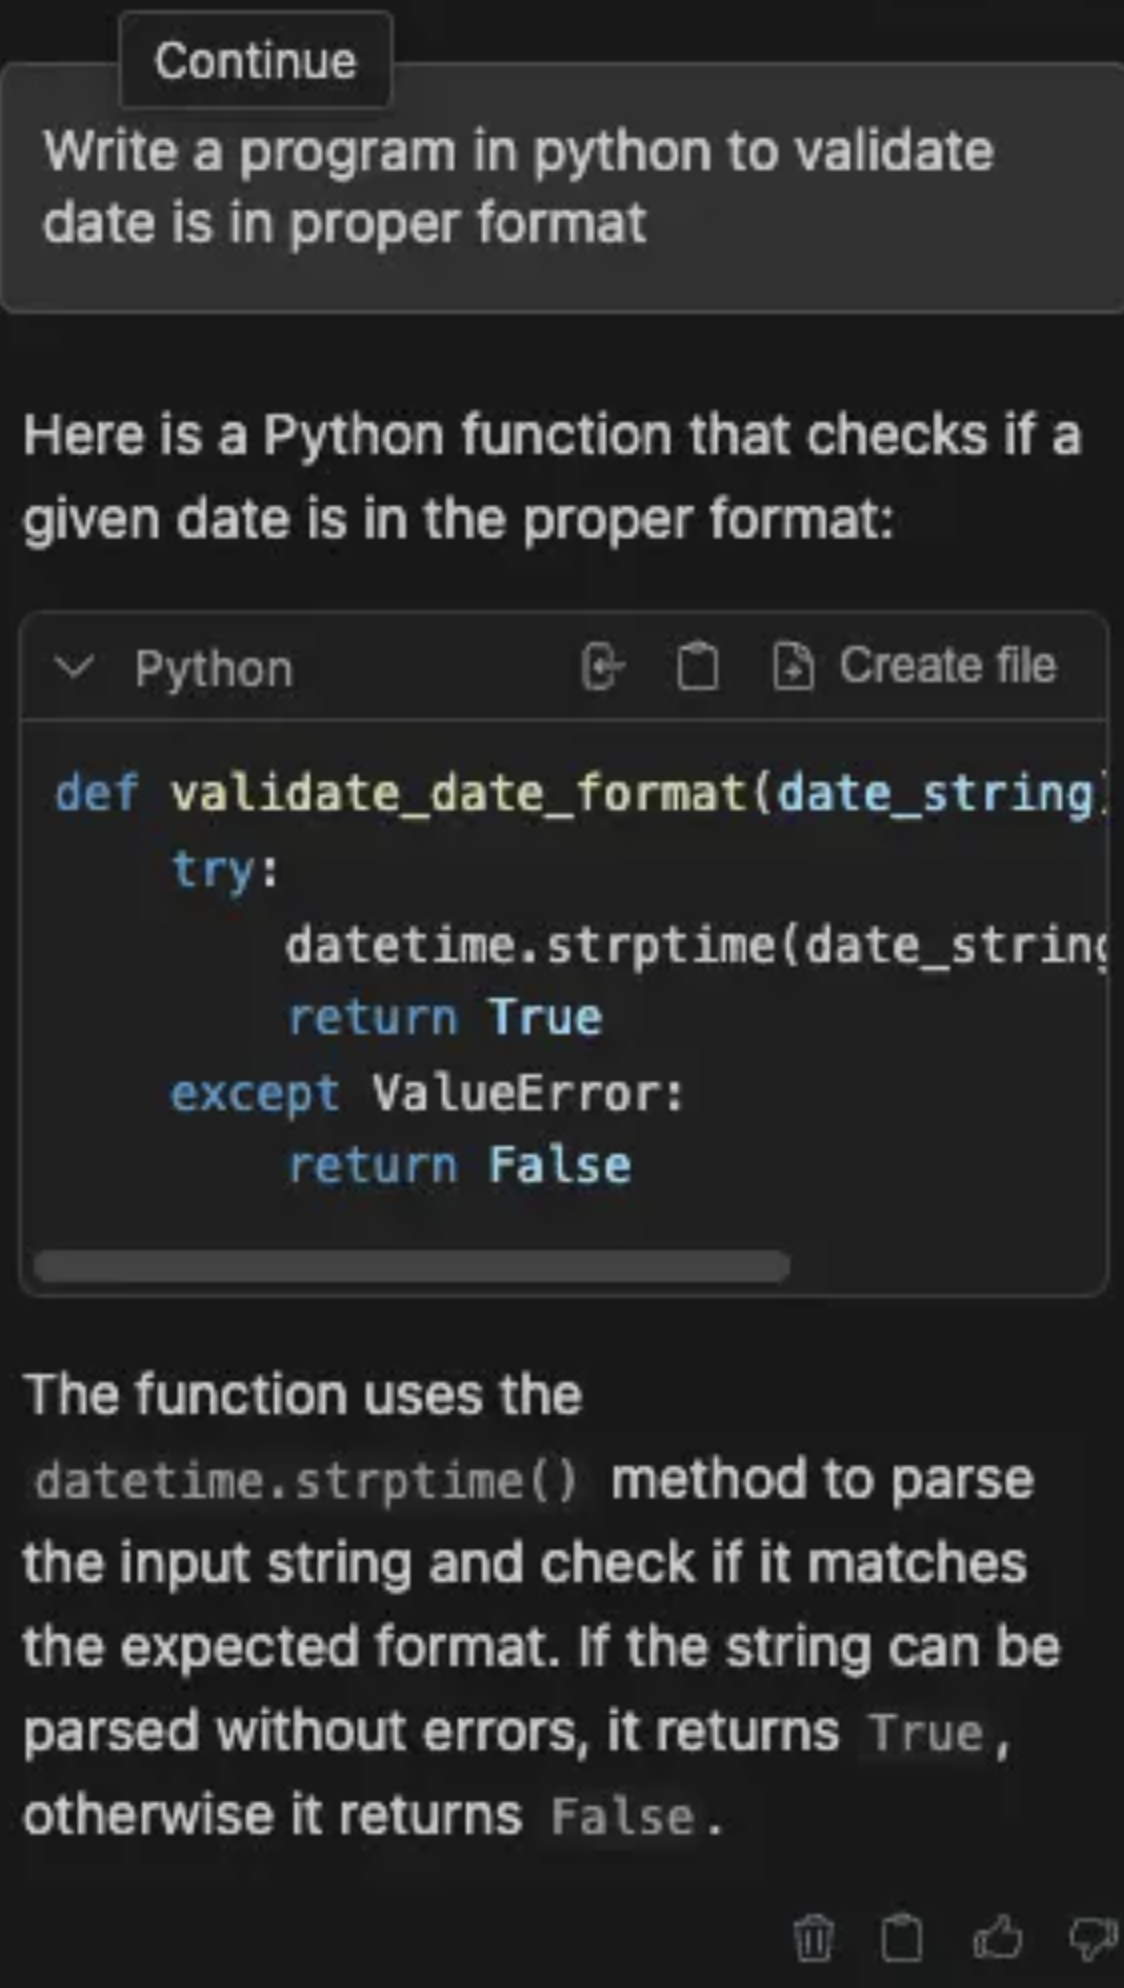
Figure 6. Continue extension connected to the IBM Granite model served by RamaLama. Once you're connected to an LLM, you will be presented with a text box where you can issue prompts for the Large Language Model. Type a query in the chatbox to see how your AI assistant responds (Figure 7).
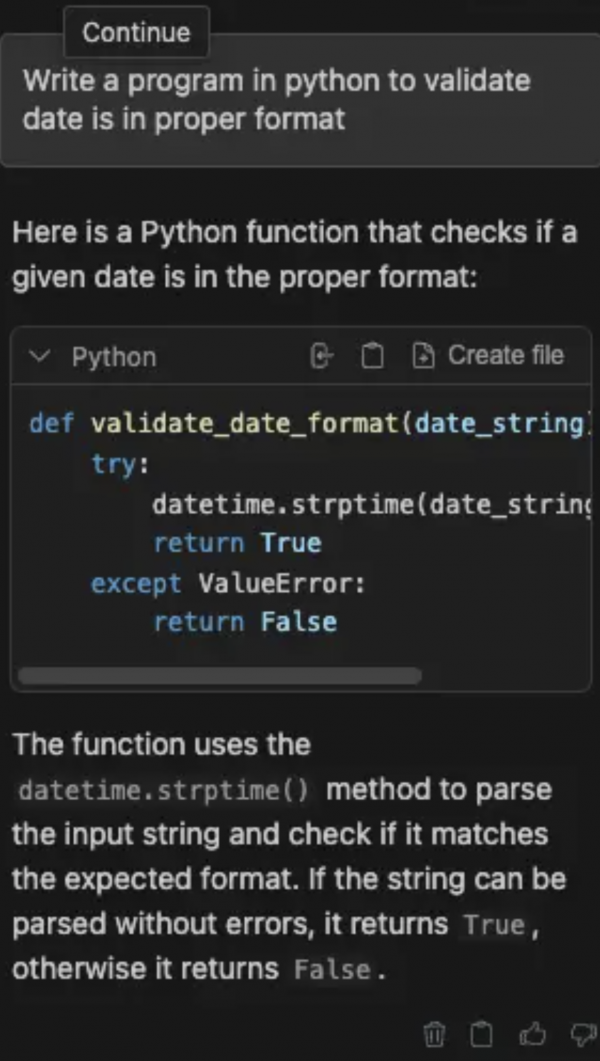
Figure 7. Using the Continue extension to write a simple data validation program.


You can then issue more prompts to get results as per your requirements.