Page
Syntax highlighting and auto-completion
Now that we have set up the Ansible extension, let's look at some of the extension features like syntax-highlighting and auto-completion.
In this lesson, you will:
- Learn about syntax highlighting and auto-completion in Ansible VS Code extension.
Syntax highlighting
When a files language is identified as Ansible for the first time, the vscode-ansible extension will be activated and the extension will run the ansible-language-server process in the background which provides syntax highlighting, auto-completion, hover, and diagnostics information as you type and/or hover within the file. You can identify the syntax highlights instantly as soon as the file is identified as Ansible.
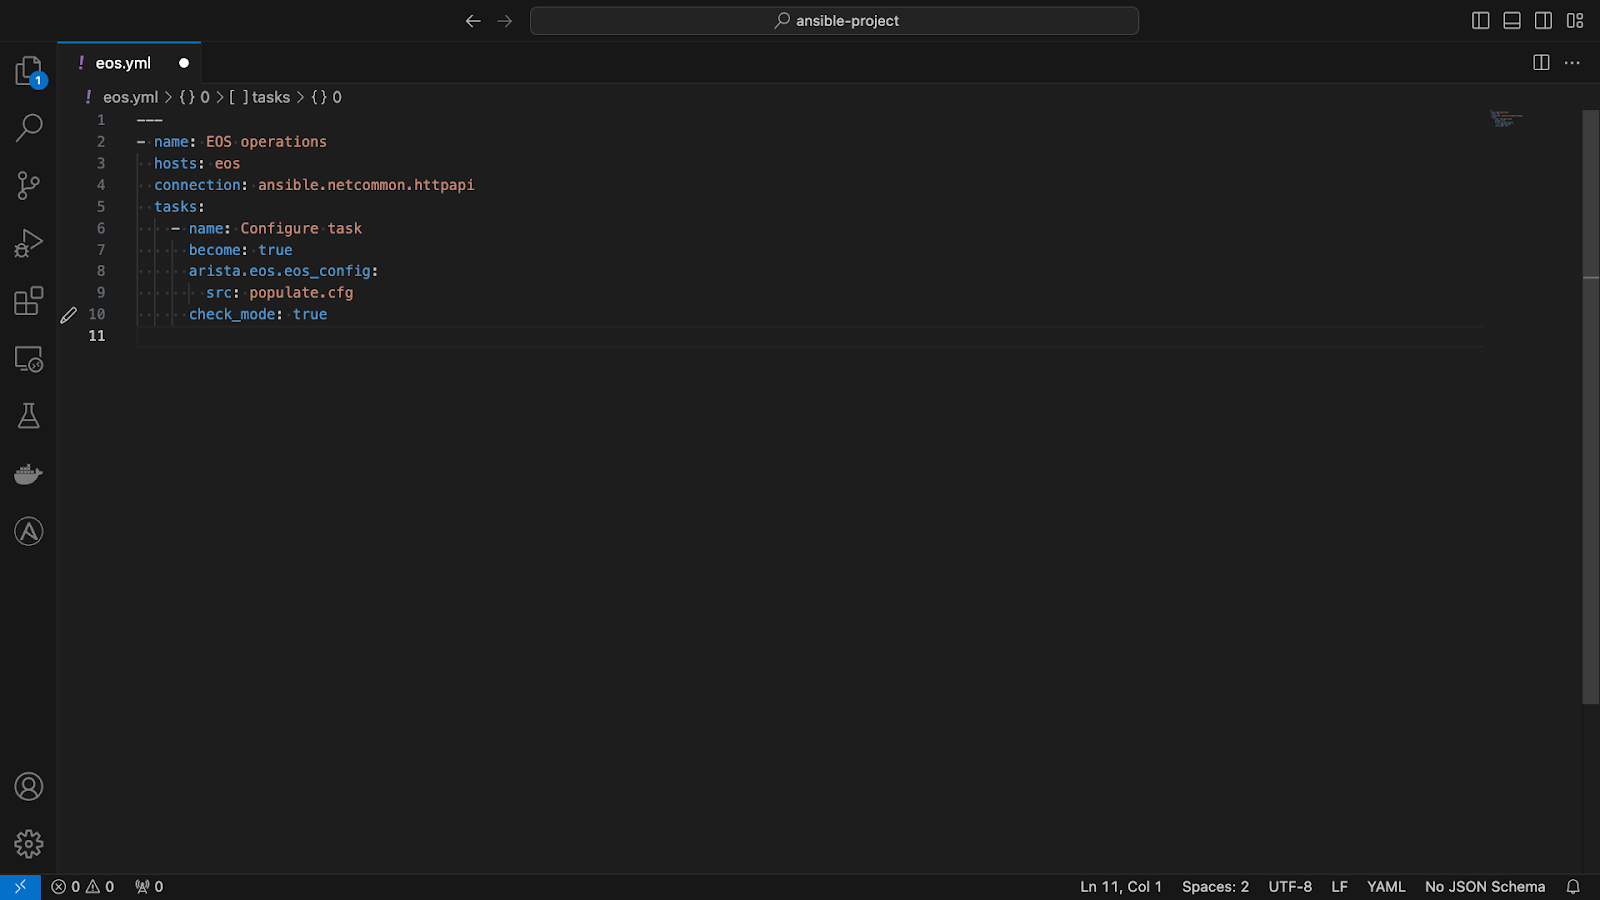
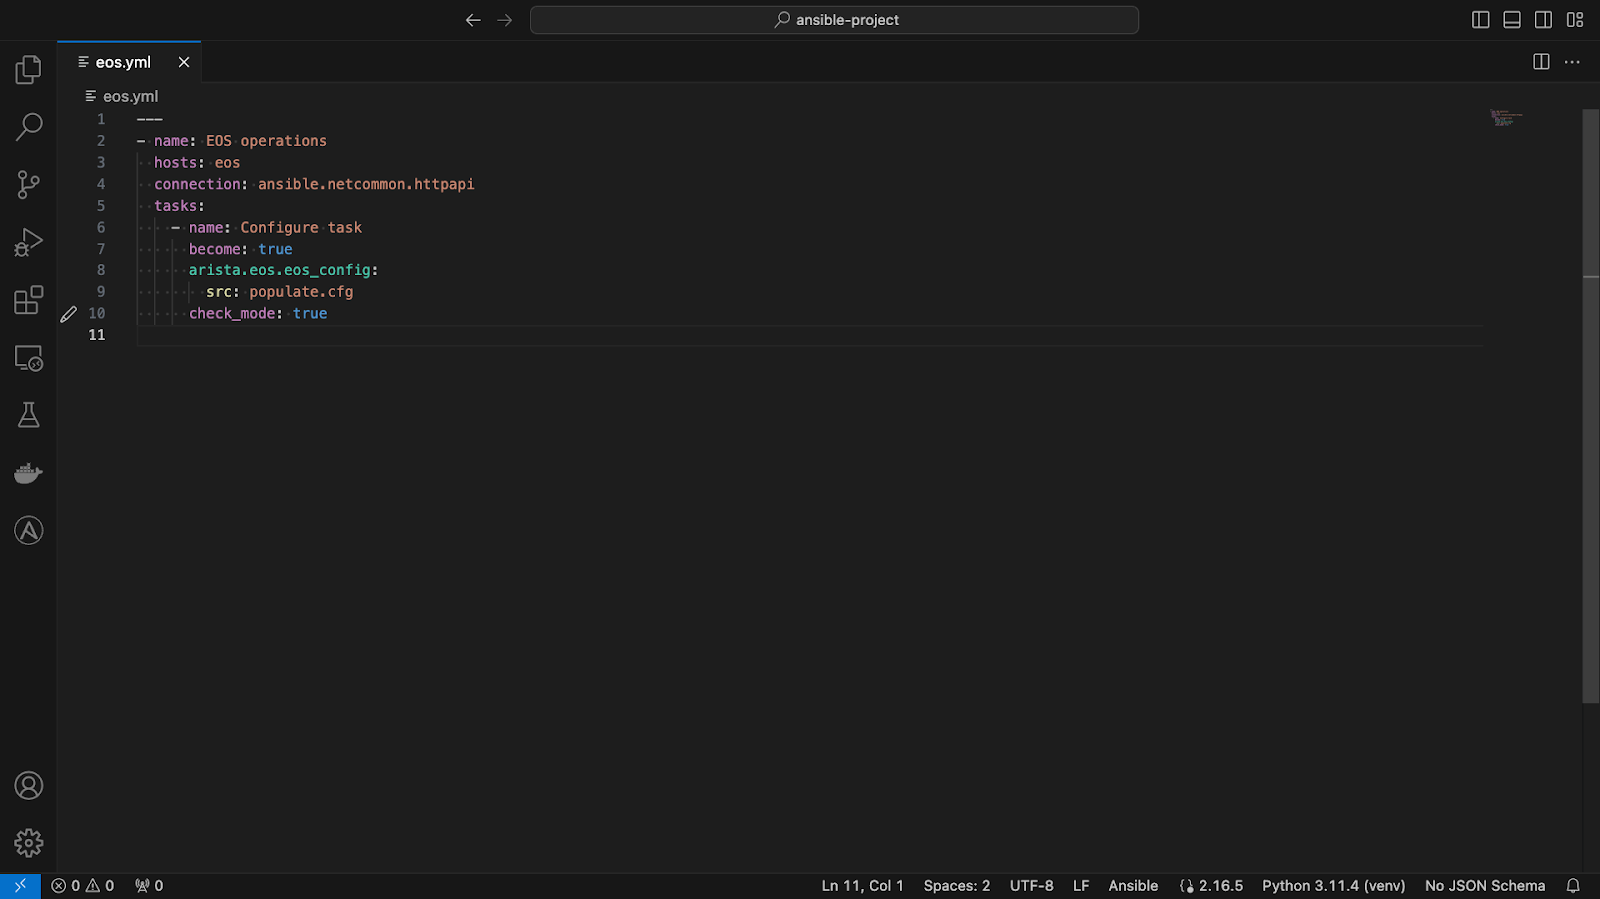
The images below highlight the difference between a file recognized as YAML versus Ansible. See Figures 1 and 2.
Info alert: Follow Lesson 1 for more information around how to automatically or manually assign Ansible language to your Ansible playbooks.
Auto-completion
The auto-completion provides suggestions for plugins that are either part of the Ansible engine, in a workspace or part of the global Ansible content collections installed, and Ansible collections that are part of the execution environment.
If you are working within a workspace or an Ansible project, you can specify the Ansible content collections inside a collections/requirements.yml file within your project:
–--
collections:
  - ansible.netcommon
  - f5networks.f5_modules
  - arista.eos
Then you can use the ansible-galaxy CLI to install the collections in your workspace. You can do this in the VS Code terminal:
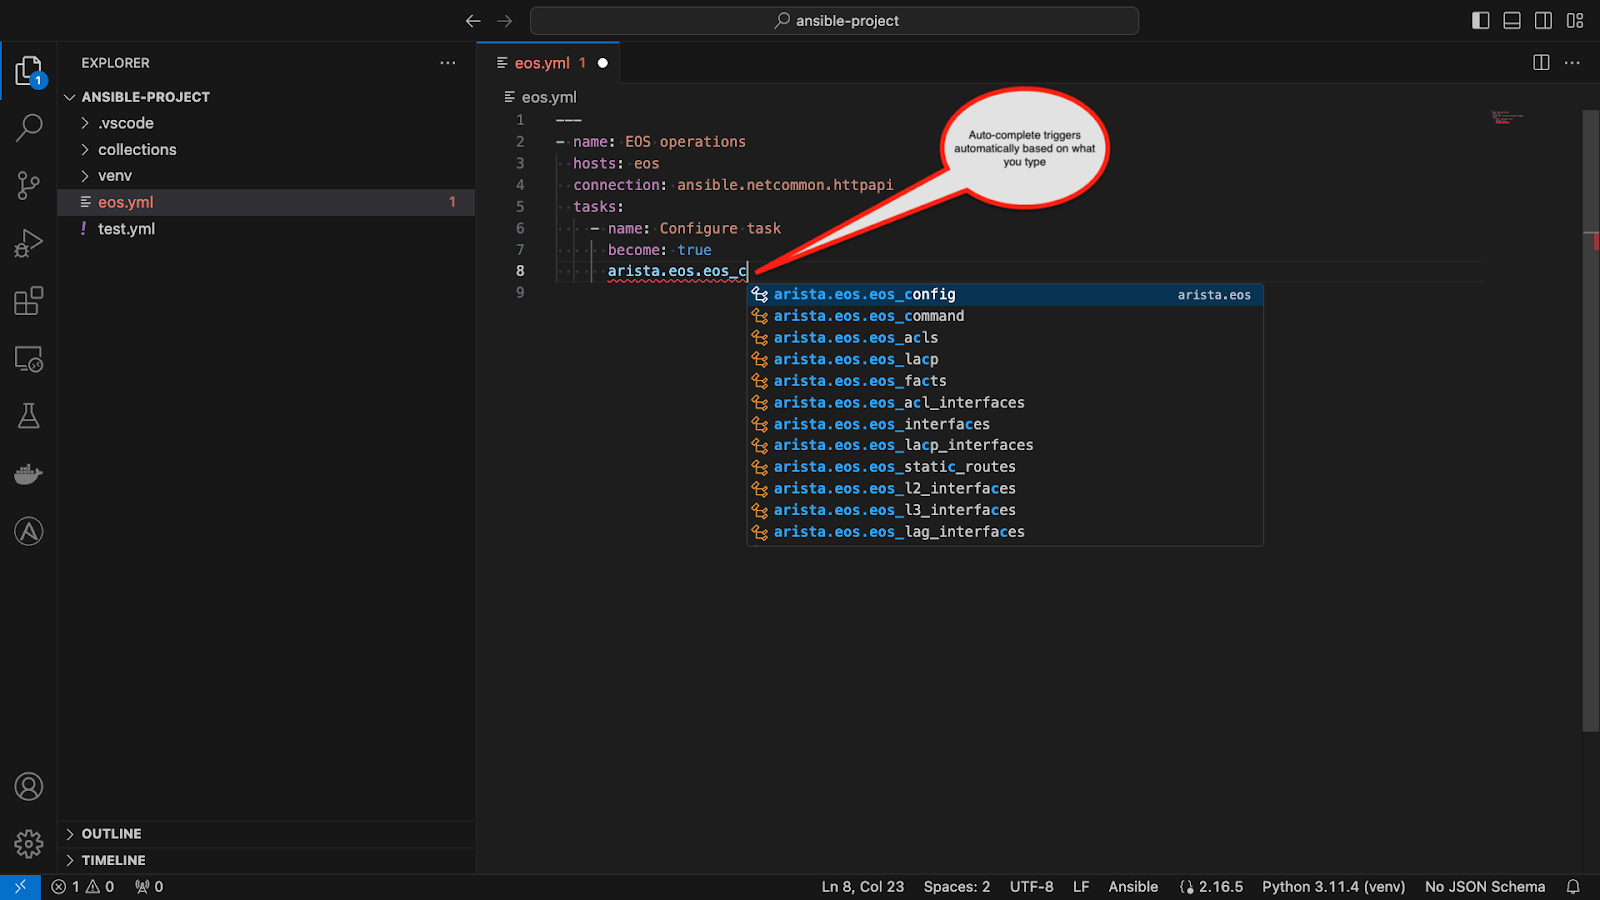
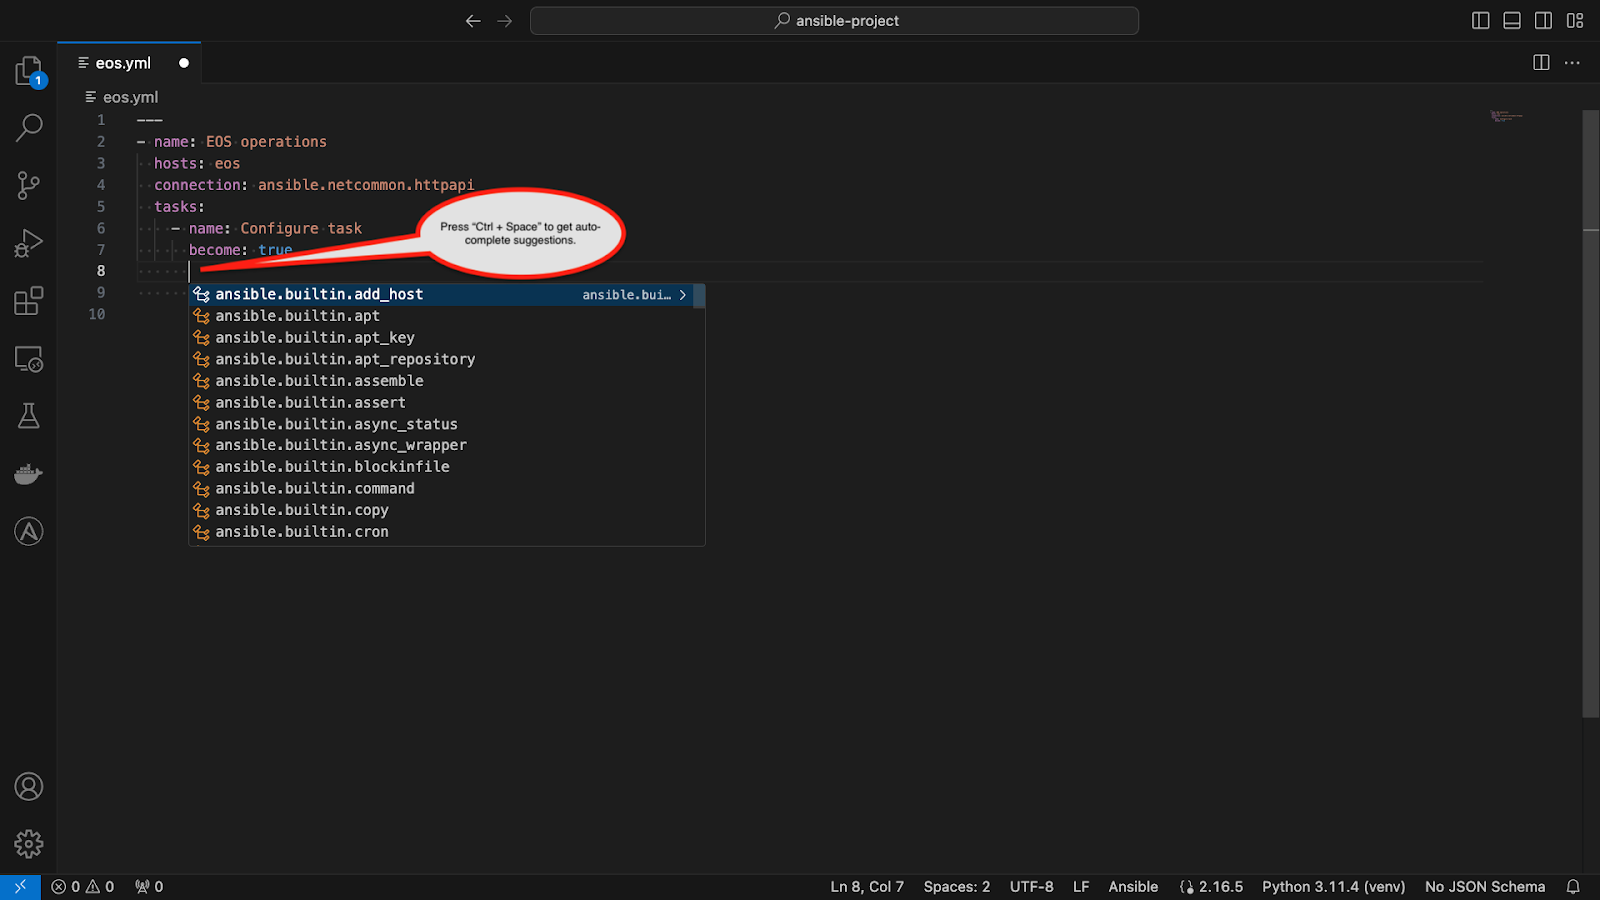
$ ansible-galaxy collection install -r collections/requirements.yml -p collections/As soon as you install the collections they will get indexed for auto-completion and you can start using auto-completion within the Ansible VS Code extension. See Figures 3 and 4.
The same method applies if you are using the automation execution environment with your Ansible project, the local project directory will be mounted to the execution environment and hence the auto-completion becomes available.
Hover and go to documentation
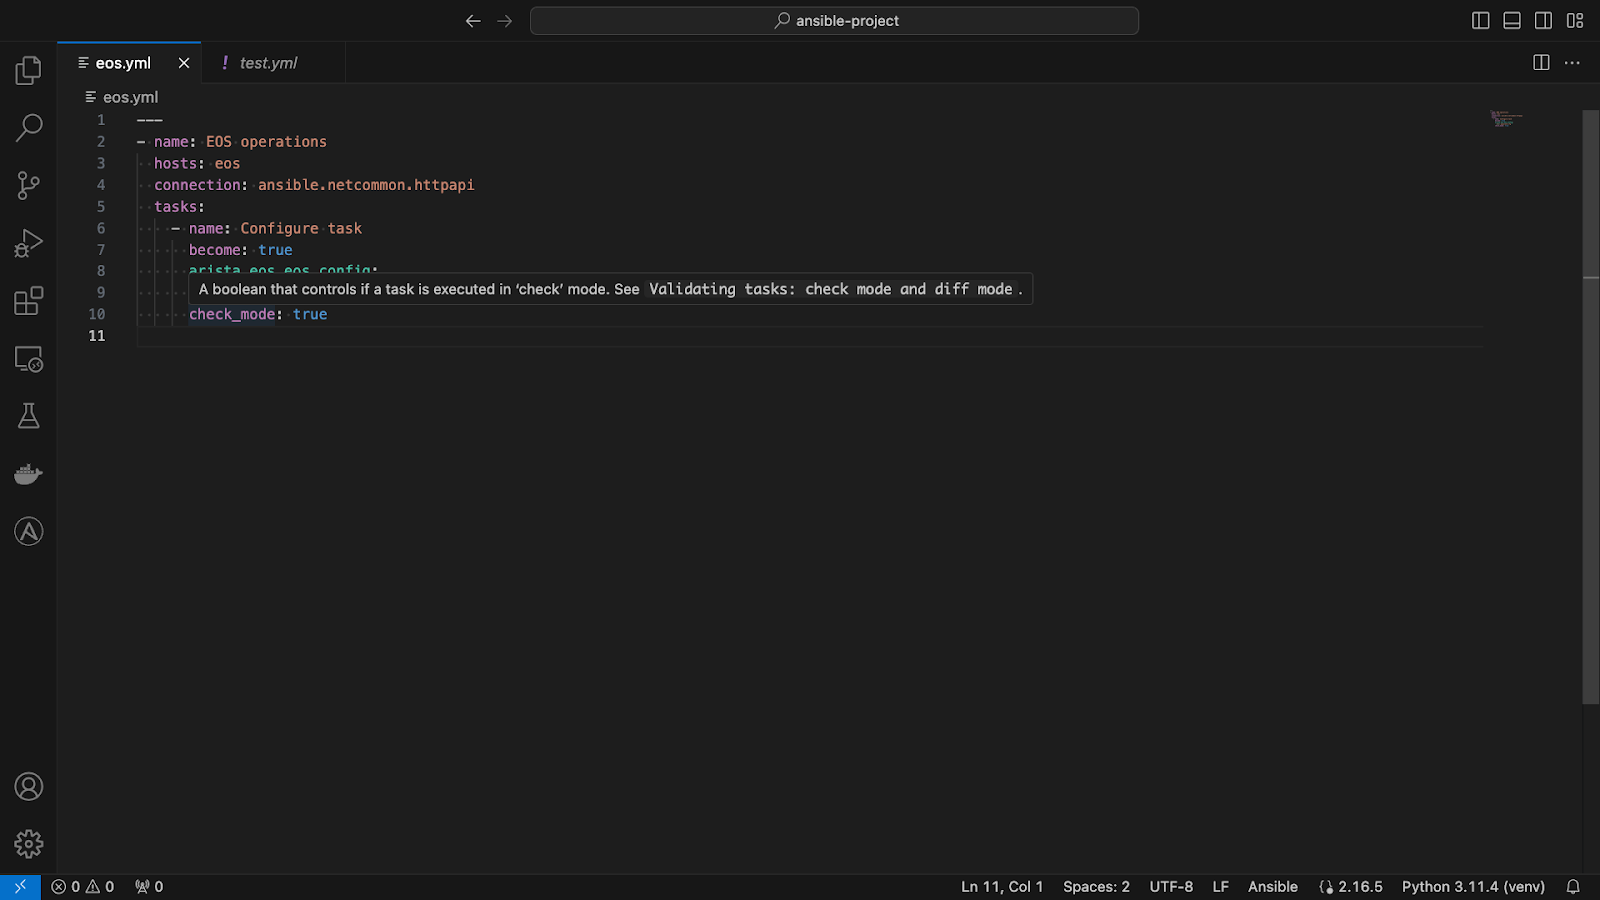
Ansible VS Code extension provides brief documentation around the plugin and the arguments when you hover over them. It also takes you to the plug-in source and documentation directly where you can check out the example tasks for that plugin. To do this, press (Ctrl/Cmd) while hovering over the plug-in declaration. The hyperlink will take you to the local plug-in definition. See Figure 5 and Figure 6.

In this chapter we looked at some interesting features of the extension like syntax-highlighting and auto-completion. The next chapter will focus on getting real time ansible-lint feedback from the extension.
