Introduction
OpenShift GitOps enables users to deploy and manage applications and cluster configuration in a reliable and consistent fashion using the GitOps methodology. It leverages standard Git workflow practices to enable teams to monitor configuration drift with optional automatic remediation as well as providing increased visibility and audit for changes.
OpenShift GitOps uses an Operator based approach to install and manage Argo CD instances in an OpenShift environment. The operator provides full lifecycle management providing an easy installation and upgrade path as new versions of Argo CD are released.
This blog will walk you through the process of getting started with OpenShift GitOps and will cover the following topics:
- Installing the OpenShift GitOps Operator
- Configuring the Default Argo CD Instance
- Provisioning a Sample Application in Argo CD
Note that the first two steps require elevated privileges on the cluster and if you do not have them you may need to contact the cluster administrator to provision and configure the operator for you. If OpenShift GitOps has already been provisioned for you by your platform team you can skip to the Provisioning a Sample Application step.
Note: The intent of this blog is to enable the reader to install and use the operator in the most succinct manner possible. Based on your organization’s requirements and practices you should review the steps to ensure the installation will be compliant with your needs.
Important: This blog assumes you are a cluster-admin and have sufficient privileges to install operators, create groups, etc. If you are not a cluster-admin, please contact your operations or platform team for assistance.
Installing the OpenShift GitOps Operator
Installing the Operator
Installing the OpenShift GitOps operator follows the same procedure as other OpenShift operators via OperatorHub and an interactive demonstration of installing the operator is available below:
As a summary of the above demo, to install the operator use the following steps:
- In the OpenShift Console, in the Administrator Perspective open the Operators menu and then select OperatorHub. Note that if you do not see the OperatorHub menu item, it means that you do not have sufficient privileges to install the operator and should contact your cluster administrator.
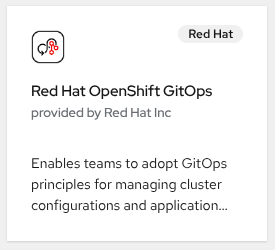
- In OperatorHub locate the operator by typing Red Hat OpenShift GitOps in the search field. Note: do not install the community Argo CD Operator as this operator is not supported by Red Hat, hence the community designation. You want to select the Red Hat OpenShift GitOps operator as per the tile below.
- Select the Red Hat OpenShift GitOps Operator and a sidebar will appear on the right with information about the operator. Press the Install button to use the default Latest channel which will install, as the name implies, the latest version of the operator.
- The next screen will show some options with regards to the namespace to use to install the operator. Go with the defaults and press Install again.
- A new screen will appear showing the operator is in the process of being installed, wait until you see this message:

Congratulations, you have now successfully installed the Red Hat OpenShift GitOps Operator! Next let’s explore the operator in more detail and see what was installed.
Exploring the Installation
With the operator installed we can now explore the installation. To examine the operator instance, click the View Operator button that was shown at the end of the installation. Alternatively you can click on Installed Operators under the Operators menu and select the OpenShift GitOps operator.
Next click on the tab called Argo CD to see the Argo CD instances that are available.
By default the operator will create an Argo CD instance in the openshift-gitops namespace. This instance is intended for the cluster configuration use case and as a result will have some elevated privileges assigned to it already. It is expected that additional Argo CD instances will be created in other namespaces to support application use cases.

The operator uses Kubernetes Custom Resources (CRs) to define an Argo CD installation. In this case we have the single default instance created by the operator in the openshift-gitops namespace.
Clicking this instance will take you to a new screen which shows you details about this instance. Click on the YAML tab to view in more detail how the default instance is configured and note the different sections (server, controller, rbac, etc) for defining the behavior of the instance. We will visit this in more detail in the next section.
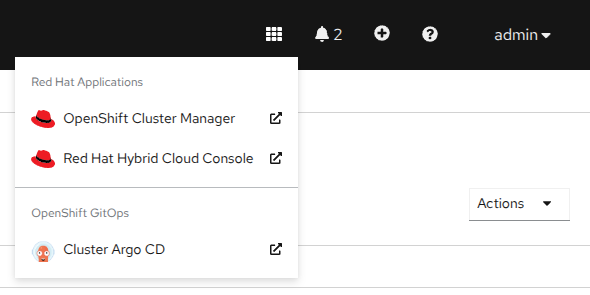
To access this instance of Argo CD, click on the OpenShift Console application menu and select the Cluster Argo CD menu item in the top right corner.
This will take you to the Argo CD user interface, click the Login in via OpenShift button which will bring you back to the OpenShift login screen. Enter your OpenShift credentials and you will be brought back to the Argo CD UI. At this point the user interface is empty as no Argo CD Applications have been defined but we will rectify that after performing some basic configuration of Argo CD.
Configuring the Default Argo CD Instance
While the operator creates a default instance of Argo CD in the openshift-gitops namespace, some configuration is required for it to be usable when deploying applications and cluster configuration. Specifically the following two items are the ones that need to be adjusted:
- Argo CD uses its own RBAC system and the default permissions configured by the operator may not be sufficient depending on the OpenShift groups your user has been assigned.
- The Operator configures the default instance with a default set of Kubernetes permissions but these are typically insufficient and additional privileges are required.
Configuring Argo CD RBAC
You can view the RBAC configured by the operator for the default instance using the following command:
oc get argocd openshift-gitops -n openshift-gitops -o=jsonpath='{.spec.rbac}'This will return a JSON block that appears as follows:
{"defaultPolicy":"","policy":"g, system:cluster-admins, role:admin\ng, cluster-admins, role:admin\n","scopes":"[groups]"}When viewed as YAML:
  rbac:

    defaultPolicy: ""

    policy: |

      g, system:cluster-admins, role:admin

      g, cluster-admins, role:admin

    scopes: '[groups]'
The defaultPolicy is an empty string meaning no role is assigned automatically, users can log into the instance but they will have no permissions to view anything or perform any actions.
The next two lines assign the out-of-the-box admin role to two groups, system:cluster-admins and cluster-admins. This means your user needs to be in one of these two groups in order to perform tasks in Argo CD such as deploying Applications.
The system:cluster-admins only applies to the temporary kube-admin credential and can be ignored unless you are actively using that credential which is not recommended.
At this point access to your user can be granted in one of two ways:
- Create the
cluster-adminsgroup and add your user to it if required - Change the
defaultPolicyto assign the role:admin by default
The second option is strongly discouraged since any user logging into Argo CD would receive admin permissions if set to the default policy. As a result we will continue with the first option.
Note: You could also update the RBAC stanza in the Argo CD CR to make whichever group your user is associated with an admin. However this article is assuming this is a fresh cluster and thus we will continue with option 2.
Depending on the type of OpenShift (managed or self-managed) you may or may not have the cluster-admins group already created for you. To check if the cluster-admins group exists execute the following command:
oc get groupsIf you do not see the group cluster-admins then it does not exist. To create the group and add your user to the group run the following substituting your user for <user>:
oc adm groups new cluster-admins <user>If the group was created successfully:
group.user.openshift.io/cluster-admins created
If however the group does exist already, check if your user is a part of the cluster-admins group in the output that was received when you ran oc get groups. If your user is not part of the group, then add it to the group with the following command:
oc adm groups add-users cluster-admins <user>If completed successfully you will see this returned with <user> being the user you used above:
group.user.openshift.io/cluster-admins added: "<user>"
Once you have completed the appropriate step for your cluster, validate that the group cluster-admins exists and that your user is a part of it:
oc get groups cluster-adminsThis should show the cluster-admins group existing with your user assigned to it
NAME             USERS

cluster-admins   <user>
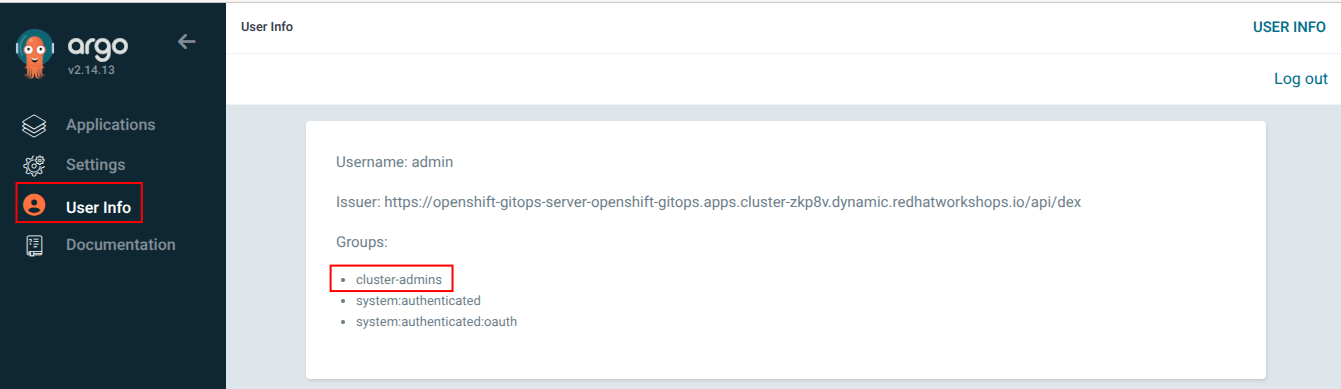
Important: if you had to create or modify the cluster-admins group you will need to log out of Argo CD and then log back in again so the cluster-admins group will become associated with your user. To validate that you have been assigned to the cluster-admins group within Argo CD, check the User Info section as per here:
Configuring Argo CD Kubernetes Permissions
The default instance is automatically configured for a specific set of permissions but as stated earlier typically this will need to be expanded in order for Argo CD to be able to deploy all of the resources required. Red Hat recommends using the default openshift-gitops instance for cluster configuration so for simplicity we will give the appropriate Argo CD service account cluster-admin level permissions.
Note: If you want to provide Argo CD as a service to application/developer teams Red Hat recommends standing up a separate Argo CD instance dedicated for this in a different namespace with restricted cluster permissions.
To provide cluster-admin permissions to Argo CD, we need to create a ClusterRoleBinding for the openshift-gitops-argocd-application-controller service account as this is the one Argo CD uses for interacting with the Kubernetes API to deploy resources. To do so, run this command:
oc adm policy add-cluster-role-to-user --rolebinding-name="openshift-gitops-cluster-admin" cluster-admin -z openshift-gitops-argocd-application-controller -n openshift-gitopsThis should be the result:
clusterrole.rbac.authorization.k8s.io/cluster-admin added: "openshift-gitops-argocd-application-controller"
You can view the ClusterRoleBinding we just created by executing:
oc get clusterrolebinding openshift-gitops-cluster-admin -o yamlWhich will return:
apiVersion: rbac.authorization.k8s.io/v1

kind: ClusterRoleBinding

metadata:

  name: openshift-gitops-cluster-admin

roleRef:

  apiGroup: rbac.authorization.k8s.io

  kind: ClusterRole

  name: cluster-admin

subjects:

- kind: ServiceAccount

  name: openshift-gitops-argocd-application-controller

  namespace: openshift-gitops
Provisioning a Sample Application in Argo CD
Now that we have Argo CD installed and configured we can deploy our first Application to validate the installation. First log in to the Argo CD user interface using your OpenShift credential as you did previously. Next, in the Argo CD UI press the Create Application button in the center of the screen.
Note: This button is only shown when no Applications are available to be shown. If Applications have already been deployed you can click the + New App button near the upper left to accomplish the same thing.
A form will appear asking for the details of the Application, click the Edit as YAML button in the top right. Copy and paste this YAML into the editor that is displayed.
apiVersion: argoproj.io/v1alpha1
kind: Application
metadata:
  name: bgd
spec:
  destination:
    namespace: bgd
    server: https://kubernetes.default.svc
  source:
    path: bgd/base
    repoURL: https://github.com/gitops-examples/getting-started
    targetRevision: HEAD
  project: default
  syncPolicy:
    automated:
      prune: false
      selfHeal: true
    syncOptions:
      - CreateNamespace=true
This YAML defines the Argo CD Application, it consists of the following information:
- The
destinationspecifies where to deploy the application. Here we are specifying the local cluster by pointing to the local Kubernetes API service and the namespacebgd. - Next, in
source, we need to tell Argo CD the location of the application manifests to deploy into the cluster. We provide a reference to the git repository we are using, https://github.com/gitops-examples/getting-started, and the path where the manifests are located. We also include the git revision we want which in this case is the HEAD, i.e. the latest version. - Next, in
project, we specify which Argo CD Project the Application is a part of. In Argo CD, Projects are used to group Applications and restrict what those Applications are permitted to do in terms of destinations, resources and who is allowed to access them. In this case we are using thedefaultproject for expediency but it is recommended to create your own Projects rather than use thedefaultone. - Finally, in
syncPolicy, we give Argo CD more information about how we want it to act when it performs a sync. Here we enable automatic sync including self healing which means that when changes to the cluster resources occur on the cluster, for example due to a manual edit, Argo CD will automatically revert them back to what was retrieved from git. This enables automatic remediation of configuration drift.
Once you have finished reviewing the Application manifest, press the Save button which will take you back to the form with all of the fields completed. Press the Create button to create the Application.
You will then see the bgd application tile in the Argo CD UI, wait for the tile to show Healthy and Synced as per the image below:

Congratulations, your first application has been deployed!
Go back to the OpenShift Console to view the new application, in the Topology view navigate to the bgd project and you should see this displayed:
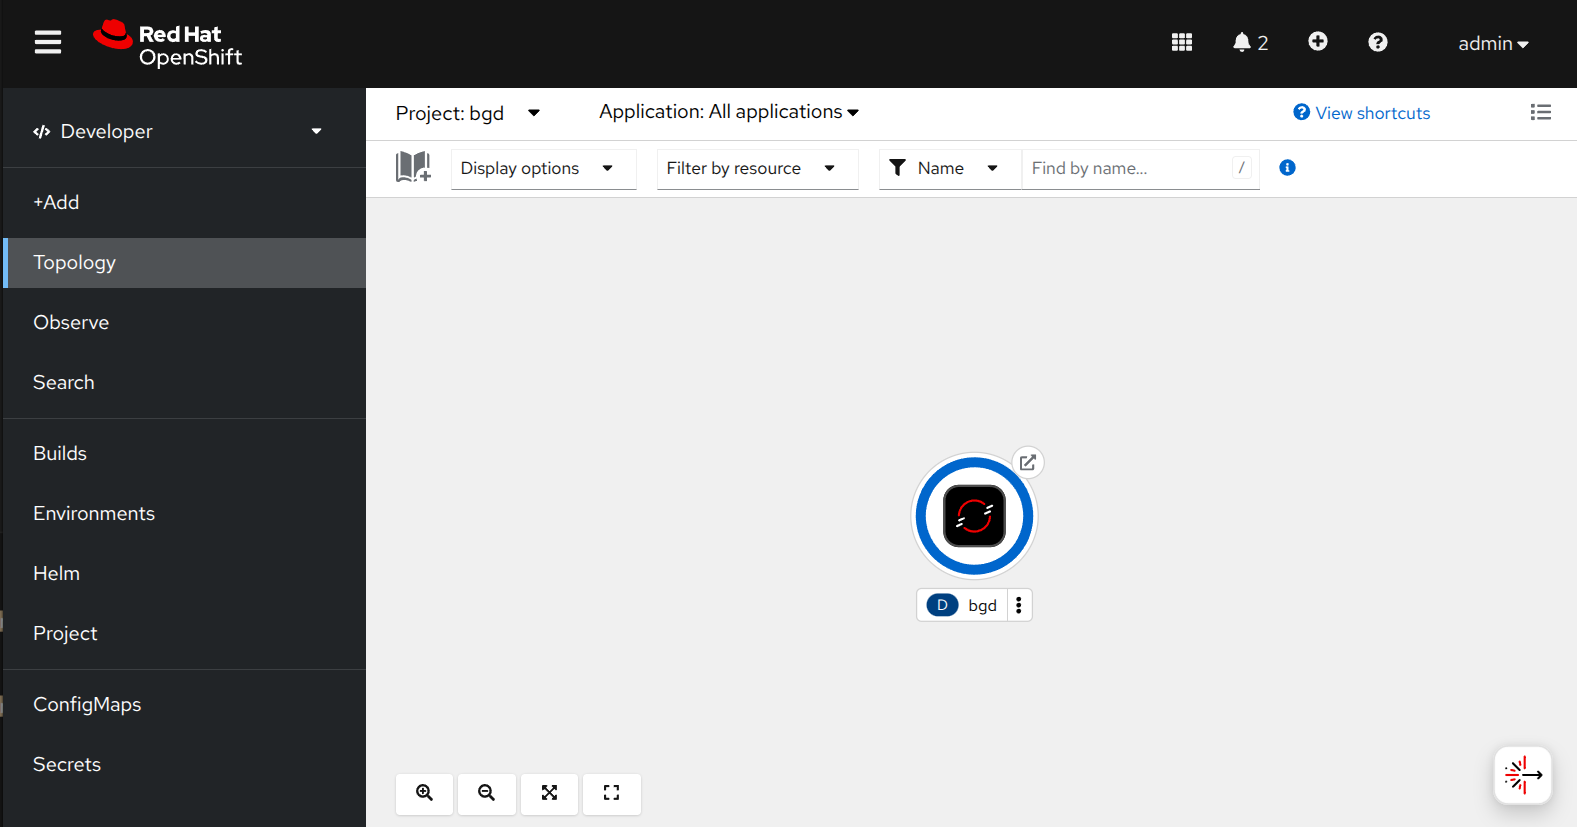
Click on the route icon which is the small link arrow at the top right of the bgd circle. You will then see the application running which displays bouncing blue balloons.

Next Steps
You have now installed and configured OpenShift GitOps along with validating the installation by deploying a basic application. To continue on your journey, check out some of the following materials: