This article discusses how to set up and configure a Keycloak instance to use OpenShift for authentication via Identity Brokering. This allows for Single Sign On between the OpenShift cluster and the Keycloak instance. The Keycloak instance will be running on the OpenShift cluster and leverage a ServiceAccount OAuth Client.
Provisioning Keycloak to your OpenShift namespace
Use the below command to create the Keycloak resources in your OpenShift project.
oc process -f https://raw.githubusercontent.com/david-martin/keycloak-with-openshift-auth-provider/0.0.2/keycloak-with-openshift-auth-provider.yaml | oc create -f -
IMPORTANT: This template is intended for demonstration purposes only.
This will create the following resources:
- DeploymentConfig - Defines the Keycloak image to use and other Pod & container settings.
- Service - Defines a Service in front of the Keycloak Pod.
- Route - Exposes the Keycloak Service at an externally available hostname.
- ServiceAccount - Defines a constrained form of OAuth Client in our namespace.
For more info on the ServiceAccount OAuth Client, see https://docs.openshift.com/container-platform/3.7/architecture/additional_concepts/authentication.html#service-accounts-as-oauth-clients.
After provisioning, the Keycloak service will be available at the exposed Route. Use the below command to get the route and sign in to the Administration Console.
oc get route keycloak --template "http://{{.spec.host}} "You can sign in initially using the 'admin' user and the generated password stored in the 'KEYCLOAK_PASSWORD' environment variable.
oc env dc/keycloak --list | grep KEYCLOAK_PASSWORD
Creating a new Realm
The 'admin' user will be signed in to the 'master' realm. This user has full control over the Keycloak instance. We can create a dedicated realm for our OpenShift project and allow OpenShift users to administer the realm. Only users who can access our OpenShift cluster will be able to sign in to Keycloak.
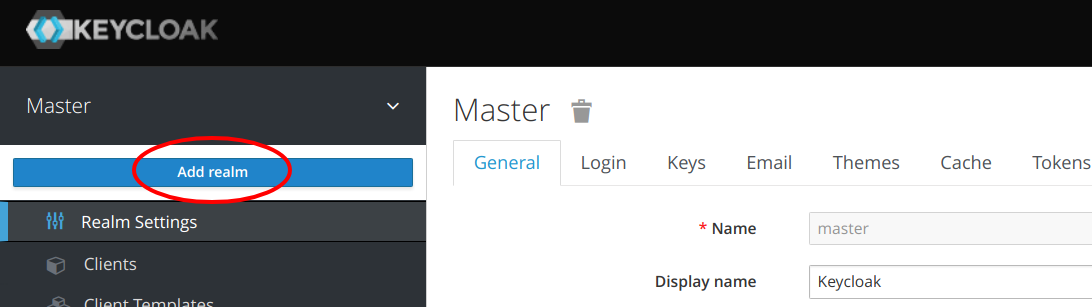
Create a realm, and name it after our OpenShift Project.
Configuring Keycloak to use OpenShift for Identity Brokering
After creating the realm, the context should switch to the new realm. From the 'Identity Providers' menu, choose to 'Add provider...' and select 'OpenShift v3'. Fill in the below fields.

Client ID
This field is the OAuth Client identifier in OpenShift. As we're using a ServiceAccount OAuth Client, the id will be in the below format:
system:serviceaccount::keycloak
For example, if our project had an id of 'myproject', the Client ID would be:
system:serviceaccount:myproject:keycloak
Client Secret
The secret is stored as a token for the ServiceAccount in OpenShift. To retrieve the secret, execute the following:
oc sa get-token keycloak
Base URL
The Base URL is the OpenShift Master URL e.g. https://openshift.example.com.
IMPORTANT: The OpenShift Master URL will need to have a trusted CA-signed certificate for Keycloak to successfully call the OAuth callback endpoint.
Default Scopes
These are the scopes to send to OpenShift when authorizing the user. As we're only interested in authentication, and not making modifications to OpenShift on behalf of users, we can just use the 'user:info' scope.
After filling in all the above fields, the Provider can be created.
Giving your OpenShift user a Role in Keycloak
If you attempt to sign in to the realm now, any user who successfully signs in will *only* be able to manage their own account in Keycloak. To allow users to manage the realm, they'll need additional permission. There are two approaches to giving Users extra permissions:
- Setting Default Roles/Groups for every user.
- Explicitly setting Roles per user.
Explicit Roles can be managed from the 'Users' menu after Users have signed in at least once.
However, we're going to set up Default Roles so Users have roles on first sign in.
To set a Default Role, choose the 'Default Roles' tab from the 'Roles' menu. Then choose the 'realm-management' Client Role and add the 'manage-realm' role to the 'Client Default Roles'. You may want to choose different or more restrictive roles depending on your requirements.

Trying it out
Try it out by navigating to the Realm Admin Console page in a new browser session or incognito window. The URL for the Realm Admin Console page can found in the 'Clients' menu as the Base URL for the 'security-admin-console' Client ID.

This will show a login screen with an 'Openshift v3' option. Choosing the 'Openshift v3' option should open an OpenShift login page.

Login to OpenShift and you should eventually be redirected back to Keycloak and be able to manage the Realm. You may need to fill in some account details on the first login.
Where to go from here?
If you'd like to have more control over the permissions OpenShift users have in your Keycloak instance, you may want to remove the Default Roles. This would be particularly important if you don't know or trust all OpenShift users. In that case, you could remove the Default Roles, and only add specific Roles to users you trust. You could also create a Group with specific Roles to make it more manageable.
The OpenShift template used in this article is available at https://github.com/david-martin/keycloak-with-openshift-auth-provider.
The Red Hat OpenShift Container Platform is available for download.
Last updated: December 4, 2017