As many of you already know, a couple of weeks ago, on April 25, 2017, Red Hat announced it's fully containerized API Management Platform On-Premises version. Alongside the Software as a Service (SaaS) version, the 3Scale Openshift-based on-premise version opens new opportunities with customers looking for more control over their private APIs. Deploying API Management in their own data center or self-managed cloud environment is part of a critical path.
One of the most common requests from developers and architects is how to setup an all-in-one Openshift installation for testing and demoing in a development virtual machine. A favorite tool used commonly among colleagues to try Openshift locally is the oc cluster up provided client. In addition to the oc client, the oc-cluster wrapper project was created to help developers by automating many tasks when setting up a local installation like using profiles and automatically creating persistent volumes. As we want to automate most of the underlying Openshift infrastructure, the oc-cluster wrapper suits better this guide.
To setup a 3scale AMP on-premise all-in-one Openshift 3.5 installation from scratch follow the next steps.
- Spin off a RHEL 7.3 minimal installation VM. You can create one on any public provider like AWS or use a local hypervisor like KVM.
Subscribe the machine using a subscription with the right entitlements. This is important, as the user needs access to the Red Hat registry to download the 3Scale AMP docker images. As a privileged user you can run the following commands:
$ subscription-manager register --username <USERNAME> --password <PASSWORD>
$ subscription-manager attach --pool=<POOL_WITH_RIGHT_ENTITLEMENTS>
Managed the repos. Usually, your subscription has several repositories enabled. Turn on only the ones need for the Openshift 3.5 installation.
$ subscription-manager repos --disable="*"
$ subscription-manager repos --enable="rhel-7-server-rpms" --enable="rhel-7-server-extras-rpms" --enable="rhel-7-server-ose-3.5-rpms" --enable="rhel-7-fast-datapath-rpms"
Install the prerequisites for Openshift.
$ yum install -y wget git net-tools bind-utils iptables-services bridge-utils bash-completion
(OPTIONAL) Update the system.
$ yum update -y
- Install and configure Docker.
Install Docker.
$ yum install -y docker
Enable SELinux and the insecure registry.
$ sed -i '/OPTIONS=.*/c\OPTIONS="--selinux-enabled --insecure-registry 172.30.0.0/16"' /etc/sysconfig/docker
Enable and restart Docker service.
$ systemctl enable docker
$ systemctl restart docker
- (OPTIONAL) Punch the holes in the firewall if not done before.
Inspect Docker network.
$ docker network inspect -f "{{range .IPAM.Config }}{{ .Subnet }}{{end}}" bridgeCreate a new firewall zone.
$ firewall-cmd --permanent --new-zone dockerc
Add the ports to the new zone.
$ firewall-cmd --permanent --zone dockerc --add-source 172.17.0.0/16
$ firewall-cmd --permanent --zone dockerc --add-port 8443/tcp
$ firewall-cmd --permanent --zone dockerc --add-port 53/udp
$ firewall-cmd --permanent --zone dockerc --add-port 8053/udp
Add the public ports.
$ firewall-cmd --permanent --zone public --add-port 8443/tcp
$ firewall-cmd --permanent --zone public --add-port 443/udp
$ firewall-cmd --permanent --zone public --add-port 80/udp
Reload firewall.
$ firewall-cmd --reload
Install the Openshift 'oc' client.
$ yum install -y atomic-openshift-clients
- Install and configure the oc-cluster wrapper.
Clone the github repo.
$ git clone https://github.com/openshift-evangelists/oc-cluster-wrapper
Add oc-cluster wrapper to the PATH.
$ echo 'PATH=$HOME/oc-cluster-wrapper:$PATH' >> $HOME/.bash_profile
$ echo 'export PATH' >> $HOME/.bash_profile
(OPTIONAL) Enable bash completion.
$ $HOME/oc-cluster-wrapper/oc-cluster completion bash > /etc/bash_completion.d/oc-cluster.bash
Spin off an Openshift local cluster.
$ oc-cluster up 3scale-amp --public-hostname <PUBLIC_IP/ACCESSIBLE_DNS> --routing-suffix apps.<PUBLIC_IP/ACCESSIBLE_DNS>.nip.io
Download the amp.yml template from 3Scale GitHub page.
$ wget https://raw.githubusercontent.com/3scale/3scale-amp-openshift-templates/2.0.0.GA/amp/amp.yml
Remove the SELinux categories from the created volumes.
$ chcat -d /root/.oc/profiles/3scale-amp/volumes/vol{01..10}Note: This is required so containers are able to write to the mount volumes.
Log into Openshift as developer user.
$ oc login --username=developer --password=developer
Create a new project.
$ oc new-project 3scale-amp
Create the new-app processing the amp.yml template.
$ oc new-app --file amp.yml --param WILDCARD_DOMAIN=amp.<PUBLIC_IP/ACCESSIBLE_DNS>.nip.io --param ADMIN_PASSWORD=3scaleUser
Note: You may need to wait a few minutes for AMP to fully deploy on OpenShift for your login and credentials to work.
Follow the project status on the web console.
- Open the Openshift web console in a new browser window at https://<PUBLIC_IP/ACCESSIBLE_DNS>:8443.
- Log in with the 'developer' user.
- Select the 3scale-amp project.
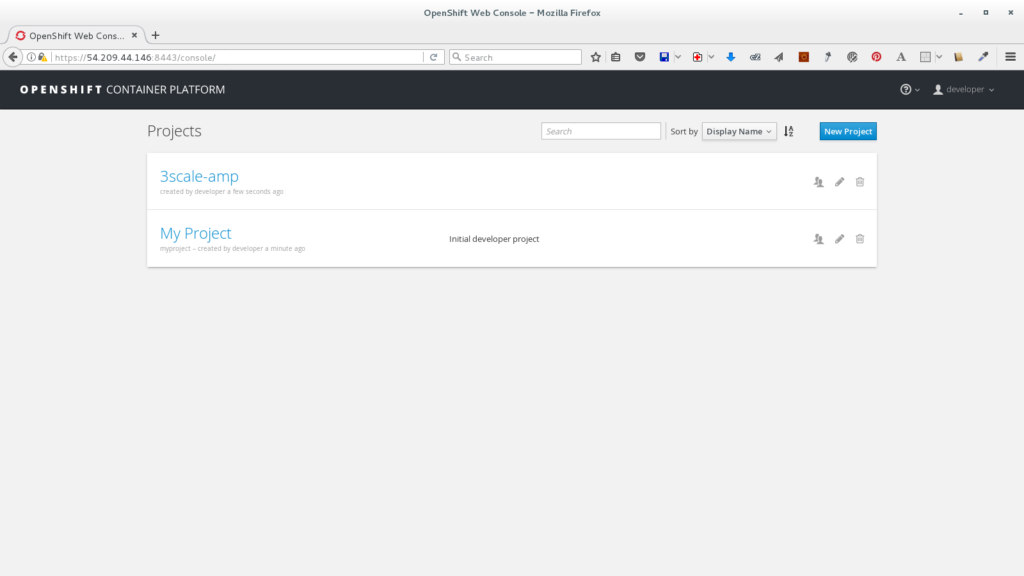
- Wait until all the pods are successfully deployed.
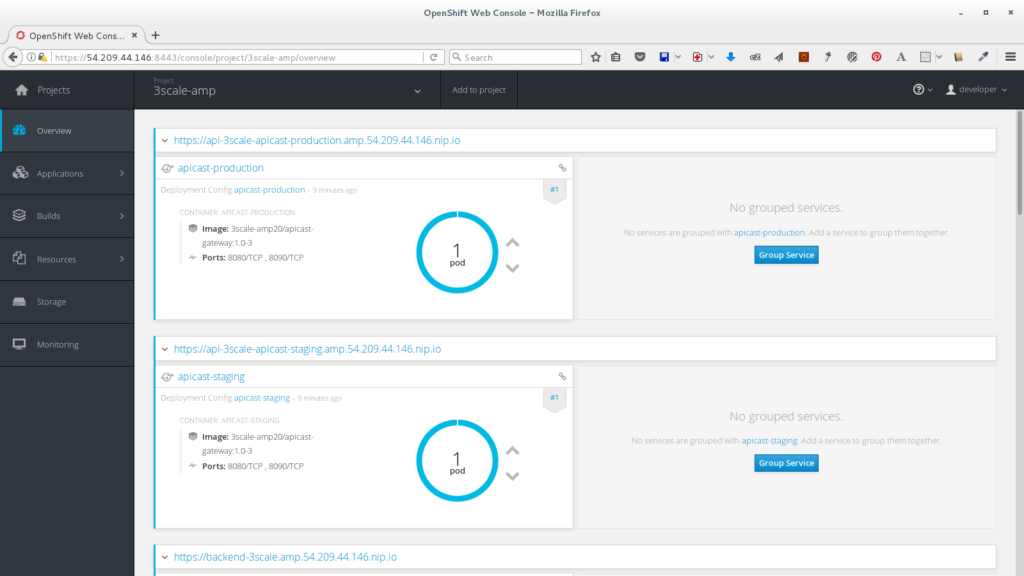
Note: First check the *-redis pods, if you notice an error about a problem with permissions you will need to check the persistent volume filesystem permissions in your file system.
- Open the Openshift web console in a new browser window at https://<PUBLIC_IP/ACCESSIBLE_DNS>:8443.
- Access the 3Scale Admin portal.
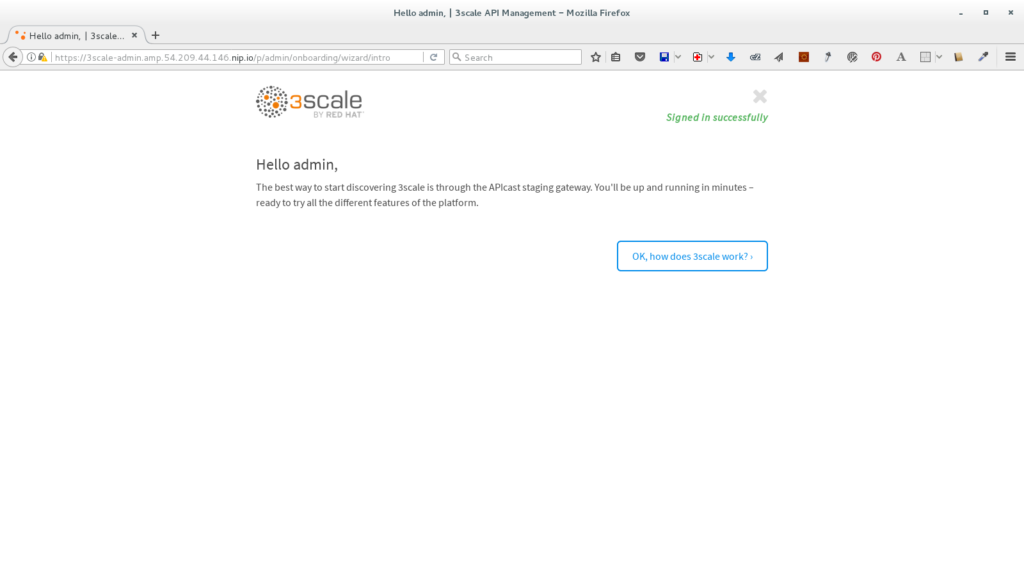
- Open the 3Scale admin console in a new browser window at https://3scale-admin.amp.<PUBLIC_IP/ACCESSIBLE_DNS>.nip.io.
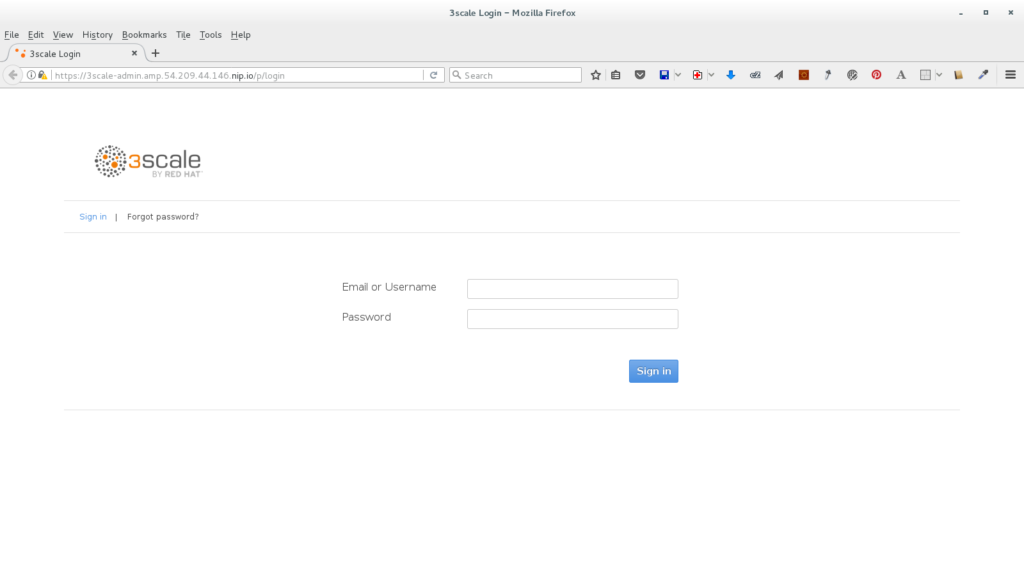
- Log in with the 'admin' user and '3scaleUser' password.
- Follow the instructions to setup the Echo API.
- Open the 3Scale admin console in a new browser window at https://3scale-admin.amp.<PUBLIC_IP/ACCESSIBLE_DNS>.nip.io.
You're done! You can now test your Echo API using curl to the staging link. 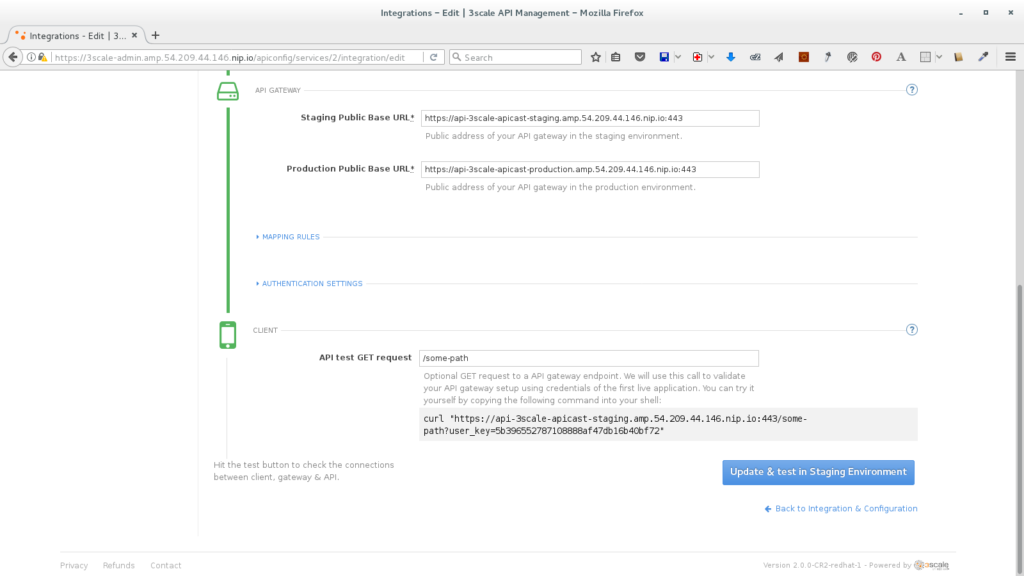
Whether you are new to Containers or have experience, downloading this cheat sheet can assist you when encountering tasks you haven’t done lately.
Last updated: May 31, 2024