One of the best features of Visual Studio is the ability to launch and debug an application from within the IDE. This is not an uncommon feature nowadays. When running .NET on Linux, however, you can't use Visual Studio as your IDE. What to do?
The answer is Visual Studio Code, a free IDE that will allow you to edit, compile, launch, and debug your application from within your IDE. This post will guide you through this cycle.
Note: I'm using Red Hat Enterprise Linux (RHEL) as my Linux of choice. You can grab your own free developer's edition of RHEL and run it in a Virtual Machine (VM) on your Windows box (I'm using Oracle's VirtualBox).
I'll also be using the sample application, Music Store, which you can grab from GitHub if you wish to follow along. Of course, this blog is applicable to your own code as well.
If you do follow along with the Music Store app, keep in mind that the .NET Core tooling is currently going through a transition from the project.json/xproj standard to MSBuild/csproj, and the Music Store sample is already updated to the new standard. The tooling version from the official .NET website right now is the 1.0.0-preview2, which is still in the old standard. Therefore, in order to run the sample, you should checkout the branch called rel/1.1.0-preview1, which contains the project.json-based version.
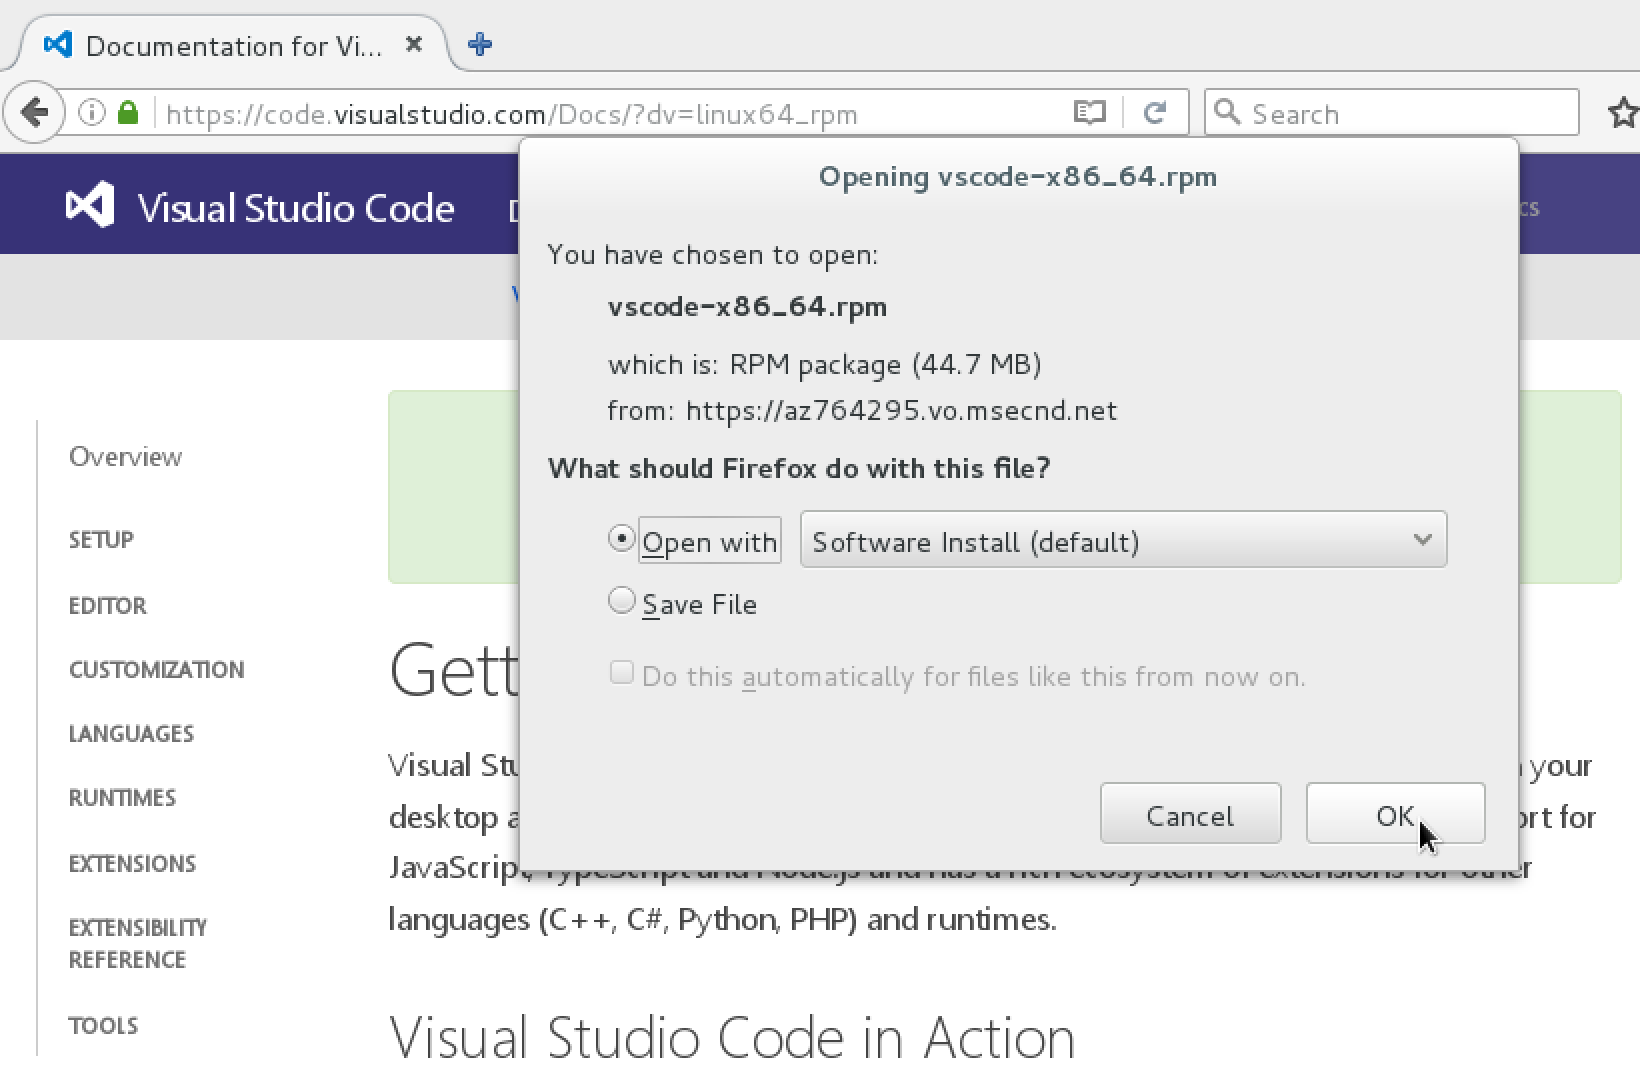
Installing Visual Studio Code (VSCode) is simple; for RHEL, simply download the .rpm file, choose the installation option and follow the prompts.
Once VSCode is installed, the easiest, and arguably best, way to launch your IDE is to move into the directory with your source code and use the
code .
command.

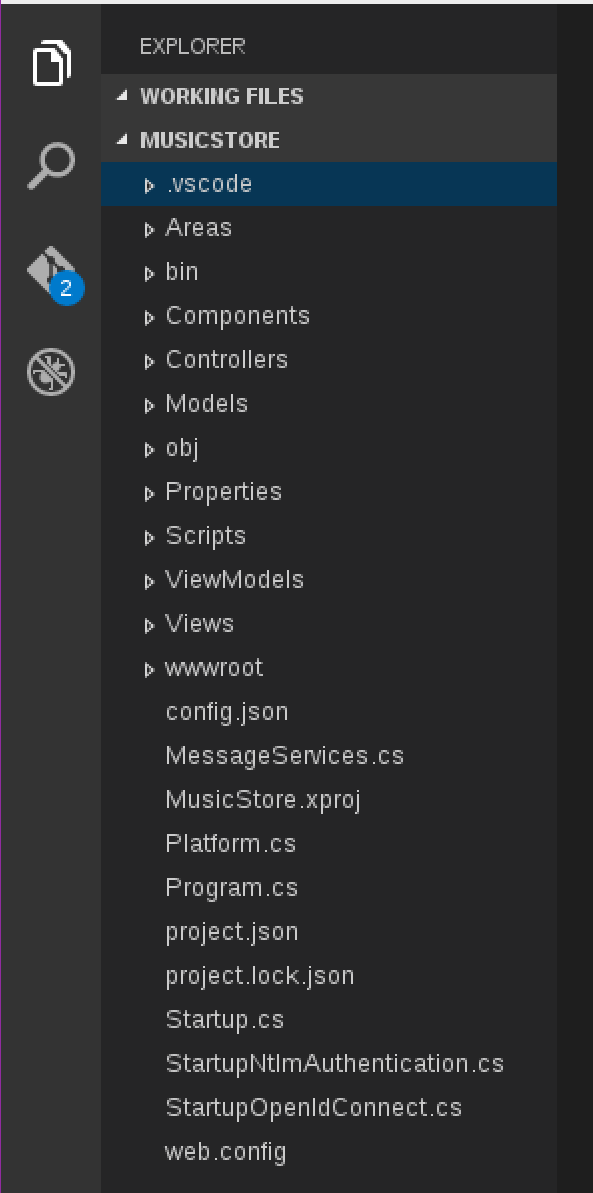
This will open the entire folder, which will appear in a treeview on the left side of your IDE, such as the following. From there you can open any file with one click.
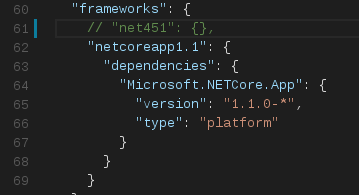
Before you go any further, head over to your project.json file and comment out line 61. This line specifies .NET 4.5.1 as a target framework. This version of the framework is Windows-only, and trying to run your project against it on Linux will cause your build/debug process to fail.
You will be prompted to resolve the dependencies listed in your project.json file. Click on 'Restore' and the process should only take a few seconds (or minutes, depending on your internet speed).
![]()
You will also be prompted to add some assets to your project. Two files, "launch.json" and "tasks.json" need to be added in order to support being able to launch and debug your code. Choose the option to install these assets, and you're on your way.
![]()
Now that the project is loaded and you've added the necessary assets, you can go ahead and launch the web app. To do this, click on the debug icon, then the green arrow to start. Notice the launch configuration selected by default is ".NET Core Launch (web)", meaning the IDE will open the integrated console window and start the web server.
You should start seeing some feedback from the debugger. Symbols will be loaded and your web server will start logging information back to you. When everything is ready to go, you should see these lines appear on your console:

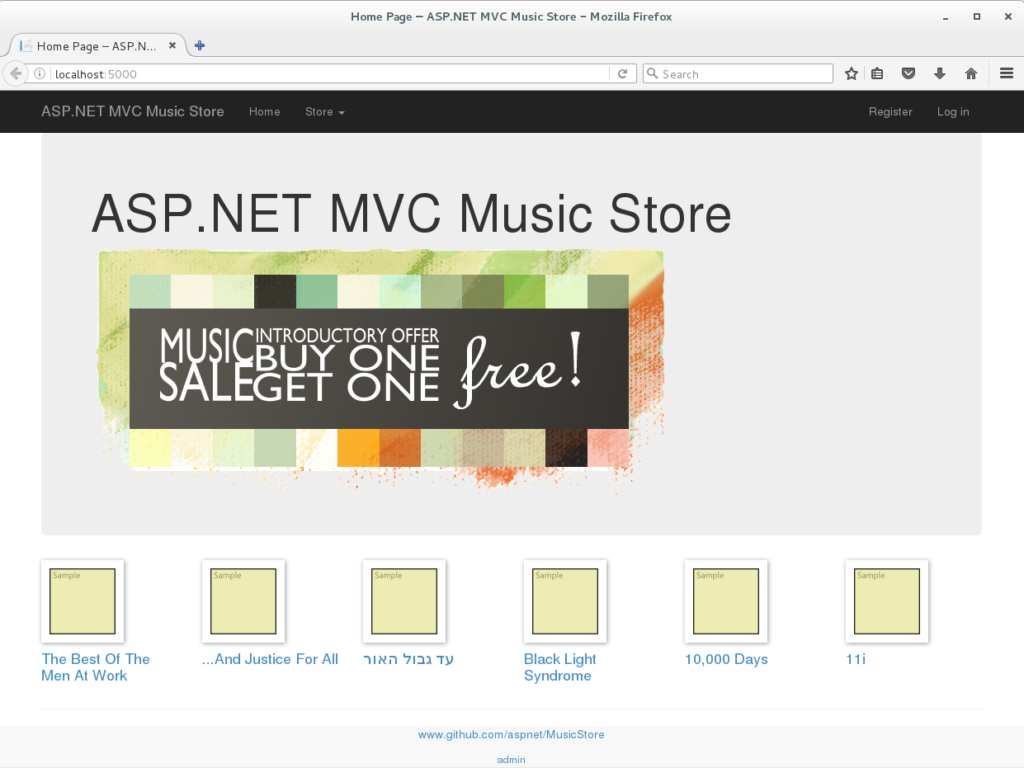
And a browser window should be launched:
By now, we can set our breakpoints and see the debugger in full action. Click on your project files icon, open up the folder Controllers and the file HomeController.cs. Set a breakpoint on line 28, inside the Index action, and let's simulate a debugging session on the home page. Now, open up the browser window and refresh the home page to see the breakpoint being hit. Your variables and call stack windows will also light up.
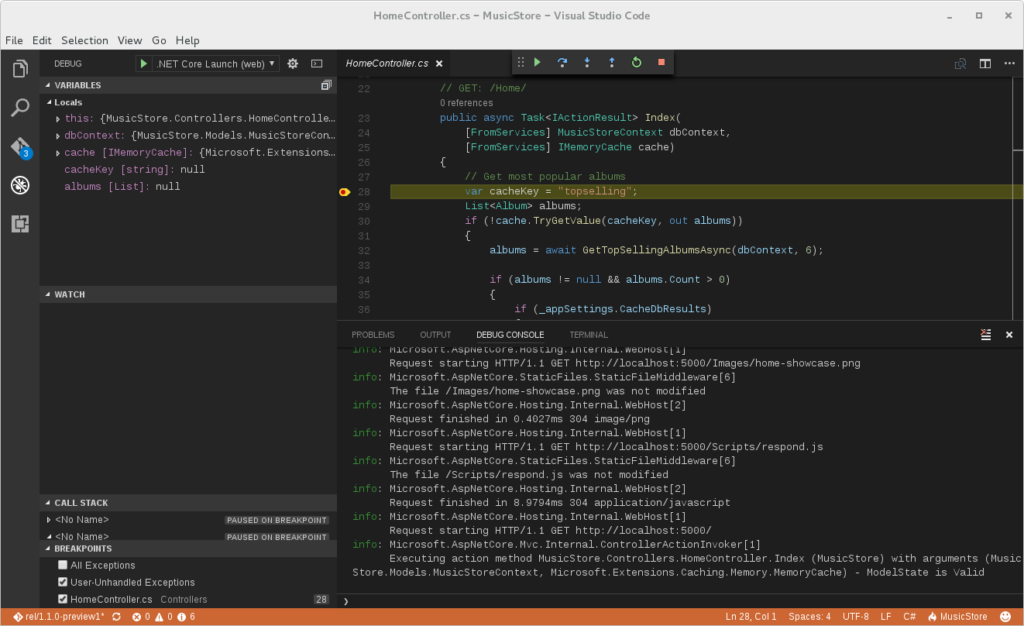
To stop the session, just click on to the red stop icon (or press Shift+F5).
Pretty cool, huh? Happy debugging for you all!
For additional information and articles on .NET Core visit our .NET Core web page for more on this topic.
Last updated: August 29, 2023