The tutorial Spring Boot and OAuth2 showed how to enable OAuth2 with Spring Boot with Facebook as AuthProvider; this blog is the extension of showing how to use KeyCloak as AuthProvider instead of Facebook. I intend to keep this example as close to the original Spring Boot and OAuth2 and will explain the changes to the configuration to make the same application work with KeyCloak. The source code for the examples are available in the github repositories listed below.
This project deploys and gets KeyCloak running in your environment. Refer to the README on the repo for more information on how to set it up and get started.
This project is the same application used in Spring Boot and OAuth2 with some modifications done for this specific demo. The application deployment environment can be either minikube or MiniShift or RHEL CDK, as a developer you don't need to worry how it's deployed there, as the application makes use of the super fabric8, which does the seamless deployment across different Kubernetes based environments. So from the projects all you have to do is issue the maven commands, the README of projects will guide you with the required maven commands. OK, I hope we spoke enough on how to setup, where to find source etc., but what was really done to make this work is what we will see now. Before we go further let's take a look at the applicaiton.yml, which was used on the original Spring Boot and OAuth2.
The important changes from this one with respect to Keycloak are:
- accessTokenUri
The required REST URI to get the "access_token" for Keycloak is "http://keycloakHost:keycloakPort/auth/realms/{relam}/protocol/openid-connect/token".
- userAuthorizationUri
The required REST URI to authorize a user for Keycloak is "http://keycloakHost:keycloakPort/auth/realms/{relam}/protocol/openid-connect/auth".
- tokenName
We don't need to set this explicitly, as by default spring-security uses the "access_token" which can be retrieved form Keycloak OAuth2 response.
- authenticationScheme
This property is used to define how the credentials are sent to the Auth provider, Keycloak expects it to be "header", we can ignore this property as spring-security-oauth by default sets the "header" authentication scheme.
- clientAuthenticationScheme
This property will be used to determine how the "token" is transmitted to the Auth provider, as Keycloak uses the "header" based authentication scheme we can either set this property to "header" or skip it, as by default the clientAuthenticaitonScheme is set to "header" by spring-security-oauth.
I preferred to set these values specifically for better readability and understanding of the application.yml. For this demo application we will be using a realm called "springboot" with a clientId as "spring-boot-demos", the new application.yml with the updates for Keycloak looks as follows:
The environment variables ${CLIENT_ID} and ${CLIENT_SECRET} are made available via the Kubernetes secret, which are the base64 encoded values of clientId "spring-boot-demos" and its corresponding client secret which is available here. The ${KEYCLOAK_URL} will be dynamically computed via fabric8 annotations and set as environment variable in the springbook-keycloak-demo deployment, this is done using the exposecontroller pod which will be available from fabric8 and will be deployed to the minikube or MiniShift or RHEL CDK environments. Please refer to the fabric8 documentation on how to set it up for the environment of your choice. Now we are all set to deploy the application and check its integration with Keycloak, to get the application deployed you need to do the following.
- Setup KeyCloak with demo realm
- Clone the keycloak-demo-server setup from github, lets call the project directory as $KEYCLOAK_SERVER_HOME.
- Form the $KEYCLOAK_SERVER_HOME run command "mvn clean install fabric8:deploy", this command will deploy Keycloak with demo realm and users pre-loaded.
- To access the Keycloak url, use the command "gofabric8 service keycloak-demo-server --url" to obtain the url of the deployed Keycloak and use the output url on the console to access Keycloak.
- The default admin credentials is "admin/admin".
- For demo users and more detailed deployment configuration refer to the README.
- Deploy the Spring Boot demo application
- Clone the keycloak-demo-server setup from github, lets call the project directory as $DEMO_APP_HOME.
- Form the $DEMO_APP_HOME run the command "mvn -Pfabric8 clean install fabric8:deploy", this command will deploy the Spring Boot application.
- To access the application url, use the command "gofabric8 service springboot-keycloak-demo --url" to obtain the url of the deployed application and use the output url on the console to access the application.
- The demo users found here can be used to login to the demo application.
- For any additional details on deployment refer to README.
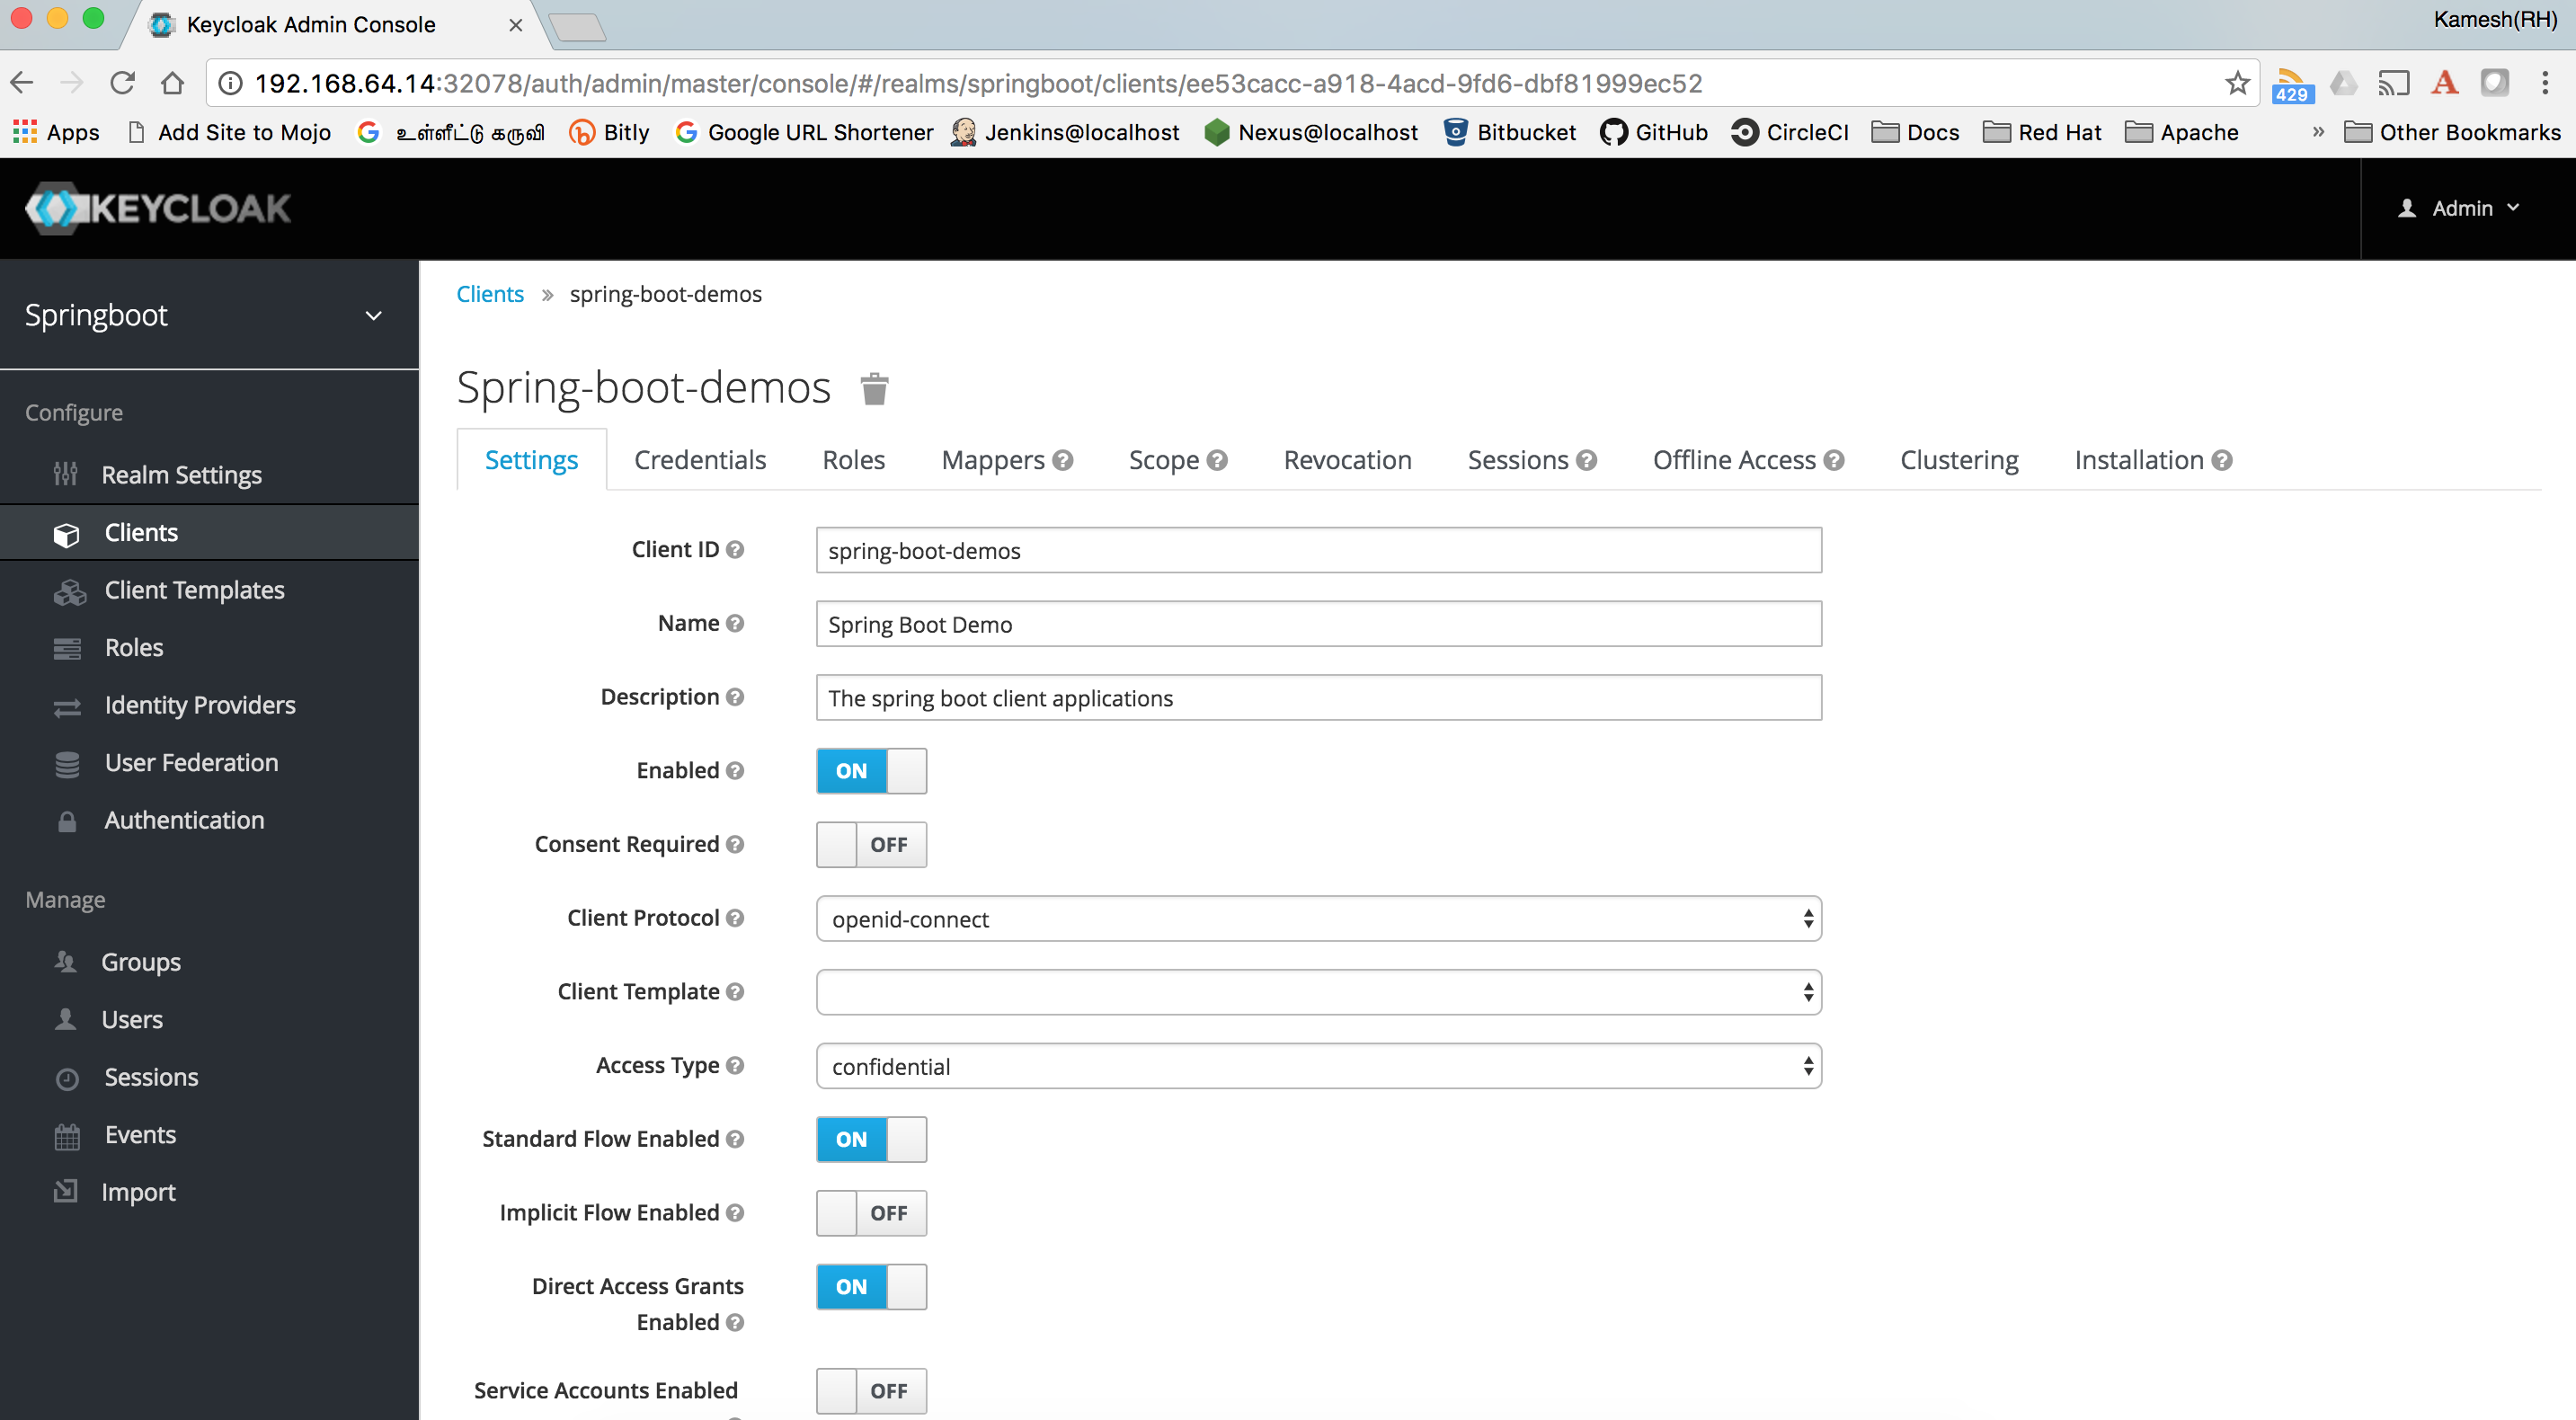
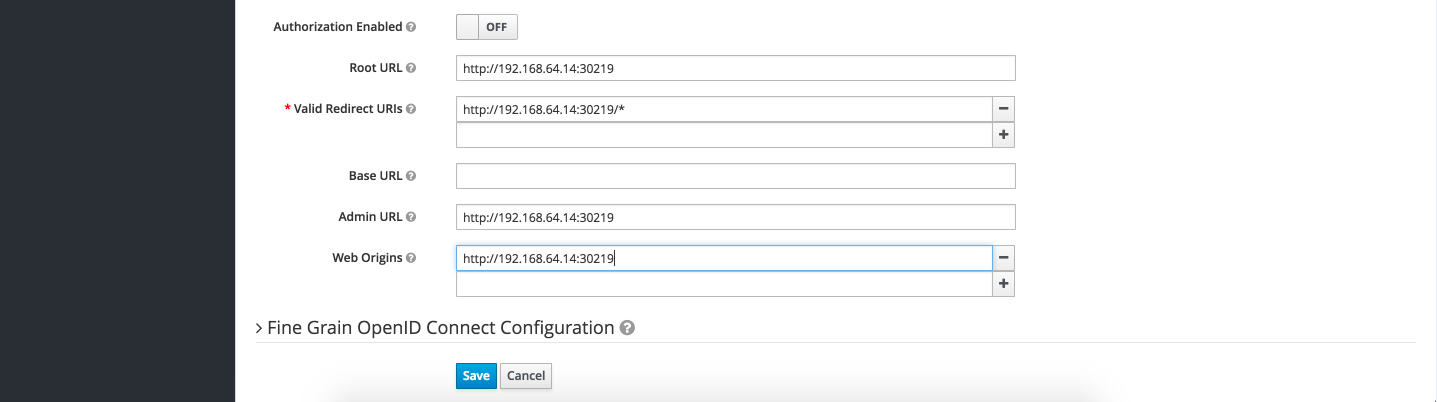
You need to wait for sometime for the pods to be available and running before you can use the application. Last but not the least, the Keycloak setup using the steps described above has a mock url set for the client "spring-boot-demos" pointing to localhost:8080, you need to update this using the Keycloak admin console and set client urls to application url retrieved using the command "gofabric8 service springboot-keycloak-demo --url" e.g. assuming that your application url from command "gofabric8 service springboot-keycloak-demo --url" is "http://192.168.64.14:30219" then the following screenshots shows the updates done via Keycloak console.
There you go, now you have a spring boot demo application configured to work with Keycloak, your application can now be configured with Single OAuth2 provider KeyCloak which can then be configured to provide;
- New User Registrations
- Integrate with LDAP
- Integrate with Third Party Identity providers like GitHub, Google etc.,
- And much more...
