The Red Hat Offline Knowledge Portal is a game-changer for anyone using Red Hat products in disconnected or low-bandwidth scenarios. It provides a concise and current compilation of Red Hat information, encompassing product documentation, knowledge-based articles, CVEs, errata, and security data APIs. This comprehensive collection is delivered as a container image, designed for deployment in environments with limited to no internet connectivity.
The Red Hat Developer article, How to install Offline Knowledge Portal on a local system, discussed deploying the Red Hat Offline Knowledge Portal as a standalone container. This is suitable for test environments, but an enterprise setting typically requires running the instance from a central location on a Kubernetes platform like Red Hat OpenShift.
This guide will walk you through deploying the portal on an existing OpenShift cluster.
Prerequisites
Before you begin, ensure you meet these key requirements:
- A fully functional OpenShift cluster with cluster-admin privileges.
- An active Red Hat Satellite subscription.
- Red Hat Customer Portal credentials: To download the image and generate your access key, you'll need your Red Hat Customer Portal, Red Hat Developer, or Registry Service Account credentials.
- An access key generated from the Red Hat Offline Knowledge Portal Access Key Generator.
- A jump host: A machine that can access the internet (for downloading the image) and your disconnected OpenShift environment (for transferring the image). Once downloaded, it's designed to run completely offline.
- Podman: We'll use the Podman command-line tool to download, tag, and push the container image.
Step 1: Download the container image
Perform this step on a machine with internet connectivity. You will use Podman to log into the Red Hat registry and pull the portal image.
Log into the Red Hat container registry as follows:
$ podman login registry.redhat.io
# Enter your username and password when prompted.
# You should see "Login Succeeded!"
Pull the latest image for the portal. The exact image tag might vary. The rhokp-rhel9:latest is a common one, but you should always verify the latest on the Red Hat Ecosystem Catalog Portal.
$ podman pull registry.redhat.io/offline-knowledge-portal/rhokp-rhel9:latestNote: Ensure you have sufficient disk space. The offline portal can be several GB in size (about 12GB at the time of writing this article).
Save the image as a
.tarfile. This file will be transferred to your disconnected environment.$ podman save --format oci-archive -o rhokp.tar registry.redhat.io/offline-knowledge-portal/rhokp-rhel9:latest
Step 2: Move the image to your registry
Transfer the rhokp.tar file to your jump host and then to a registry accessible to your OpenShift cluster.
- Transfer the rhokp.tar file to your jump host using a secure method.
Load the image from the .tar file onto your jump host's local Podman storage.
$ podman load -i rhokp.tarPush the image to your private image registry and have OpenShift pull from there.
Note: For more information on tagging and pushing using Podman, see the Podman documentation page.
Step 3: Deploy on OpenShift
With the image available in your environment, you can now deploy the portal as a standard OpenShift workload. You can use the OpenShift web console or the oc CLI. To deploy from the CLI:
Create a new project: Create a dedicated project for the portal.
$ oc new-project rhokp-portalCreate a secret with the access key: This requires your access key to enable full functionality of the portal.
$ oc create secret generic access-key --from-literal=access-key=<YOUR_ACCESS_KEY> -n rhokp-portal- Authentication: Ensure you have configured the necessary authentication to access your secured or private registry. See the OpenShift documentation on allowing pods to reference images from secured registries.
- Create a deployment: Create a rhokp.yaml manifest to deploy the portal. The following example creates a simple deployment and service. You may need to customize this for your specific environment, including adding persistent storage or custom routes. Additionally, you need to update the sample YAML file to reflect the actual container image in your registry.
apiVersion: v1
kind: Service
metadata:
  name: rhokp-portal
  namespace: rhokp-portal
spec:
  selector:
    app: rhokp-portal
  ports:
    - protocol: TCP
      port: 8080
      targetPort: 8080
---
apiVersion: apps/v1
kind: Deployment
metadata:
  name: rhokp-portal
  namespace: rhokp-portal
spec:
  replicas: 1
  selector:
    matchLabels:
      app: rhokp-portal
  template:
    metadata:
      labels:
        app: rhokp-portal
    spec:
      containers:
        - name: rhokp-portal
          image: <Your-Registry>/<example_repository>/image:latest
          env:
            # This references the secret created in the previous step
            - name: ACCESS_KEY
              valueFrom:
                secretKeyRef:
                  name: access-key
                  key: access-key
          ports:
            - containerPort: 8080
              protocol: TCP
$ oc create -f rhokp.yaml -n rhokp-portalIt may take some time for the pod to spin up and become ready.
Expose the service: Create a route to expose the portal to internal or external users. A route is the easiest method for a basic setup.
$ oc expose svc rhokp-portal --port=8080 -n rhokp-portal $ oc get route -n rhokp-portalNote: Refer to the OpenShift documentation for configuring secured and unsecured routes.
Step 4: Access the portal
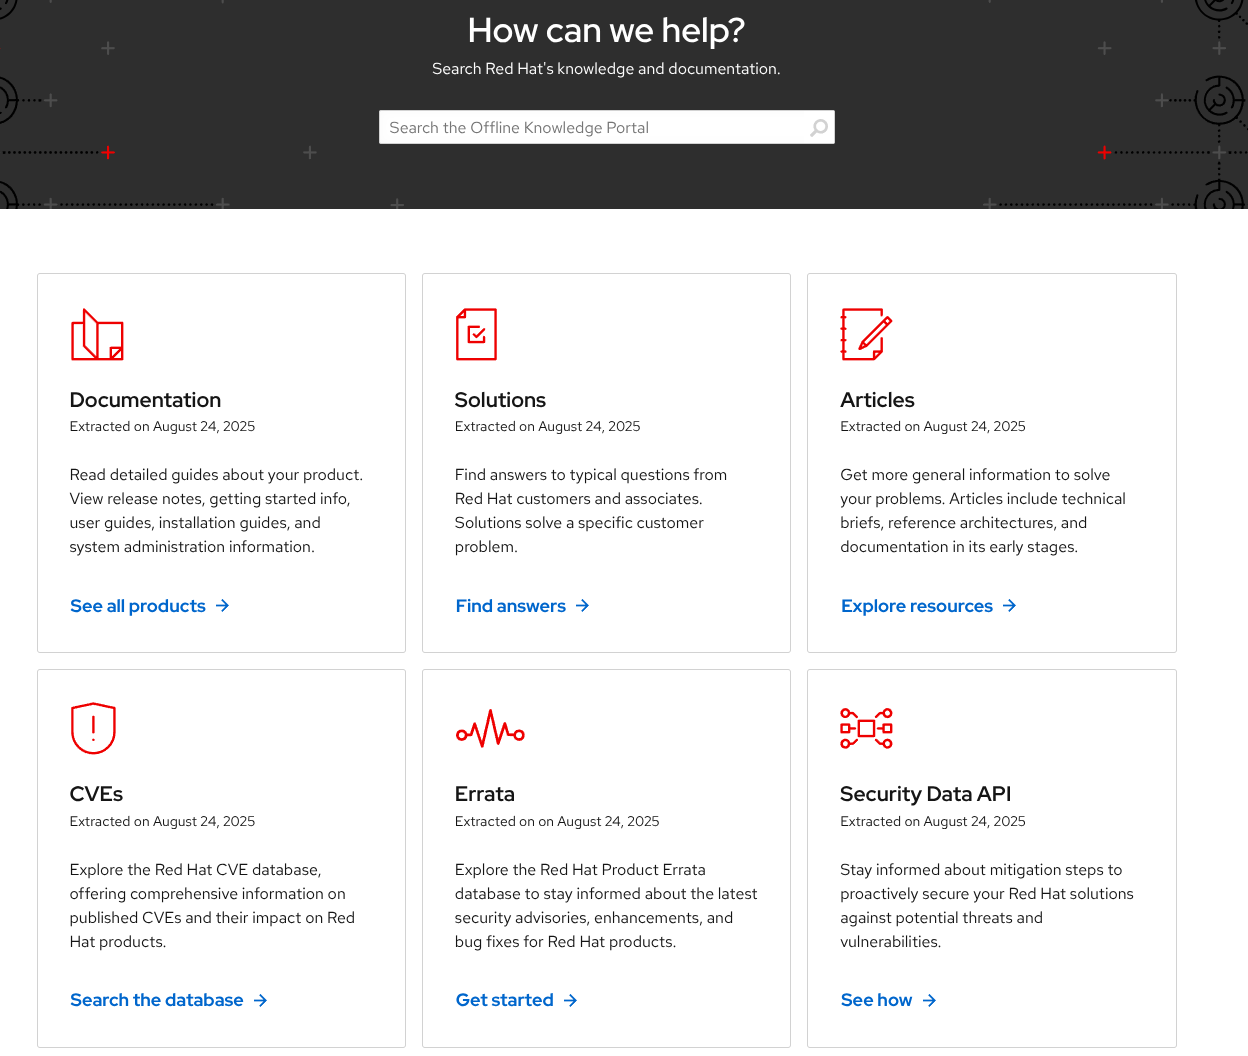
After you have created the deployment and route, you can access the Offline Knowledge Portal at the URL provided by the route. You'll be presented with a searchable interface, as shown in Figure 1.
Next steps
The Red Hat Offline Knowledge Portal offers a robust solution for users operating in disconnected or low-bandwidth environments, providing a comprehensive collection of Red Hat information locally. We demonstrated the process of deploying Offline Knowledge Portal on an OpenShift cluster, from downloading the container image and moving it to your registry, to deploying and accessing the portal within your OpenShift environment. By following these steps, you can leverage Offline Knowledge Portal to efficiently browse product documentation, search for error codes, look up CVEs, and check product lifecycles, all from a local container. For further details, refer to the product page.