
Let’s go through the steps required to construct an efficient ML pipeline. Beginning with data acquisition, the pipeline navigates seamlessly through model training, performance evaluation, and culminates in the storage of the trained model in an S3-compliant data store, in this case using Minio. Furthermore, this learning path empowers developers to automate pipeline runs, streamlining the entire ML workflow.
Prerequisites:
- A Red Hat OpenShift cluster.
- A kaggle.json access token for kaggle.com
In this lesson, you will:
- Learn about the configuration and creation of pipelines in OpenShift AI.
- Store the created model in an S3 bucket.
- Implement a scheduled run to ensure seamless execution of the pipeline.
Set up a local S3 store
In order to be able to store the model output, we will need an S3 bucket. For ease in this tutorial, we will use a local storage system within our Sandbox account, by creating a Minio server. The easiest way to do this, is as follows:
Log into the Developer Sandbox.
Start the terminal window by clicking
>_in the top right of the UX. When the terminal window appears, type:git clone https://github.com/utherp0/aipipeline1 cd aipipeline1 oc create -f minio.yamlThis will create the Minio engine for you. Once it's complete, you will have a running version of the Minio engine with two routes.
Switch to the Administration tab and select Networking/Routes.
Click on the
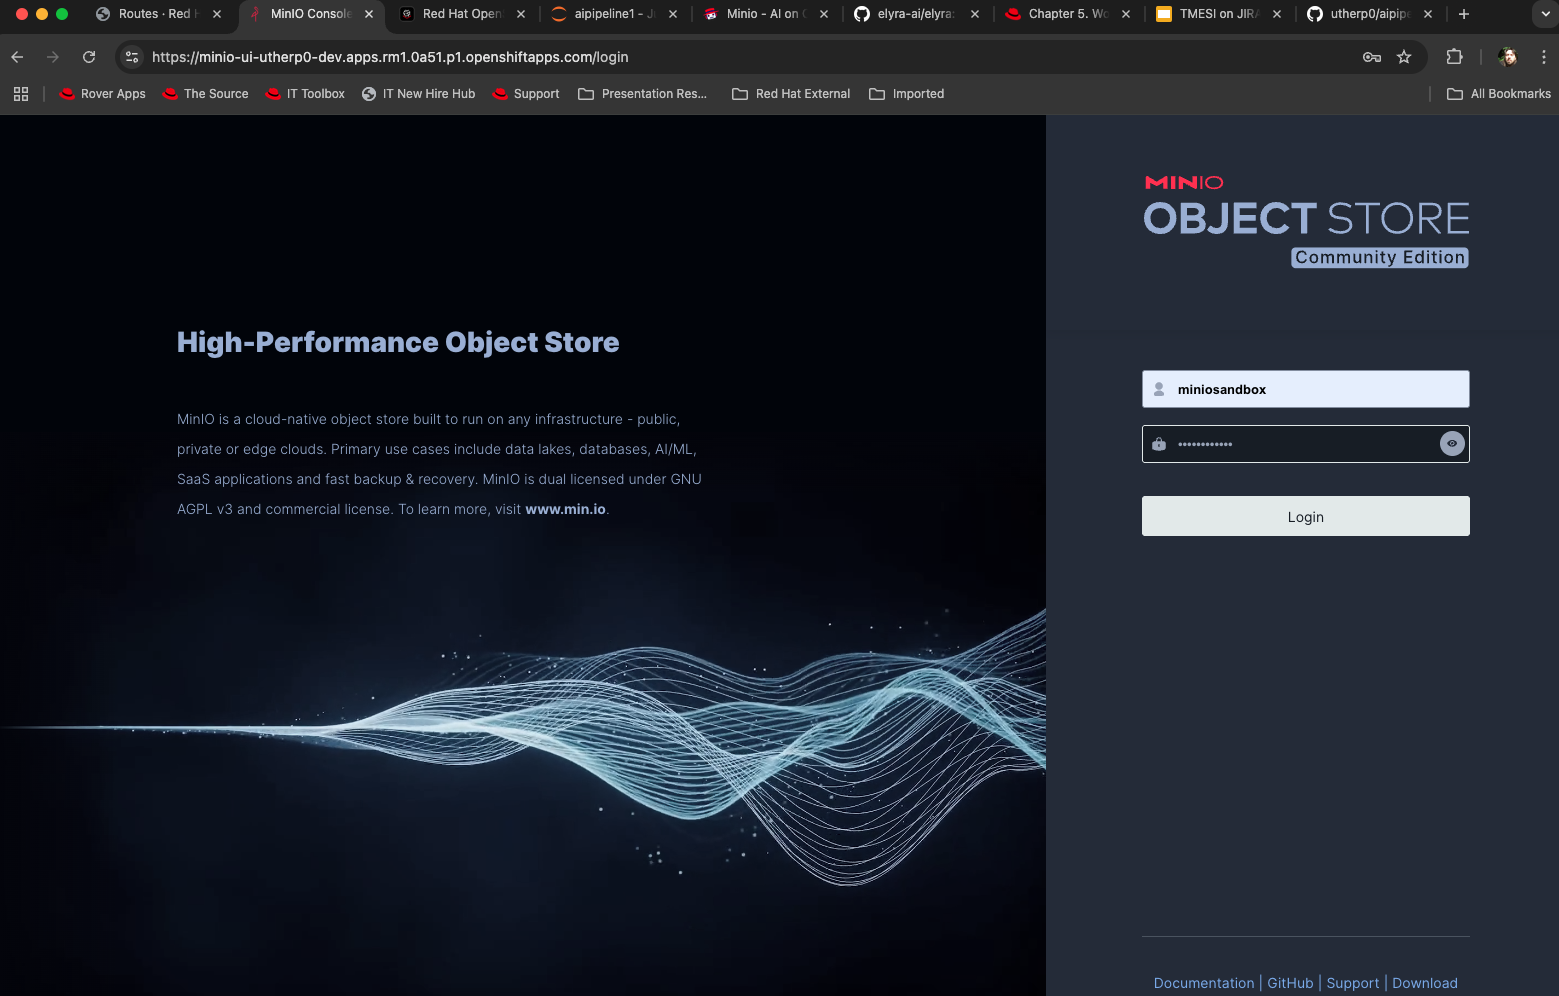
minio-ui routeaddress. You will get a login page that looks like Figure 1.
Figure 1: Minio log on page. Enter the username and password as
miniosandbox. The deployment will pre-create this user for you.Once the UX loads, click Create Bucket in the left-hand navigation.
Enter the name of the bucket as
openshift-ai-pipeline.Hit Create Bucket.
You can now close the tab for the Minio system, unless you want to keep it open and look at the files as they are written to the bucket.
Set up a connection for your data science project
To set up a connection to your project, follow these steps:
In the OpenShift AI UX, click Data Science Projects in the left-hand navigation. By default, you will have a single project, named (
yourusername-dev) which matches your single project in the Developer Sandbox.Click Connections > Create Connection.
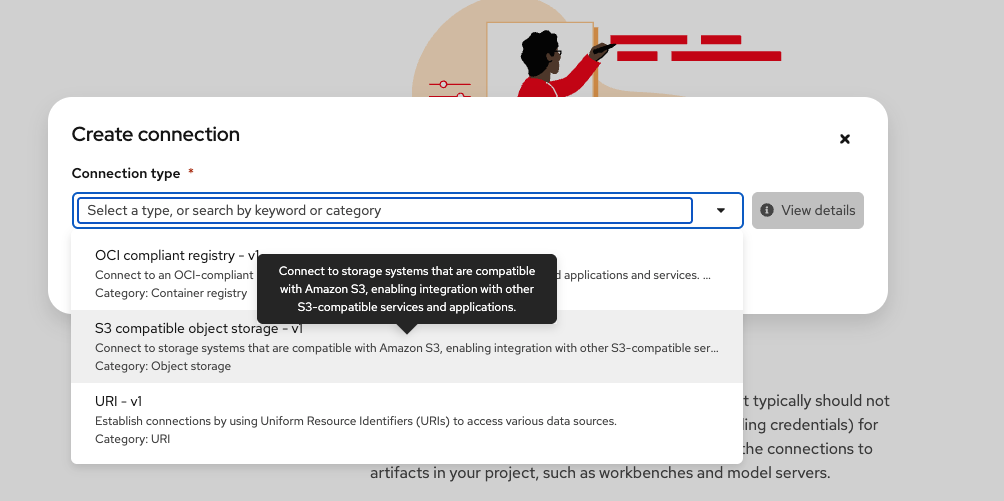
In the Connection Type drop-down menu, select S3 compatible object storage (Figure 2).

Figure 2: Add an S3 connection to the data science project. Give the connection a memorable name (for example,
myconnection).Set the Access key and the Secret key to
miniosandbox, which are the access keys for our local Minio instance.The endpoint is the URL for the Minio API without the protocol. To get this, pop back to the OpenShift UX, go to the Administrator tab, and select Network/Routes.
Copy the URL for the minio-api.
Paste the URL into the endpoint box and remove the
https://and the trailing/.Set the region field to None.
Set the Bucket field to
openshift-ai-pipeline.Click on Create to create this connection.
Configure the data science pipeline server
As a data scientist, you can enhance your data science projects on OpenShift AI by building portable machine learning (ML) workflows with data science pipelines using runtime images or containers. This enables you to standardize and automate machine learning workflows, facilitating the development and deployment of your data science models.
In the OpenShift AI UX, click on Data Science pipelines in the left-hand side navigation.
Click Pipelines.
You will get a content page that explains you need to create a Pipeline Server. Click on Configure pipeline server.
Now that we have created a connection, we can autofill the Pipeline Server details.
Click on the Autofill form connection dropdown menu on the right of the form, and select the connection you just created. The details will be added to the Pipeline Server configuration.
Select Configure pipeline server.
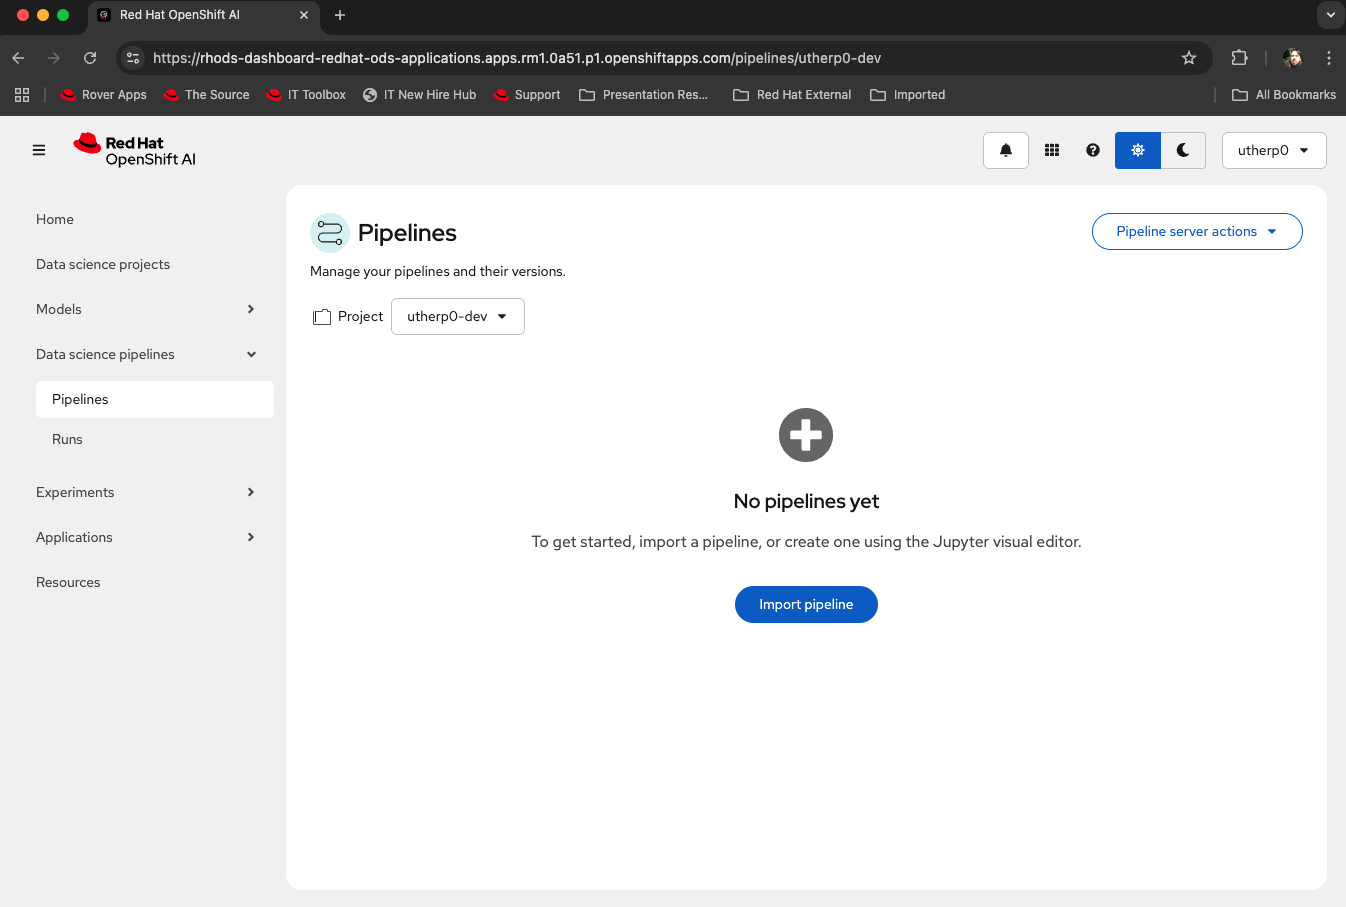
Once the server initializes, you will see the message, No pipelines yet (Figure 3).
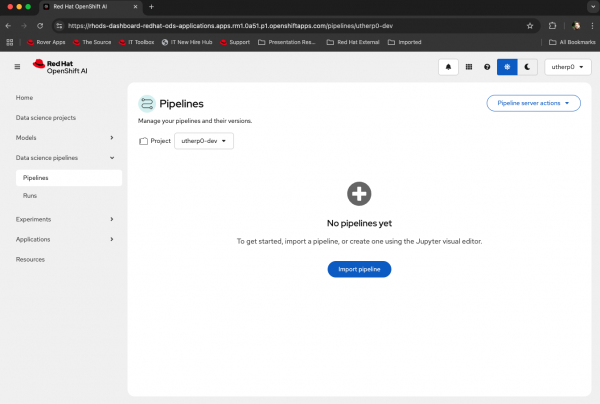
Figure 3: A pipeline server that is correctly configured.
Set up the pipeline
To make it simple, we have provided a pipeline with three steps in it. Once the Pipeline Server has been set up and connected to our local Minio S3 storage, we can have a play with the pipeline.
In the OpenShift AI UX, select Datascience projects in the left-hand navigation pane, then click on your singular project (called
username-dev,which matches your Sandbox project name).Click Workbenches > Create Workbench.
Set the name to something memorable, like myworkbench.
In the Image Selection pulldown, choose Standard Data Science.
In the Connections submenu, click Attach existing connections, select the connection we created earlier, and click Connect.
Now click on Create workbench.
Watch the status of the bench as it downloads and starts the image. Once the status is Running, click on the name or the icon next to it to open the workbench in a new tab.
Note: You may be prompted to log on with your Developer Sandbox Dev credentials at this point.You now have an empty workbench.
Click on Git > Clone repository and provide the following as the repository address: then select Clone.https://github.com/utherp0/aipipeline1,
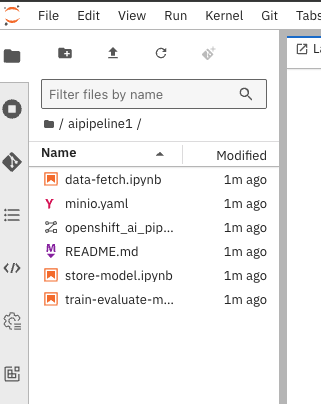
In the file system list on the left-hand side, you will now see a directory called ‘
aipipeline1’. Click to expand it. The file list will look like Figure 4.
Figure 4: File listing after cloning the example pipeline. This repo contains three steps:
Fetching a dataset to your local environment.
Performing a training exercise on the local model.
Storing the new model files to an S3 bucket.
If you were conducting a normal experiment, you would load each of these files into separate tabs in the Jupyter notebook, but the advantage of Pipelines is that we can automatically tie these together.
You will see a file that starts with
openshift_ai_pip…. This is the pipeline file, and the workbench image we are using supports visual interaction with these Pipelines and uses the Pipeline Server we have created, tied to the S3 storage, for execution.Double-click on the pipeline to see it in the visualizer.
Once it appears, click on the ‘data-fetch’ step and then click on the small icon next to the ‘Runtime: Data Science Pipelines’ label to see information about the step:
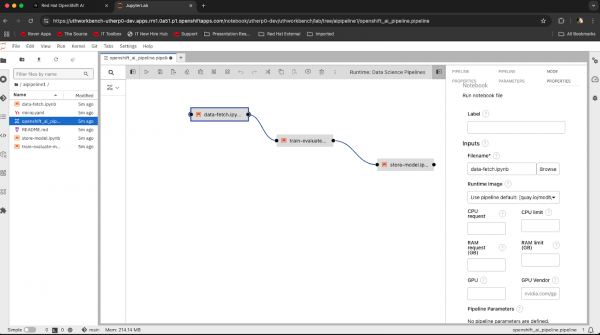
Figure 5: Pipeline visualization for our example pipeline. If you scroll down the information in the right-hand panel you will see that the step has a File Dependency on kaggle.json. This means that file must be present in the working directory in order for the step to work; in actuality, the steps pull base data from the kaggle website using a token provided in that file.
Earlier, we downloaded that file. On the left-hand file panel, there is a small icon of an upwardly pointing arrow, which means Upload.
Click on this icon, navigate to where you saved the kaggle.json on your local machine, and click on it to upload it into the workbench file system.
If successful, it will appear in the left-hand file list at the same level as all the other files.

Execute the pipeline
To execute the pipeline you just set up, follow these steps:
Visible above the pipeline visualizer are a number of icons; the first one is an arrow pointing to the right. This is the
runcontrol for the pipeline. Click on it and you will get a window similar to Figure 6: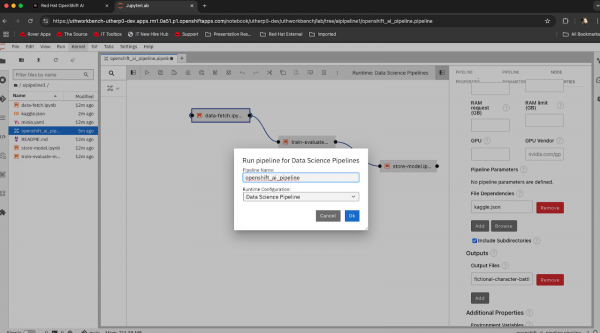
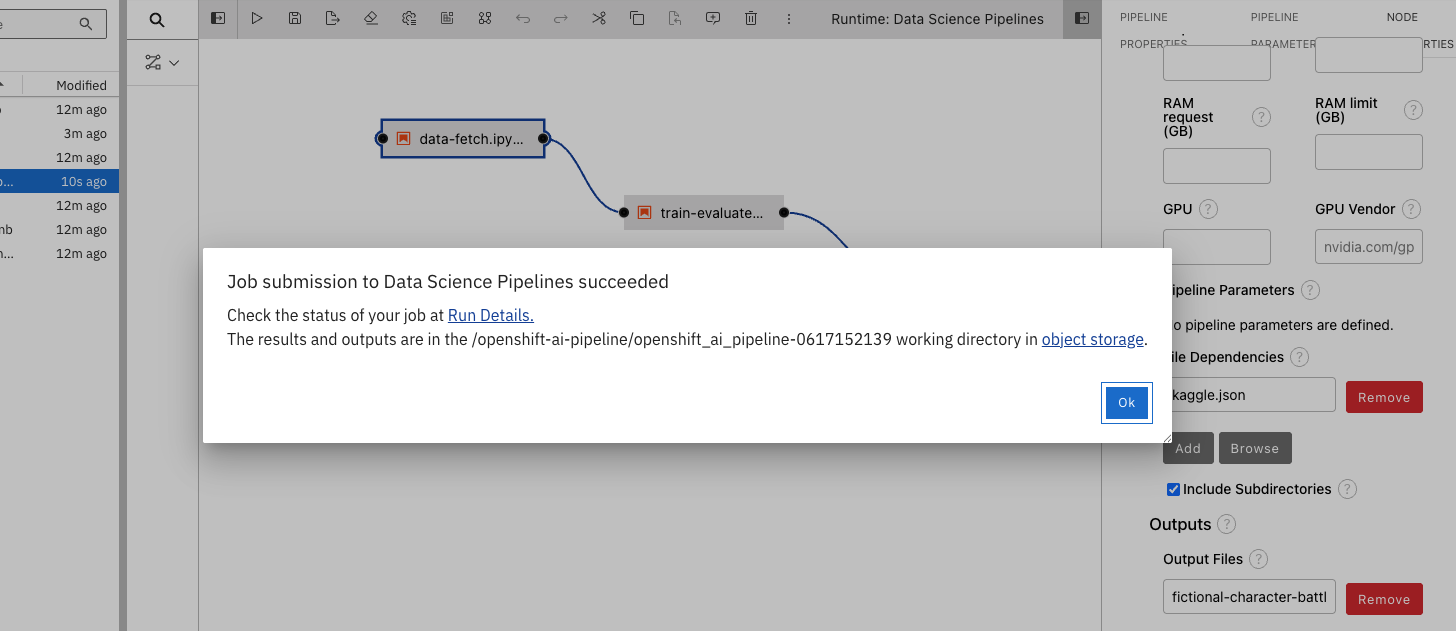
Figure 6: Executing the pipeline. Leave the fields as they are rendered, and enter OK. You will get a confirmation message that looks like Figure 7.

Figure 7: Pipeline execution started. Select Run Details and a new tab will appear showing the progress of the pipeline in action. If the pipeline is successful, it will look like Figure 8:
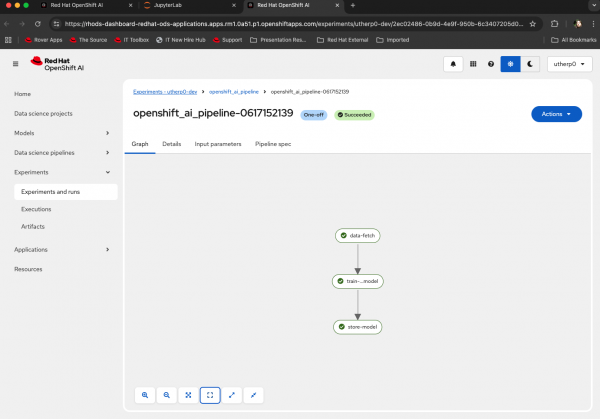
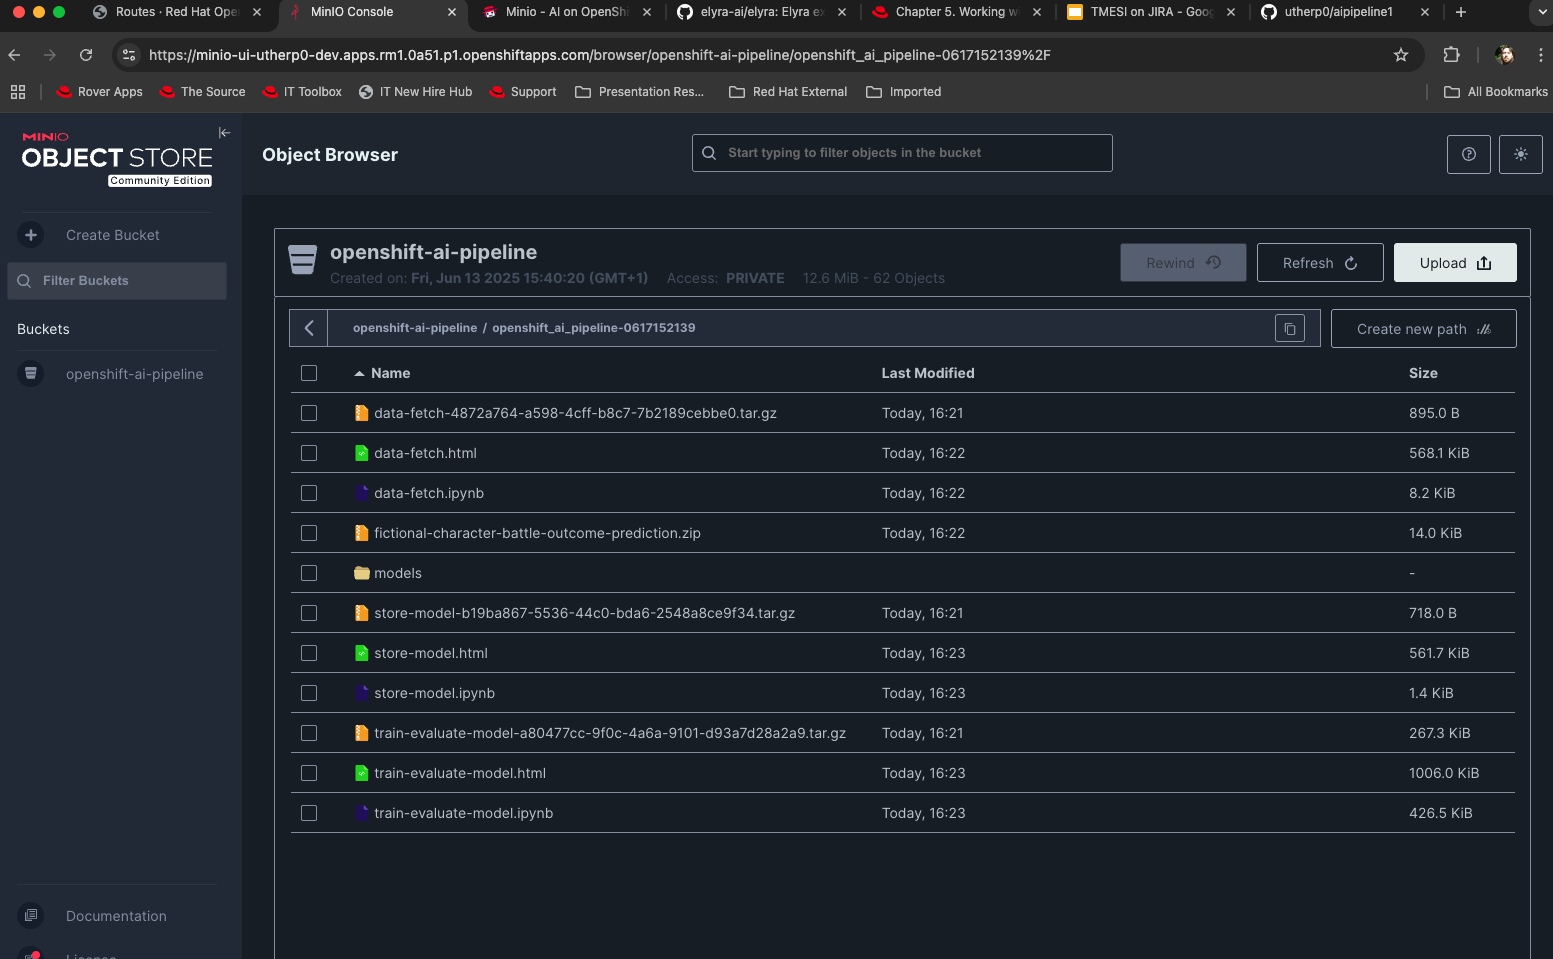
Figure 8: A successful pipeline execution. Go back to the OpenShift UX, enter the Administrator viewpoint, select Network/Route, click on the
minio-uiroute, log in (miniosandboxfor username and password) then click on the bucket.You should see one directory (or more if you have run the pipeline often). This is a sub-directory for the pipeline run.
Click on this and look at the files in the bucket; the pipeline has written all of the training sets and the results into the bucket.

Figure 9: Files written by pipeline run into local S3 bucket storage.


Create scheduled pipeline runs
You can also set the pipelines to be executed at scheduled times, rather than having to manually start them. To schedule a pipeline run, follow these steps:
Return to the OpenShift AI Ux and click on the Pipelines navigation option.
For our pipeline, click on the kebab (three vertical dots) on the far right. The pulldown menu looks like Figure 10.
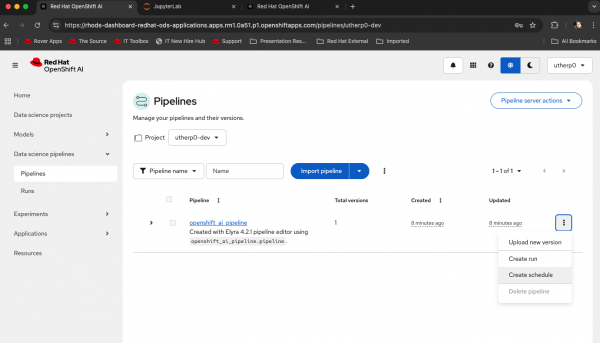
Figure 10: Select scheduling options for AI pipelines in OpenShift AI. The options that appear allow you to set the pipeline up like a CRON job, giving a frequency, days to run between, and other date-specific options. This dialog box also gives you a huge amount of automated options for the repeated execution of the experiment via the pipeline.
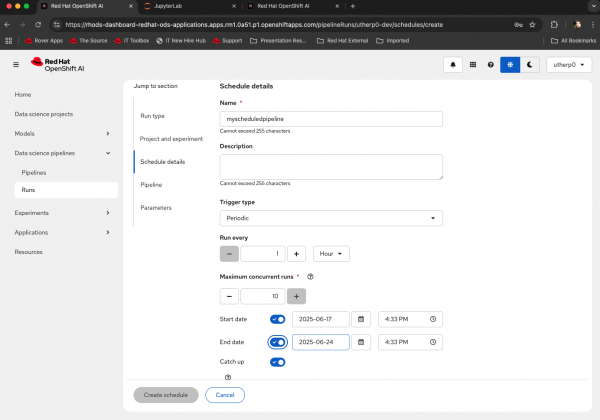
Figure 11: Advanced options for scheduling of pipeline.


Summary
In this learning path, we learned about the configuration and creation of Red Hat OpenShift AI pipelines. This pipeline included three stages (data fetch, training, and save & deploy), culminating in the storage of the model in an S3 compatible bucket. We also looked at how simple it is to then schedule these pipeline runs.
These technologies provide data scientists with a vast set of tools for simplifying and automating multi-step experiments using OpenShift AI.