As immutable infrastructure was starting to hit its stride four or five years ago, one question Java developers were struggling with was: "How do my microservices have to be optimized in Linux container architecture like faster startup and smaller memory footprint?"
There were a number of limitations to transforming container-native, microservices-based Java technology at the time. One major reason was that the traditional cloud Java stack had to process most of the required tasks, such as annotation scanning, parsing descriptors at runtime rather than build time, until Quarkus came along.
Quarkus is a Kubernetes-native Java stack tailored for GraalVM and OpenJDK HotSpot. It’s crafted from best-of-breed Java libraries and standards with the following benefits:
- A cohesive platform for optimized developer joy
- Live coding and unified configuration
- No-hassle native executable generation
- Container-first and Kubernetes-native Java stack
- Superfast to startup (i.e., 0.055 Seconds for REST + CRUD)
- Small memory footprint (i.e., 35 MB for REST + CRUD)
- Unifies Imperative and Reactive development in the same application
- Inject the EventBus or the Vertx context
- Use the technology that fits your use-case
- Key for reactive systems based on event driven apps
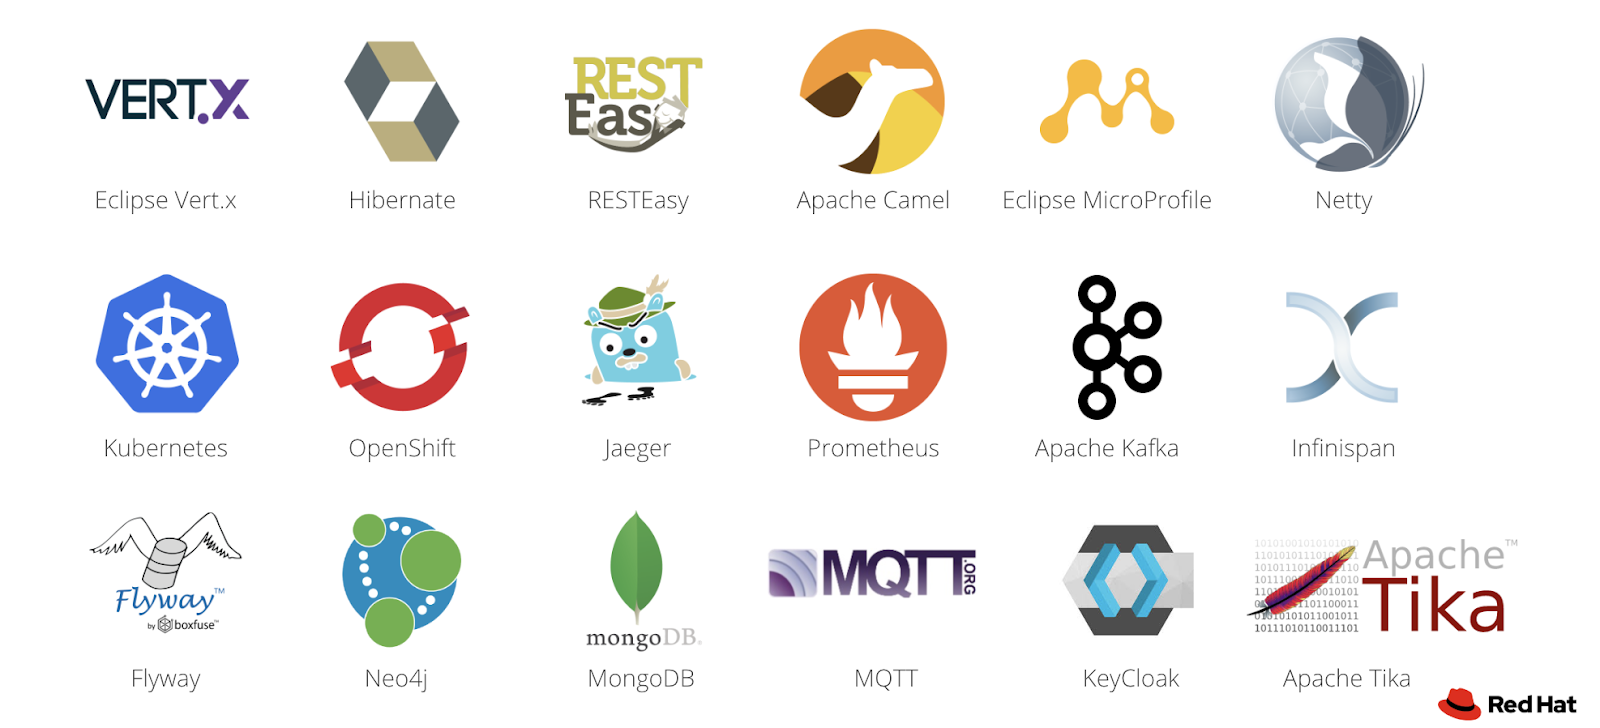
- Extensions for the latest popular open source projects
Start coding
Let’s get started to develop a simple microservice application to expose the REST endpoint from scratch.
Bootstrapping the project
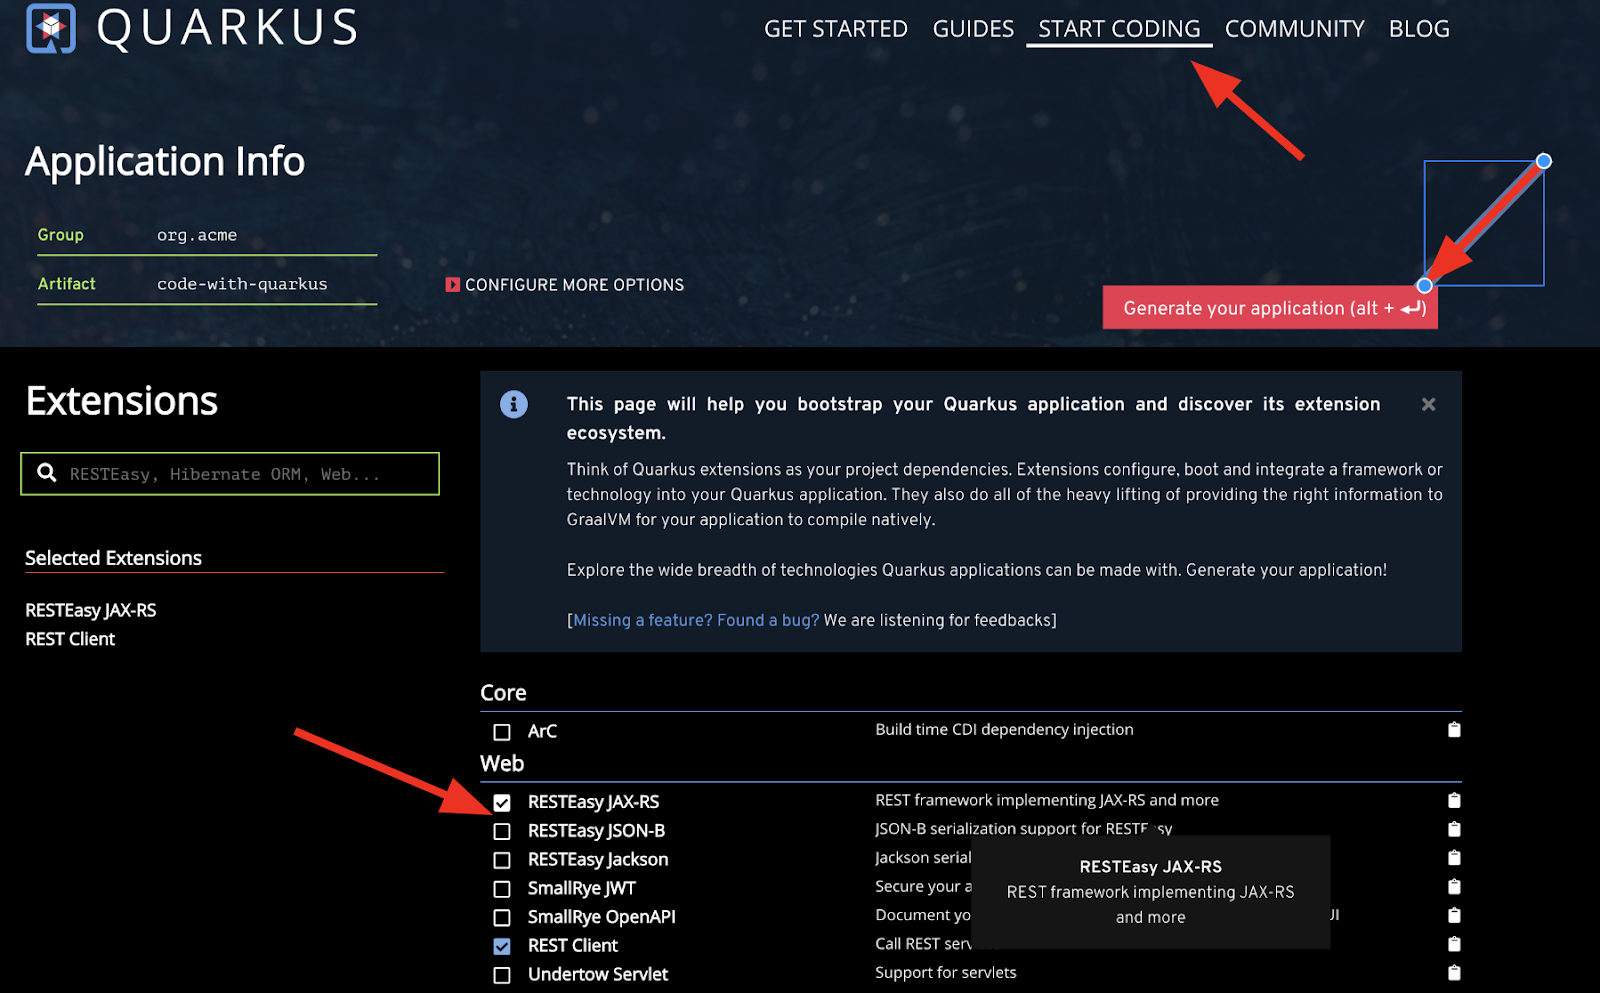
Go to Start Coding page in Quarkus.io to bootstrap the first Quarkus application using RESTEasy JAX-RS and REST Clients Extensions:
It generates a ZIP file with:
- The Maven structure
- An org.acme.ExampleResource resource exposed on /hello
- An associated unit test
- A landing page that is accessible on http://localhost:8080 after starting the application
- Example Dockerfile files for both native and jvm modes
- The application configuration file
Unzip and review skeleton codes via your preferred IDE (i.e., VSCode) like:
unzip code-with-quarkus.zip && cd code-with-quarkus
code .
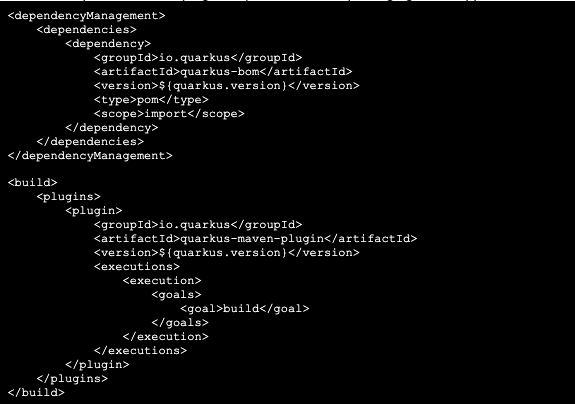
Once you’ve opened an IDE, look at the pom.xml. You will find the import of the Quarkus BOM, allowing you to omit the version on the different Quarkus dependencies. Additionally, you can see the quarkus-maven-plugin responsible for the packaging of the application and for providing the development mode.
Running the application using development mode
To run the application, you need:
- JDK 1.8+ installed with JAVA_HOME configured appropriately
- Apache Maven 3.5.3+
Now you are ready to run your application. Use: mvn compile quarkus:dev:
INFO] Scanning for projects...
INFO] ---------------------< org.acme:code-with-quarkus >---------------------
[INFO] Building code-with-quarkus 1.0.0-SNAPSHOT
[INFO] --------------------------------[ jar ]---------------------------------
[INFO]
[INFO] --- maven-resources-plugin:2.6:resources (default-resources) @ code-with-quarkus ---
[INFO] Using 'UTF-8' encoding to copy filtered resources.
[INFO] Copying 2 resources
[INFO]
[INFO] --- maven-compiler-plugin:3.8.1:compile (default-compile) @ code-with-quarkus ---
[INFO] Nothing to compile - all classes are up to date
[INFO]
[INFO] --- quarkus-maven-plugin:1.0.0.CR1:dev (default-cli) @ code-with-quarkus ---
Listening for transport dt_socket at address: 5005
2019-11-09 08:03:20,900 INFO  [io.qua.dep.QuarkusAugmentor] (main) Beginning quarkus augmentation
2019-11-09 08:03:21,685 INFO  [io.qua.dep.QuarkusAugmentor] (main) Quarkus augmentation completed in 785ms
2019-11-09 08:03:22,125 INFO  [io.quarkus] (main) Quarkus 1.0.0.CR1 started in 1.364s. Listening on: http://0.0.0.0:8080
2019-11-09 08:03:22,126 INFO  [io.quarkus] (main) Profile dev activated. Live Coding activated.
2019-11-09 08:03:22,126 INFO  [io.quarkus] (main) Installed features: [cdi, resteasy]
Once the application has started, open a web browser to request the provided endpoint: http://localhost:8080/hello
Change codes
Modify the return string to “Welcome, Quarkus Cheat Sheet” in hello() method. Remember to save the file:
public String hello() {
    return "Welcome, Quarkus Cheat Sheet";
}
Go back to the web browser then reload the page. The application will be redeployed magically without restarting the runtime:
Hit CTRL+C to stop the application, but you can also keep it running and enjoy the blazing fast hot-reload.
Packaging and run the application
The application is packaged using mvn clean package -DskipTests. It produces two jar files:
- code-with-quarkus-1.0.0-SNAPSHOT.jar: Containing just the classes and resources of the projects, it’s the regular artifact produced by the Maven build.
- code-with-quarkus-1.0.0-SNAPSHOT-runner.jar: An executable jar. Be aware that it’s not an über-jar as the dependencies are copied into the target/lib directory.
Run the application if the endpoint works at the development mode:
$ java -jar target/code-with-quarkus-1.0.0-SNAPSHOT-runner.jar
2019-11-09 08:01:14,240 INFO  [io.quarkus] (main) code-with-quarkus 1.0.0-SNAPSHOT (running on Quarkus 1.0.0.CR1) started in 0.660s. Listening on: http://0.0.0.0:8080
2019-11-09 08:01:14,289 INFO  [io.quarkus] (main) Profile prod activated.
2019-11-09 08:01:14,289 INFO  [io.quarkus] (main) Installed features: [cdi, resteasy]

// Run the curl command in a new terminal
$ curl http://localhost:8080/hello
Welcome, Quarkus Cheat Sheet
Building a native executable
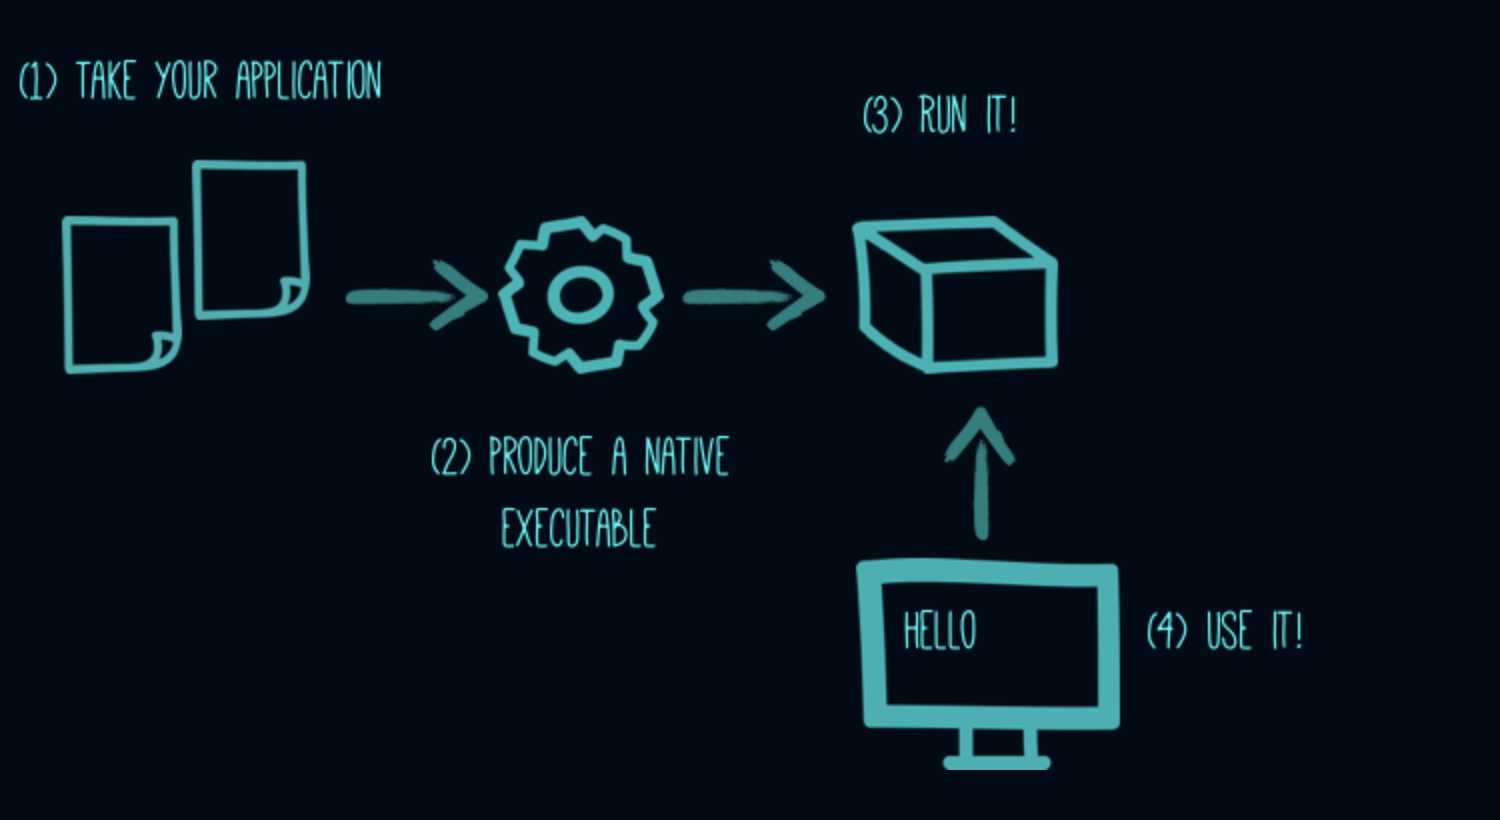
Let’s now produce a native executable for our application. It improves the startup time of the application and produces a minimal disk footprint. The executable would have everything to run the application including the "JVM" (shrunk to be just enough to run the application) and the application.
Install GraalVM and configure the environment
To build a native executable image, you need:
- Install GraalVM community edition at least version 19.1.1 in GraalVM web site.
- Run
gu install native-imagefrom your GraalVM directory - The GRAALVM_HOME environment variable configured as below:
Linux:
export GRAALVM_HOME=$HOME/Development/graalvm/
macOS:
export GRAALVM_HOME=$HOME/Development/graalvm/Contents/Home/
Before going further, be sure that the GRAALVM_HOME environment variable is configured appropriately.
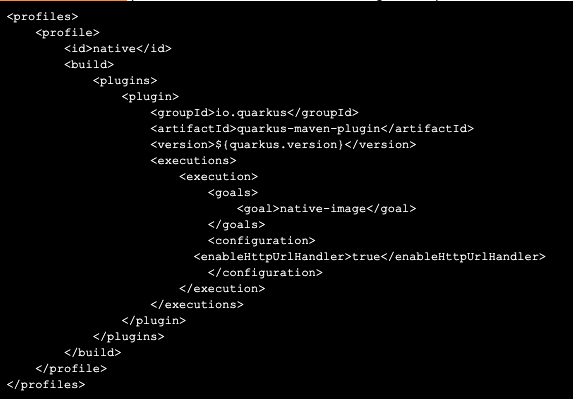
You will use “native” profile to build a native executable image in the pom.xml:
Create a native executable and run it
Run mvn clean package -DskipTests -Pnative. It will take a few minutes to produce the image:
...
[code-with-quarkus-1.0.0-SNAPSHOT-runner:86834]     (clinit):     438.26 ms
[code-with-quarkus-1.0.0-SNAPSHOT-runner:86834]     universe:   1,174.98 ms
[code-with-quarkus-1.0.0-SNAPSHOT-runner:86834]      (parse):   2,329.86 ms
[code-with-quarkus-1.0.0-SNAPSHOT-runner:86834]     (inline):   3,247.13 ms
[code-with-quarkus-1.0.0-SNAPSHOT-runner:86834]    (compile):  27,917.55 ms
[code-with-quarkus-1.0.0-SNAPSHOT-runner:86834]      compile:  35,768.02 ms
[code-with-quarkus-1.0.0-SNAPSHOT-runner:86834]        image:   2,067.69 ms
[code-with-quarkus-1.0.0-SNAPSHOT-runner:86834]        write:     885.91 ms
[code-with-quarkus-1.0.0-SNAPSHOT-runner:86834]      [total]:  70,647.15 ms
[INFO] [io.quarkus.deployment.QuarkusAugmentor] Quarkus augmentation completed in 73212ms
[INFO] ------------------------------------------------------------------
[INFO] BUILD SUCCESS
[INFO] ------------------------------------------------------------------
[INFO] Total time:  01:17 min
[INFO] Finished at: 2019-11-09T08:05:40+09:00
[INFO] ------------------------------------------------------------------
Let’s run the native executable:
./target/code-with-quarkus-1.0.0-SNAPSHOT-runner
2019-11-09 08:07:24,786 INFO  [io.quarkus] (main) code-with-quarkus 1.0.0-SNAPSHOT (running on Quarkus 1.0.0.CR1) started in 0.013s. Listening on: http://0.0.0.0:8080
2019-11-09 08:07:24,787 INFO  [io.quarkus] (main) Profile prod activated.
2019-11-09 08:07:24,787 INFO  [io.quarkus] (main) Installed features: [cdi, resteasy]
It takes just 13 milliseconds to run our microservices. You will find the same result exactly when you go back to the web browser then reload the endpoint page:
Hit CTRL+C to stop the application before moving to the next step.
Deploying on Kubernetes
Now, you will deploy the optimized microservice application on immutable infrastructure, Kubernetes cluster. You can install own Kubernetes cluster here.
Containerize the application
The project generation has provided a Dockerfile.native in the src/main/docker directory with the following content:
FROM registry.access.redhat.com/ubi8/ubi-minimal
WORKDIR /work/
COPY target/*-runner /work/application
RUN chmod 775 /work
EXPOSE 8080
CMD ["./application", "-Dquarkus.http.host=0.0.0.0"]
Then, you need to push the Docker image to the image registry of your Kubernetes cluster. Depending on your cluster, there are several ways. For Minikube, execute:
eval $(minikube docker-env)

docker build -f src/main/docker/Dockerfile.native -t
quarkus-cheatsheet/myapp .
Deploy the application in Kubernetes
Once the image has been pushed to the Kubernetes image registry, instantiate the application as follows:
kubectl run quarkus-cheatsheet --image=quarkus-cheatsheet/myapp:latest --port=8080 --image-pull-policy=IfNotPresent

kubectl expose deployment quarkus-cheatsheet --type=NodePort
The application is now exposed as an internal service. If you are using Minikube, you can access it using:
curl $(minikube service quarkus-quickstart --url)/hello

Welcome, Quarkus Cheat Sheet
More Quarkus guides
- Get started with Quarkus course (estimated time: 10 minutes)
- Red Hat Developer Quarkus courses
- Get started with Eclipse Che 7 and Quarkus: An overview
- Quarkus: Supersonic, subatomic Java
- From zero to Quarkus and Knative: The easy way
- Create your first Quarkus project with Eclipse IDE (Red Hat CodeReady Studio)
The Quarkus site provides additional practical and useful guides on how to develop microservices/cloud-native apps/serverless using Quarkus extensions with common use cases:
- Contexts and Dependency Injection
- Using SSL With Native Images
- Using JWT RBAC
- Simplified Hibernate ORM with Panache
- Using Apache Kafka Streams
- Using Keycloak to Protect JAX-RS Applications
- Deploying Native Applications on Kubernetes or OpenShift
- Using OpenTracing and Collecting Metrics
- Building Applications with Maven
- Using the Quarkus Extension for Spring DI API
