vLLM lets you serve nearly any LLM on a wide variety of hardware. However, that hardware can be quite expensive, and you don't want to be burning money with idle GPU resources. Instead, you can maximize your GPU resource utilization with KServe's autoscaling capabilities in Red Hat OpenShift AI to autoscale your model servers.
Autoscaling capabilities overview
OpenShift AI leverages the Kubeflow KServe project to orchestrate workloads. KServe supports serving models in both a Serverless mode (aka Advanced mode in the OpenShift AI dashboard UI) as well as a RawDeployment (aka Standard mode in the OpenShift AI dashboard UI). Serverless utilizes the Knative (Red Hat OpenShift Serverless) operator and Istio (Red Hat OpenShift Service Mesh), while RawDeployment mode uses normal Kubernetes Deployments.
As of OpenShift AI 2.22, the latest stable release at this time of writing, KServe supports "advanced" autoscaling with the Serverless deployment mode. This mode lets you scale your model servers using Knative based on the number of concurrent requests and several other options (you can read more about them in the Knative documentation). Knative also lets you scale your model servers to zero when they are not in use.
KServe also supports autoscaling your model servers with RawDeployments, but the autoscaling metrics are limited to CPU and memory utilization. This is not very helpful because the majority of our workloads are limited by the GPU. In future OpenShift AI releases, KServe will support autoscaling RawDeployments using KEDA. This will provide similar capabilities to scale model servers using the number of pending requests, similar to how the Serverless mode functions.
In this article, we will discuss the Serverless autoscaling capabilities.
Prerequisites
To use the autoscaling capabilities within OpenShift AI, you will need:
- The NVIDIA GPU Operator with the Node Feature Discovery Operator configured, plus a compatible GPU node in your cluster.
- The Red Hat OpenShift Serverless, Red Hat OpenShift Service Mesh 2, and (optional) Authorino operators.
- The Red Hat OpenShift AI operator deployed and configured with a managed Service Mesh instance.
- Additionally, you need to configure a Hardware or Accelerator Profile for your NVIDIA GPU node in OpenShift AI.
For more information on setting up and installing OpenShift AI, refer to the official docs.
Deploying the initial model
To start, from the OpenShift AI dashboard, create a new data science project called
autoscaling-demoand navigate to the Models tab, as shown in Figure 1. If prompted, select the option for Single-model serving.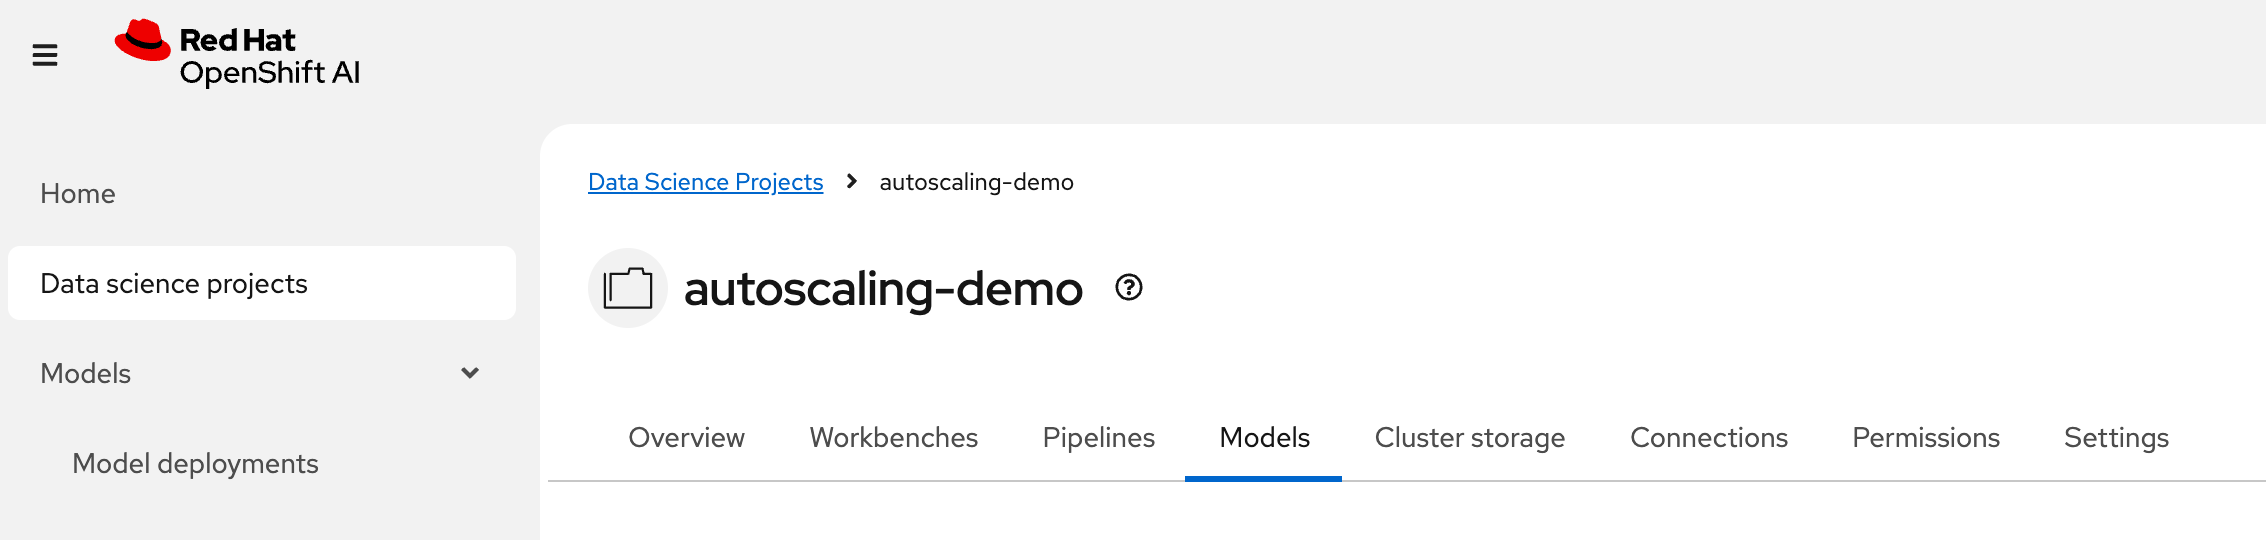
Figure 1: The autoscaling-demo project in OpenShift AI. Select the Deploy model option and enter the following details (Figure 2). As mentioned before, we will use the Serverless deployment mode, which is labeled as Advanced in the OpenShift AI dashboard.
- Model deployment name: llama-3.1-8b-instruct
- Serving runtime: vLLM NVIDIA GPU ServingRuntime for KServe
- Deployment mode: Advanced
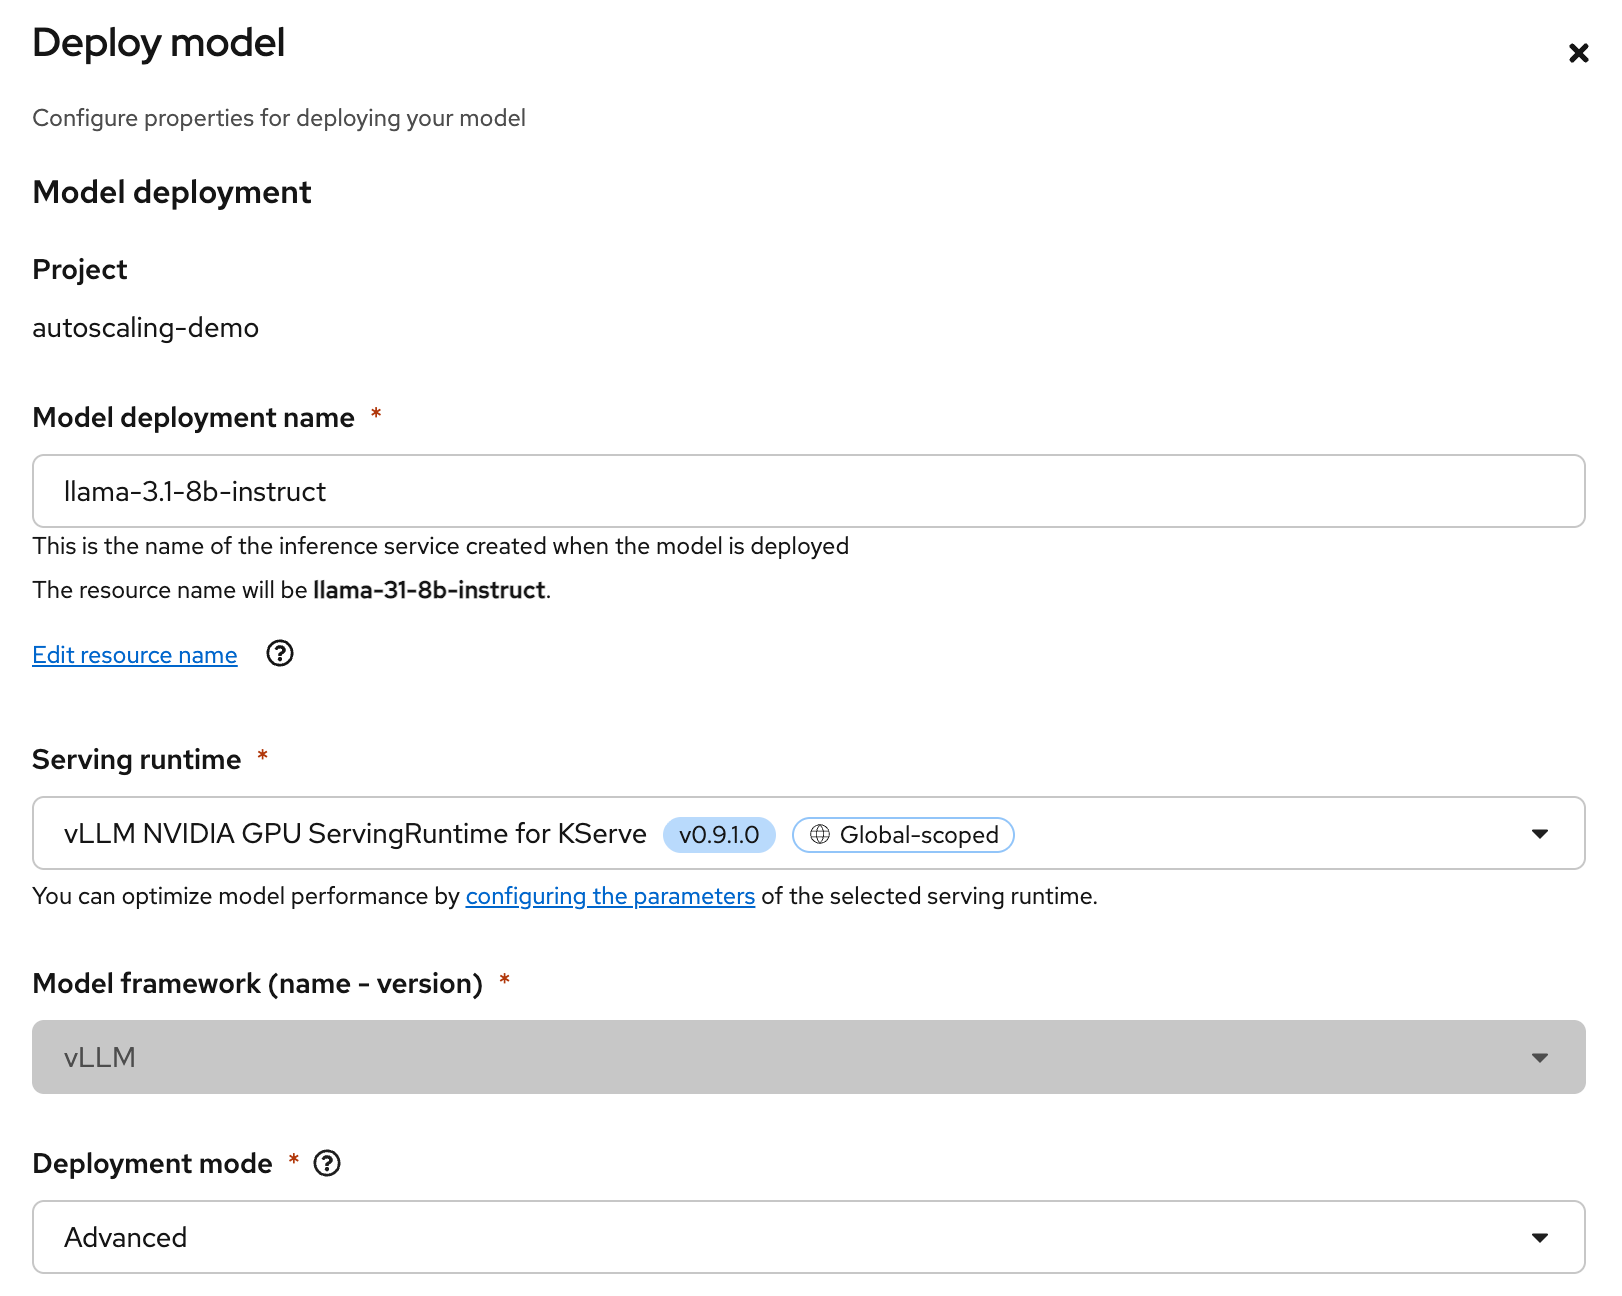
Figure 2: Configuring the deployment. Next, set the minimum number of replicas to 1 and the maximum replicas to 2. We will modify this later on to enable some of the autoscaling capabilities.
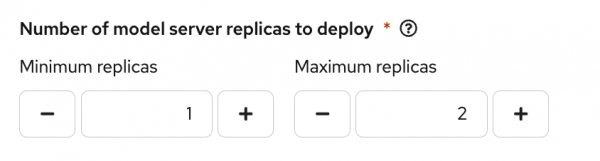
Figure 3: Adjust the number of model server replicas. Then, select the
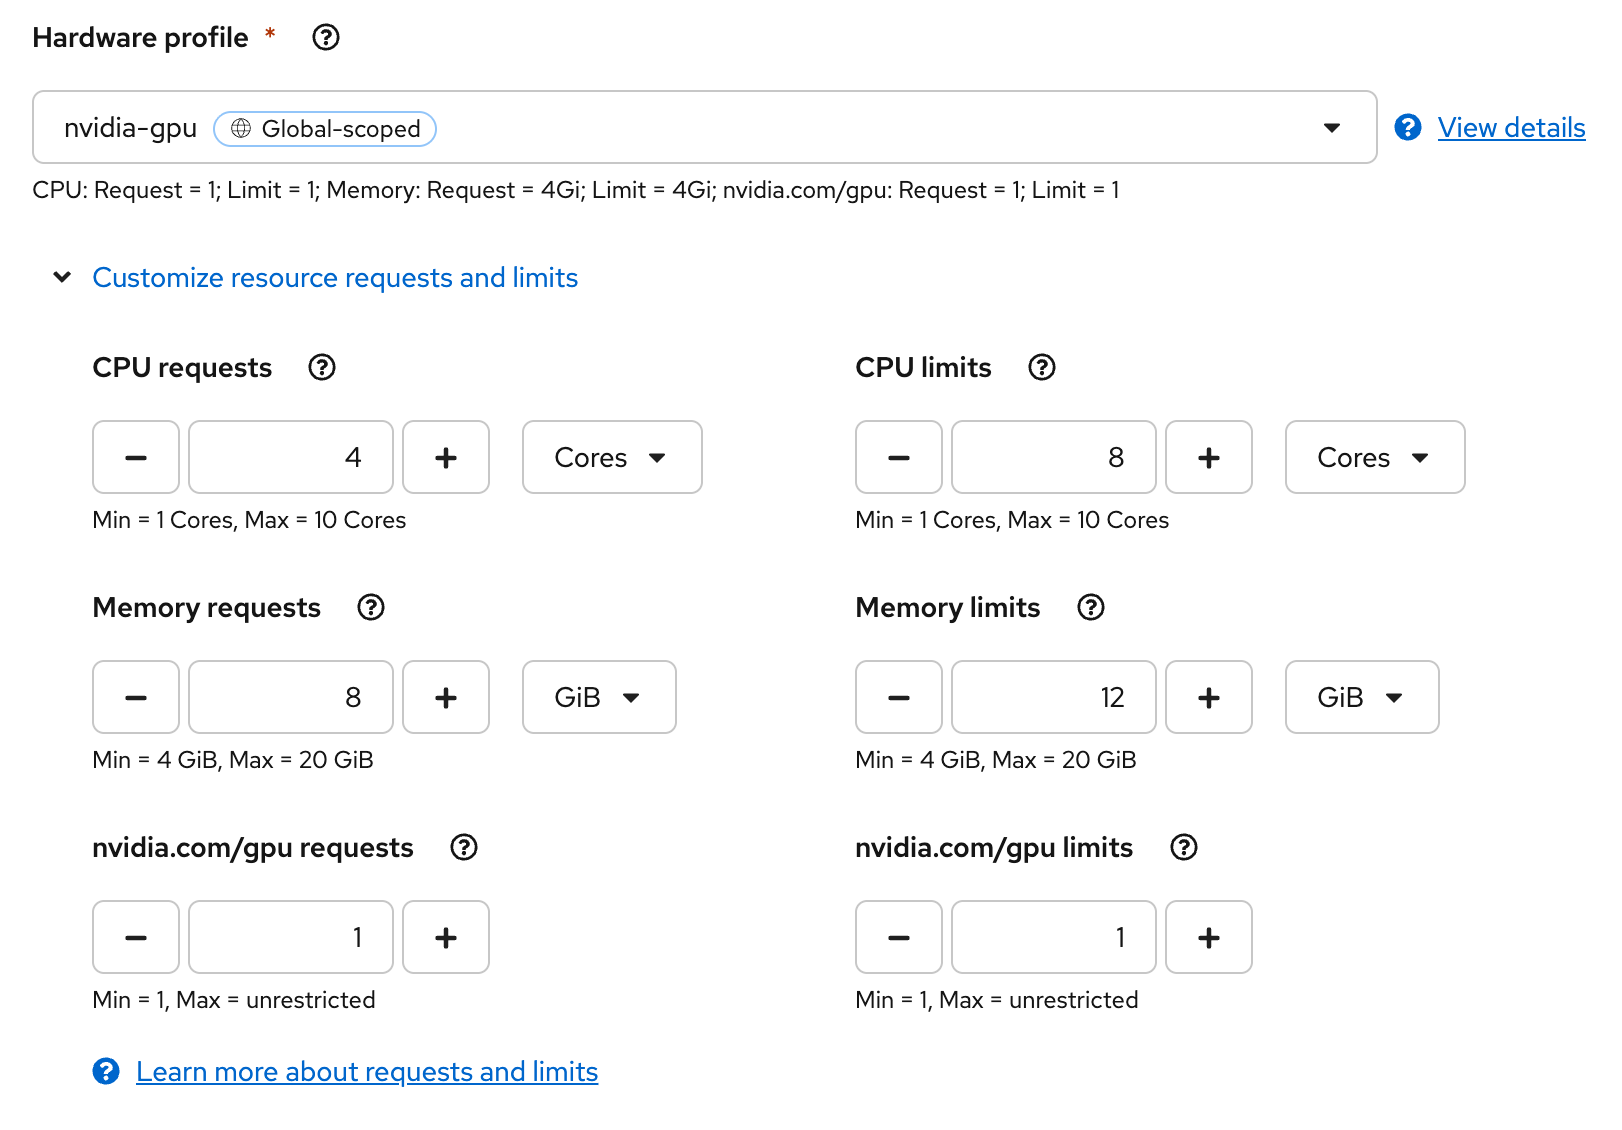
nvidia-gpuHardware or Accelerator Profile, depending on which option you configured when setting up OpenShift AI. The following customizations are a decent starting point for our model (Figure 3):- CPU requests: 4
- Memory requests: 8
- nvidia.com/gpu requests: 1
- CPU limits: 8
- Memory limits: 12
- nvidia.com/gpu limits: 1
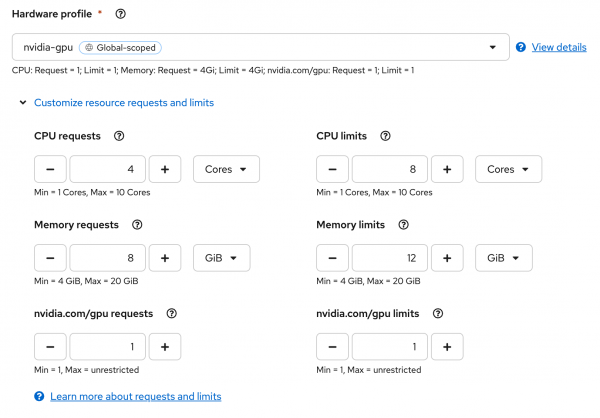
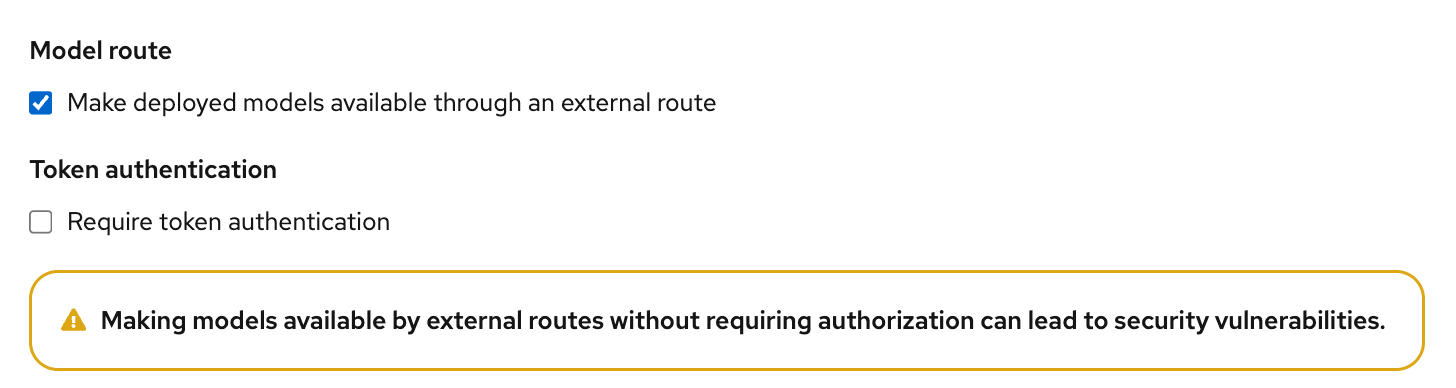
Figure 4: Customizing resource requests and limits for the nvidia-gpu Hardware or Accelerator Profile. (Your UI might look slightly different if you are utilizing Accelerator Profiles.) Next, select the option for Model route, but uncheck the option for Token authentication to make it easier to interact with the model. (See Figure 5.)
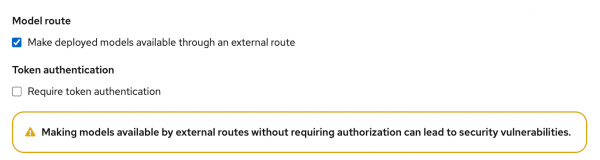
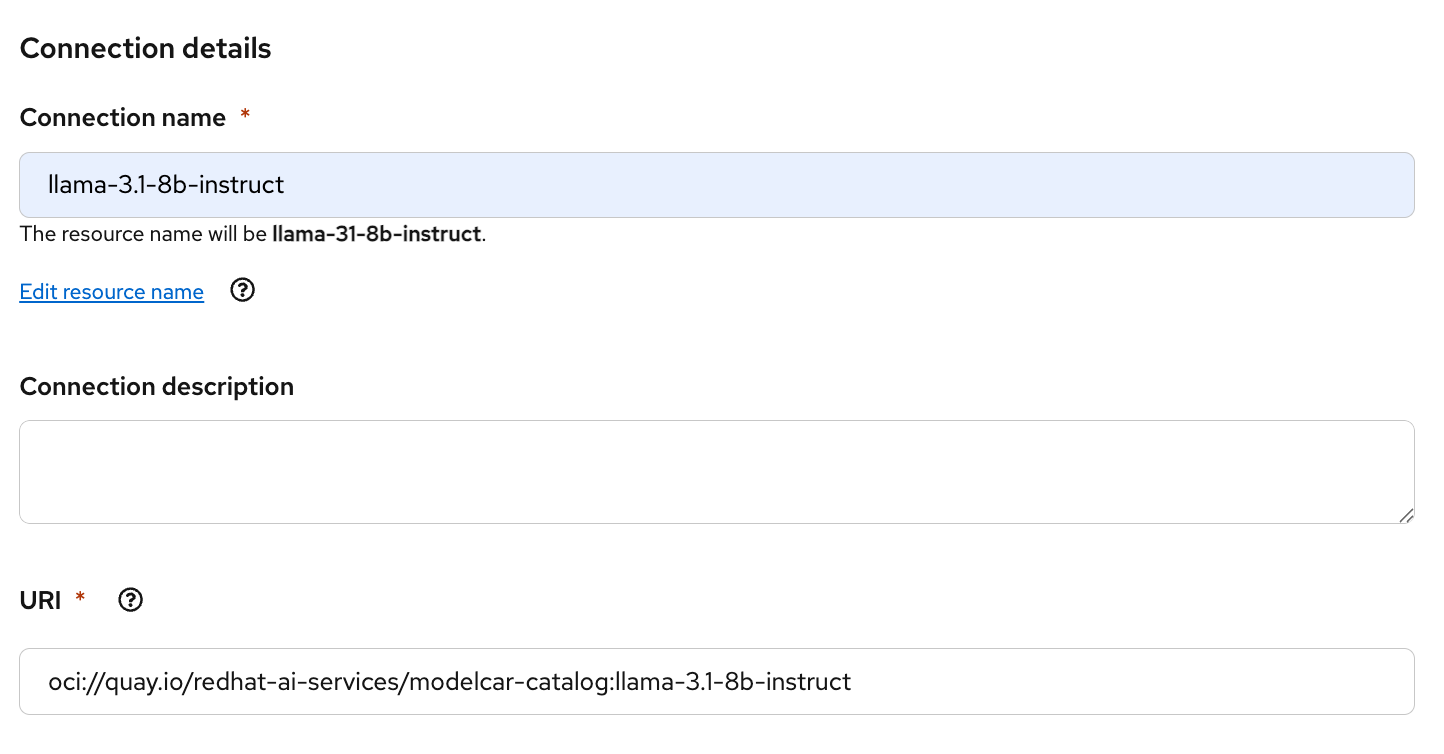
Figure 5: Configure the model route and remove the token authentication requirement. For the Connection type, select the option for URI - v1. Give it a name and enter the following for the URI, as shown in Figure 6:
oci://quay.io/redhat-ai-services/modelcar-catalog:llama-3.1-8b-instruct
Figure 6: Configure the connection details. We will deploy our model using a ModelCar container, which has prepackaged all the model files into an OCI container image. To learn more about ModelCar containers, take a look at the article Build and deploy a ModelCar container in OpenShift AI.
Finally, because I am using a smaller GPU (A10G with 24 GB of VRAM), I need to limit the size of the KVCache for vLLM. In my case, I will set
--max-model-len=10000. This is quite a bit smaller than what my GPU will support, but it is large enough for this demo. After configuring the option in the Additional serving runtime arguments, select Deploy. (See Figure 7.)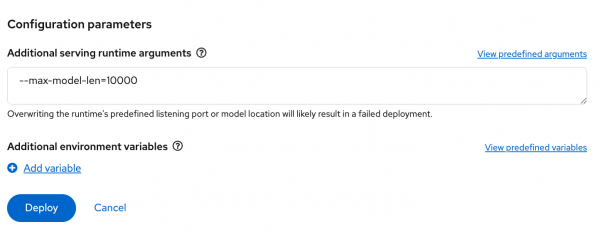
Figure 7: Setting the serving runtime argument to limit the size of the KVCache for vLLM. From the OpenShift web console, navigate to the Pods section with the
autoscaling-demonamespace selected to see that the vLLM pod has successfully started, or run the following command:oc get pods -n autoscaling-demoTo test the endpoint, get the URL for the route you created from the OpenShift AI dashboard, as shown in Figure 8.

Figure 8: Select Internal and external endpoint details to get the external endpoint URL. You can then use a simple
curlcommand to ensure you get a response from the model server.curl https://<my-model-endpoint>/v1/modelsKeep this command handy, as you will use it again.


Scale to zero
Scale to zero lets you reduce the number of model server replicas to none when the model server is not in use. This can significantly reduce the cost of running a model server that is seldom utilized.
To enable the scale to zero capabilities, update the Minimum replicas option on the model server to 0 and select Redeploy. You should see your model server pod go into a Terminating state.
If you run the curl command again, you will see the pod get recreated. However, the pod will likely not start before the curl command times out. Even after the pod does become ready, it will start terminating again immediately.
By default, Knative pretty aggressively scales the pods down when there are no pending requests. Because our vLLM pod takes some time to start, this isn't ideal. We need to configure an option to let our pod stick around a bit longer.
To do this, you need to modify the InferenceService object that the OpenShift AI dashboard created for you. The easiest way to edit this object is to navigate to Home -> Search section of the OpenShift web console. Then, select the Resources drop-down menu and select the InferenceService object.
Add the following annotation to the spec.predictor section of the InferenceService object.
spec:
  predictor:
    annotations:
      autoscaling.knative.dev/scale-to-zero-pod-retention-period: 1m
You should now see your pod staying in the Ready state for 1 minute after your last request. Once it goes back to the terminating state, trigger your curl command again; this time, the pod should remain available for a bit longer. In a real-world scenario, you might want to increase the retention time.
Limitations of scale-to-zero
As you have seen, the time it takes to start even a relatively small model like Llama 3.1 8b Instruct is not insignificant. The startup time gets even worse when you are actively scaling GPU nodes and a GPU node is not ready for the model server to use.
This startup time is not ideal for use cases where an end user expects an immediate response from an LLM. However, if your LLM is used by a pipeline, you can add a simple task that triggers the model to scale and waits for it to be ready before using it. Additionally, if your model is only occasionally being used in a development environment, developers can easily trigger the model to scale it up, complete their testing, and allow it to scale it back down when it isn't needed.
Scaling up
In addition to being able to scale a model server to zero, you can also scale a model server up to multiple replicas as the number of requests increases.
By default, KServe uses Knative's concurrency mode to manage scaling. Concurrency allows the model server to scale up based on the number of queued requests for the model server to process. However, the default target concurrency is 100 requests per pod, which is more than the model server can handle before requests start getting backed up.
For testing purposes, we will set the scaling threshold very low to see the scaling in action. To set this value, set the Knative target concurrency annotation on the InferenceService object. Additionally, you will want to configure the time it takes before Knative attempts to scale down the pods by setting a scale-down-delay annotation.
spec:
  predictor:
    annotations:
      autoscaling.knative.dev/target: "2"
      autoscaling.knative.dev/scale-down-delay: "10m"
Now the model server will start to scale once it has 2 requests queued. It will remain running for up to 10 minutes after it has scaled before it attempts to scale it back down.
To trigger the scaling, use the following script, which will fire off several requests to the LLM without waiting for a response.
API_BASE_URL="https://<my-model-endpoint>/v1"
MODEL_NAME="llama-31-8b-instruct"
NUM_REQUESTS=10
for i in $(seq 1 $NUM_REQUESTS); do
    curl -X POST "$API_BASE_URL/chat/completions" \
        -H "Content-Type: application/json" \
        -d '{
            "model": "'$MODEL_NAME'",
            "messages": [{"role": "user", "content": "Test request #'$i'"}],
            "max_tokens": 1000
        }' \
        --silent \
        > /dev/null 2>&1 &
done
After running the script, you should see a new pod that Knative automatically scaled up.
Determining how many requests is appropriate to configure as your scaling target for a model server can be tricky. It will depend on a few factors, such as the model you are serving, the GPU hardware and vRAM available, and size and shape of the queries that are being submitted to the LLM. Thankfully, tools like GuideLLM are a great place to start for performance testing to help determine how many requests your model server can handle.
Limitations of scaling up
Similar to the scale-to-zero scenario, the main issue with scaling a vLLM instance is the time that it takes to start a model server or potentially scale up a new GPU node. Because of this, you need to factor in how long it takes for a new model server instance to start and consider your use case in the configuration.
If you have minimal guarantees for responding to queries in a specific timeframe, you might scale less aggressively—for example, at 80% of your estimated queries your model server can process in parallel. However, if you have contractual obligations to respond with specific latency requirements, you might need to scale more aggressively with something like 50% of your queries.
Additionally, leaving the model server running for a longer period of time can help reduce the amount of "flapping" the scaling might create if your workloads tend to spike frequently.
Conclusion
In this article, we explored some of OpenShift AI's capabilities for scaling LLM model servers with KServe and vLLM.
While autoscaling has its limitations, it can be a valuable tool for an IT team trying to optimize the costs of the models they are serving.
