Goals
This tutorial guides you through the complete lifecycle of delivering a cloud-native integration application with Red Hat Fuse. The tutorial begins with installation and configuration of a Fuse development environment based on Red Hat CodeReady Studio. Once your development environment is set up, you will build and deploy a containerized integration to OpenShift, Red Hat's self-service container application platform. Finally, you will get experience with the administration interface of Fuse on OpenShift to understand how container-based integrations are managed at scale.
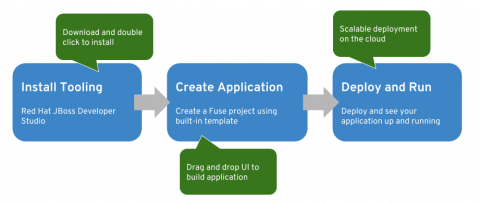
Set up your development environment
Install the Java SE Development Kit (JDK) version 11. We recommend using the Open JDK or the Oracle JDK.
Download CodeReady Studio standalone installer.
Run the CodeReady installer.
For Mac/Windows development hosts:
Navigate to the folder that contains the downloaded CodeReady Studio JAR file.
Right-click the downloaded installer named codereadystudio-0.0.0.GA-installer-standalone.jar (0.0.0 will be replaced by the version number of the installer you downloaded)
Select Open With - Jar Launcher.
For Linux development hosts:
Navigate to the folder that contains the CodeReady Studio JAR file.
Execute the installer installer named $ java -jar codereadystudio-0.0.0.GA-installer-standalone.jar
Follow the on-screen instructions to continue the installation process.
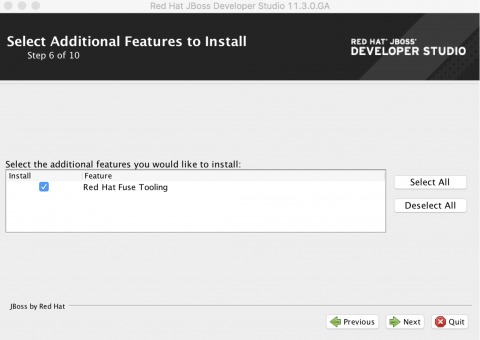
- During installation, be sure to install Red Hat Fuse Tooling on Step 6 of the wizard:
Select the option to launch Red Hat Developer Studio on the final page of the installation wizard.
Create a new Fuse Project on Red Hat OpenShift
- We are going to use the built-in Spring Boot on OpenShift template for our application. Right click in the Project Explorer pane and select New > Fuse Integration Project.
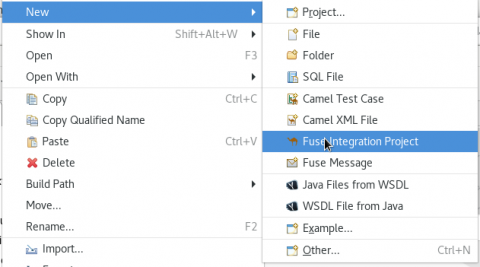
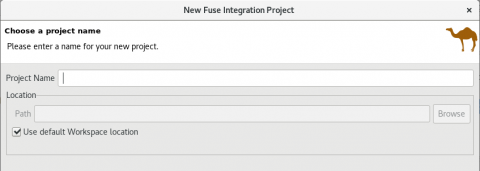
- On the Choose a Project name page, enter a project name in the Project Name field. Click Next to continue and accept the defaults for all the other fields.
- On the Select a Target Environment page, select Next to accept all the defaults.
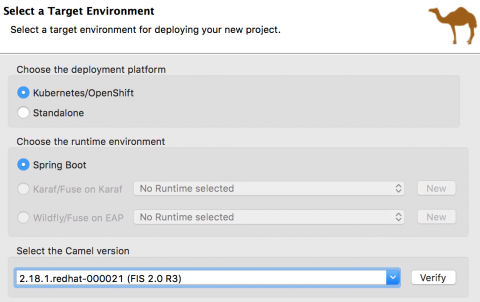
- The Advanced Project Setup page is where you select the predefined Spring Boot template.
- Select Simple log using Spring Boot - Spring DSL and click Finish.

- Once the project is created, you will be able to see your application in the Project Explorer pane. You are now ready to move on to the step of deploying your application as a container-native integration on OpenShift. The rest of this tutorial will take place in the lesson Getting Started with Fuse Tooling, an interactive environment that you'll connect to with your local install of CodeReady Studio.
Deploy and test your application
- Continue to the lesson Getting Started with Fuse Tooling.
