Page
Create and configure your workbench
To get started, we'll establish a new data science project within OpenShift AI that leverages a pre-configured TensorFlow image. This image provides a ready-to-use environment for building and training your machine learning models.
Prerequisites:
- Developer Sandbox account.
- General working knowledge of TensorFlow.
In this lesson, you will:
- Create a workbench.
- Configure a workbench.
- Verify workbench status.
- Access Jupyter Notebook.
Launch a Jupyter notebook with a TensorFlow server image
Before launching the notebook, make sure you have the Red Hat Developer Sandbox set up. If not, check here for more information.
Create a new workbench in OpenShift AI
To begin, follow these steps to create a new workbench:
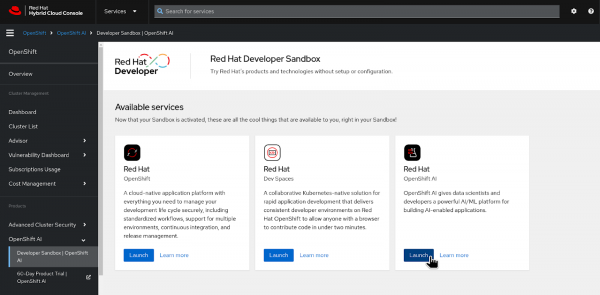
Launch the Developer Sandbox here, then select Red Hat OpenShift AI (Figure 1).

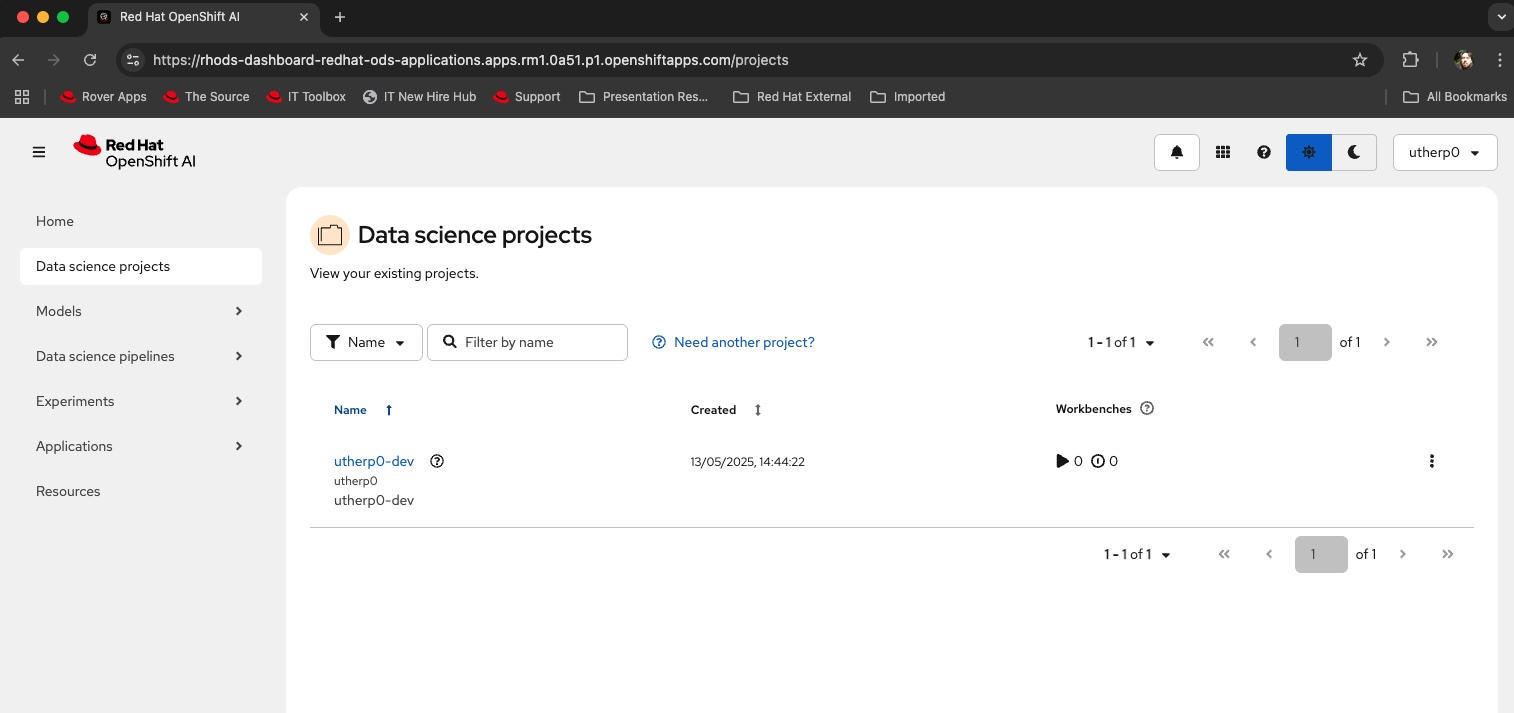
Figure 1: Launch OpenShift AI in the Developer Sandbox. Log in to OpenShift AI and navigate to Data science projects in the left menu. You will find a pre-created data science project associated with your username (Figure 2).
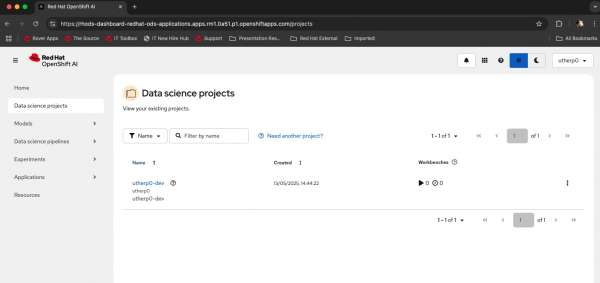
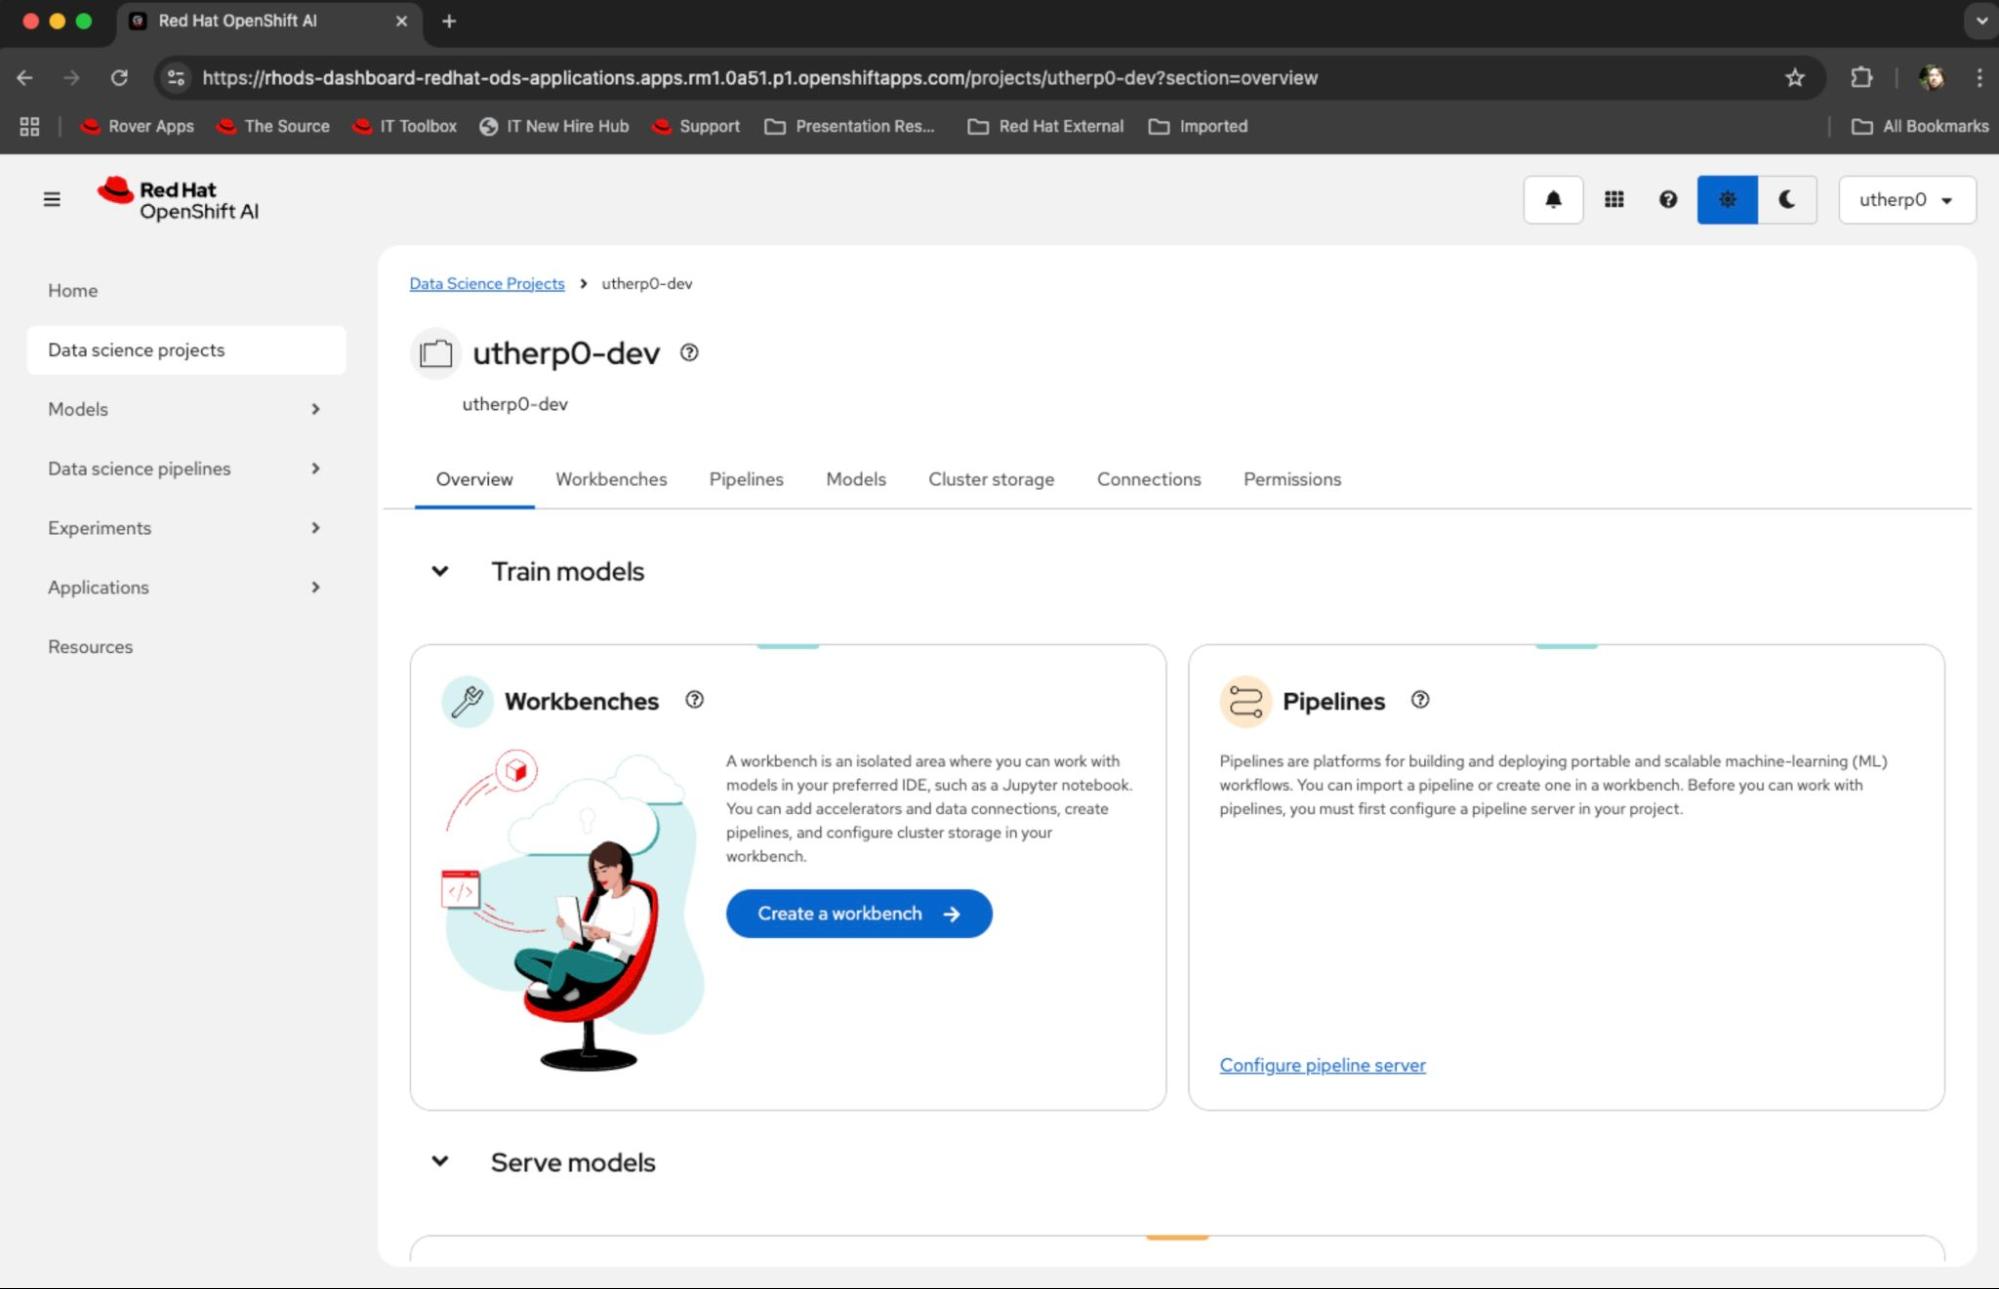
Figure 2: Select your data science project on the OpenShift AI overview page. - When you click the pre-created data science project, the overview page for the data science project will appear. On this page, the first big tile on the top left is Workbenches.
In this tile, click Create a Workbench (Figure 3).

Figure 3: Click the create a workbench button on the data science project page.
Configure the workbench
Next we’ll configure the workbench:
- Provide a descriptive name for your workbench.
- Under Notebook image, select TensorFlow and keep the version set to the default one selected.
- In the Deployment size section, choose Medium for the container size.
- Select Create workbench to initiate the creation process and launch your new workbench environment.
Verify workbench status and access Jupyter Notebook
After selecting Create workbench, monitor the workbench status. The status should eventually transition to Running, indicating the successful creation of the workbench (Figure 4).
To continue, follow these steps to access the Jupyter notebook:
Click the Open ↗ button located next to the workbench name.
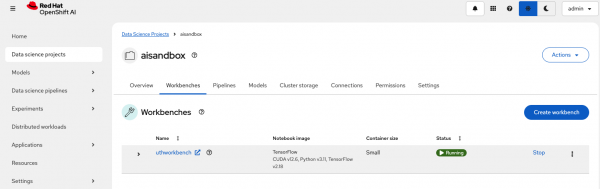
Figure 4: Workbench is in Running status. The open button displays to the right of the workbench name. - You will land on a log in page to authenticate yourself. Select DevSandbox. You may encounter a permission prompt. Select Allow selected permissions to receive the necessary access.
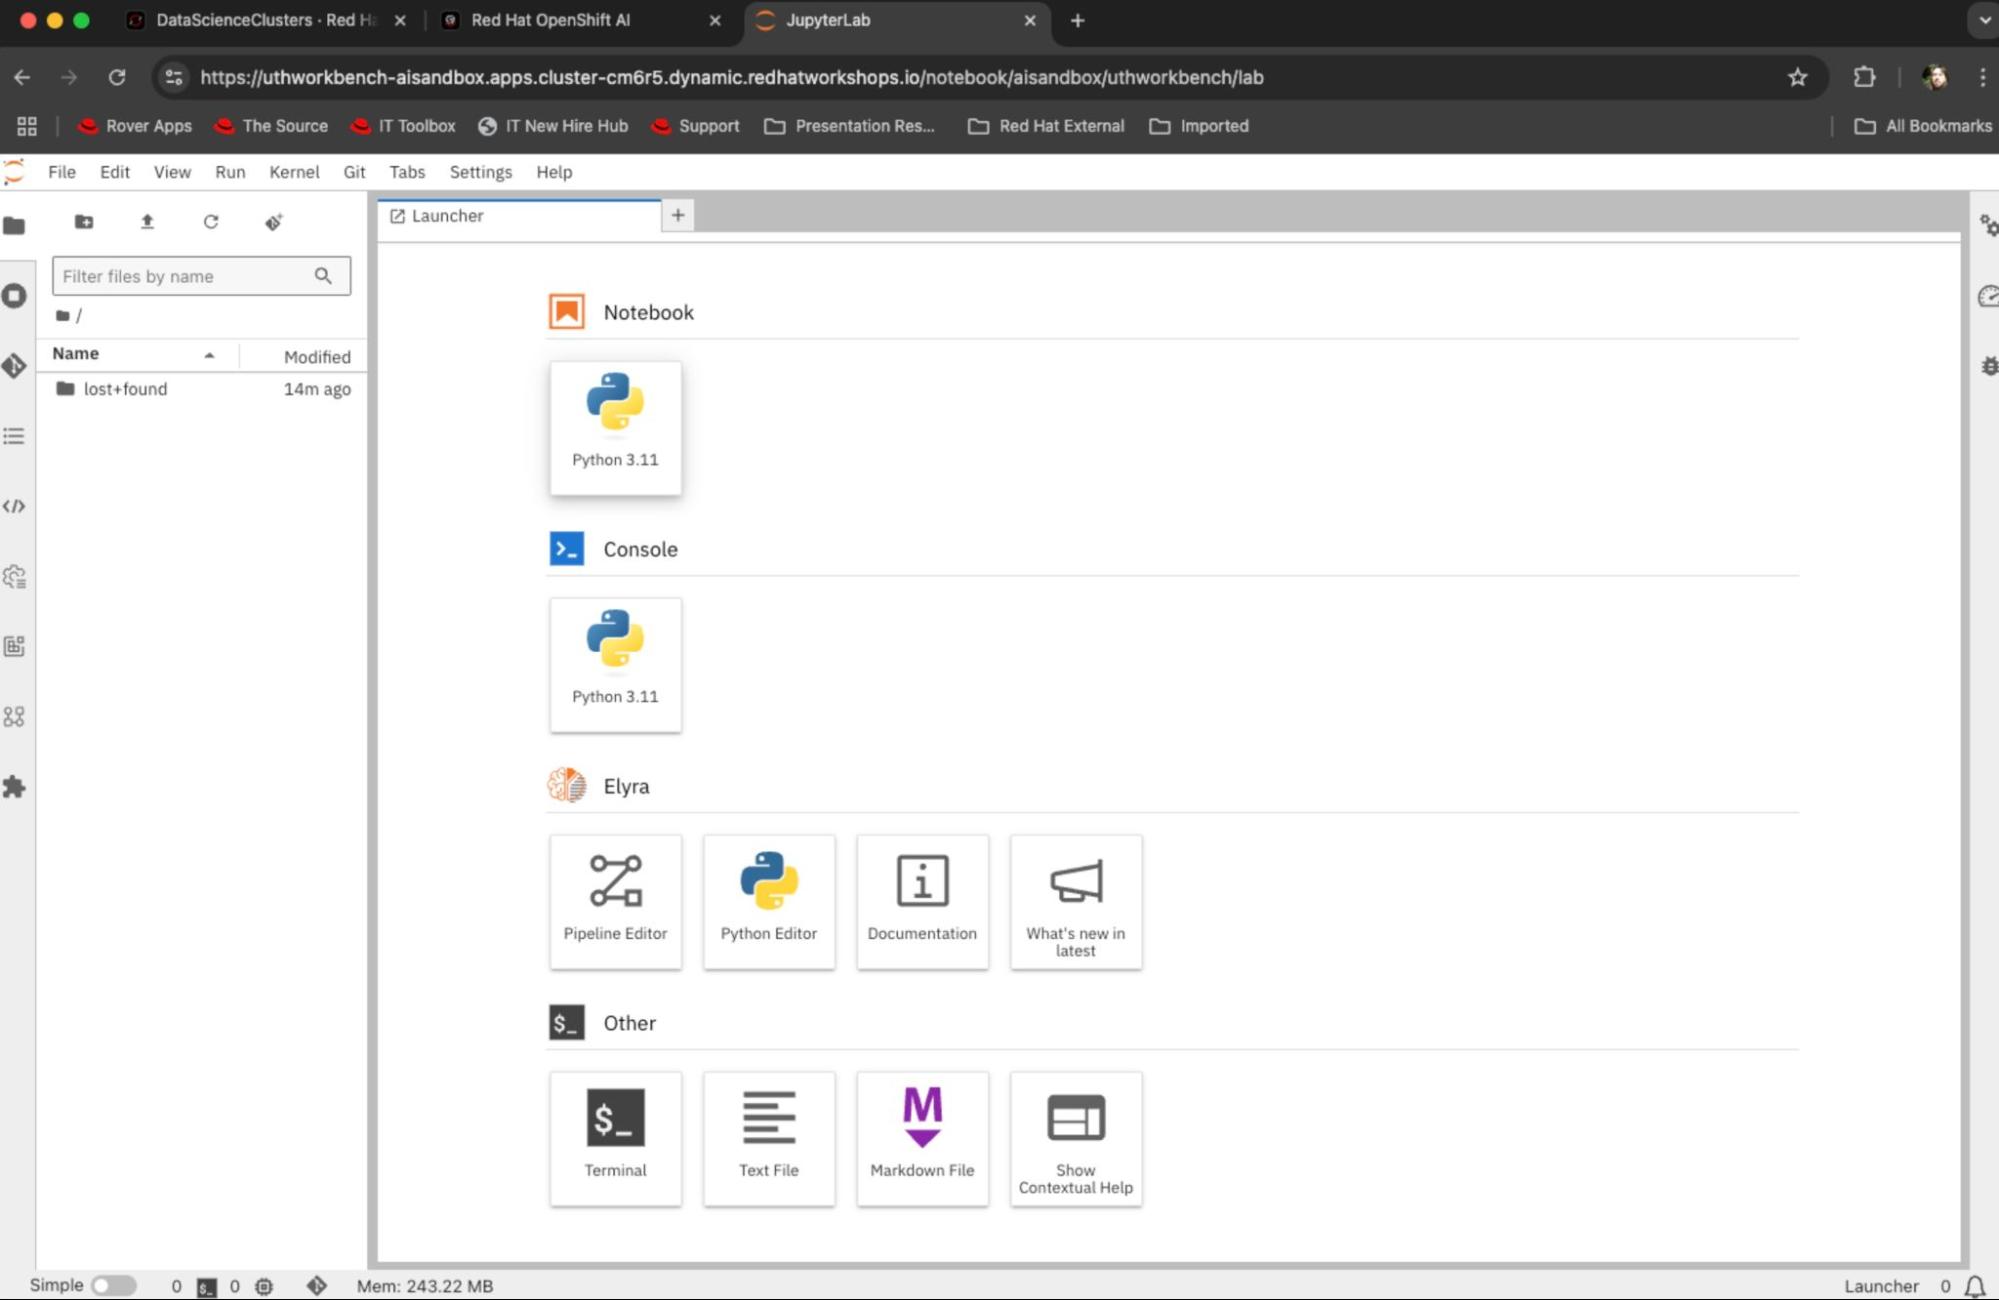
After allowing permissions, you will be redirected to the JupyterLab launcher. Select Python. The Jupyter Notebook environment will come pre-configured with TensorFlow and its dependencies (Figure 5).

Figure 5: Access the Jupyter launcher page. You will land on a blank Jupyter notebook as shown in Figure 6.
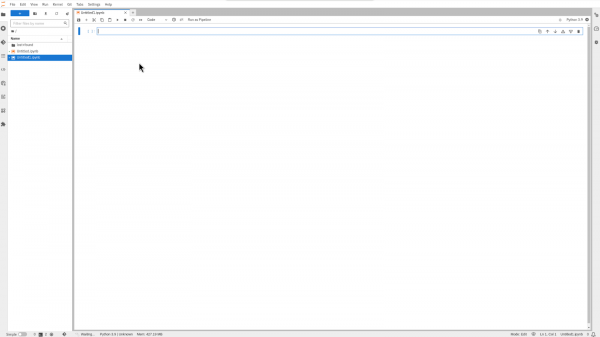
Figure 6: The Jupyter notebook is blank. Clone the following GitHub repository directly into the workbench:
https://github.com/redhat-developer-demos/openshift-ai.gitAfter cloning the repository, navigate to the
openshift-ai/4_Models_inferencingdirectory and open theFraud_detection_model_with_tensorflow.ipynbnotebook. This notebook includes all the necessary code snippets, along with detailed explanations and a discussion of the results essential for completing this learning path.The code snippets for the rest of this learning path assume that the current directory is set to
openshift-ai/4_Models_inferencing. Be sure to navigate to this directory before running the code snippets.


You’ve now successfully created and configured your workbench and accessed the Jupyter notebook. Let’s move on to using OpenShift AI to execute an experiment.