Welcome to this first episode of this series: "Unlock your [....] data with Red Hat JBoss Data Virtualization (JDV)."
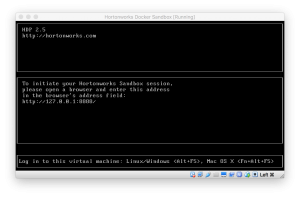
This post will guide you through an example of connecting to a Hadoop source via the Hive2 driver, using Teiid Designer. In this example we will demonstrate connection to a local Hadoop source. We're using the Hortonworks 2.5 Sandbox running in Virtual Box for our source, but you can connect to another Hortonwork source if you wish using the same steps.
Hortonworks provides Hive JDBC and ODBC drivers that let you connect popular tools to query, analyze and visualize data stored within the Hortonworks Data Platform (HDP).
Note: we support HBase as well, stay tuned for an episode of Unlock your HBase data with Hortonworks and JDV.
Setup
- JDV 6.3 environment
Download: https://developers.redhat.com/products/datavirt/overview
Install: https://developers.redhat.com/products/datavirt/overview
We will refer to the installation directory of JDV 6.3 as $JDV_HOME. - VirtualBox
Download: https://www.virtualbox.org/wiki/Downloads
Install: https://www.virtualbox.org/manual/ch02.html - HDP Sandbox 2.5 environment for VirtualBox
Download: https://hortonworks.com/products/hortonworks-sandbox/#install
Note: at the time of this blog post the version of HDP Sandbox is 2.5. Hortonworks updates the HDP Sandbox regularly.
Install: https://hortonworks.com/products/hortonworks-sandbox/#install - HDP Hive JDBC jars
JDV require access to the following jar files to successfully use the Hive JDBC driver to connect to the Hortonworks Sandbox environment in both HTTP and HTTPS modes, you can download them from the HDP Hive JDBC driver archive.
Download: hive-jdbc-standalone.jar, hadoop-common.jar, and hadoop-auth.jar.
We will refer to the directory of these jar files as $HOME/hdp. - Red Hat JBoss Developer Studio (JBDS) 9.1.0 with Teiid Designer plugins
Download: https://developers.redhat.com/download-manager/file/jboss-devstudio-9.1.0.GA-installer-eap.jar
Install: https://developers.redhat.com/products/datavirt/overview
Configure
- Create a JBoss module directory for the HDP Hive2 JDBC driver
$ cd $JDV_HOME
$ mkdir -p modules/system/layers/dv/org/apache/hadoop/hive2/main
Note: copy the previously downloaded HDP Hive JDBC jar files to modules/system/layers/dv/org/apache/hadoop/hive2/main
- Create a module.xml file with content seen below, in the JBoss modules directory created in our previous step
<?xml version="1.0" encoding="UTF-8"?> <module xmlns="urn:jboss:module:1.0" name="org.apache.hadoop.hive2"> <resources> <resource-root path="hadoop-auth-2.7.3.2.5.0.0-1245.jar"/> <resource-root path="hadoop-common-2.7.3.2.5.0.0-1245.jar"/> <resource-root path="hive-jdbc-1.2.1000.2.5.0.0-1245-standalone.jar"/> </resources> <dependencies> <module name="org.slf4j"/> <module name="org.apache.commons.logging"/> <module name="javax.api"/> <module name="javax.resource.api"/> </dependencies> </module> - Start your local JDV 6.3 environment
$ cd $JDV_HOME/bin
$ ./standalone.sh
- Add HDP Hive2 JDBC driver
$ cd $JDV_HOME/bin
$ ./jboss-cli.sh
[disconnected /] connect localhost:10099
[standalone@localhost:10099 /] /subsystem=datasources/jdbc-driver=hdp-sandbox:add(driver-name=hdp-sandbox,driver-module-name=org.apache.hadoop.hive2,driver-class-name=org.apache.hive.jdbc.HiveDriver)
- Add HDP Hive2 Datasource and enable it
[standalone@localhost:10099 /] data-source add --name=HDPHive2 --jndi-name=java:/HDPHive2DS --connection-url=jdbc:hive2://localhost:10000/default --driver-name=hdp-sandbox --user-name=maria_dev --password=maria_dev
[standalone@localhost:10099 /] data-source enable --name=HDPHive2
What about automating configuration ?
A question you might ask: Can we automate the above configuration steps?
The answer is yes. we can, with Ansible, by Red Hat.

As you can imagine, I like drinking our own champagne (cool-aid).
Ansible is a radically simple IT automation engine that automates cloud provisioning, configuration management, application deployment, intra-service orchestration, and many other IT needs. It uses no agents and no additional custom security infrastructure, so it’s easy to deploy – and most importantly, it uses a very simple language (YAML, in the form of Ansible Playbooks) that allow you to describe your automation jobs in a way that approaches plain English.
For your convenience most of the steps are automated in an ansible playbook called hdphive2 on github and to run you only need to run one command and you should see similar output as shown below:
$ cd unlock-your-data/hdphive2
$ ansible-playbook local.yml
PLAY [Configure local JBoss Data Virtualization with HDP Hive2 JDBC driver] ****

TASK [setup] *******************************************************************
ok: [localhost]

TASK [Create JBoss module directory for the HDP Hive2 JDBC driver] *************
changed: [localhost]

TASK [Download HDP Hive JDBC jar files] ****************************************
changed: [localhost] => (item=http://repo.hortonworks.com/content/repositories/releases/org/apache/hadoop/hadoop-auth/2.7.3.2.5.0.0-1245/hadoop-auth-2.7.3.2.5.0.0-1245.jar)
changed: [localhost] => (item=http://repo.hortonworks.com/content/repositories/releases/org/apache/hadoop/hadoop-common/2.7.3.2.5.0.0-1245/hadoop-common-2.7.3.2.5.0.0-1245.jar)
changed: [localhost] => (item=http://repo.hortonworks.com/content/repositories/releases/org/apache/hive/hive-jdbc/1.2.1000.2.5.0.0-1245/hive-jdbc-1.2.1000.2.5.0.0-1245-standalone.jar)

TASK [Copy module.xml into JBoss modules directory] ****************************
changed: [localhost]

TASK [Execute Management CLI file(s)] ******************************************
changed: [localhost] => (item=add_datasource.cli)
changed: [localhost] => (item=add_driver.cli)

PLAY RECAP *********************************************************************
localhost : ok=5 changed=4 unreachable=0 failed=0
See http://github.com/cvanball/unlock-your-data/tree/master/hdphive2 for more information.
Steps to unlock your Hadoop data
-
- Start your local JDV 6.3 environment
$ cd $JDV_HOME/bin
$ ./standalone.sh
- Start your local HDP Sandbox environment
 Note: Before starting the HDP Sandbox environment please change the port 8080 to 8070 in the port forwarding section of the HDP Sandbox environment since it exposes the 8080 port by default for Ambari). The HDP Sandbox environment contains several databases with Hive tables out of the box as shown below in the Hive View of Ambari.

- Start your local JBDS environment
Start JBDS 9.1.0 and open the Teiid Designer Perspective as shown below
Note: Use the following menu options Window > Perspective > Open Perspective > Teiid Designer to set JBDS in Teiid Designer perspective - Create Teiid Model Project HDPHive2Sample
Create a new Teiid Model project using right-click New >Teiid Model Project in the Model Explorer window as shown below.
- Create connection profile and source model
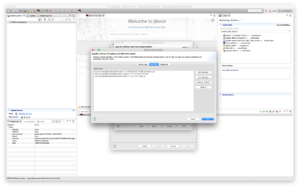
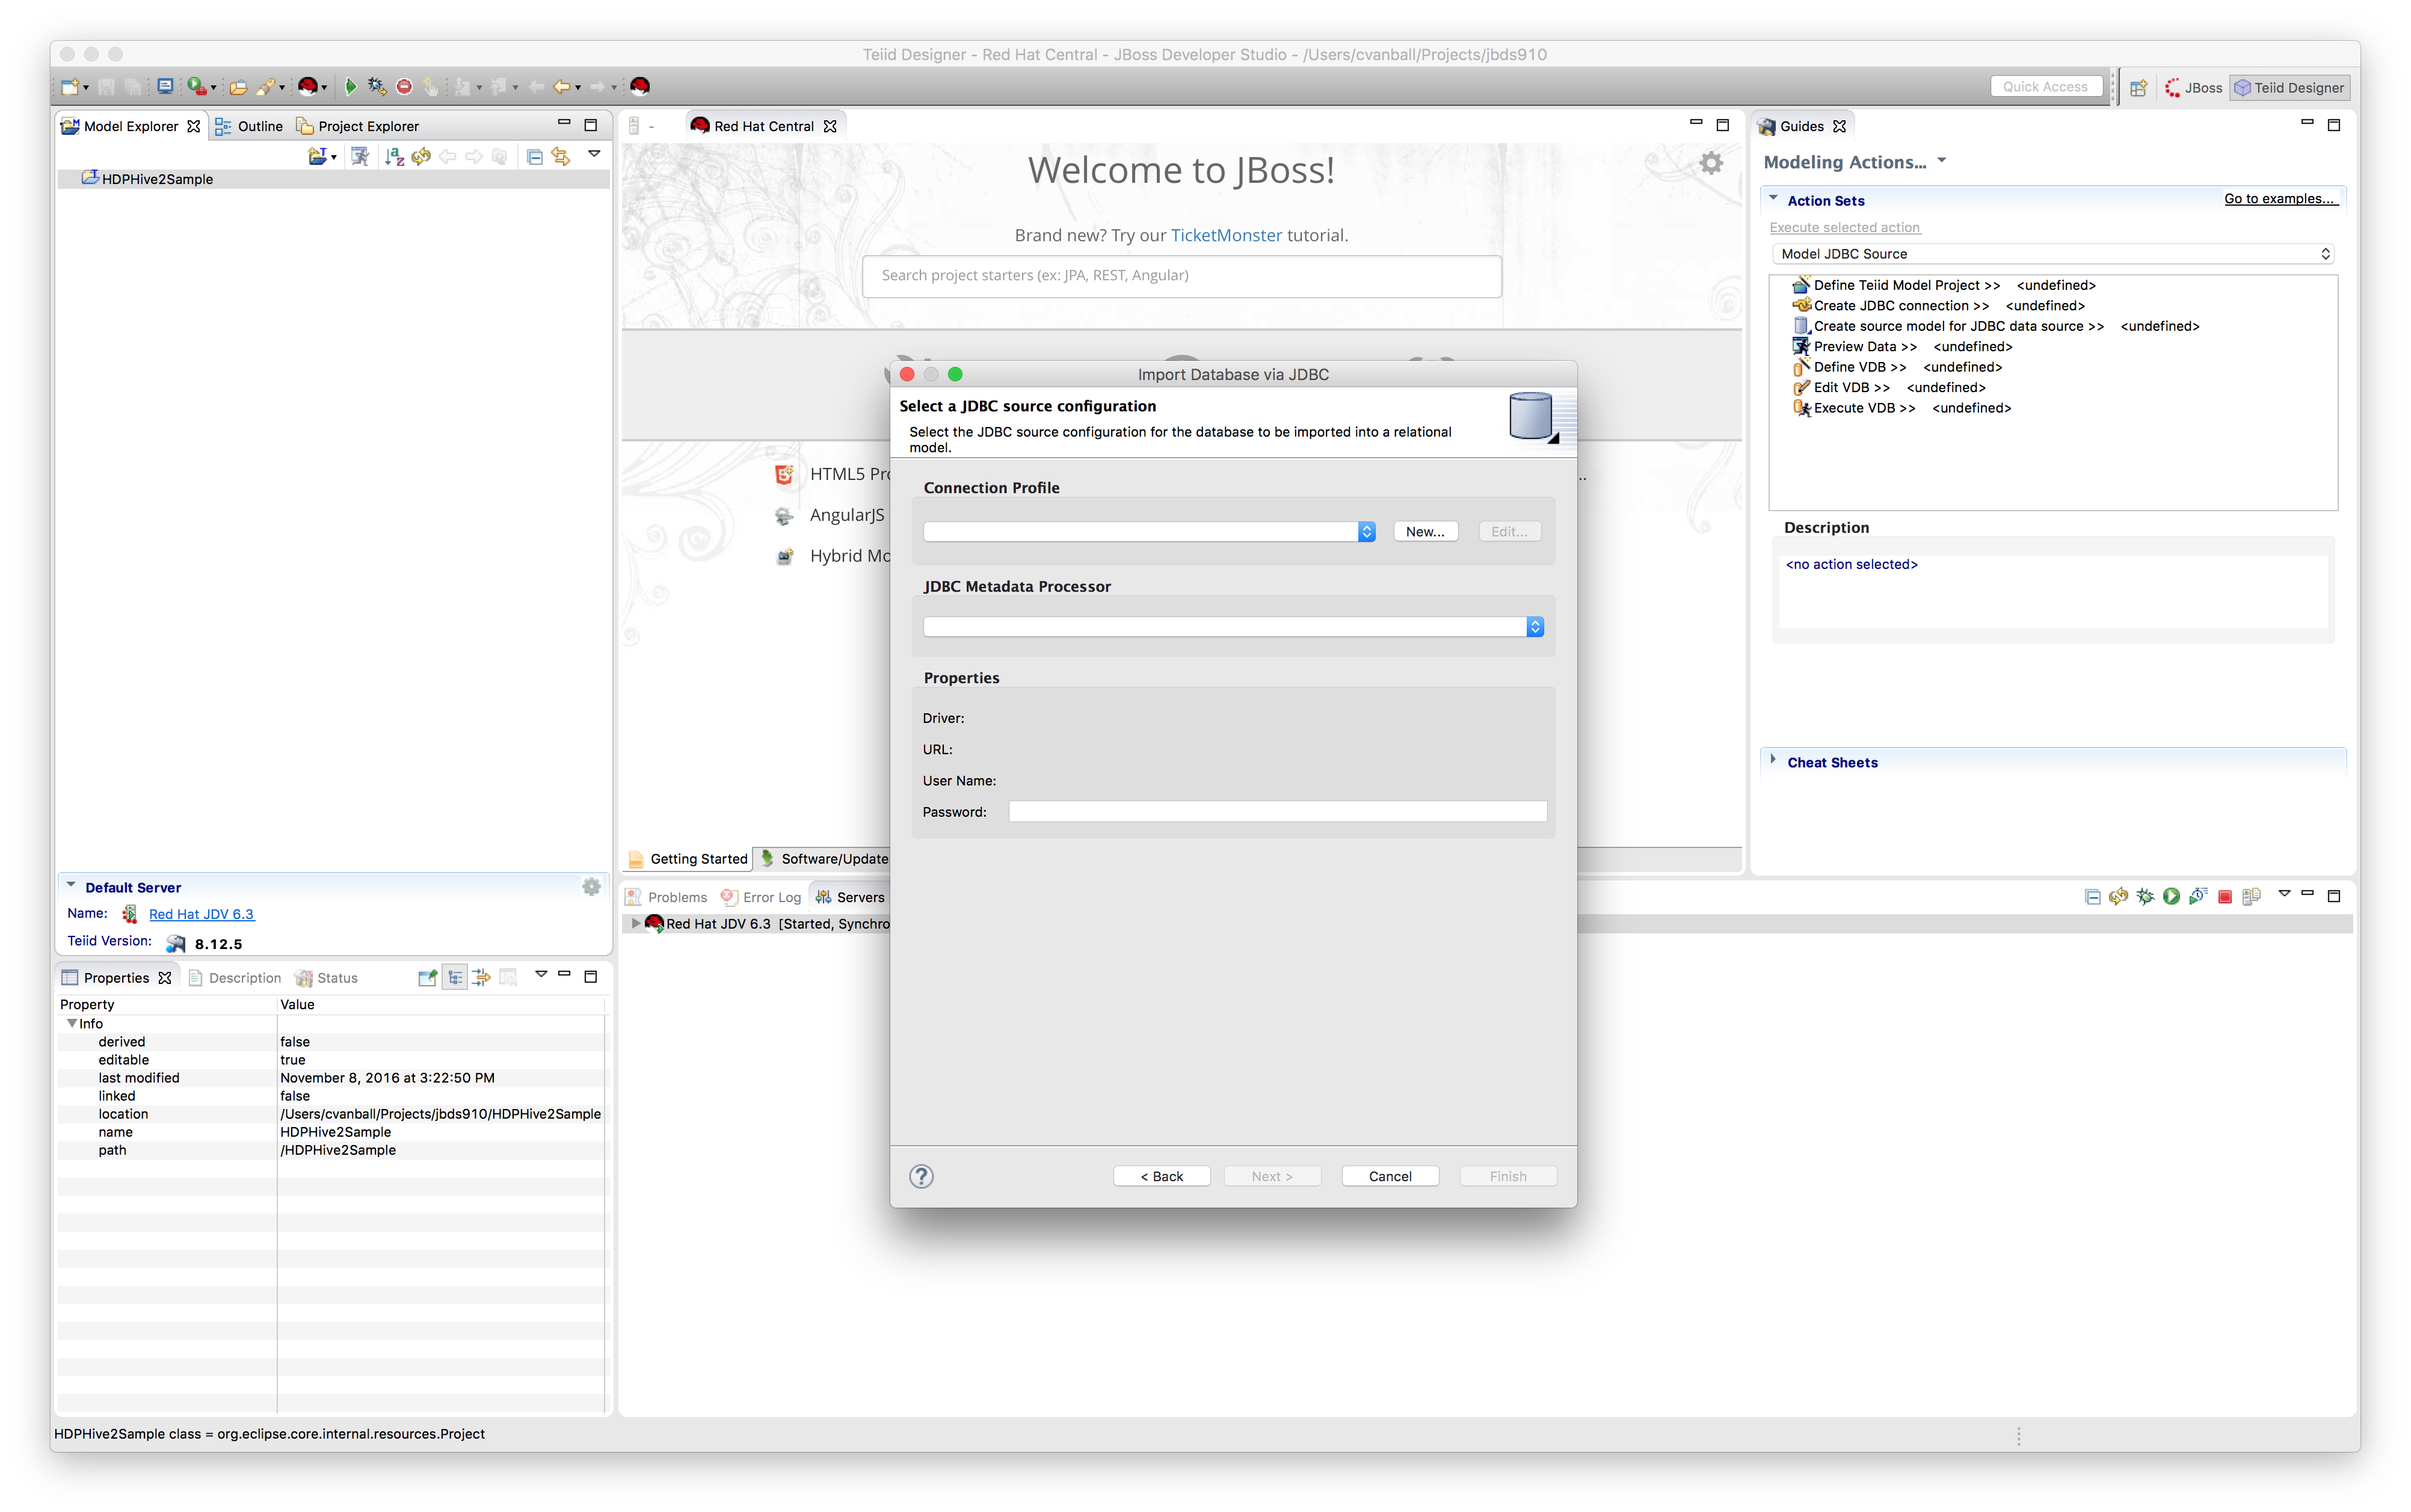
We are now going to use the HDP Hive2 JDBC driver directly and import metadata directly using the JDBC importer. Right-click on project HDPHive2Sample and select Import and select JDBC Database >> Source Model as shown below.
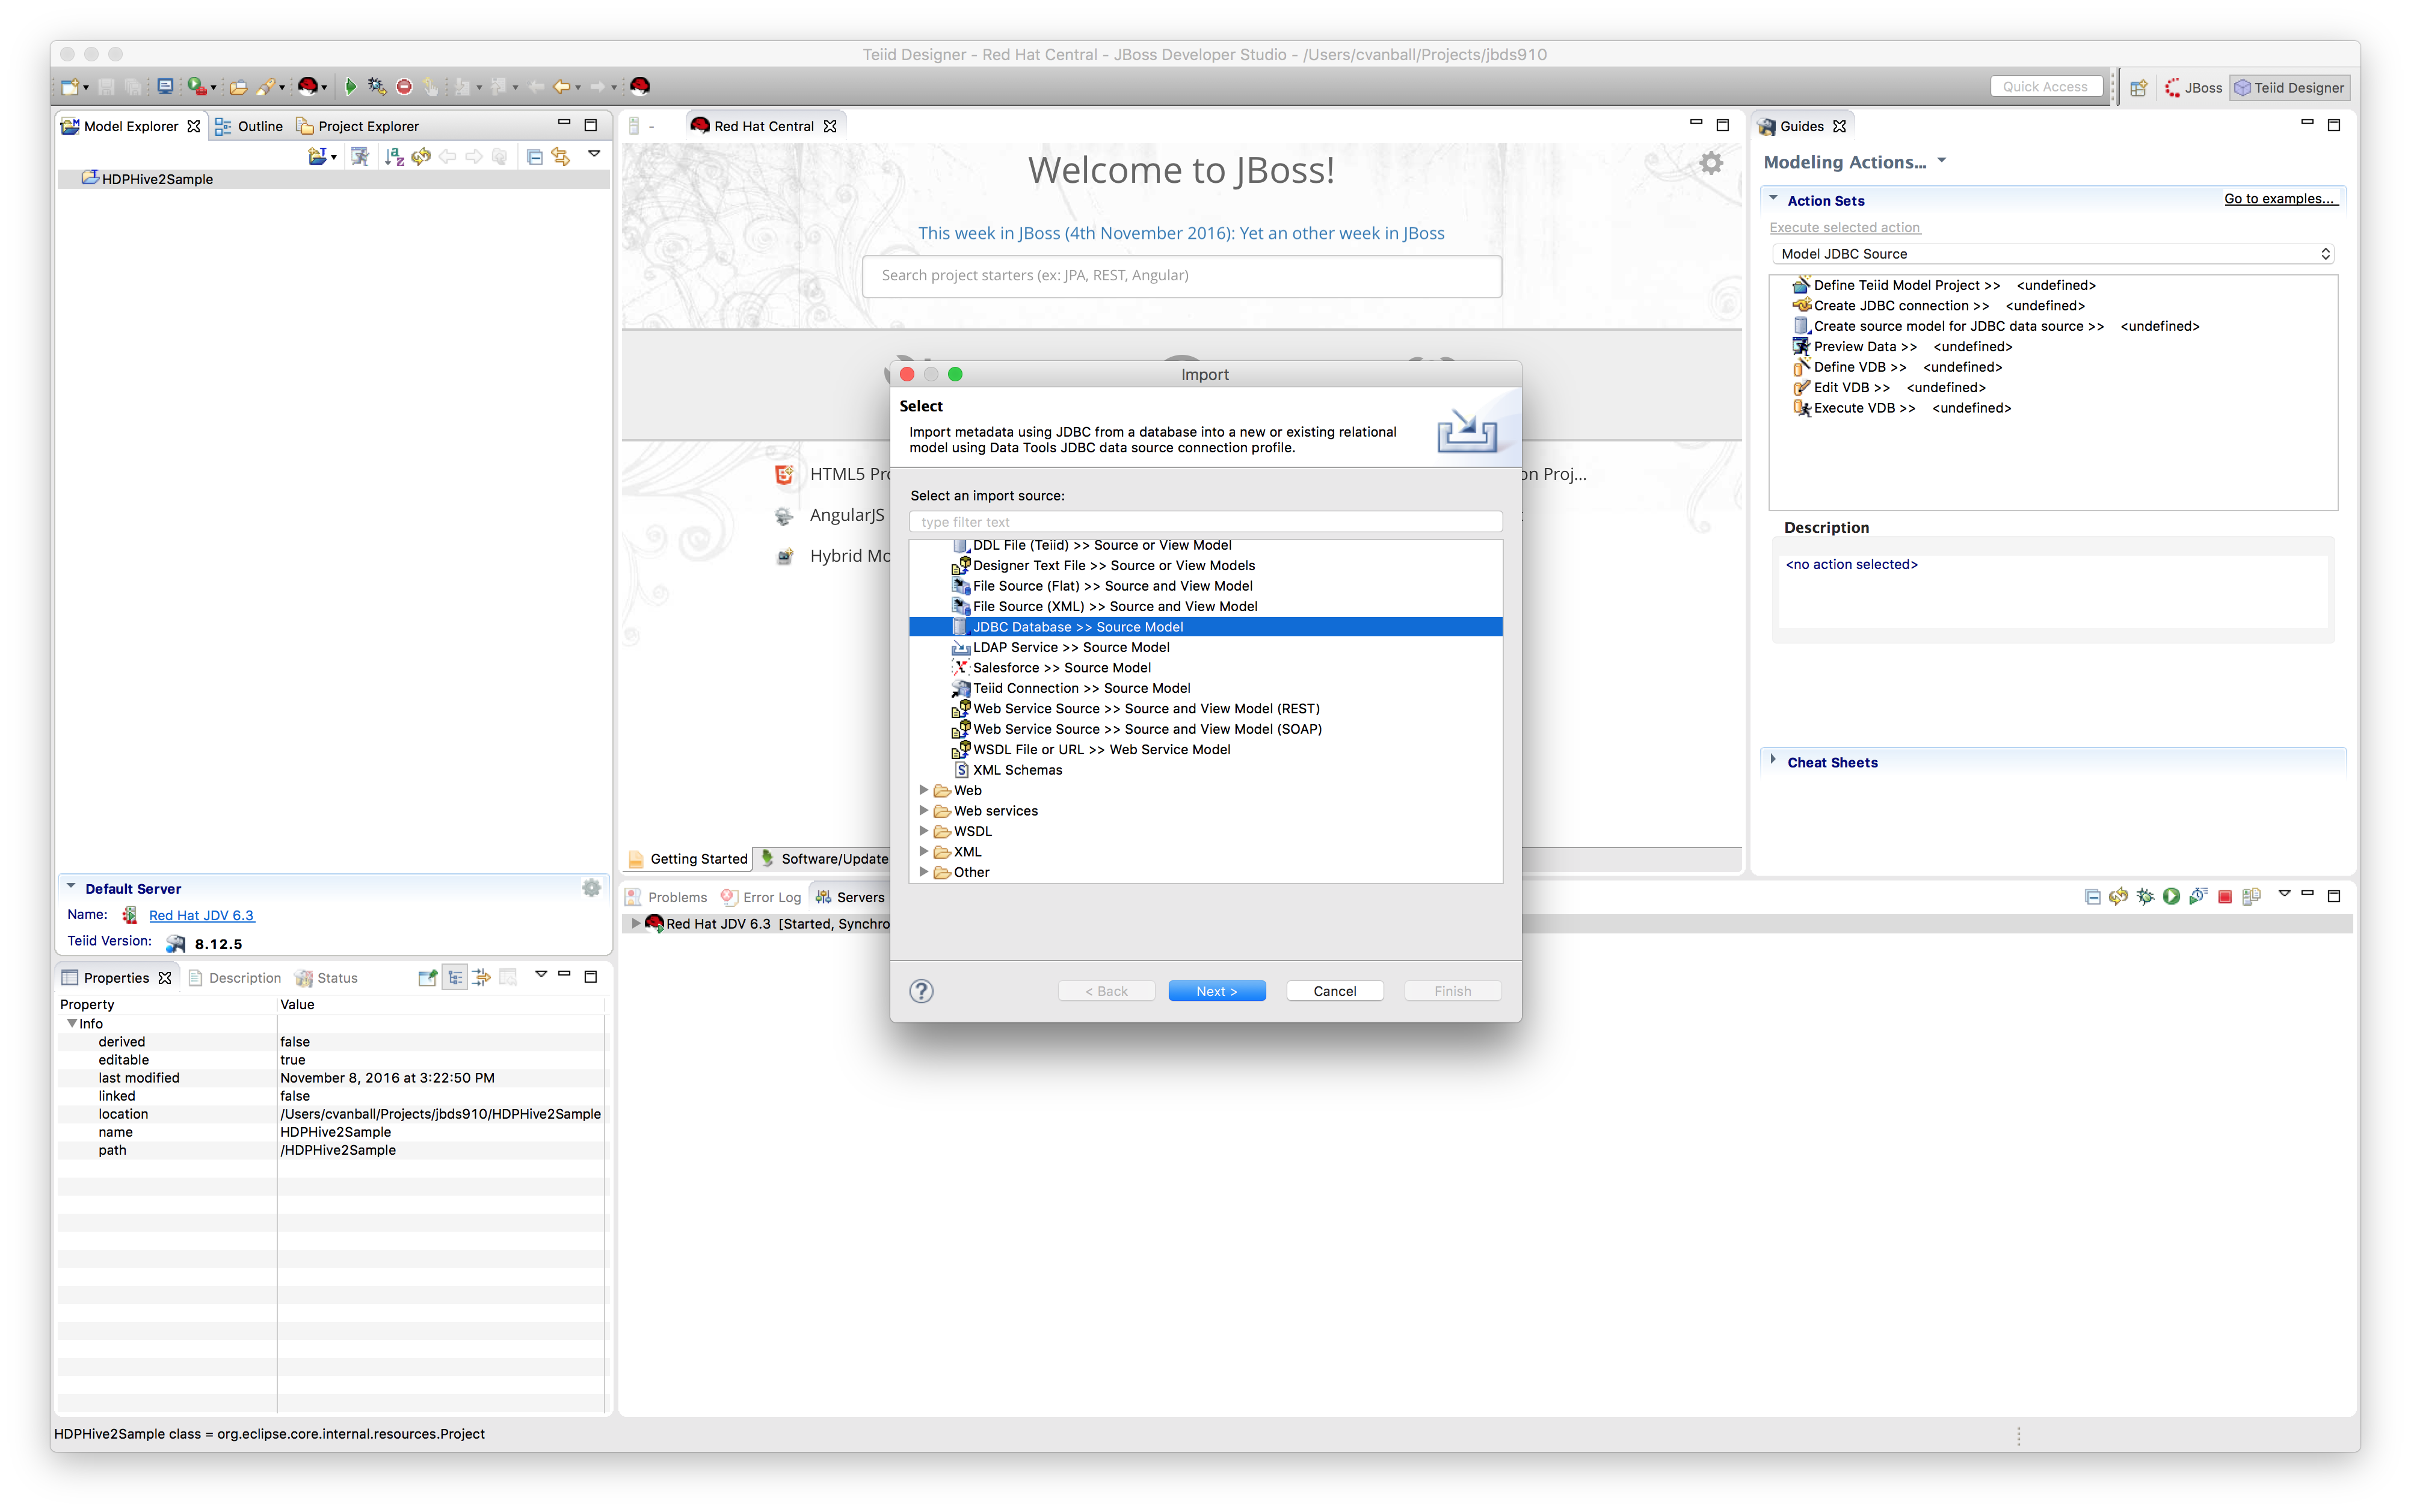
Click "Next >".a) Create Connection Profile
Setup Connection Profile to connect to local HDP Sandbox environment

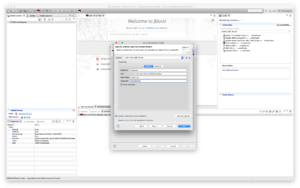
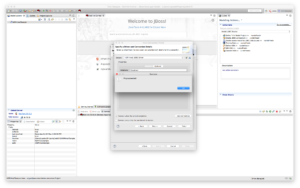
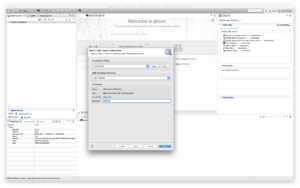
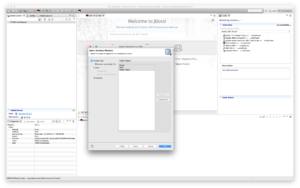
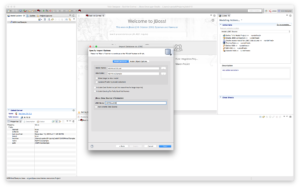
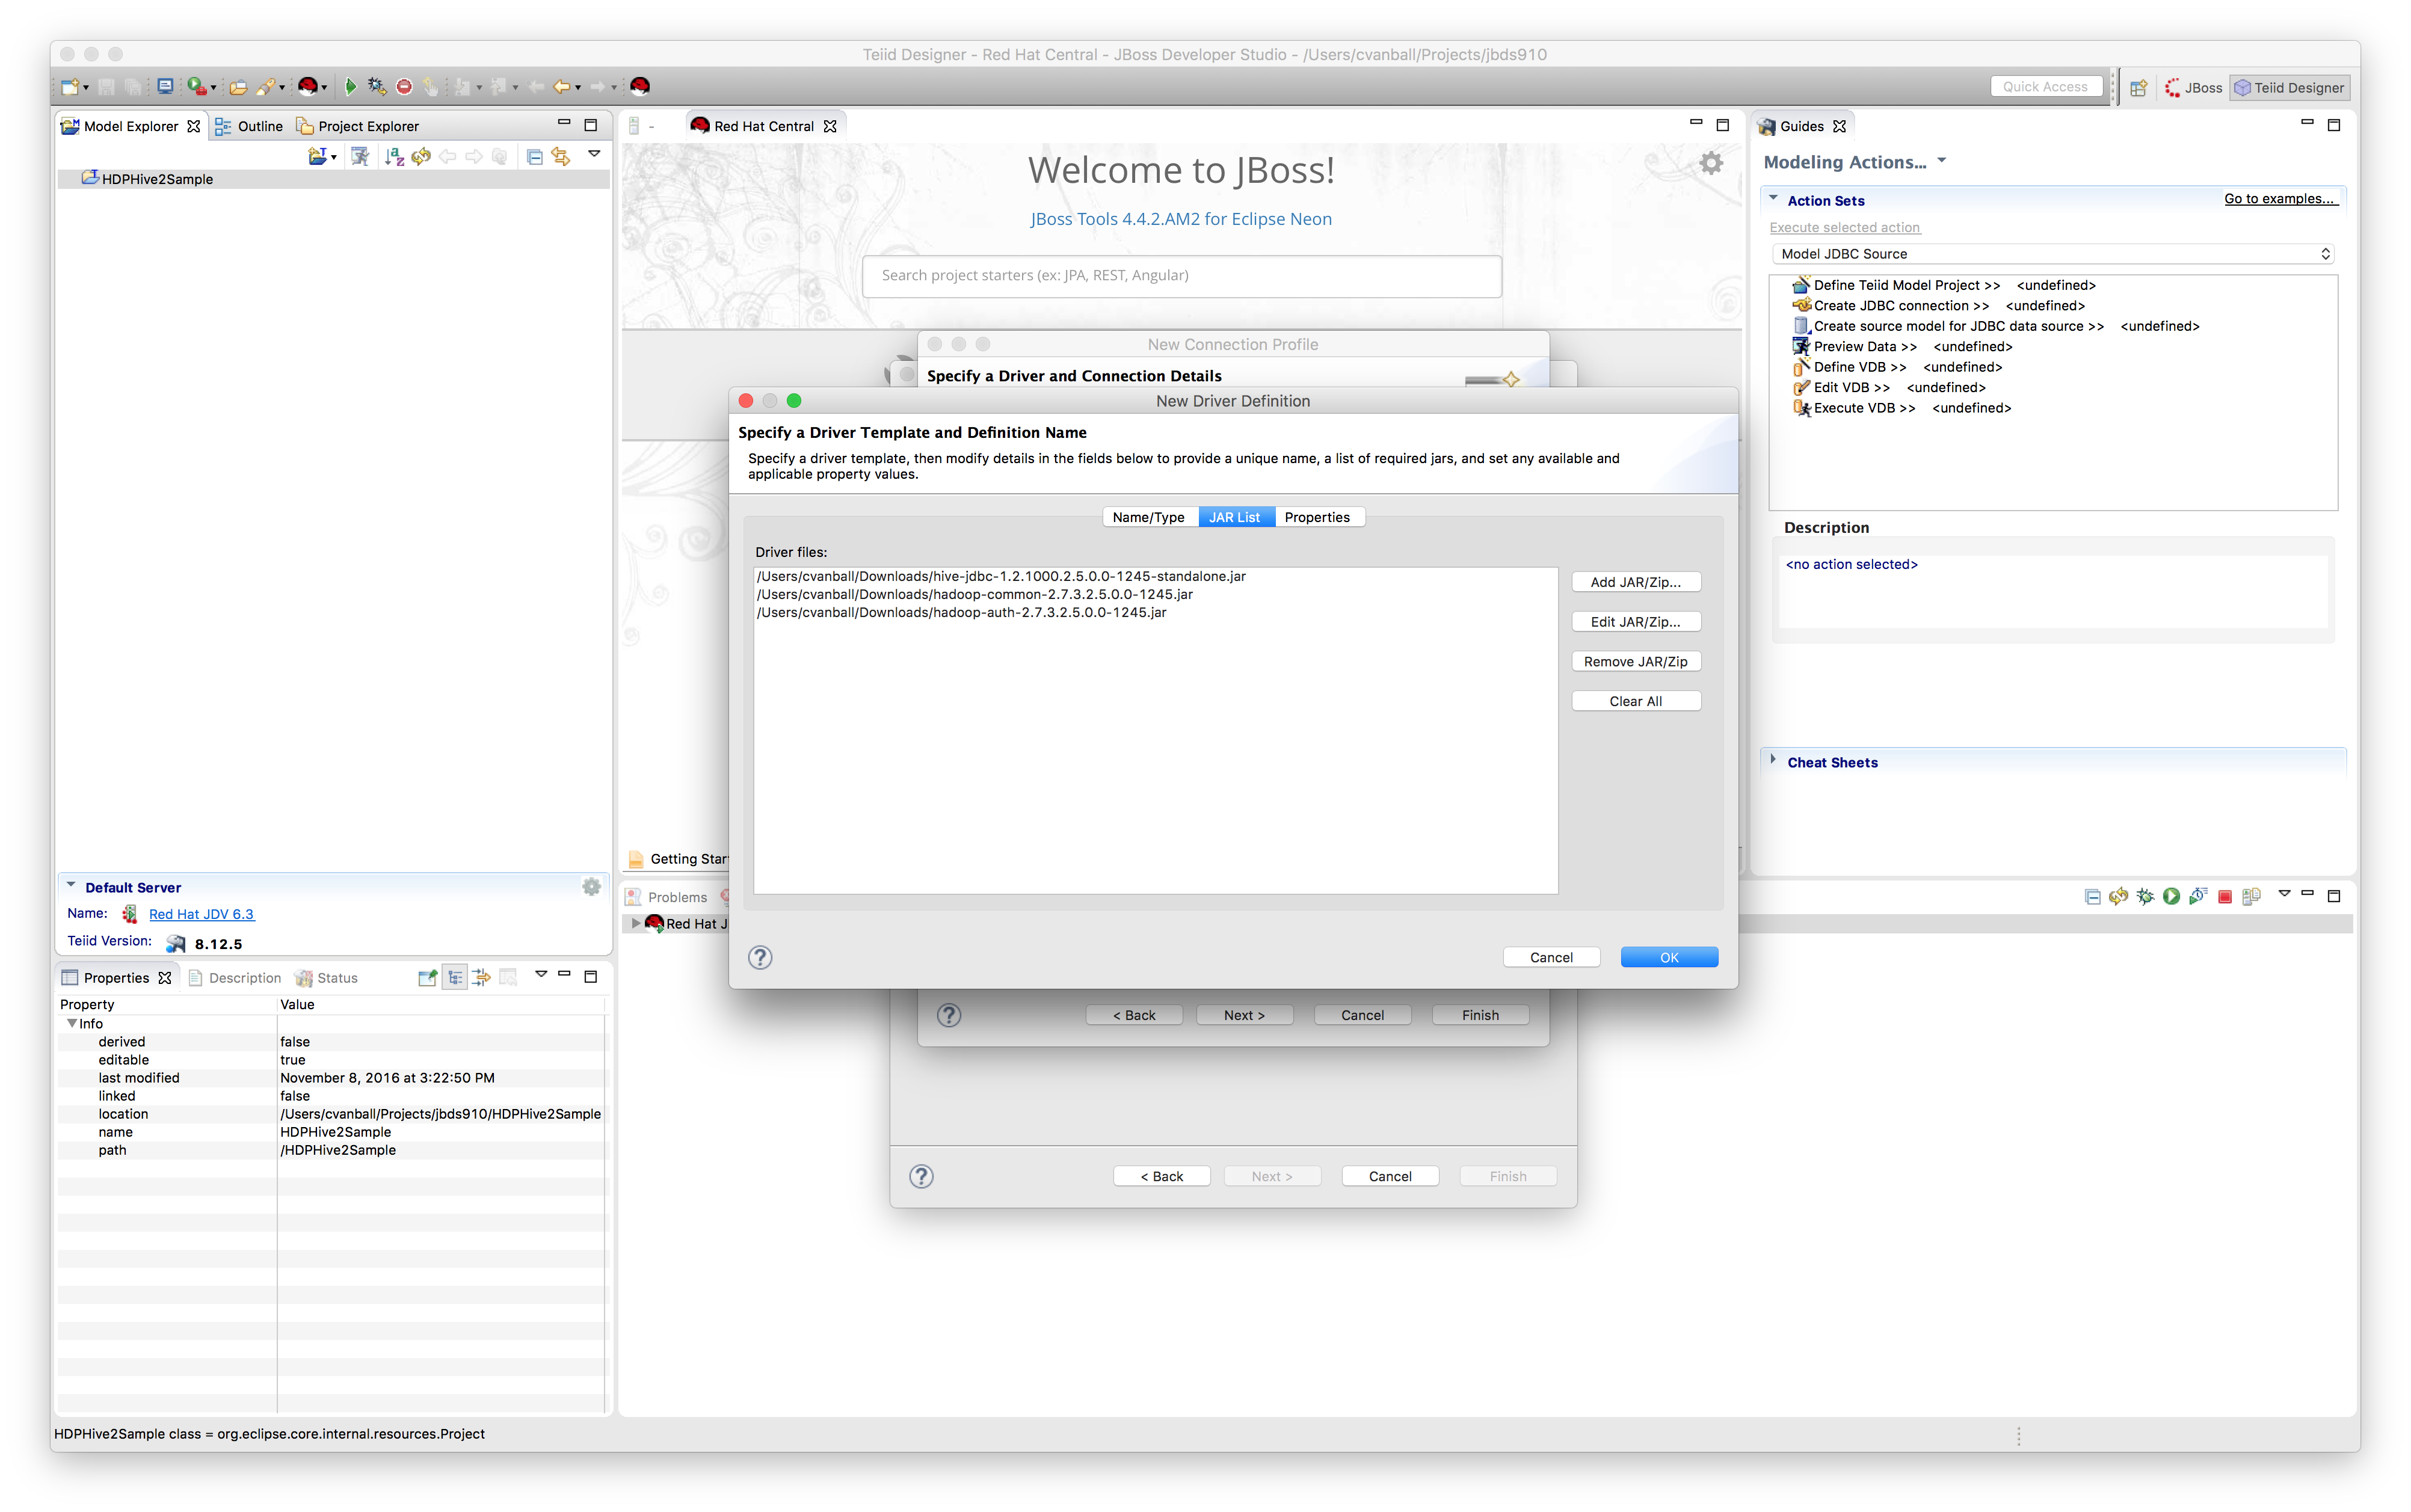
On the first page of the wizard, click "New..." to create a new Connection ProfileBefore we can proceed we need to setup a new connection profile to be able to connect to the HDP Sandbox environment using the JDBC jars previously downloaded from the HDP Hive JDBC archive site. Click the “Add Driver Definition” button in order to be able to connect to the HDP Sandbox environment from within JBDS. Select "Generic JDBC" for the Connection Profile Type and name the Connection Profile “HDPHive2DS”. Click "Next >".
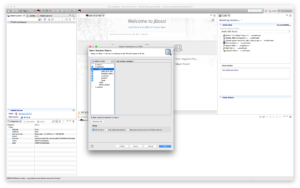
Add the jars (hive-jdbc-standalone.jar, hadoop-common.jar, and hadoop-auth.jar) we mentioned previously in the JAR List tab see below.
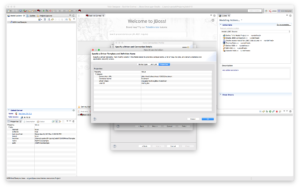
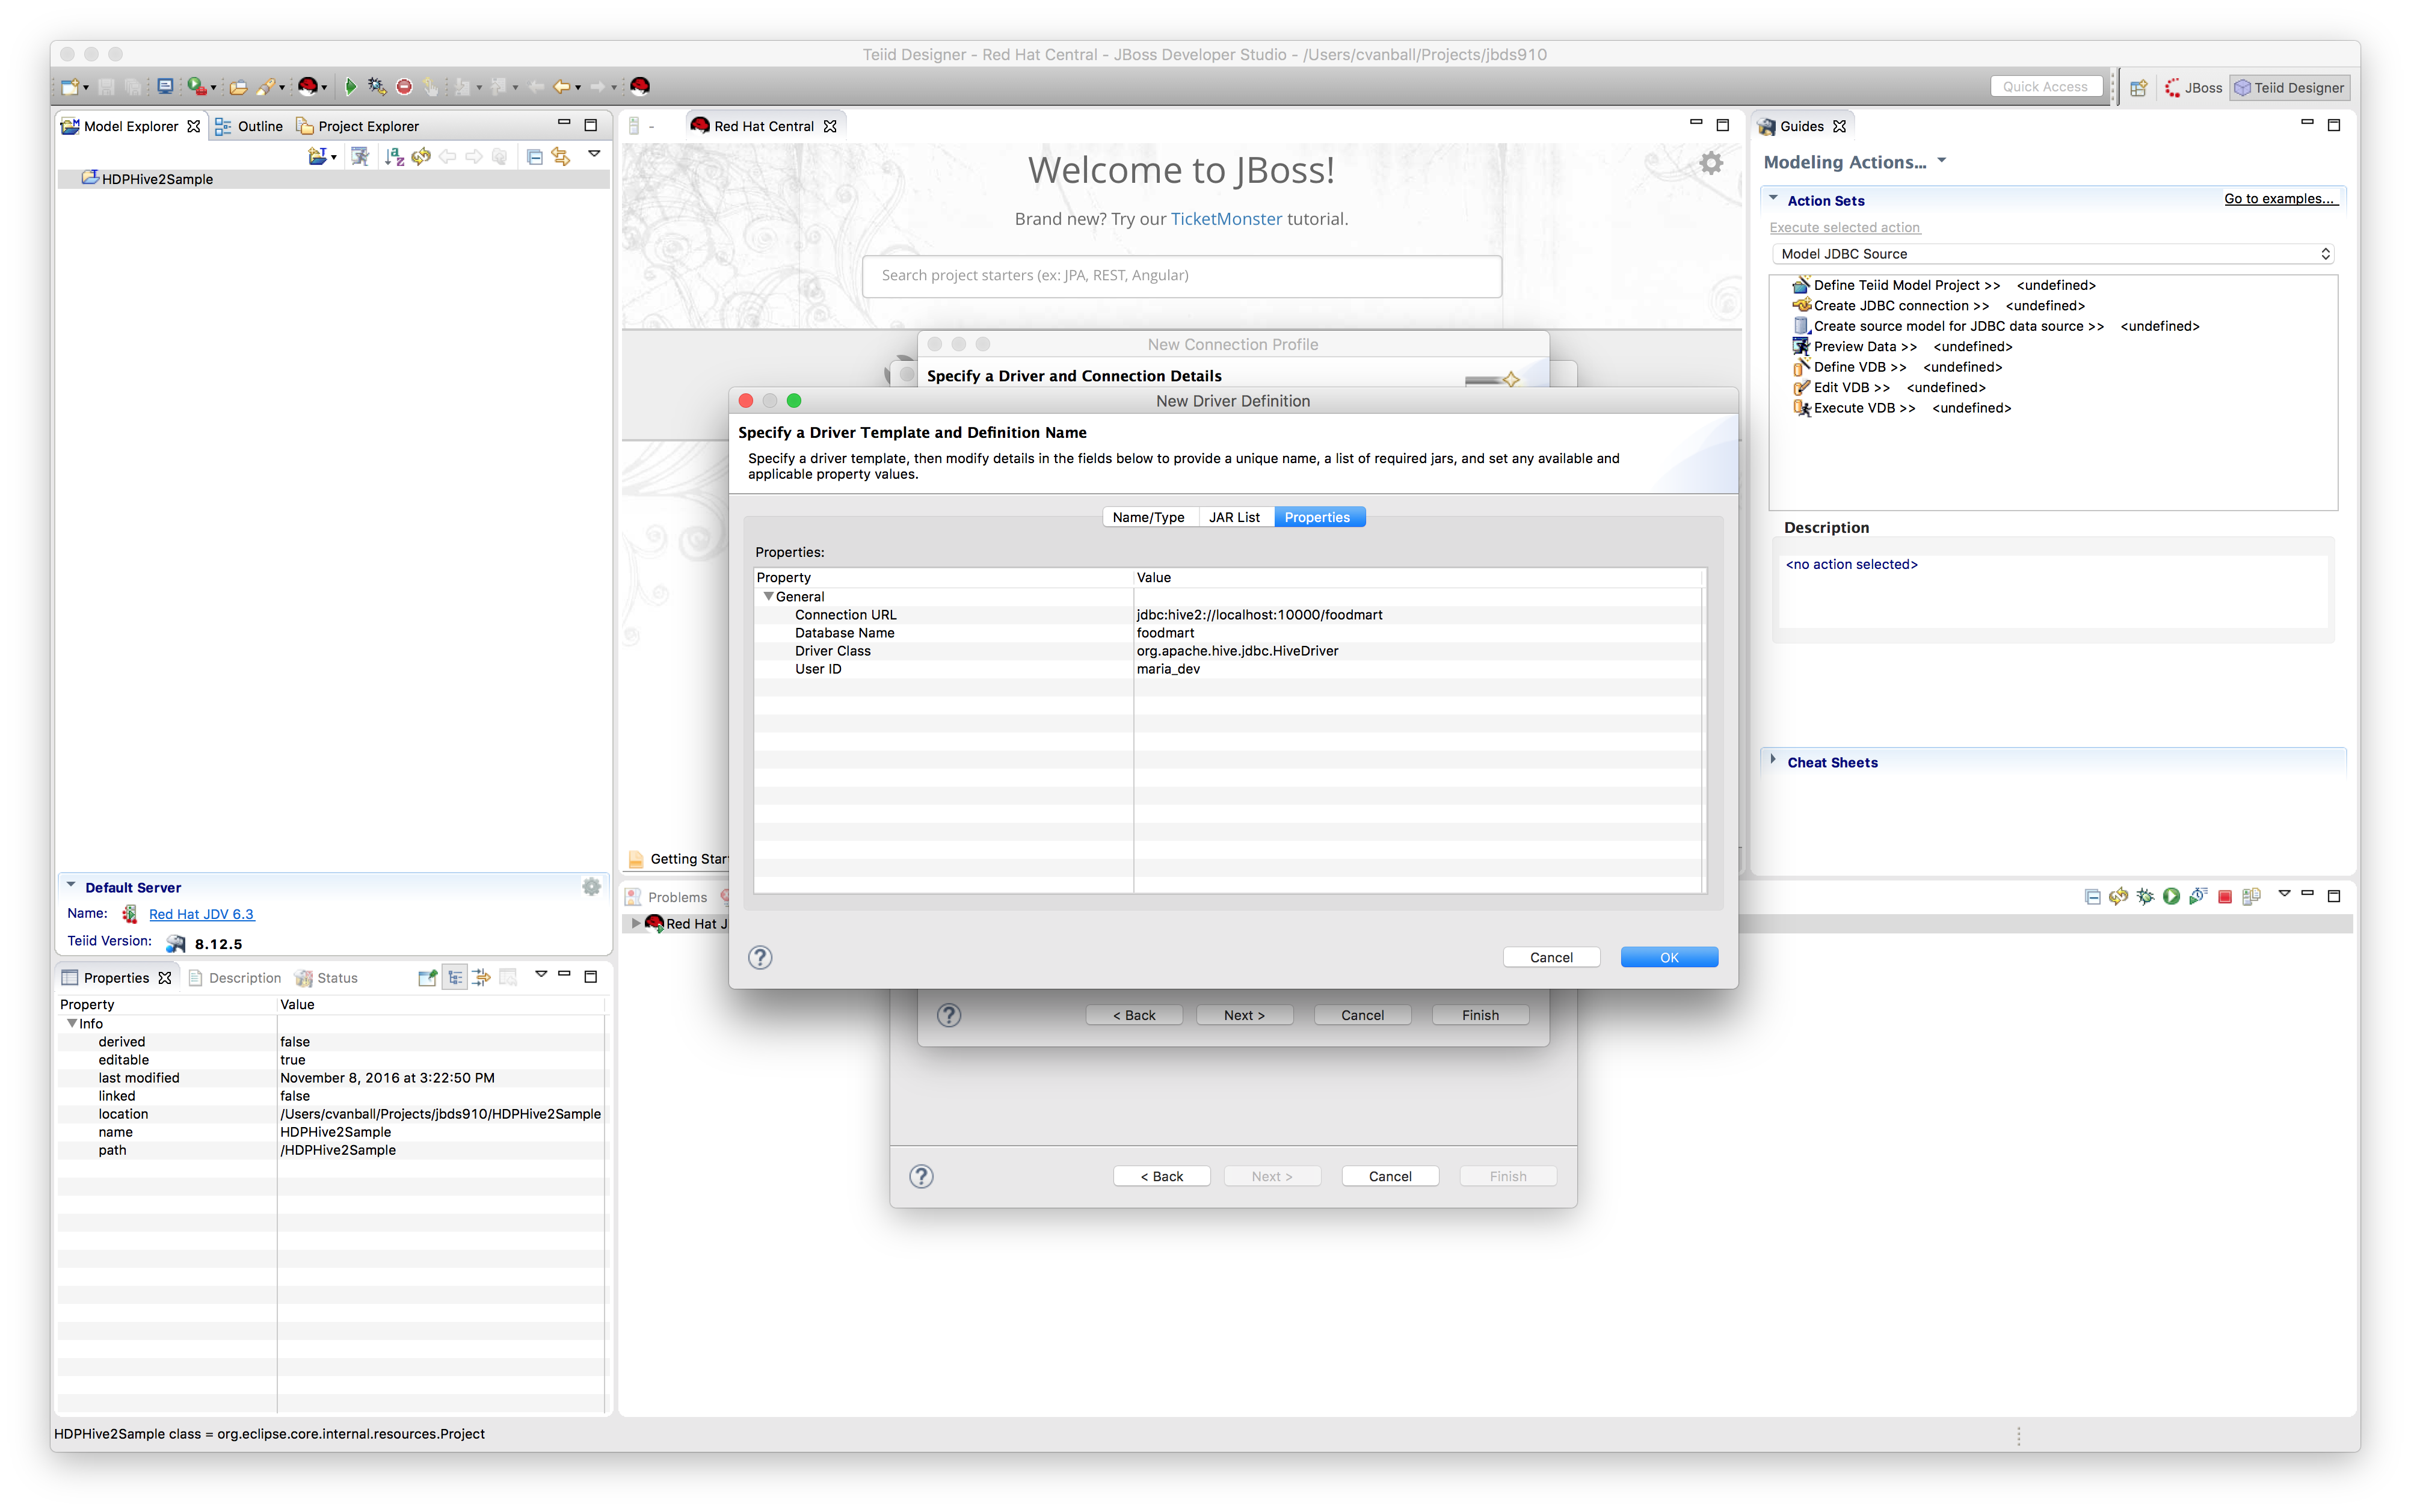
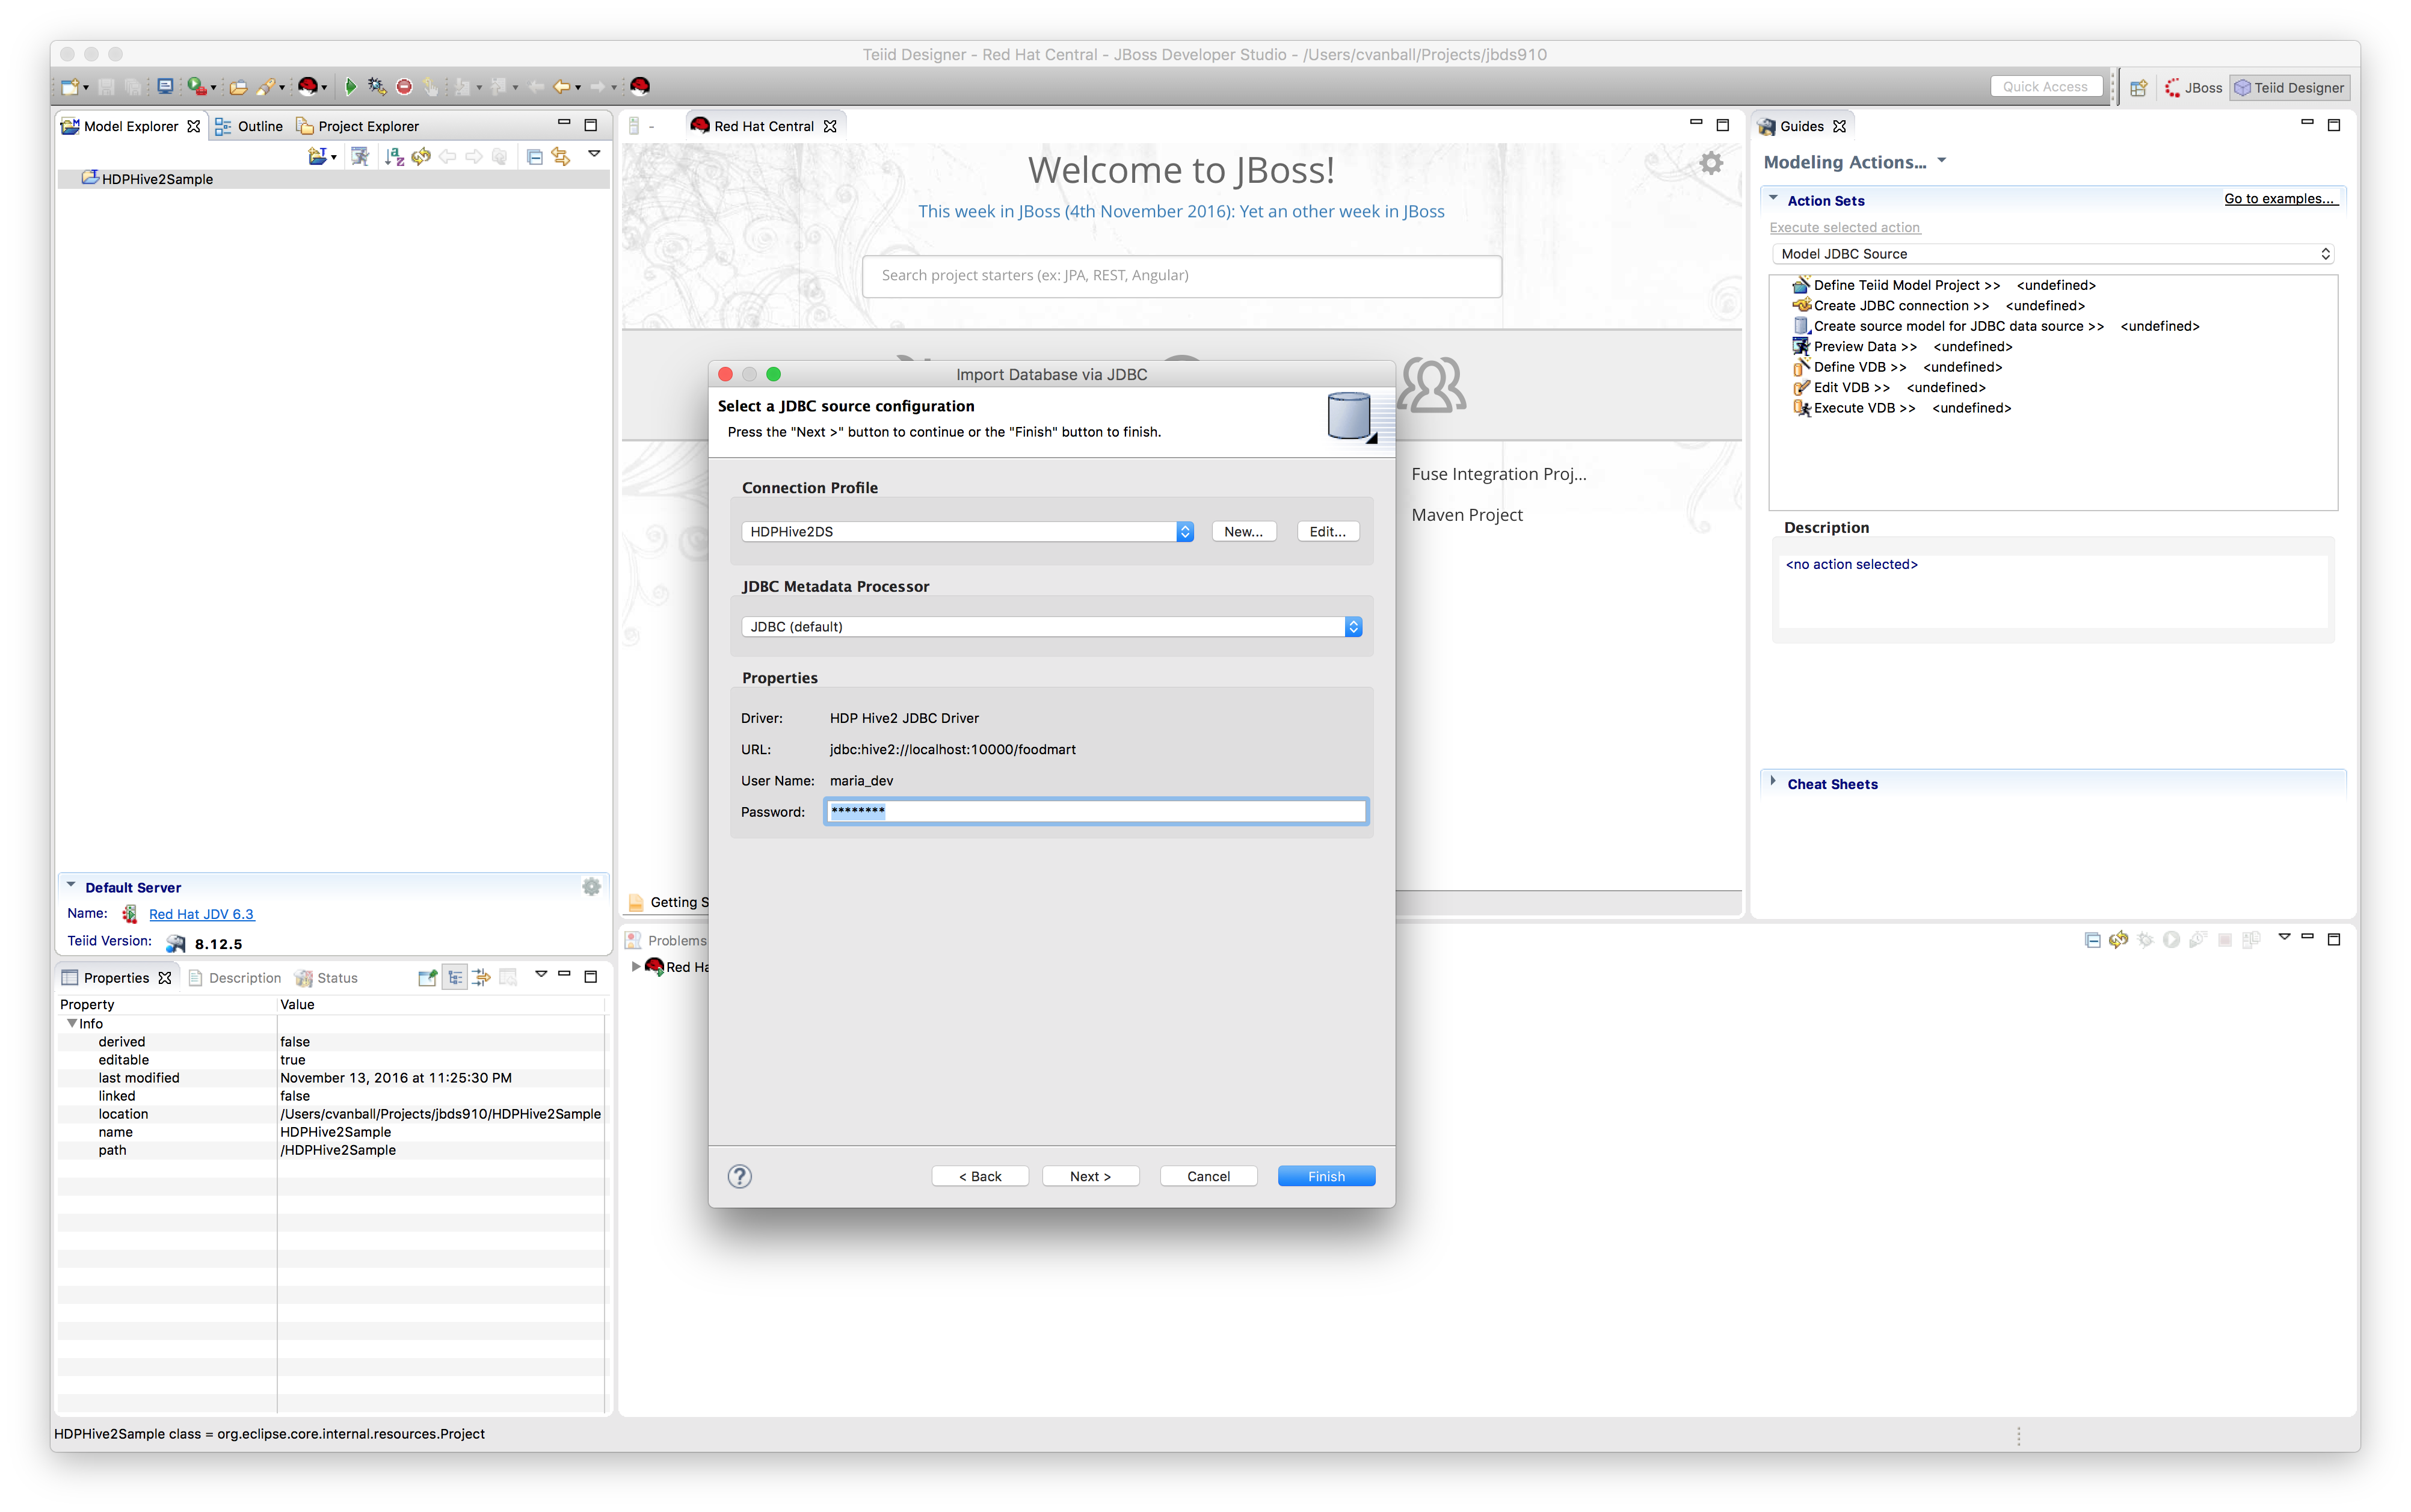
 Now we are ready to connect to the HDP Sandbox environment using Hive by providing the correct connection details in the Properties tab as shown below:
.
The Hive JDBC URL is a string with the following syntax:jdbc:hive2://<host1>:<port1>,<host2>:<port2>/dbName;sess_var_list?hive_conf_list#hive_var_listwhere
<host1>:<port1>,<host2>:<port2>is a server instance or a comma separated list of server instances to connect to (if dynamic service discovery is enabled). If empty, the embedded server will be used.
dbNameis the name of the initial database.
sess_var_listis a semicolon separated list of key=value pairs of session variables (e.g., user=foo;password=bar).
hive_conf_listis a semicolon separated list of key=value pairs of Hive configuration variables for this session (e.g., hive.server2.transport.mode=http;hive.server2.thrift.http.path=hs2).
hive_var_listis a semicolon separated list of key=value pairs of Hive variables for this session.
default port for HiveServer2 is 10000)In the Hortonworks Sandbox environment we can use the following connection details:
Username = maria_dev
Password = maria_dev
Database = foodmart
URL = jdbc:hive2://localhost:10000/foodmart
Check “Save password”.Click "Ok".
 Click "Test Connection" to validate if the connection to the HDP Sandbox environment can ping successfully.
Since the connection can ping successfully we are ready to select Hive tables from the HDP Sandbox environment and create a source model out of it.
b) Create Source model
 Click "Next >".
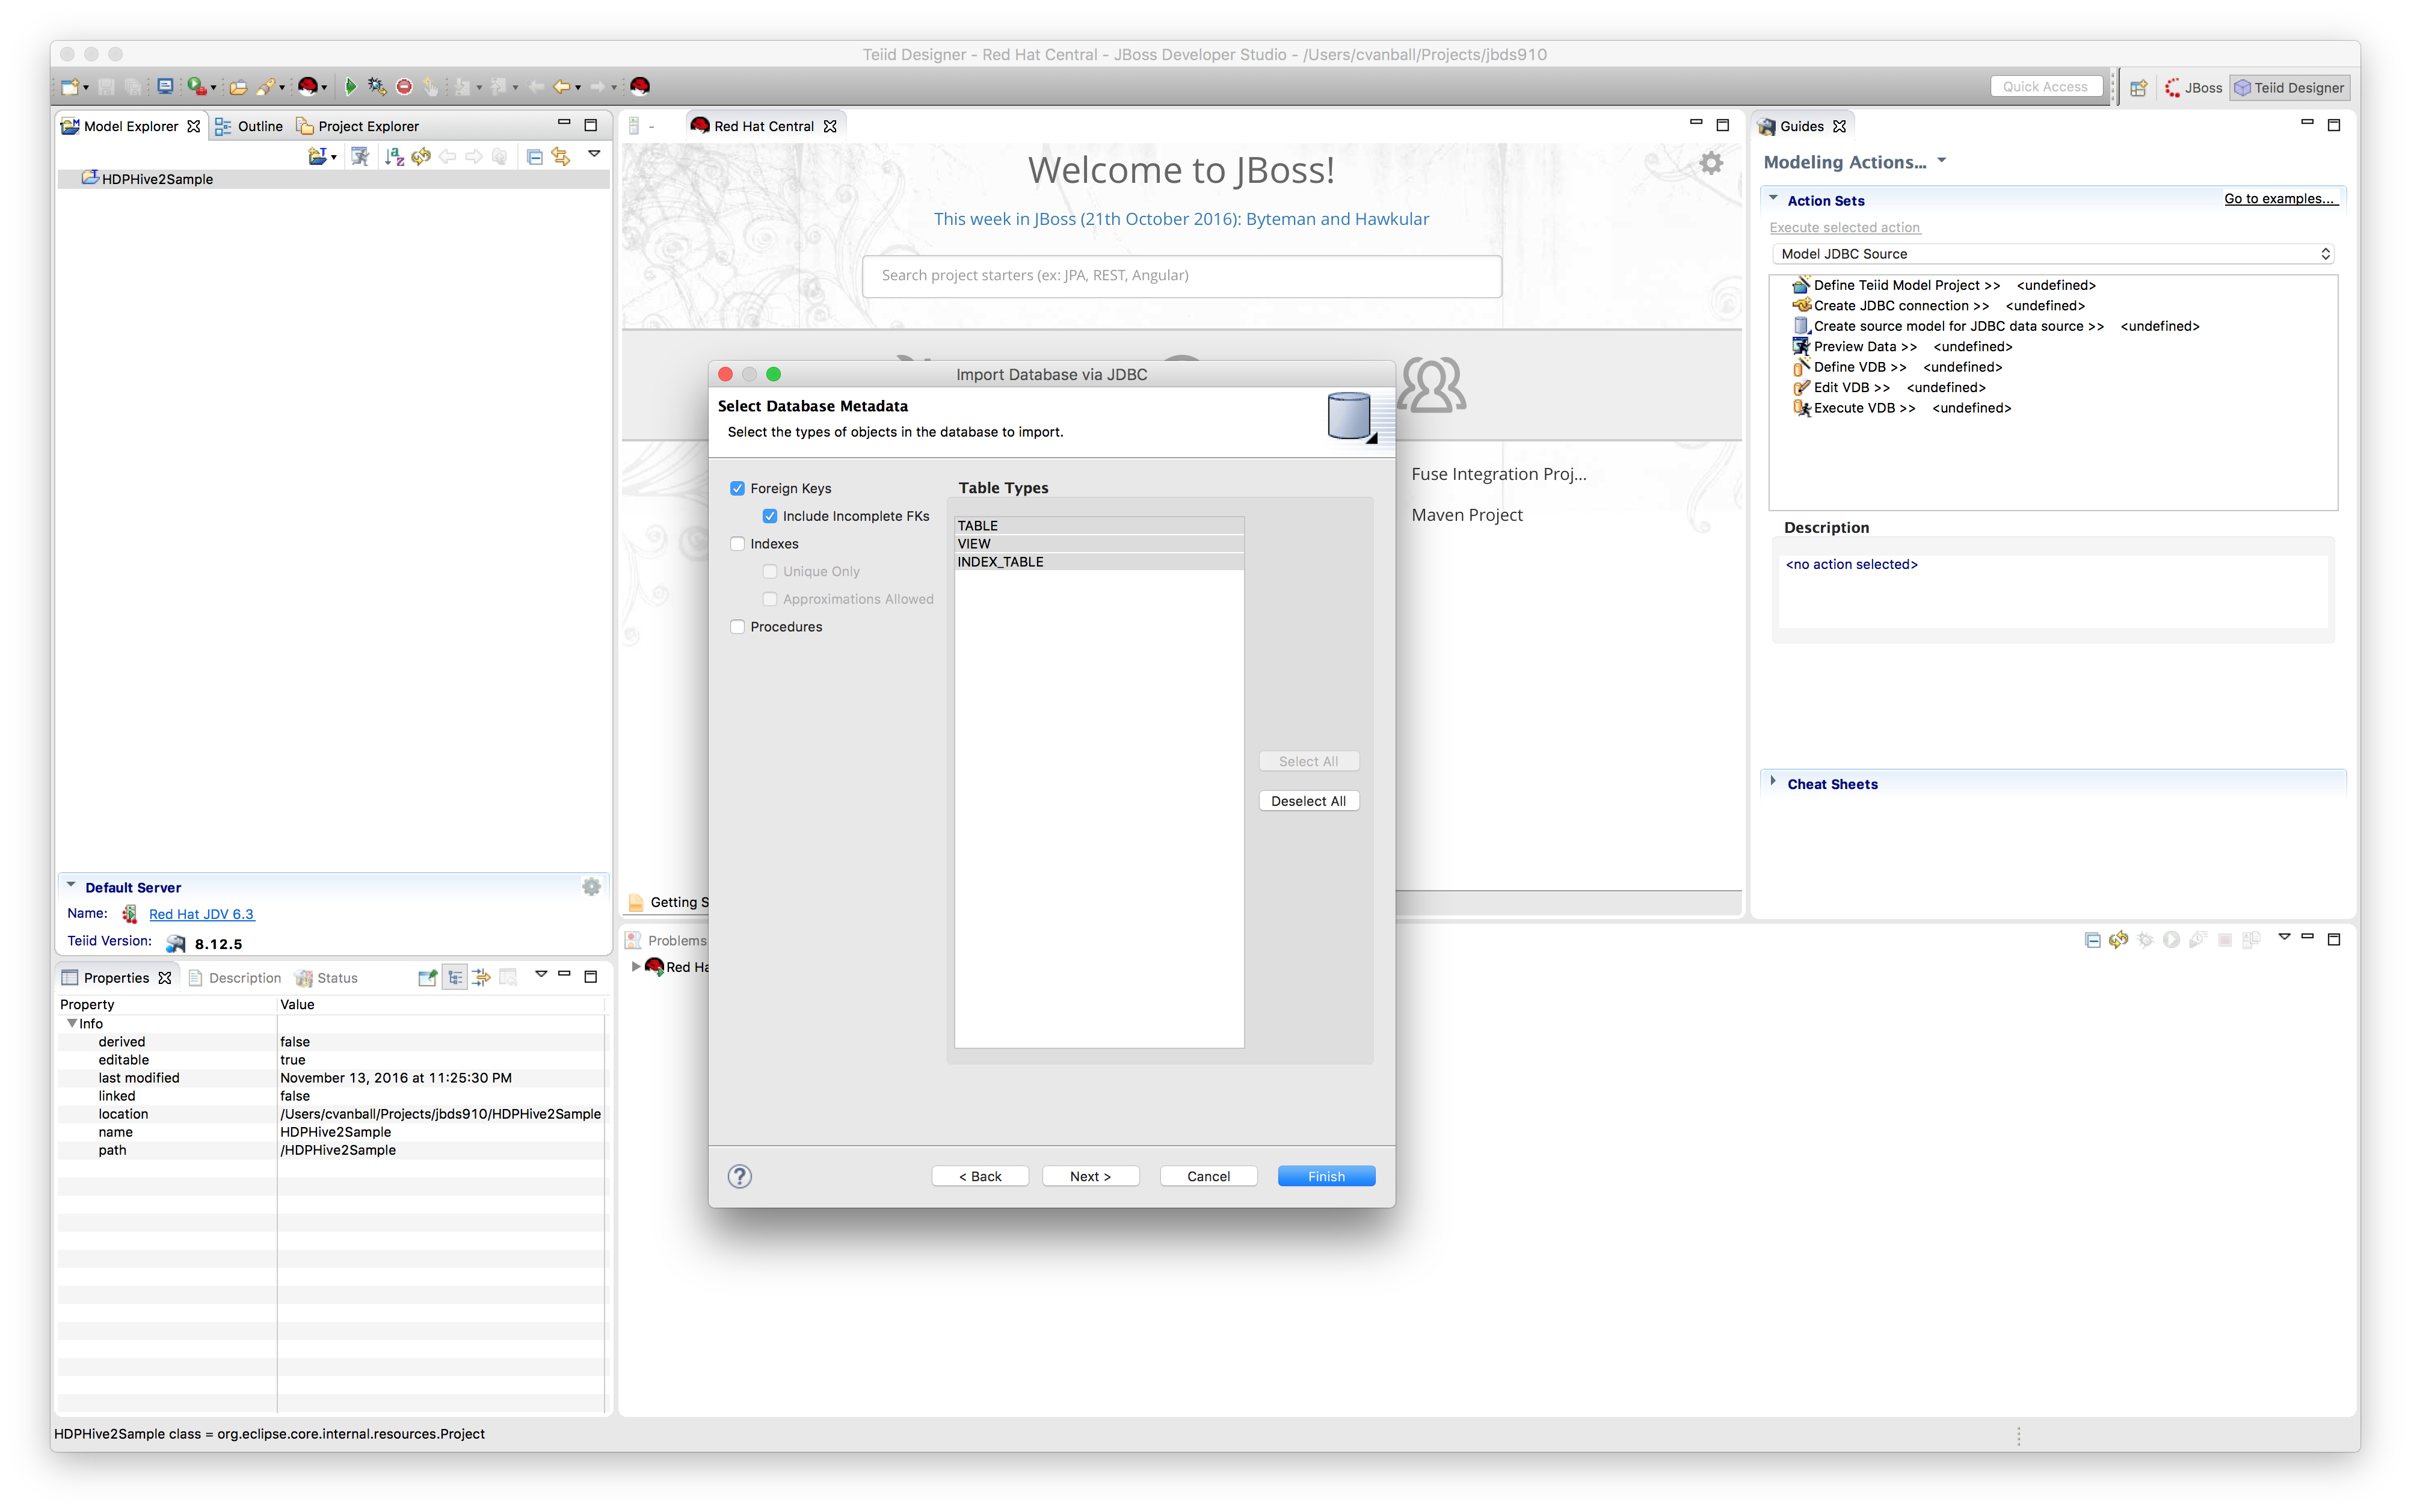
 Click "Next >" to select database objects. Select all tables in the foodmart database.
Click “Next >”.
 Make sure that the JNDI name corresponds to one we created in the JDV environment (Hint: HDPHive2DS) and that Auto-create Data Source is not selected. Click “Finish” to create the source models. Select the customer model and click the running man icon to preview the data as depicted below.
- Start your local JDV 6.3 environment


Conclusion
In this post we've shown the configuration steps one needs to perform in order to unlock your Hadoop data using Hive, with Hortonworks and Red Hat JBoss Data Virtualization. We have shown that Ansible is not only targeted at system administrators, but that it’s also an invaluable tool for developers, testers, etc. I encourage you to experiment with the simple basics provided in this article, and expand the functionality of your playbook gradually to create even more sophisticated provisioning scripts.
Now we are ready to add other data-sources from physically distinct systems into the mix such as SQL databases, XML/Excel files, NoSQL databases, enterprise applications and web-services etc.
For more information on Ansible, Hortonworks and Red Hat JBoss Data Virtualization please refer to the Ansible, Hortonworks and Red Hat JBoss Data Virtualization websites:
- http://www.ansible.com
- http://www.hortonworks.com
- https://developers.redhat.com/products/datavirt/overview
Special thanks to Marc Zottner and Roeland van der Pol for their ansible scripts which give me the inspiration to use ansible for the configuration in this post. Do you want to get inspired as well? See for more sophisticated Red Hat JBoss Middleware Ansible playbooks at https://github.com/Maarc/ansible_middleware_soe.
Last updated: October 26, 2023