Page
Build a sample ASP.NET Core application in a container used for development
This lesson will walk you through how to create a Red Hat container for development and use it to develop a basic .NET Hello World application that will be served up through ASP.NET’s Kestrel web server. The running container will become your main development environment for this application, though the actual application code will be stored locally on your desktop, where you can keep it under source control and edit it with your favorite desktop-native development tools.
You’ll need the following:
- A basic understanding of how to traverse a Linux file system
- An understanding of how to create and edit Linux text files
- A basic understanding of Python
- A basic understanding of .NET development
In this lesson, you will:
- Develop a foundational understanding of .NET.
- Build and utilize a .NET-oriented, container-based Red Hat developer environment.
- Create a basic Hello World application using .NET.
The core application components
.NET: In this architecture, we’re using .NET because it's a high-performance framework that runs on multiple platforms, including Linux, Windows, and macOS. It supports modern, secure, and scalable architectures like microservices and containers. It’s also well supported by developer productivity tools like Visual Studio Code and features like Native AOT for fast-starting, small-footprint applications. This combination allows you to build and deploy robust solutions almost anywhere, from on-prem servers to the cloud. C# (a/k/a C sharp) is a modern, object-oriented programming language developed by Microsoft as the core programming language of .NET.
Our examples use .NET 10, which is available for RHEL 8, RHEL 9, and RHEL 10. As the latest release of .NET, .NET 10 provides enhanced performance and new features that developers can leverage. These enhancements include:
Better runtime performance like JIT inlining, method devirtualization, and stack allocation
New APIs for working with cryptography, globalization, numerics, collections, and zip files
Extended support for containers in the .NET SDK, and support for OpenAPI 3.1 in web applications
ASP.NET Core: ASP.NET Core is the open-source, server-side web application framework developed by Microsoft for building dynamic web applications, web services, and APIs. It is part of the broader .NET platform.
Kestrel: Kestrel is a cross-platform web server for ASP.NET Core applications, included as part of the ASP.NET Core runtime. It is the default server used in new ASP.NET Core projects and is designed to act as a stand-alone, internet-facing server that directly processes incoming HTTP requests. This is a supported configuration, especially in containerized environments or where an existing infrastructure is not present. You can also front-end Kestrel with a reverse proxy server.
Step 1: Build and utilize a .NET-oriented, container-based Red Hat developer environment
Let's start by creating a directory dotnet-dev where we’ll store all the files we’ll use for this project. You’ll do this on the computer where you are running Podman Desktop.
We’ll place the following contents in the file containerfile in our dotnet-dev project directory:
# .NET Application Developer Container
# Use the official Red Hat Universal Base Image 10 as the foundation.
FROM registry.access.redhat.com/ubi10/ubi:latest

# Good practice to label your images.
LABEL maintainer="Your Name <youremail@example.com>" \
      description=".NET 10 SDK development environment based on UBI 10."

# Install .NET SDK and some other useful packages
#     dotnet-sdk-10.0 - includes the dotnet runtime and development kit
#     ncurses - makes it easy to clear the screen
#     procps  - provides process management and resource utilization info
#
# We clean up the dnf cache to keep the image size down
RUN dnf install -y \
        dotnet-sdk-10.0 \
        ncurses \
        procps \
    && dnf clean all


# Set the working directory to the new user's home.
WORKDIR /app

# Expose port 8000. This makes the port available for mapping to the host,
# which is necessary for testing web applications when running in container
# mode.
EXPOSE 8000

# Set the default command. When the container starts, it will drop you into a Bash shell.
CMD ["/usr/bin/bash"]
With the file dotnet-dev/Containerfile in place, you’re ready to build our app development container.
- Create the sub-directory
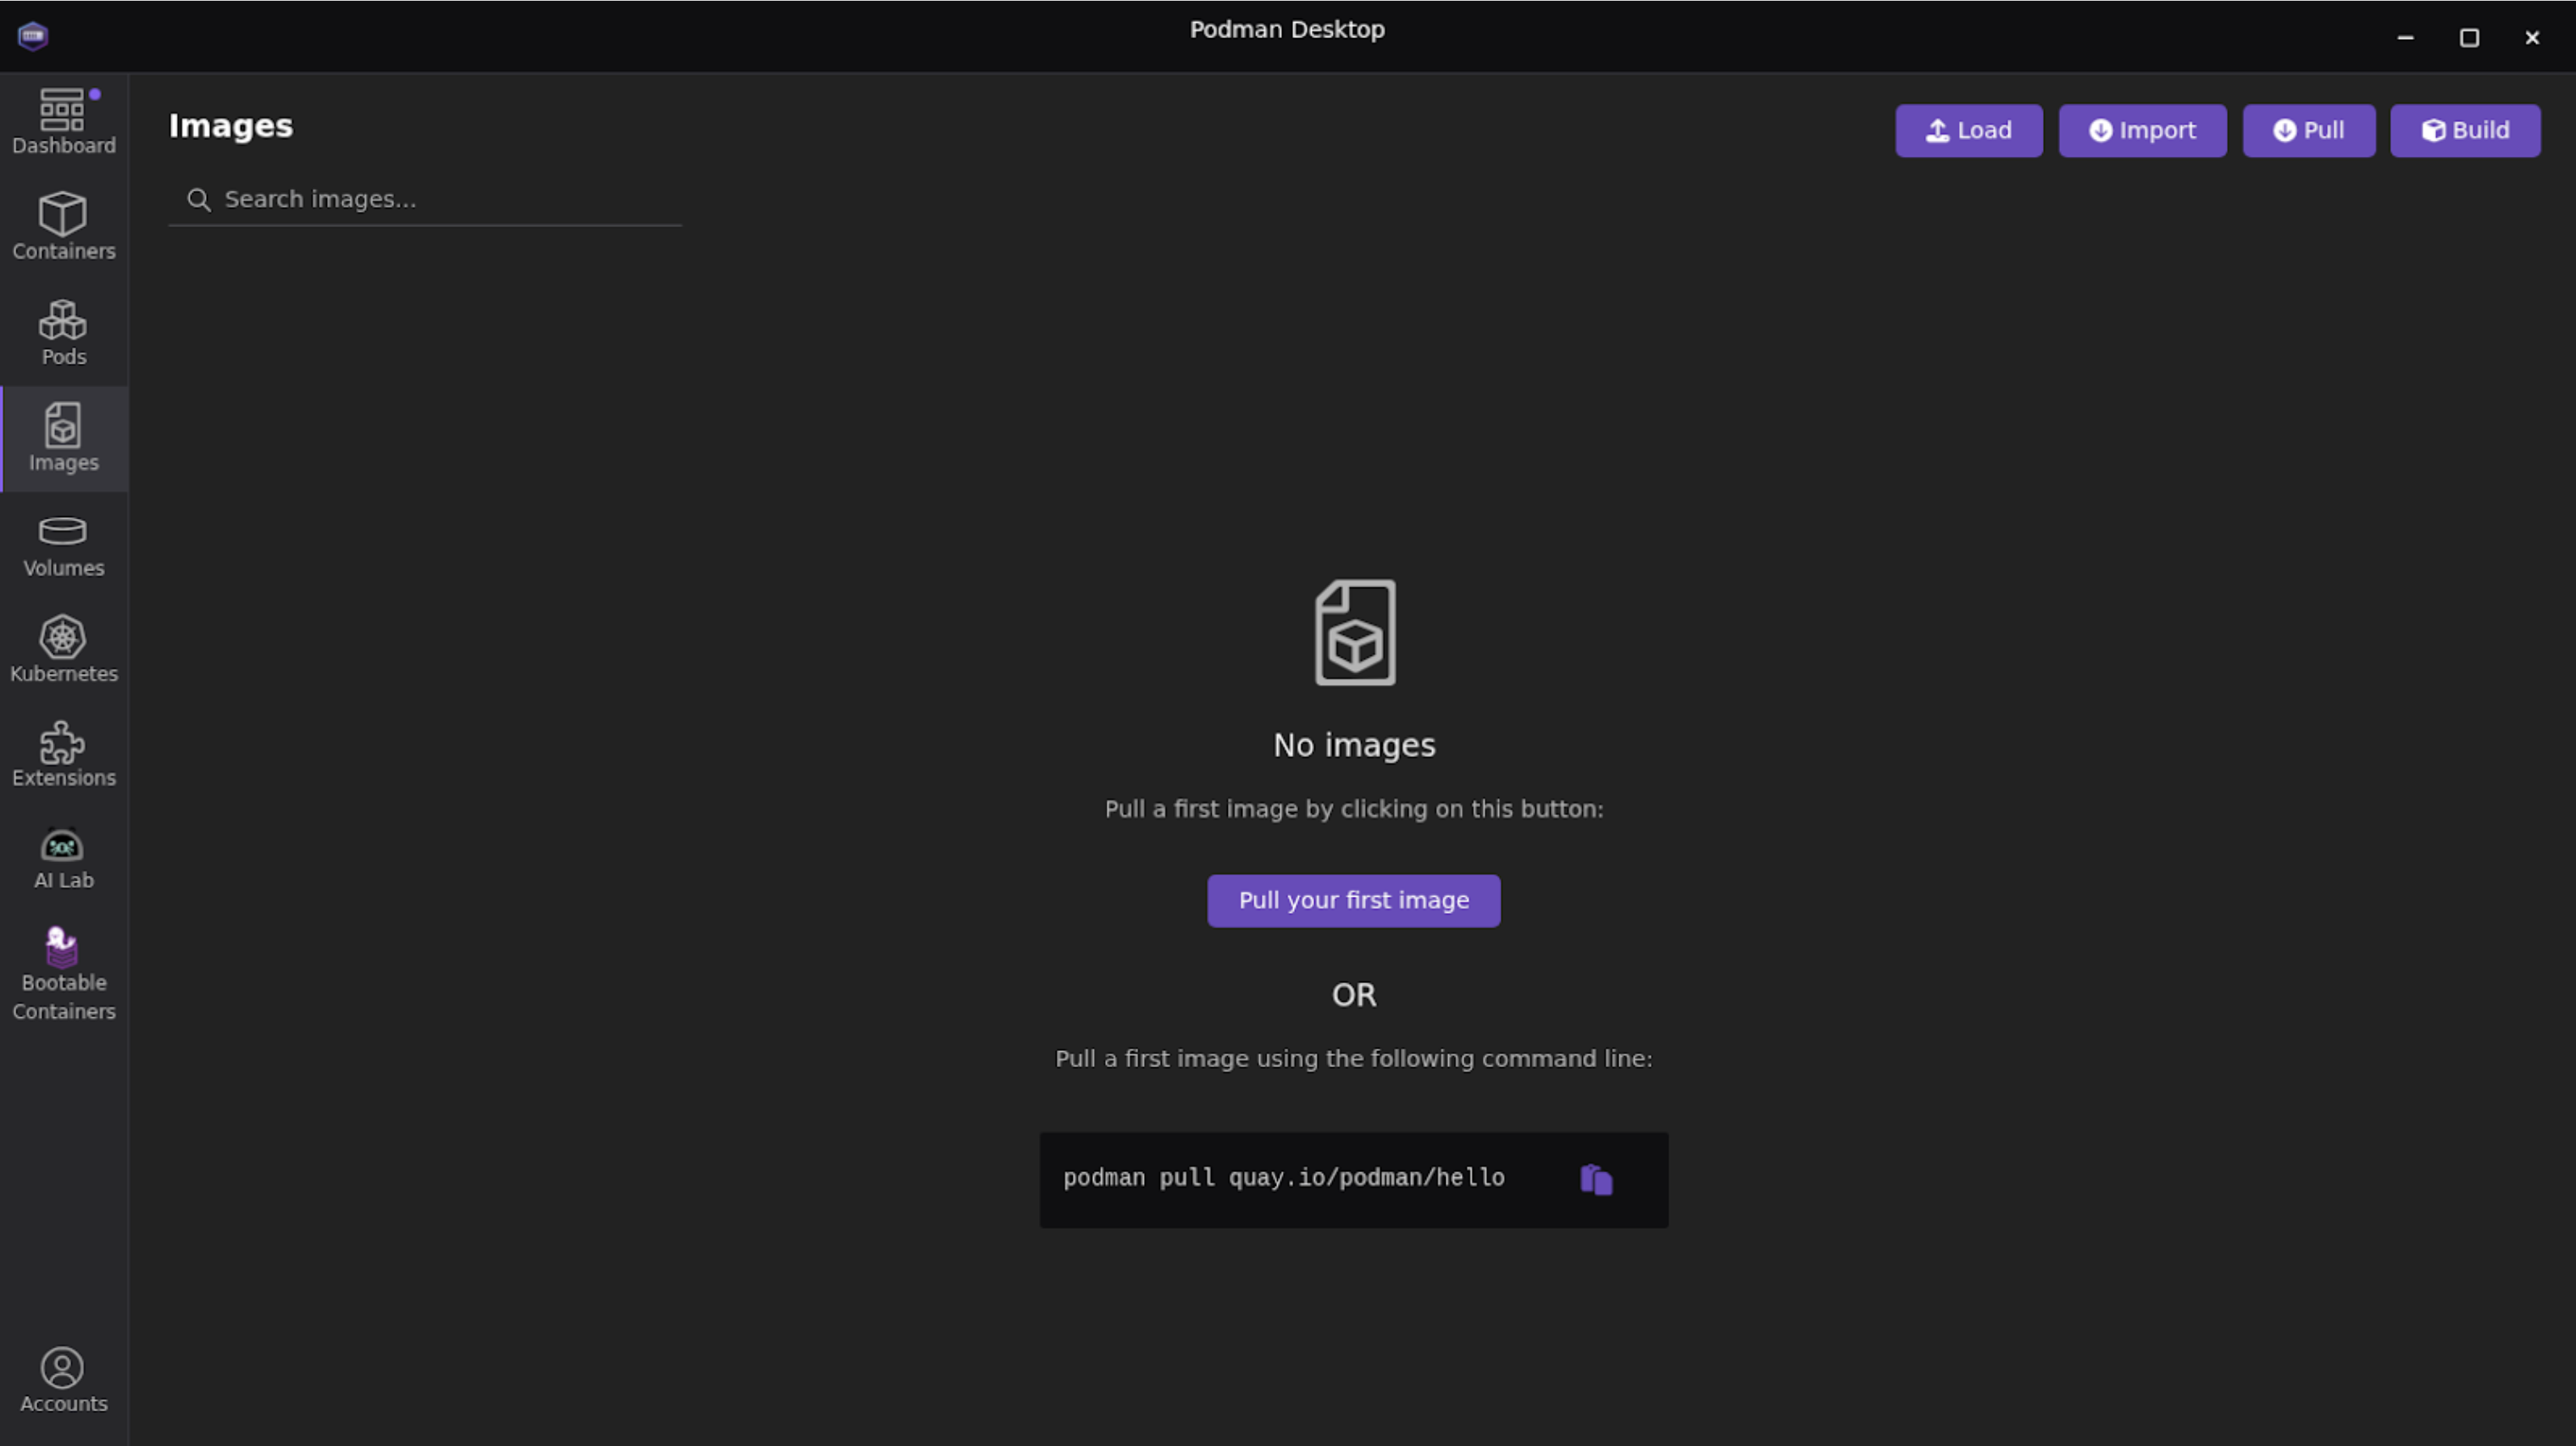
dotnet-dev/bootc/appon your local desktop using your preferred native desktop tools. We’ll use this directory as the central repository for our application files. You’ll be able to edit files either using the editors in your container, your favorite desktop text editor, or your IDE. Either way, they will be accessible from your container. Open Podman Desktop on your local machine and go to the Images section in the left navigation (Figure 1).
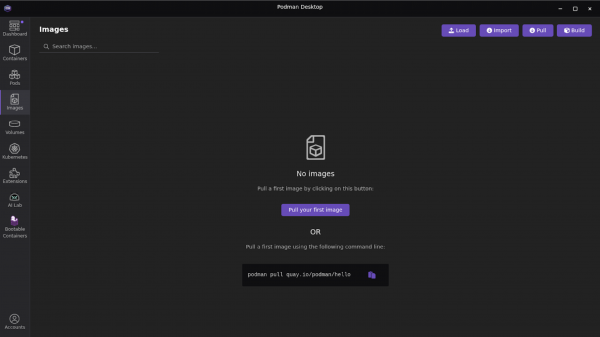
Figure 1: Podman Desktop Images section. - Select Build in the top right corner.
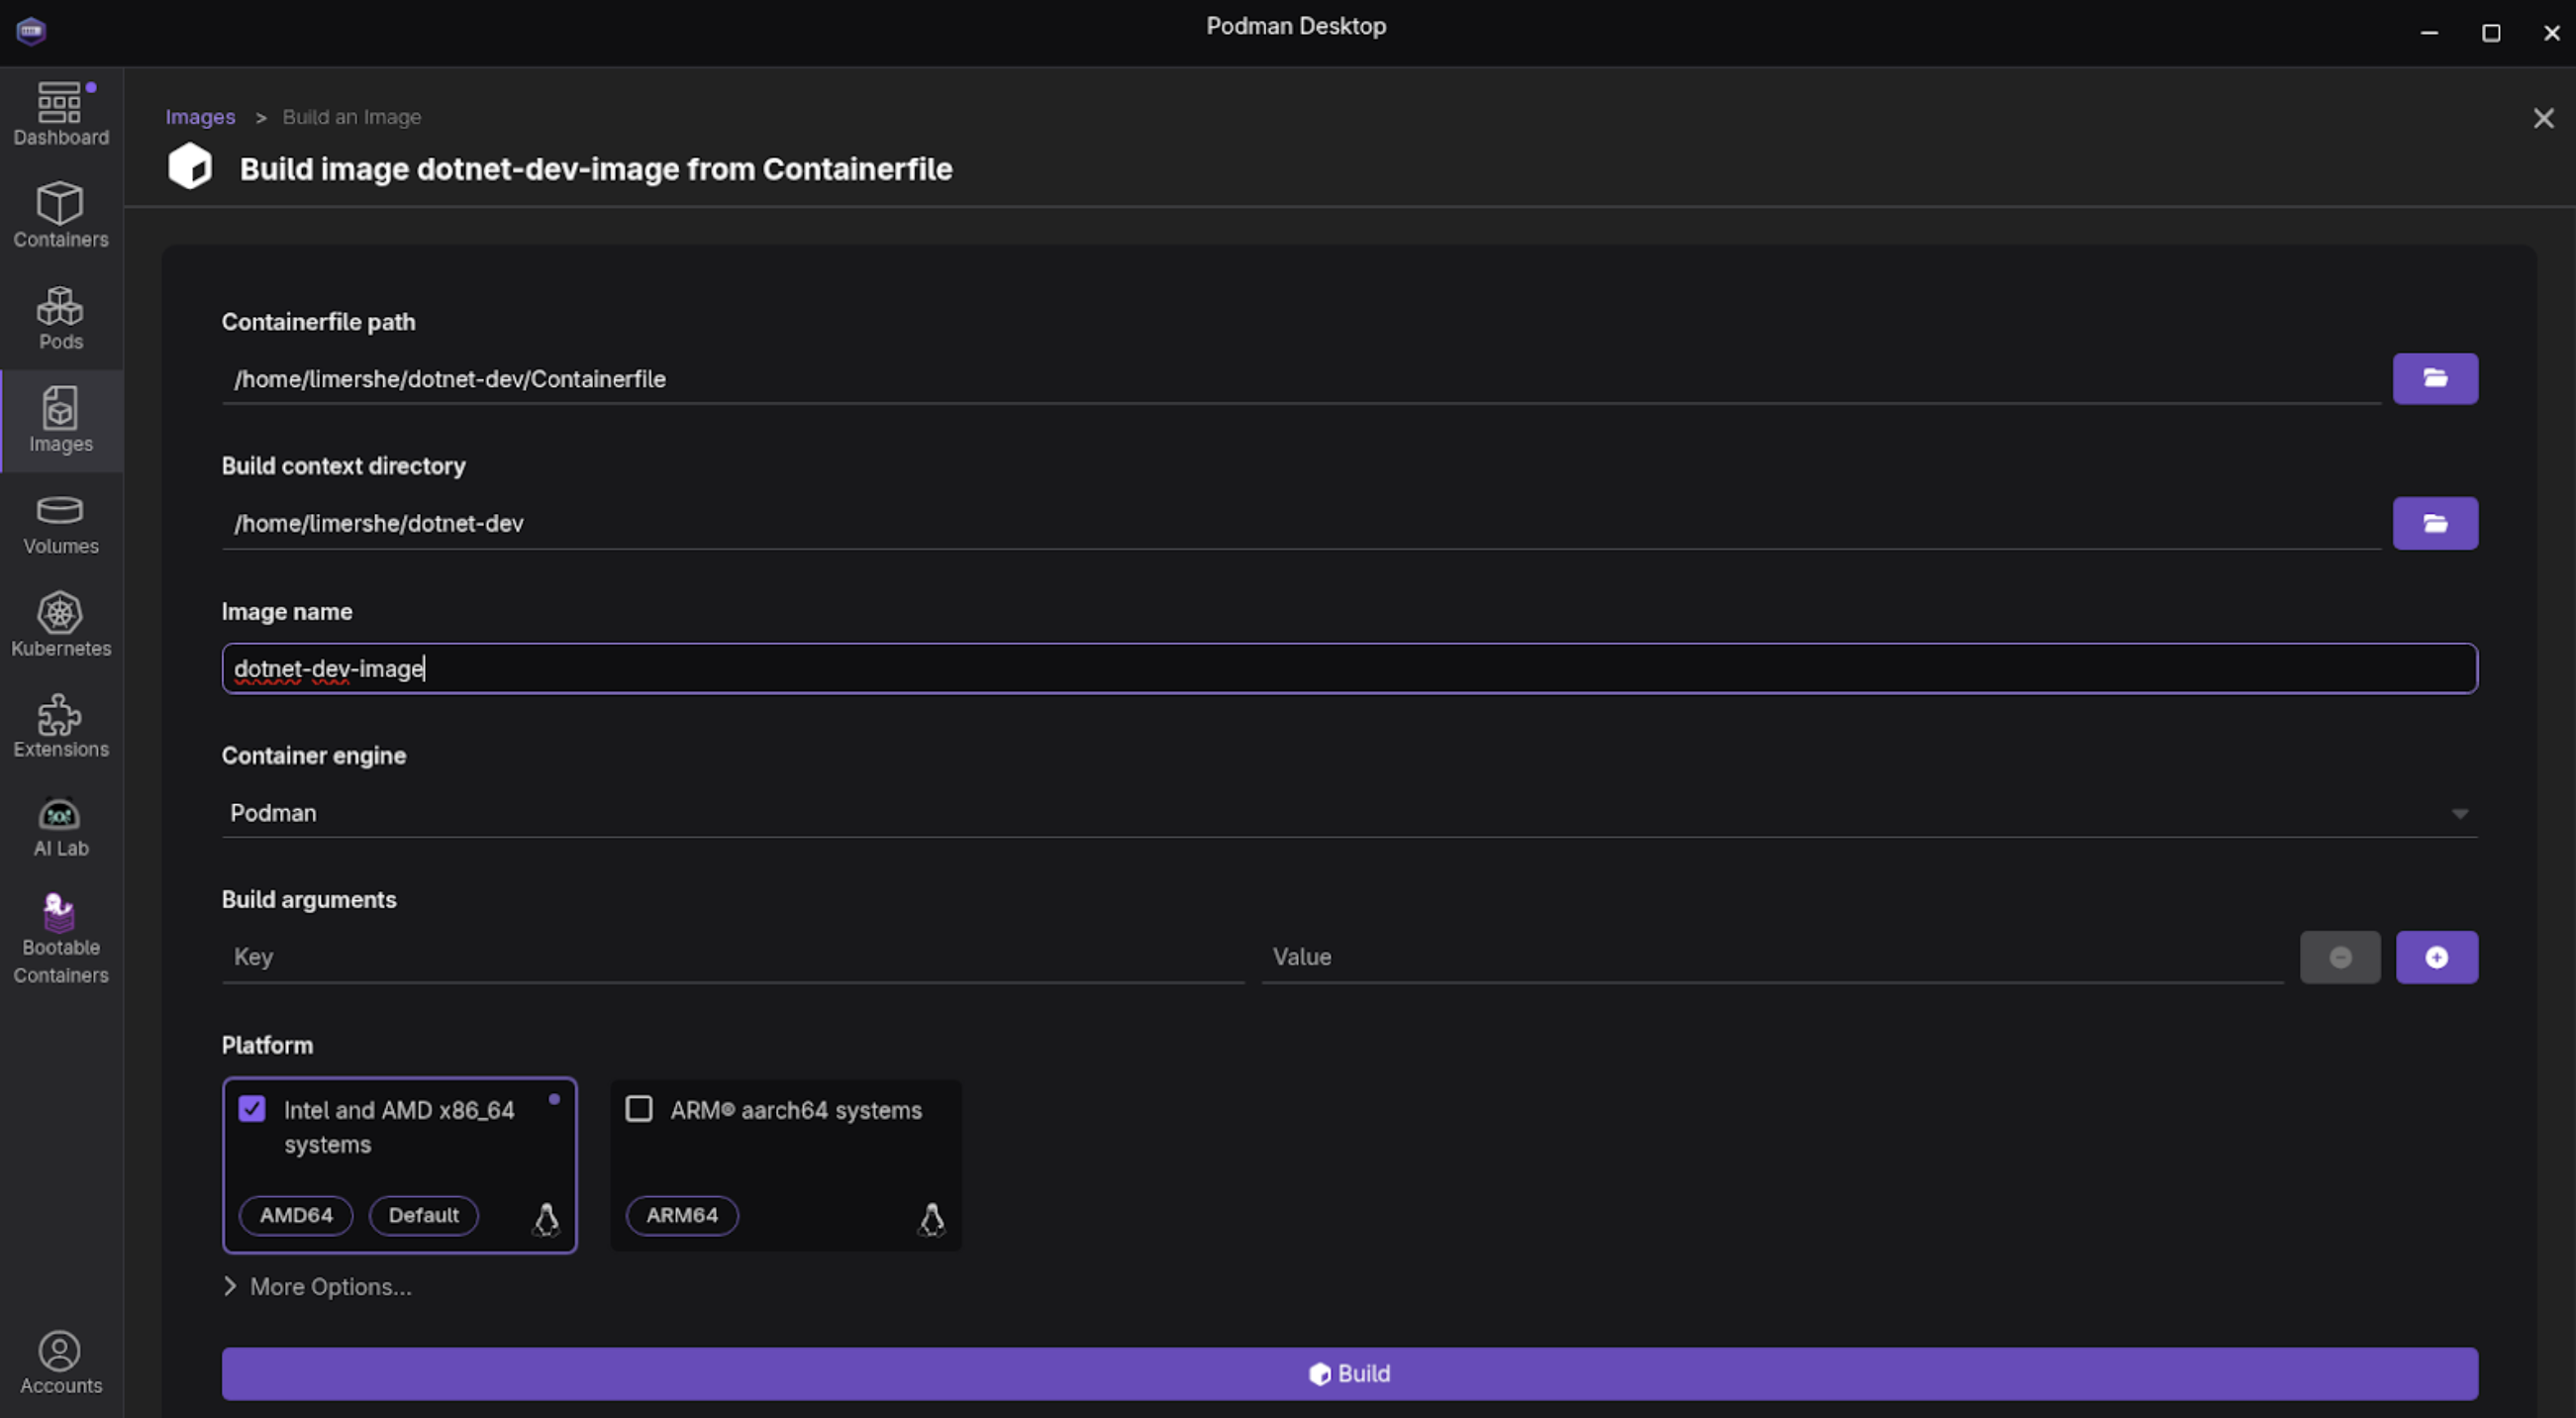
Specify the
Containerfilepath for the file we just created, specify the image name dotnet-dev-image, and specify a Platform. I chose the Intel and AMD x86_64 image option for Fedora (Figure 2).
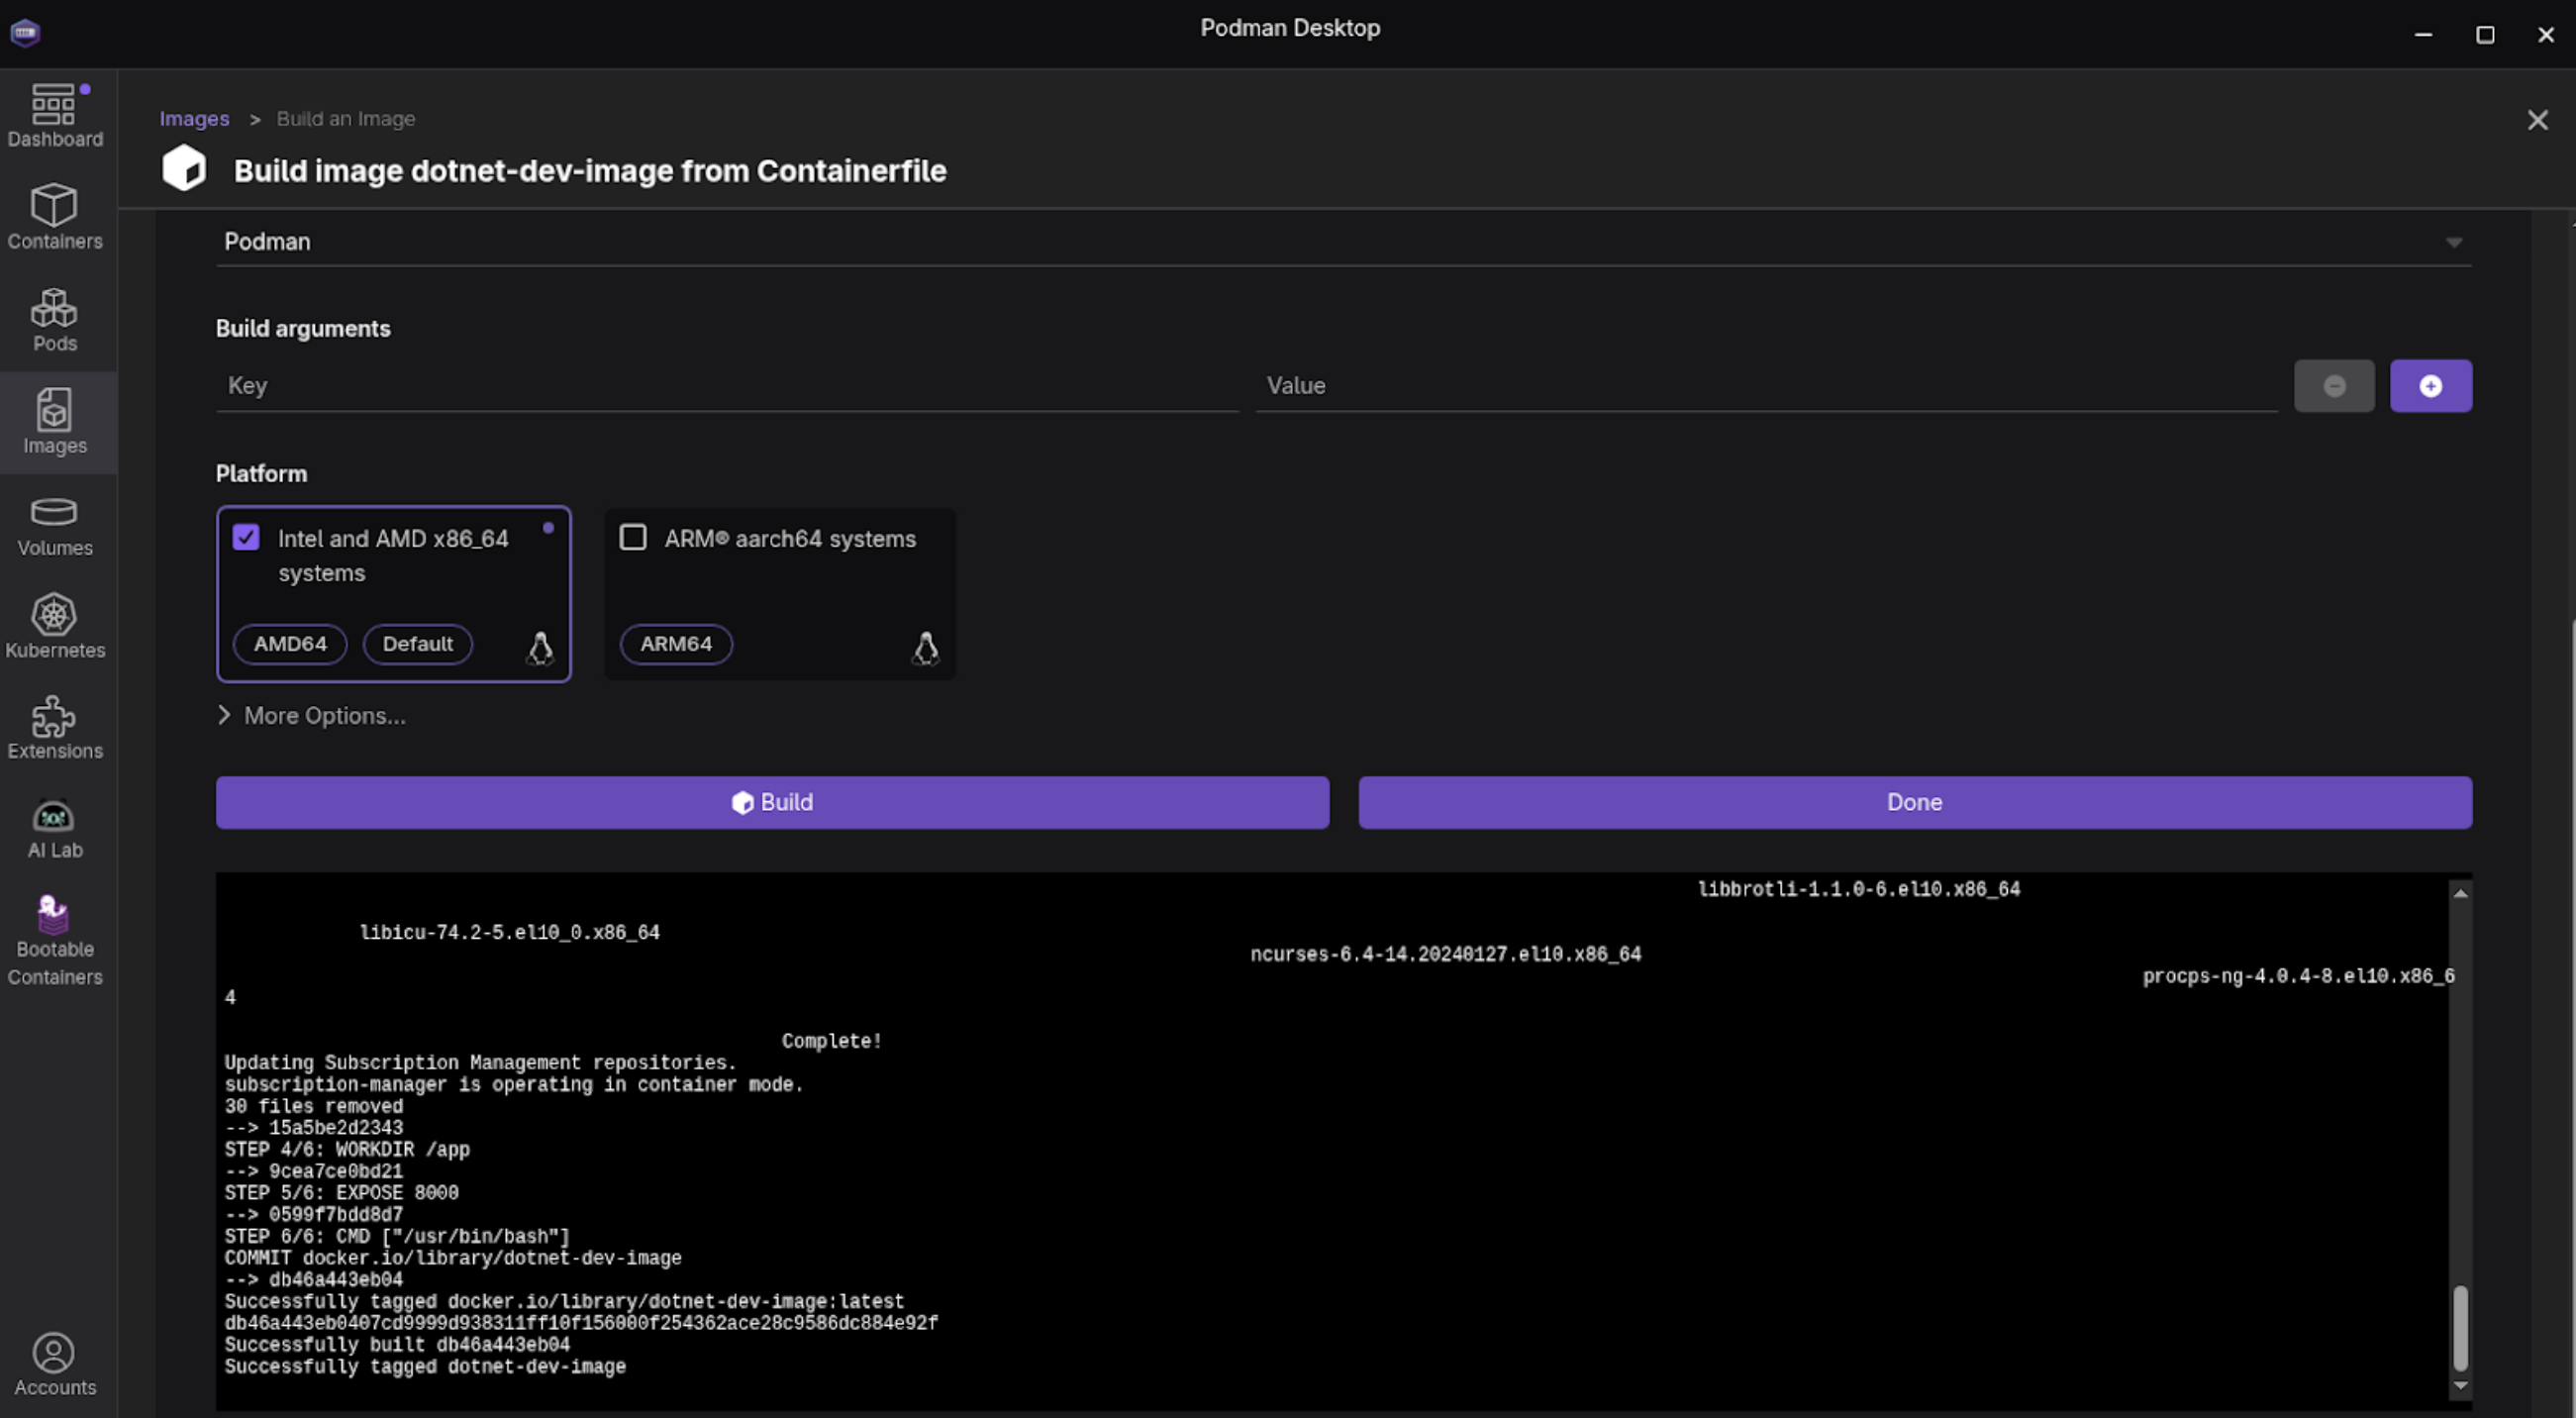
Figure 2: Podman Desktop Build screen. Now select Build at the bottom. It will build your new image. Select Done (Figure 3).
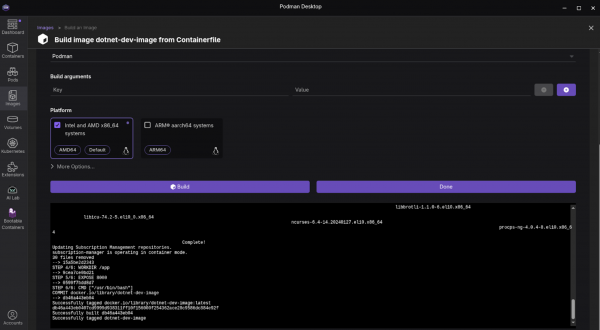
Figure 3: Podman Desktop Build process screen. Back on the main Images section, select the right arrow next to the
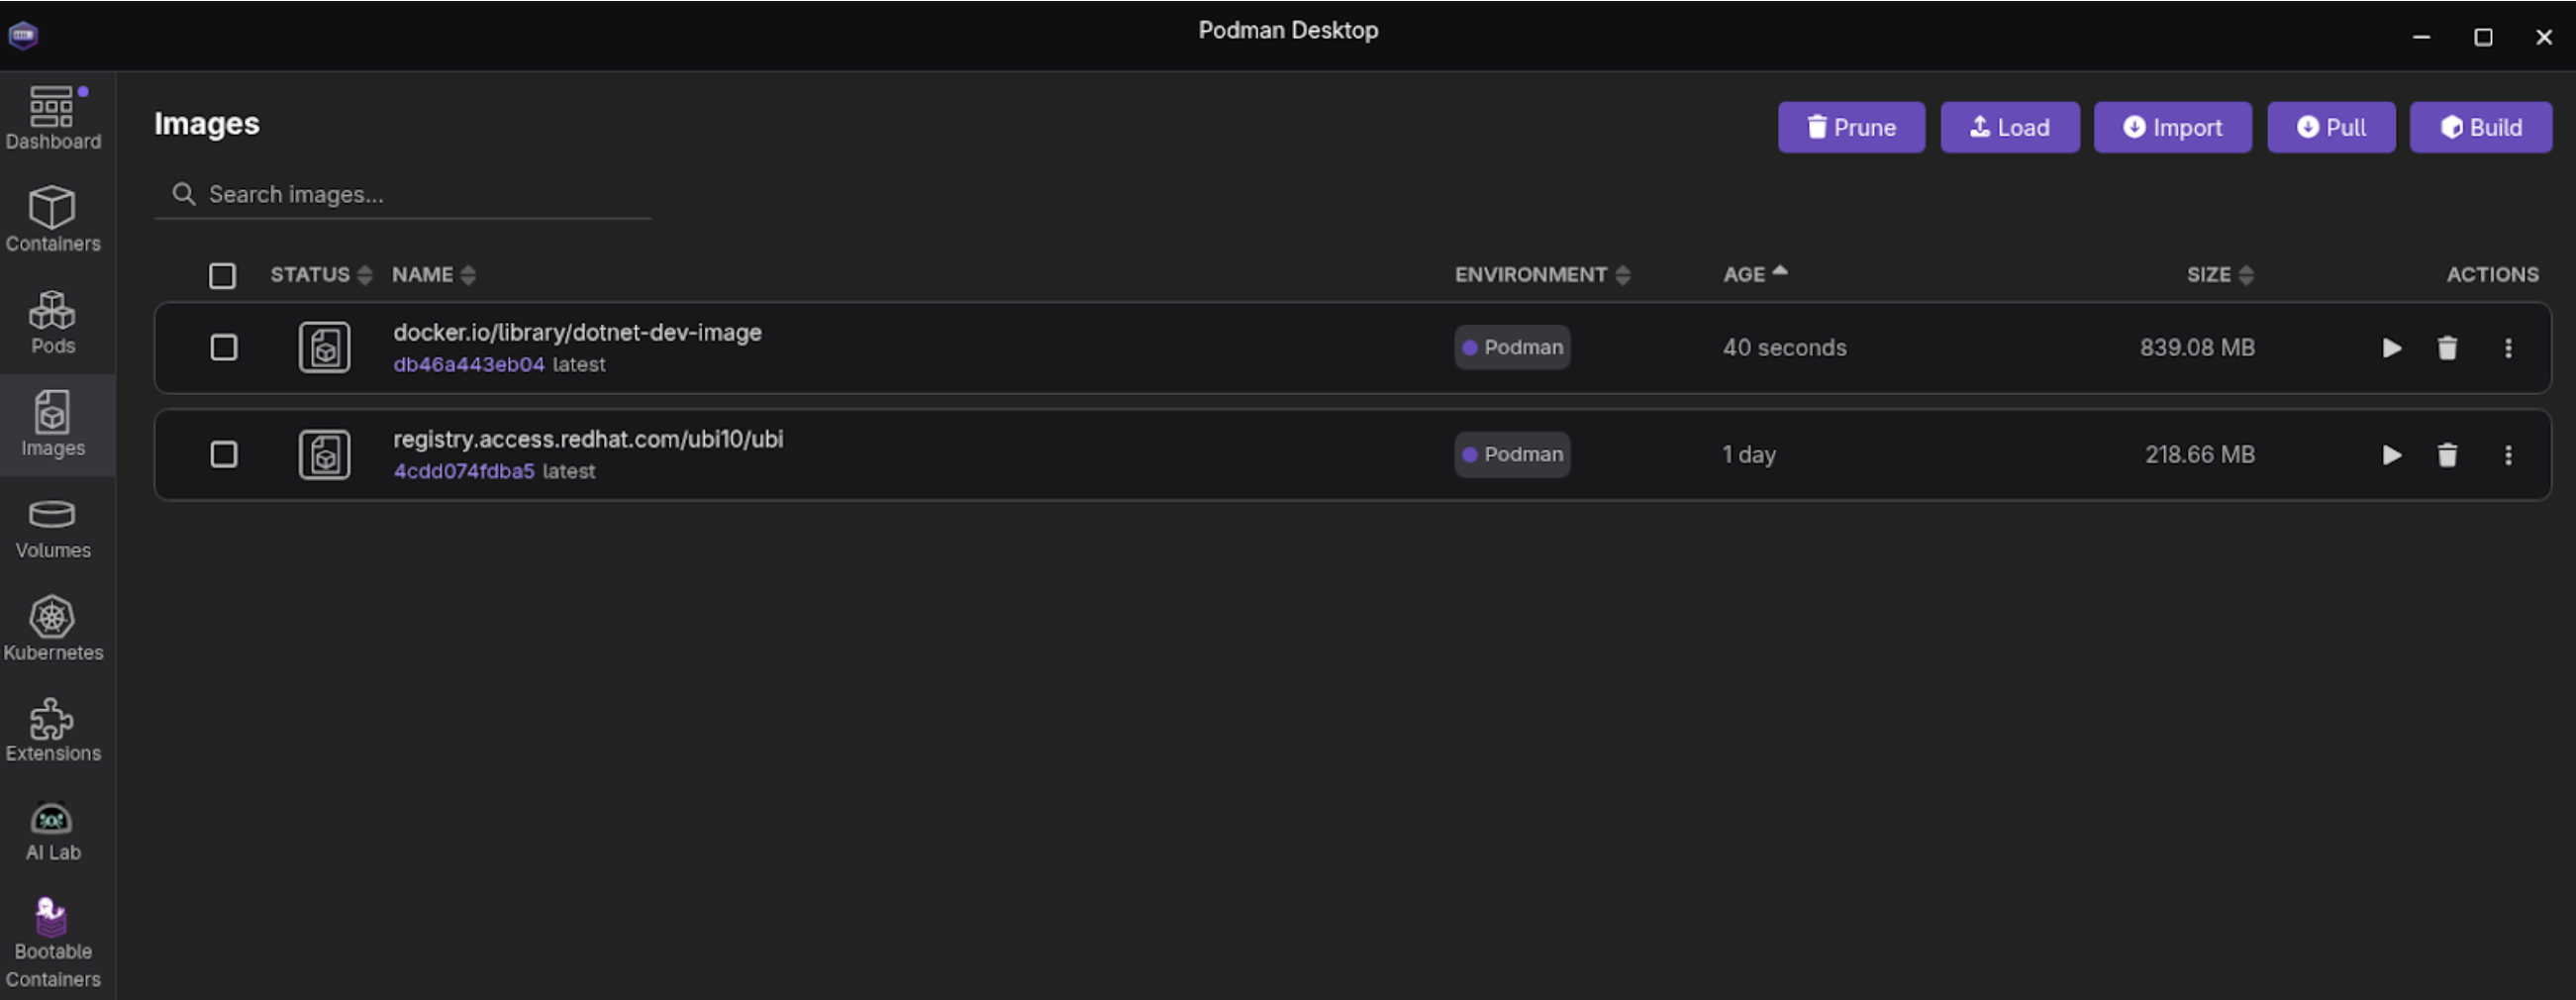
dotnet-devimage to start the image (Figure 4).
Figure 4: Podman Desktop Images screen with images listed. - Name the container
dotnet-dev. - Under Volumes, select the subdirectory we created earlier,
dotnet-dev/bootc/app, as the path on the host. Specify
/app:zas the Path inside the container (Figure 5).
Note: The:zoption will not show up in the actual path in the container. It’s a directive to Podman to allow multiple containers to share the volume content with the local host. In this case, your desktop. This is achieved by re-labeling the directory tocontainer_ton SELinux-enabled Linux systems. It is only needed if your desktop is a Linux system such as RHEL or Fedora. Do not select Start Container yet. We still have an additional step to take.
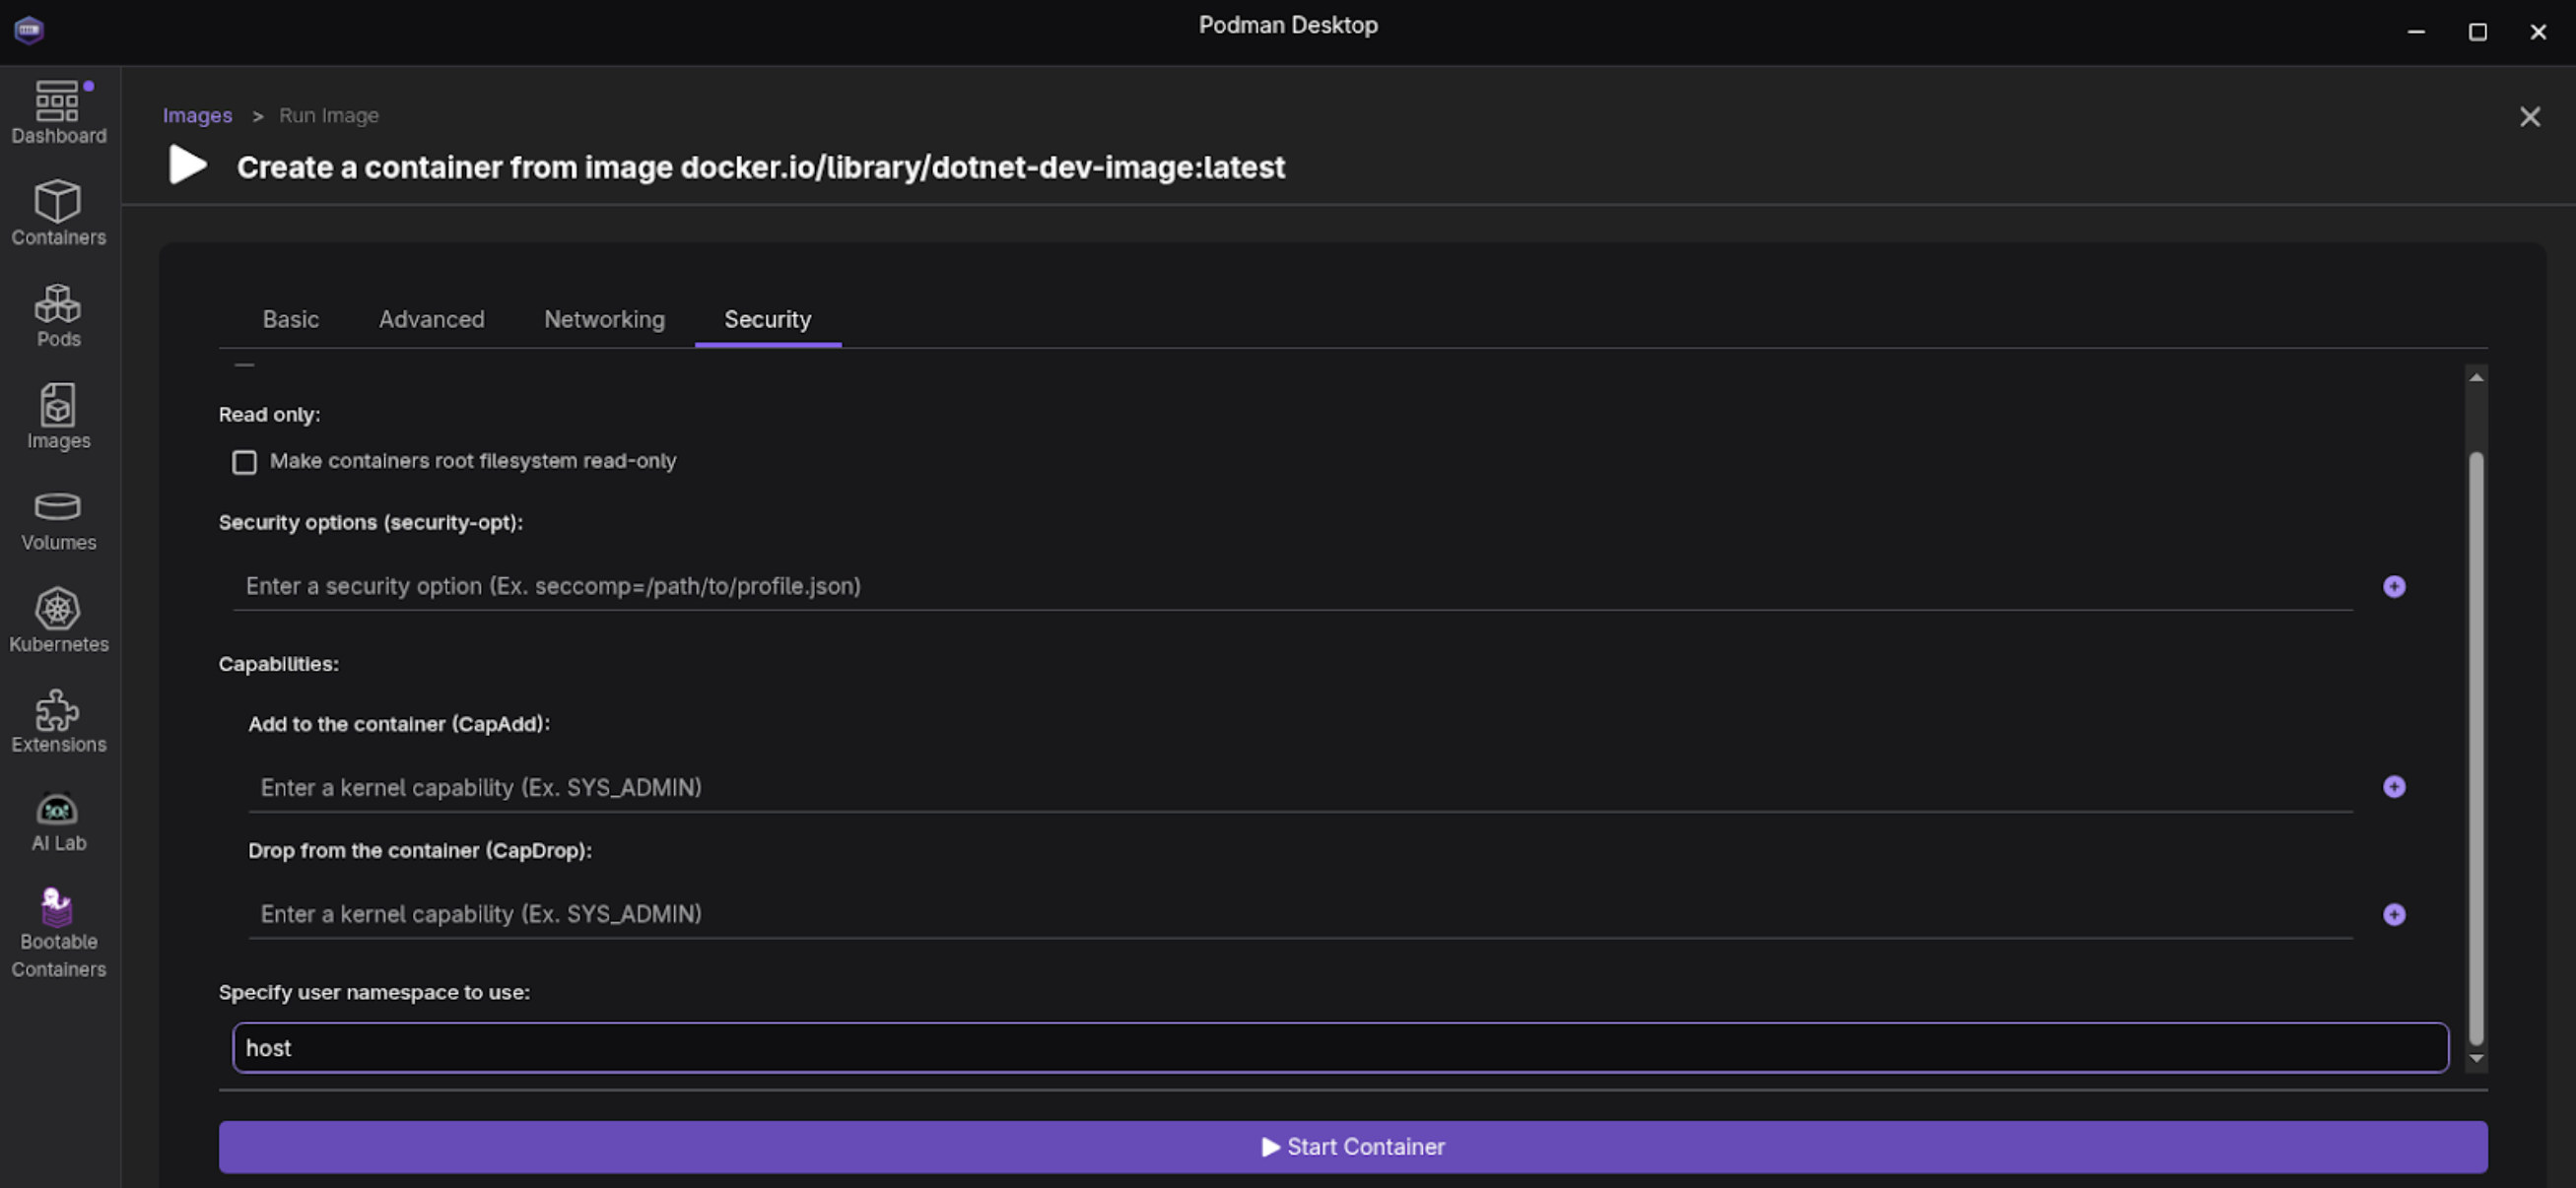
Figure 5: Podman Desktop Create Container screen (basic tab). Select the Security section at the top of the top right of the form and scroll down to Specify user namespace to use: and enter
hostThis keyword will map the root user in your container to your local system user on the machine running Podman. That way, you can share files between your native desktop environment and your new development container (Figure 6).
Figure 6: Podman Desktop Create Container screen. - Select Start container at the bottom. We now have a running container named
dotnet-dev.

Step 2: Create a .NET 10 web application
Now that we have a Red Hat Enterprise Linux terminal screen, let’s create a minimal .NET 10 web application. We'll also modify it to ensure it binds to all network interfaces, which is critical for running in a container or VM.
Go to the Containers section, double-click on the container, and select Terminal. For the next part of this learning path, you’ll be working from a terminal screen (Figure 7).

Figure 7: Podman Desktop Container Details screen. We start off .NET projects by creating a project. In this case, it's one focused on building a minimal web application. From the Podman Desktop terminal, make sure you are in the
/app/directory and run the dotnet command to create a new web project, which we will callHelloRHEL.cd /app dotnet new web -n HelloRHELThis will leave us with a HelloRHEL directory populated with the following files:
HelloRHEL/
├── HelloRHEL.csproj
├── Program.cs
├── appsettings.Development.json
├── appsettings.json
└── obj/
    ├── HelloRHEL.csproj.nuget.dgspec.json
    ├── HelloRHEL.csproj.nuget.g.props
    ├── HelloRHEL.csproj.nuget.g.targets
    ├── project.assets.json
    └── project.nuget.cache
└── Properties/
    └── launchSettings.json
Once we’ve created our HelloRHEL project, we enter the project directory.
cd HelloRHELThere will be an existing file called Program.cs in this directory. We will replace it with the following content:
//Program.cs
var builder = WebApplication.CreateBuilder(args);
var app = builder.Build();
app.MapGet("/", () => "Hello World from .NET 10 on RHEL!");
app.Run();
We’re now ready to compile the application and publish the release. We will copy this published output, not the source code, so that it’s ready to be deployed as a bootable application container using RHEL image mode.
dotnet publish -c Release -o ./publishWe can now test our application by running:
ASPNETCORE_HTTP_PORTS=8000 /usr/bin/dotnet /app/HelloRHEL/publish/HelloRHEL.dllNow use your browser to connect to:
http://localhost:8000Hello World will be displayed in your browser (Figure 8):

Figure 8: Hello World will be displayed in your browser.

