Introduction
A way organizations deal with the progression towards a more connected and API driven world, is by implementing a lightweight SOA/REST API architecture for application services to simplify the delivery of modern apps and services.
In the following blog series, we're going to show how solutions based on 3scale and Red Hat JBoss Fuse enable organizations to create right interfaces to their internal systems thus enabling them to thrive in the networked, integrated economy.
Among the API Management scenarios that can be addresses by 3cale and Red Hat with JBoss Fuse on OpenShift, we have selected to showcase the following:
- Scenario 1 -- A Fuse on Openshift application containing the API. The API is managed by 3scale with the API gateway hosted on Amazon Web Services (AWS) via the 3scale AMI.
- Scenario 2 -- A Fuse on Openshift application containing the API. The API is managed by 3scale with the API gateway hosted via APIcast (3scale's cloud hosted API gateway)
- Scenario 3 -- A Fuse on Openshift application containing the API. The API is managed by 3scale with the API gateway hosted on Openshift
The illustration below depicts an overview of the 3scale API Management solution integrated with JBoss. Conceptually the API Management sits in between the API backend that provides the data, service or functionality and the API Consumers (developers) on the other side. The 3scale API Management solution subsumes: specification of access control rules and usage policies (such as rate limits), API Analytics and reporting, documentation of the API on developer portals (including interactive documentation), and monetization including end-to-end billing.
This article covers scenario 1 which is 3scale on AWS and Fuse on Openshift. We split this article into four parts:
- Part 1: Fuse on Openshift setup to design and implement the API
- Part 2: 3scale setup for API Management using the nginx open-source API gateway
- Part 3: AWS setup for API gateway hosting
- Part 4: Testing the API and API Management
The diagram below shows what role the various parts play in our configuration.
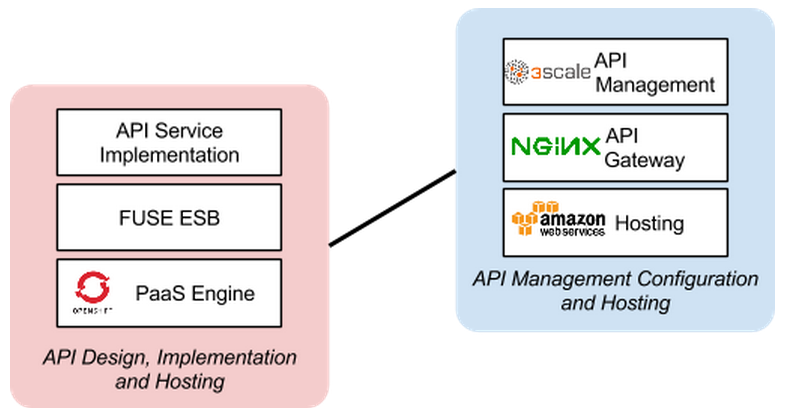
Part 1: Fuse on Openshift setup

We will create a Fuse Application that contains the API to be managed. We will use the REST Quickstart that is included with Fuse 6.1. This requires a Medium or Large gear to be used as using the small gear will result in out of memory errors and/or horrible performance.
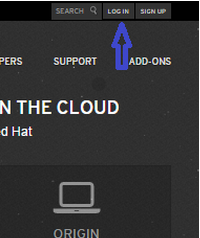
Step 1: Sign onto your Openshift Online Account. You can sign up for a Openshift Online account if you don’t have one.
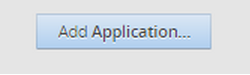
Step 2: Click the Add Application button after singing on.
Step 3: Under xPaaS select the Fuse type for the application

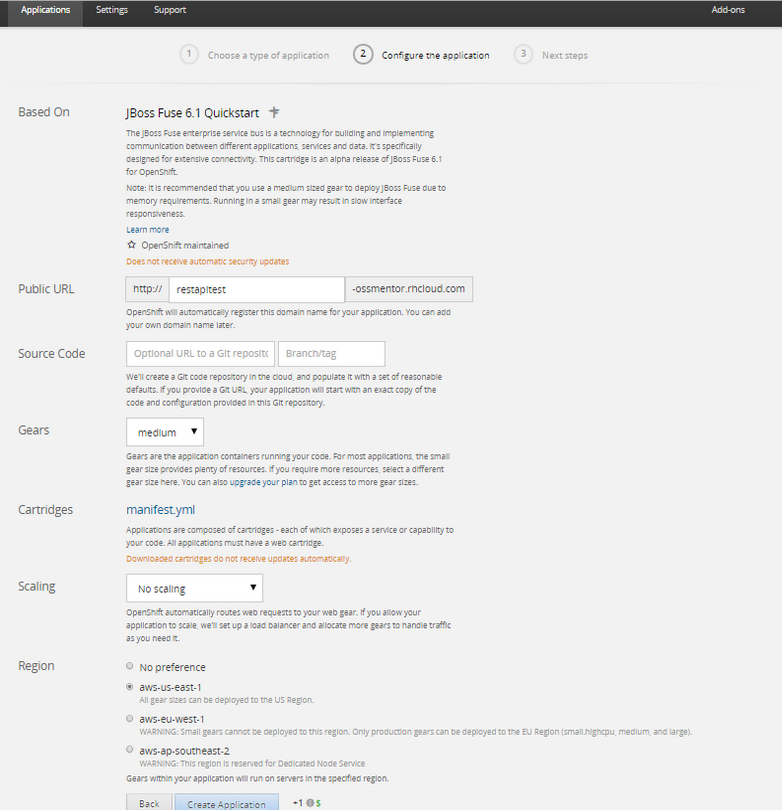
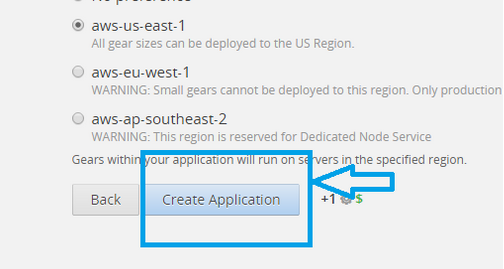
Step 4: Now we will configure the application. Enter a Public URL, such as restapitest which gives the full url as appname-domain.rhcloud.com. As in the example below restapitest-ossmentor.rhcloud.com. Change the gear size to medium or large which is required for the Fuse cartridge. Now click on Create Application.
Step 5: Click Create Application
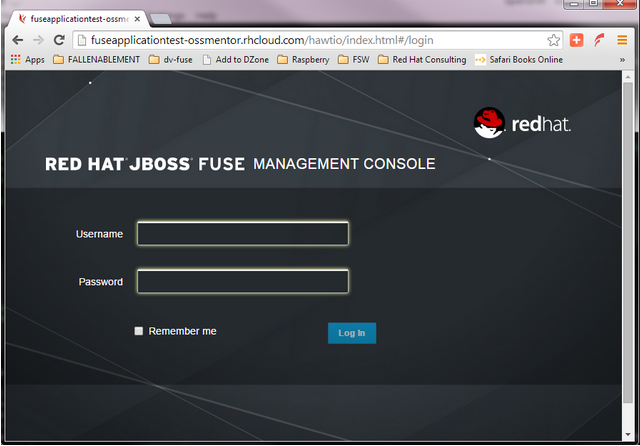
Step 6: Browse to the application hawtio console and sign on
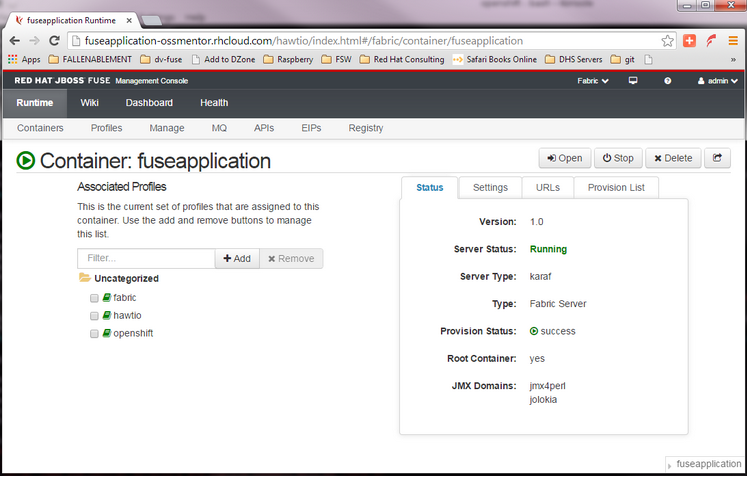
Step 7: After signing on click on the Runtime tab and the container. We will add the REST API example.
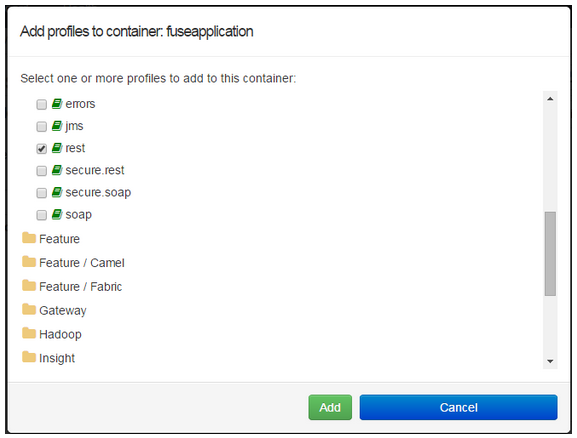
Step 8: Click on Add a Profile button

Step 9: Scroll down to examples/quickstarts and click the rest checkbox then add. The REST profile should show on the container associated profile page.
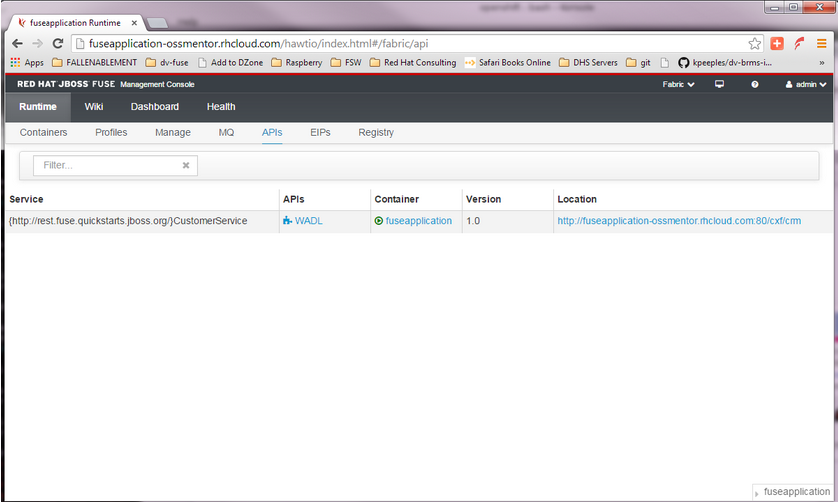
Step 10: Click on the Runtime/APIs tab to verify the REST API profile.
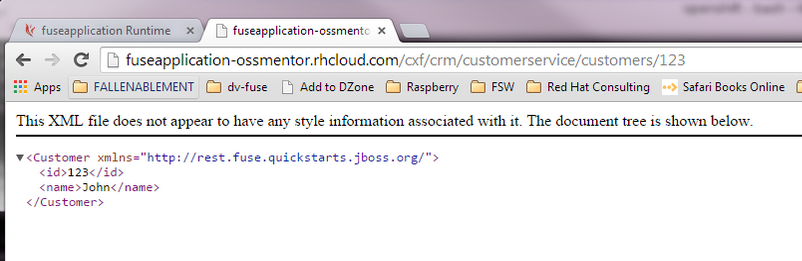
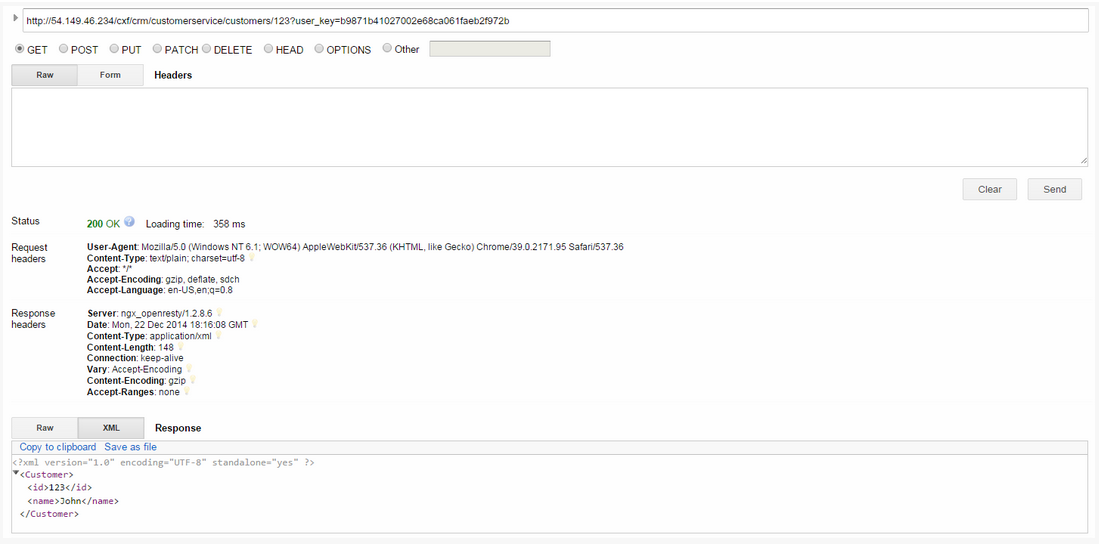
Step 11: Verify the REST API is working. Browse to customer 123 which will return the ID and name in XML format.
Part 2: 3scale setup
Once we have our API set up on Openshift we can start setting it up on 3scale to provide the management layer for access control and usage monitoring.
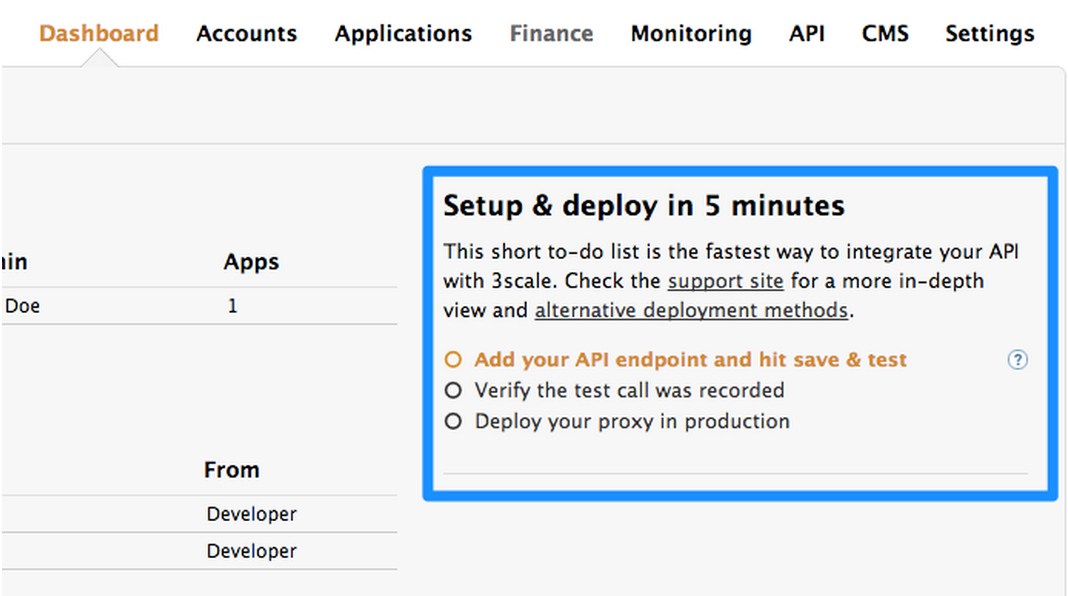
Step 1: Log in to your 3scale account. You can sign up for a 3scale account for free at www.3scale.net if you don’t already have one. When you log in to your account for the first time you will see a to-do list to guide you through setting up your API with 3scale.
Step 2: If you click on the first item in the list “Add your API endpoint and hit save & test” you’ll be taken directly to the 3scale Integration page where you can enter the public url for your Fuse Application on Openshift that you have just created, e.g restapitest-ossmentor.rhcloud.com and click on “Update & test.” This will test your set up against the 3scale sandbox proxy. The sandbox proxy allows you to test your 3scale set up before deploying your proxy configuration to AWS.

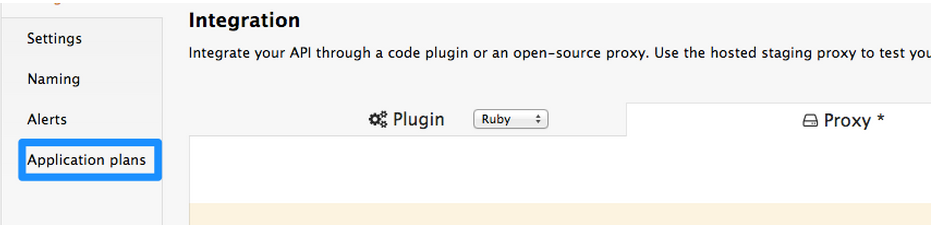
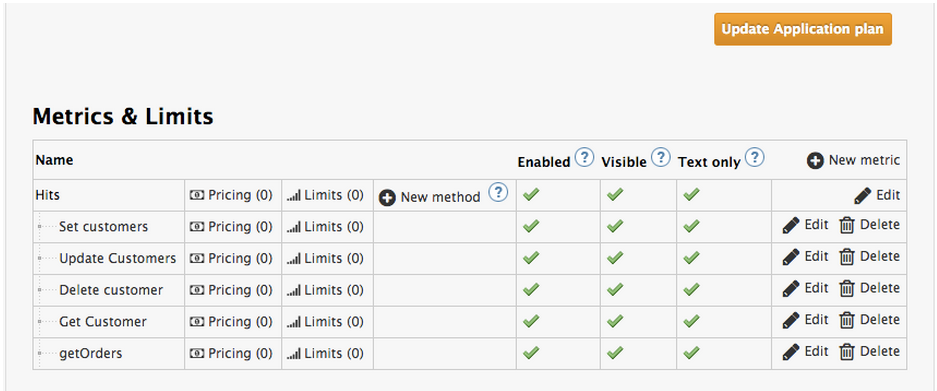
Step 3: The next step is to set up the API methods that you want to monitor and rate limit. You will do this by creating Application Plans that define which methods are available for each type of user and any usage limits you want to enforce for those users. You can get there from the left hand menu by clicking Application Plans.
and clicking on one of the Application Plans set up by default for your account. In this case we will click on “Basic.”

Which will take you to the following screen where you can start creating your API methods
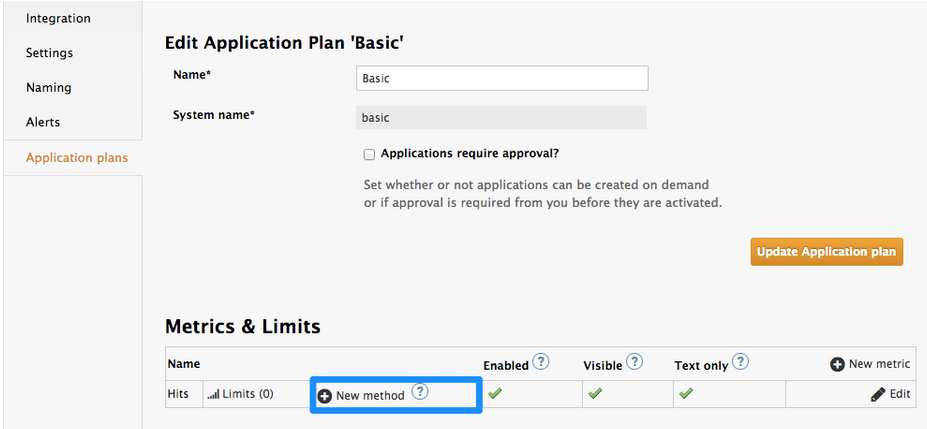
for each of the calls that users can make on the API:
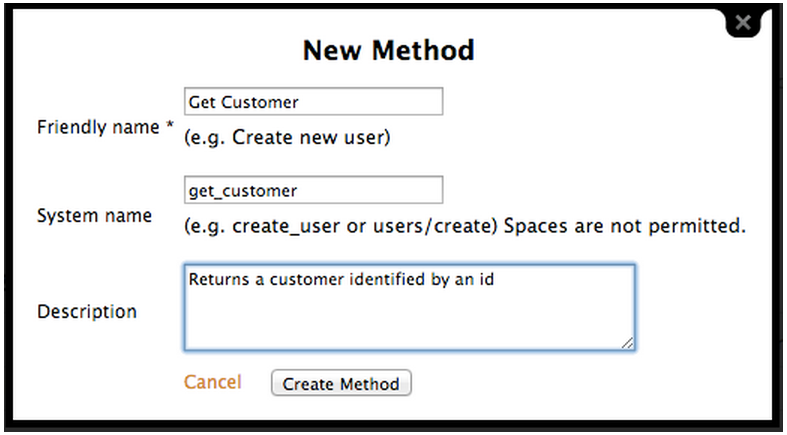
e.g Get Customer for GET and Update Customers for PUT / etc…
Step 4: Once you have all of the methods that you want to monitor and control set up under the application plan, you will need to map these to actual http methods on endpoints of your API. We do this by going back to the Integration page and expanding the “Mapping Rules” section.

And creating proxy rules for each of the methods we created under the Application Plan.
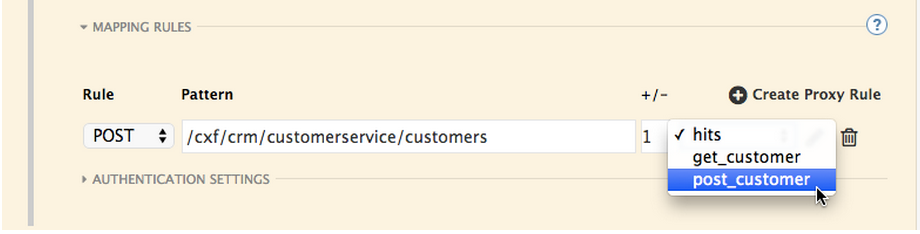
Once you have done that, your mapping rules will look something like this:

Step 5: Once you have clicked “Update and Test” to save and test your configuration, you are ready to download the set of configuration files that will allow you to configure your API gateway on AWS. As an API gateway we use an high-performance and open-source proxy called nginx. You will find the necessary configuration files for nginx in the same Integration page, by scrolling down to the “Production” section

The final section will now take you through installing these configuration files on your Nginx instance on Amazon Web Services (AWS) for hosting.
Part 3: Amazon Web Services (AWS) Setup
We assume that you have already completed these steps:
- You have your Amazon Cloud account.
- You have created your application and are ready to deploy it to Amazon Cloud.
- You have created your proxy on 3scale.
With that accomplished we are ready to setup our Amazon Cloud Server and deploy our application.
STEP 1. Open Your EC2 Management Console
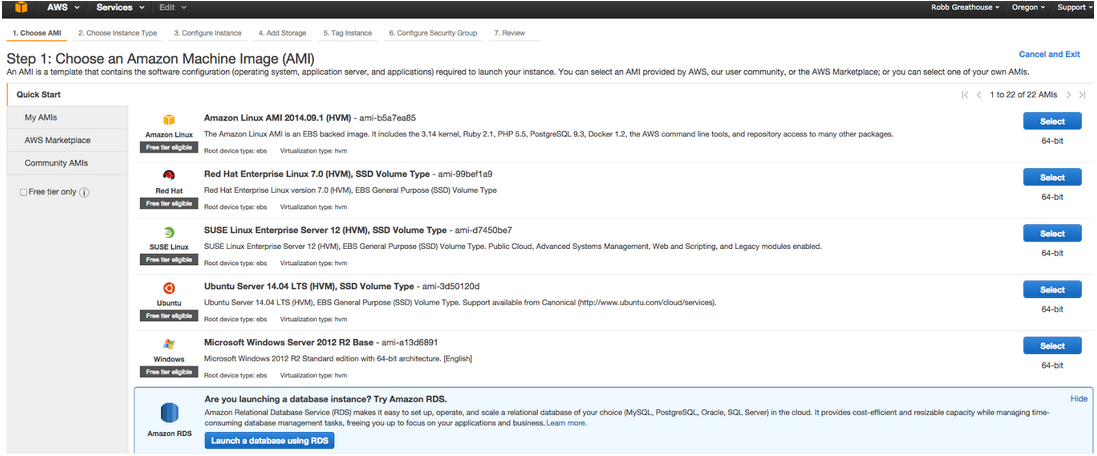
In the left hand side bar you will see “AWS Marketplace”. Select this, type 3scale into the Search and you will see the 3scale Proxy AMI (Amazon Machine Image) show up in the results. The 3scale Proxy AMI implicitly uses and runs an nginx gateway.
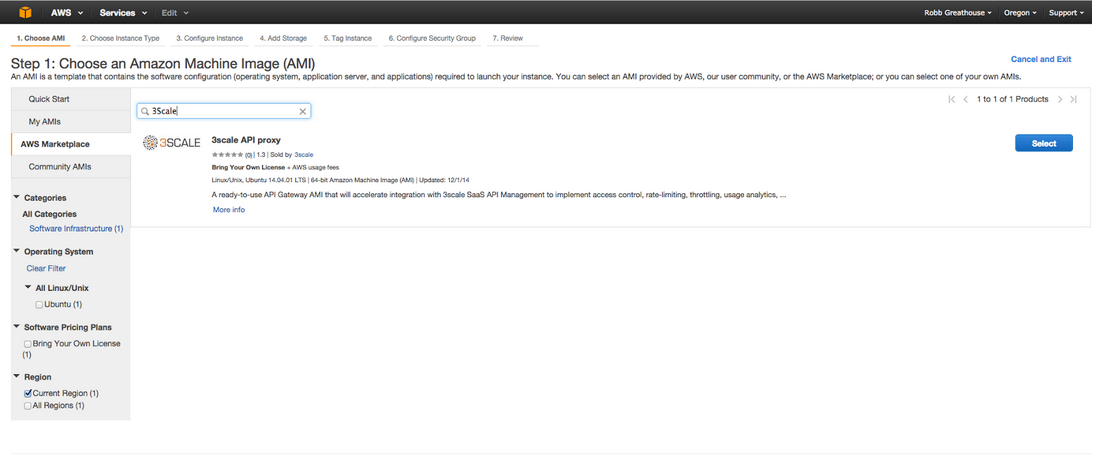
Click “Select”
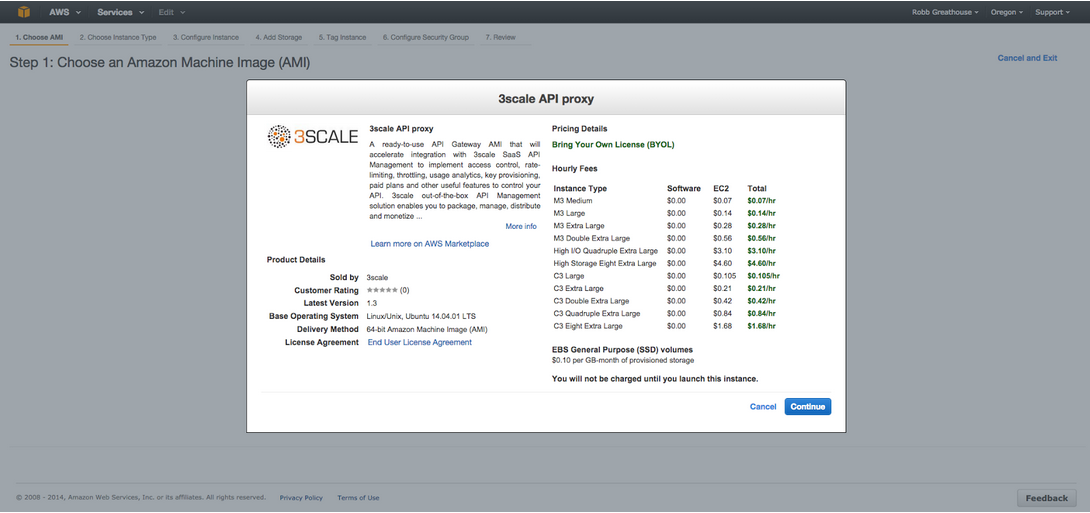
Click “Continue”
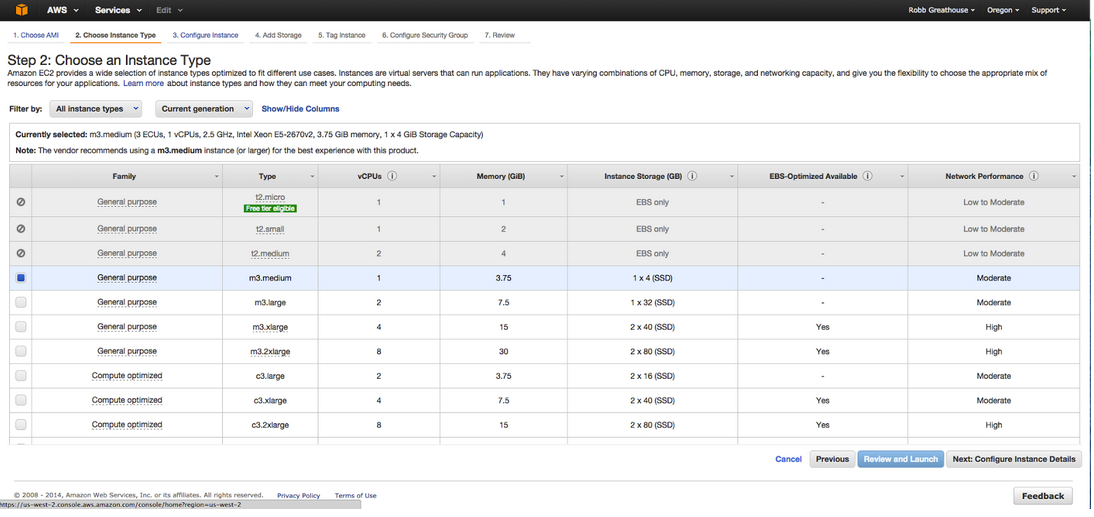
Select plan that is most appropriate to your application and then you can either select “Review and Launch” if you want a simple launch with 3scale or “Next: Configure Instance Details” to add additional detail configuration; such as shutdown, storage and security.
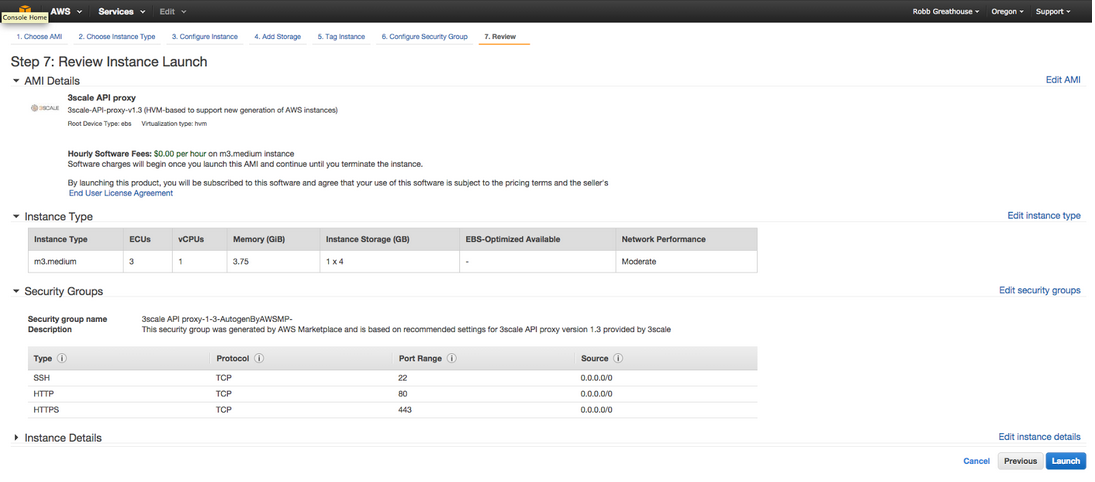
And click “Launch”. The next screen will ask you to create or select an existing public private key.
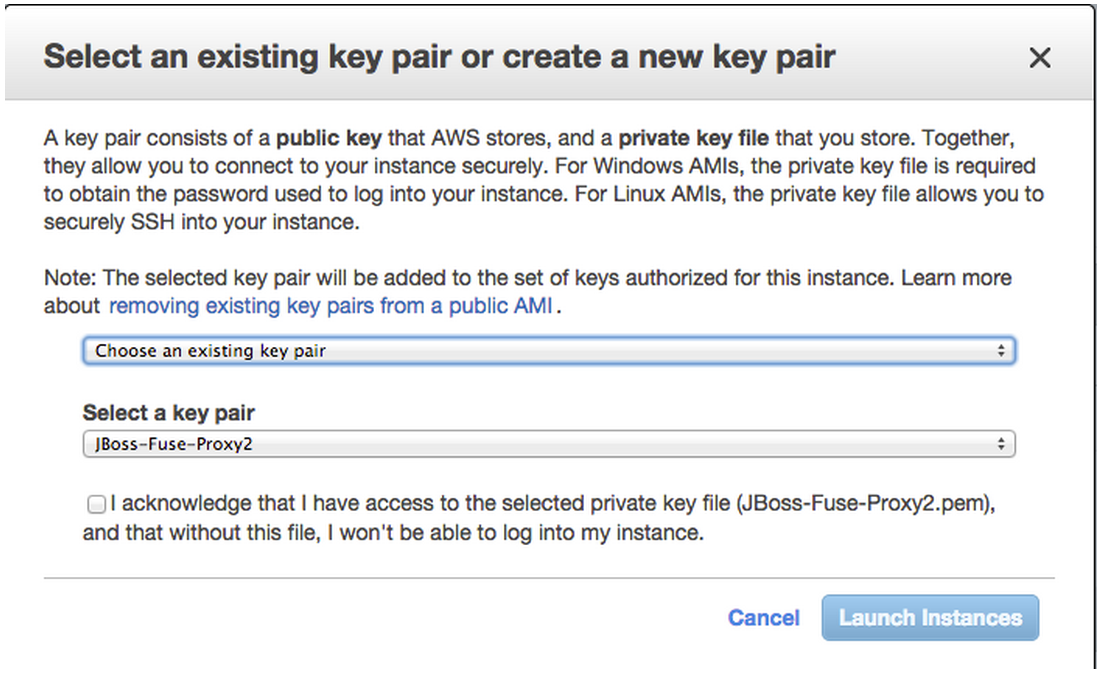
If you already have a public-private key you created on AWS can choose to use it.
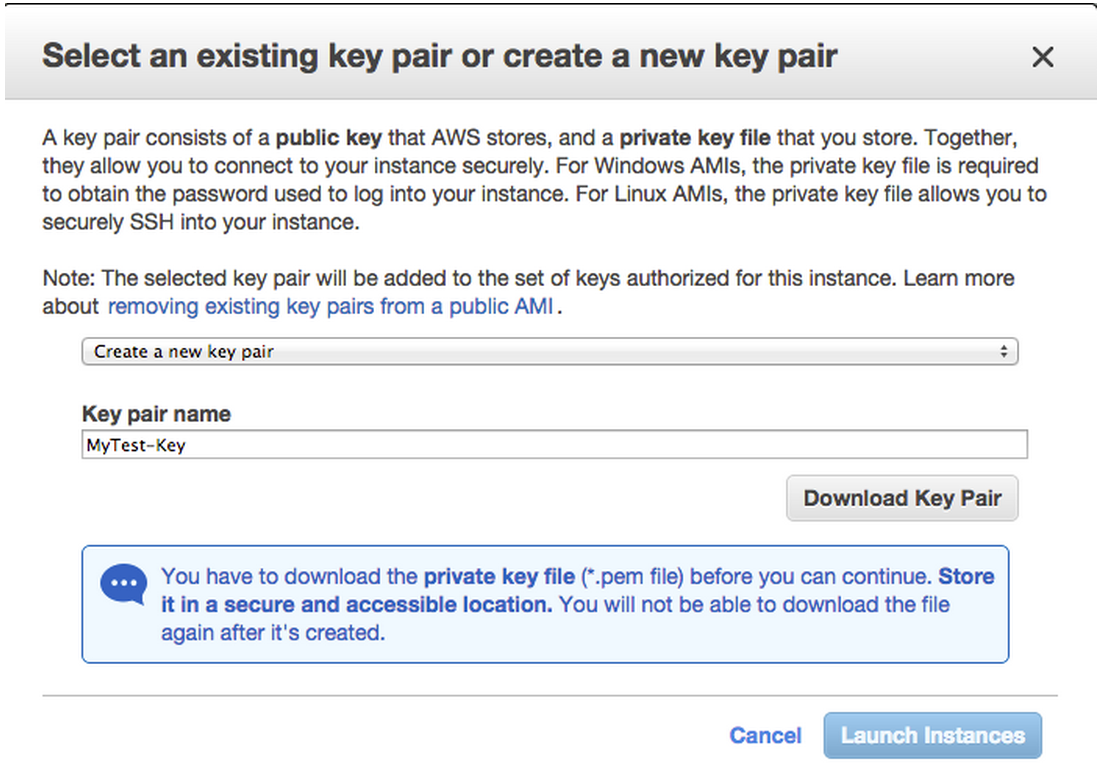
If you do not already have a public-private key pair you should choose to create a new pair.
Your 3scale proxy is now running on AWS. But now we need to update the 3scale AWS instance with the NGINX config. From 3scale download the nginx config file and upload it to AWS. Once uploaded and placed in the correct directory then restart your proxy instance. Upload instructions are found at http://www.amazon.com/gp/help/customer/display.html?nodeId=201376650 The instructions below help you manage your proxy.
- head over to the your AWS Management Console and go into the running instances list on the EC2 section.
- check that your instance is ready to be accessed. That is indicated by a green check mark icon in the column named Status Checks.
- click on over the instance the list to find its public DNS and copy it
- log in through SSH using the ubuntu user and the private key you chose before. The command will look more or less like:
- ssh -i privateKey.pem ubuntu@ec2-12-34-56-78.compute-1.amazonaws.com
- once you log in, read the instructions that will be printed to the screen: all the necessary commands to manage your proxy are described there. In case you want to read them later, these instructions are located in a file named 3SCALE_README in the home directory.
Note: Remember that the 3Scale instance runs on Ubuntu on Amazon. Hence the ubuntu login.
In the next section, we will show how your API and API Management can be tested.
Part 4: Testing the API and API Management
Use your favorite REST client and run the following commands
- Retrieve the customer instance with id 123
http://54.149.46.234/cxf/crm/customerservice/customers/123?user_key=b9871b41027002e68ca061faeb2f972b
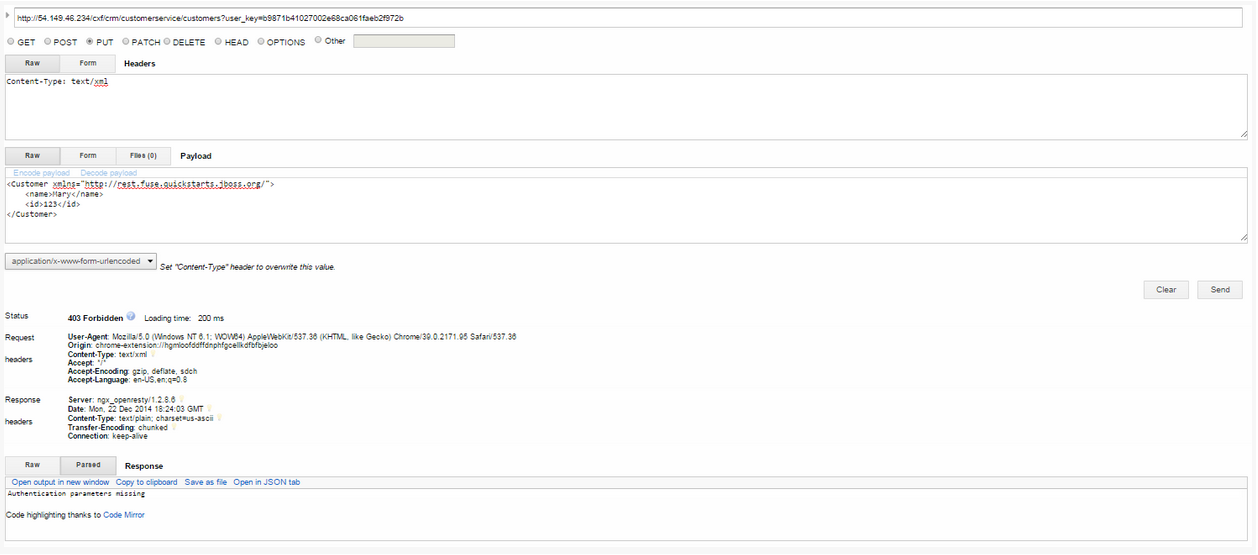
- Create a customer
http://54.149.46.234/cxf/crm/customerservice/customers?user_key=b9871b41027002e68ca061faeb2f972b
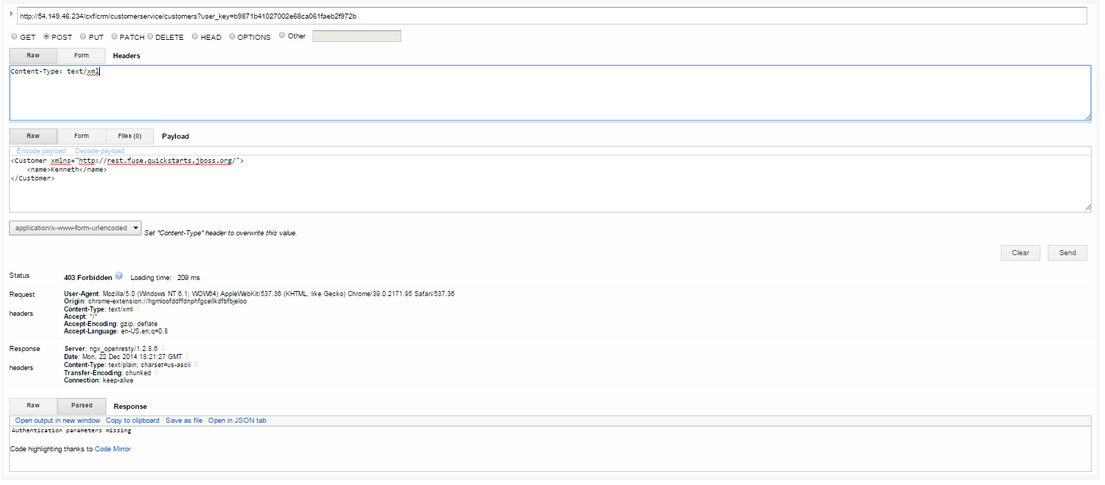
- Update the customer instance with id 123
http://54.149.46.234/cxf/crm/customerservice/customers?user_key=b9871b41027002e68ca061faeb2f972b
- Delete the customer instance with id 123
http://54.149.46.234/cxf/crm/customerservice/customers/123?user_key=b9871b41027002e68ca061faeb2f972b

- Check the analytics of the API Management of your API
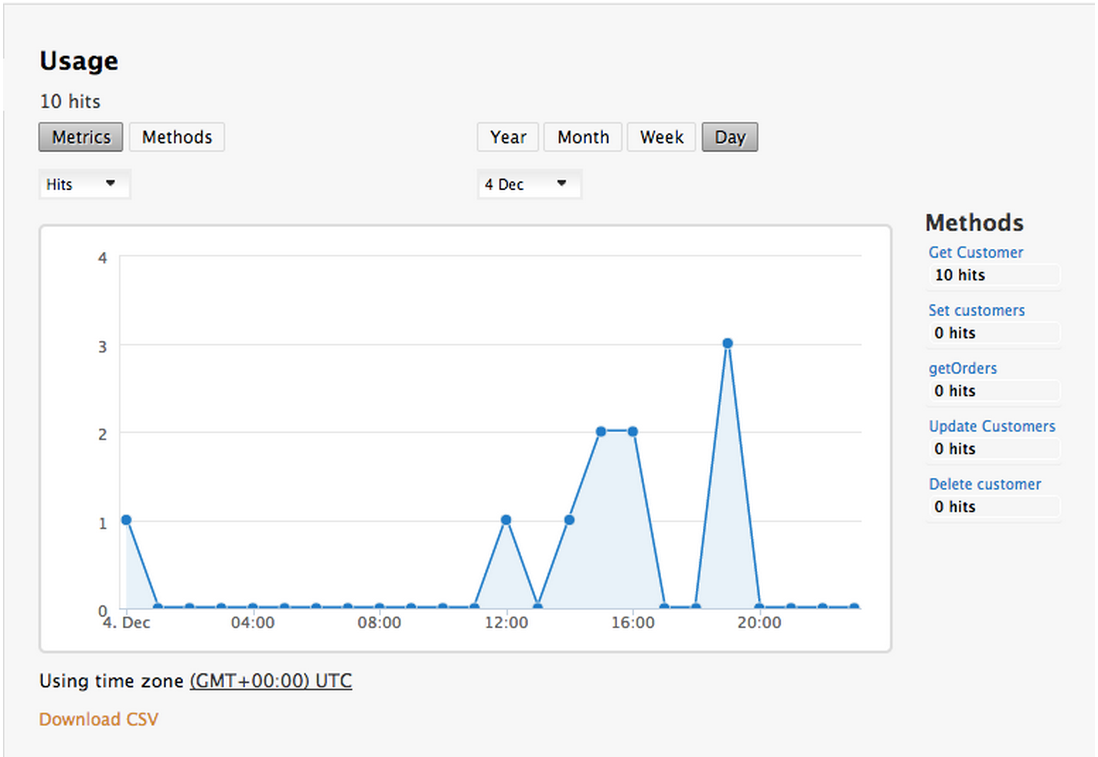
If you now log back in to your 3scale account and go to Monitoring > Usage you can see the various hits of the API endpoints represented as graphs.
This is just one element of API Management that brings you full visibility and control over your API. Other features are:
- Access control
- Usage policies and rate limits
- Reporting
- API documentation and developer portals
- Monetization and billing
For more details about the specific API Management features and their benefits, please refer to the 3scale product description.
For more details about the specific Red Hat JBoss Fuse Product features and their benefits, please refer to the Fuse Product description.
For more details about running Red Hat JBoss Fuse on OpenShift, please refer to the xPaaS with Fuse on Openshift description.
Last updated: February 23, 2024