Page
Create the remediation playbook
In the previous lesson, we ran a compliance scan against our host built from our pre-hardened image. We then assessed the results of the scan and made decisions on how to action each of the three violations encountered. Now, we’re ready to create the remediation playbook and execute it to resolve the remaining compliance violations on our Red Hat Enterprise Linux host.
To get full benefit from this lesson/prerequisites:
- Complete the tasks in the previous lessons.
- Get root access to the system for manual configuration updates.
- Get Red Hat Lightspeed Remediation Administrator permissions for your Red Hat account (see Red Hat Lightspeed Remediations Guide).
- Prepare a remediation action plan.
In this lesson, you will:
- Create the remediation playbook and execute it to resolve the remaining compliance violations on our RHEL host.
Compliance remediation plan
Here's a recap of the action plan:
Issue number | Issue | Identifier | Remediation Type | Action Plan |
1 | Ensure All User Initialization Files Have Mode 0740 Or Less Permissive | CCE-83637-9 | Ansible | Use remediation playbook |
2 | Limit Users' SSH Access | CCE-86817-4 | Manual | Update SSHD configuration manually |
Table: Compliance remediation action plan
With this information in mind, I will take the following next steps:
- Perform any manual remediations required.
- Create a remediation playbook.
- Execute the remediation playbook.
- Perform a compliance scan on the system and assess the results.
Let’s get started.
Carry out required manual changes
For the compliance rule "Limit Users' SSH Access" I decided to add my bblasco user account to SSHD's AllowedUsers list. Here's a recap of how I did it while logged in to my host and escalated to the root user:
[root@rhel9-cis-tailored skel]# echo "AllowUsers bblasco" > /etc/ssh/sshd_config.d/90-allowusers.conf
[root@rhel9-cis-tailored skel]# cat /etc/ssh/sshd_config.d/90-allowusers.conf
AllowUsers bblasco
Generate a compliance playbook for the system
I can take advantage of Red Hat Lightspeed Remediations to generate a single Ansible Playbook for all the compliance violations on my system. Follow these steps:
- Navigate to console.redhat.com.
- Click RHEL.
- Click Security -> Compliance -> Systems.
- Select my host.
- View all the compliance check failures.
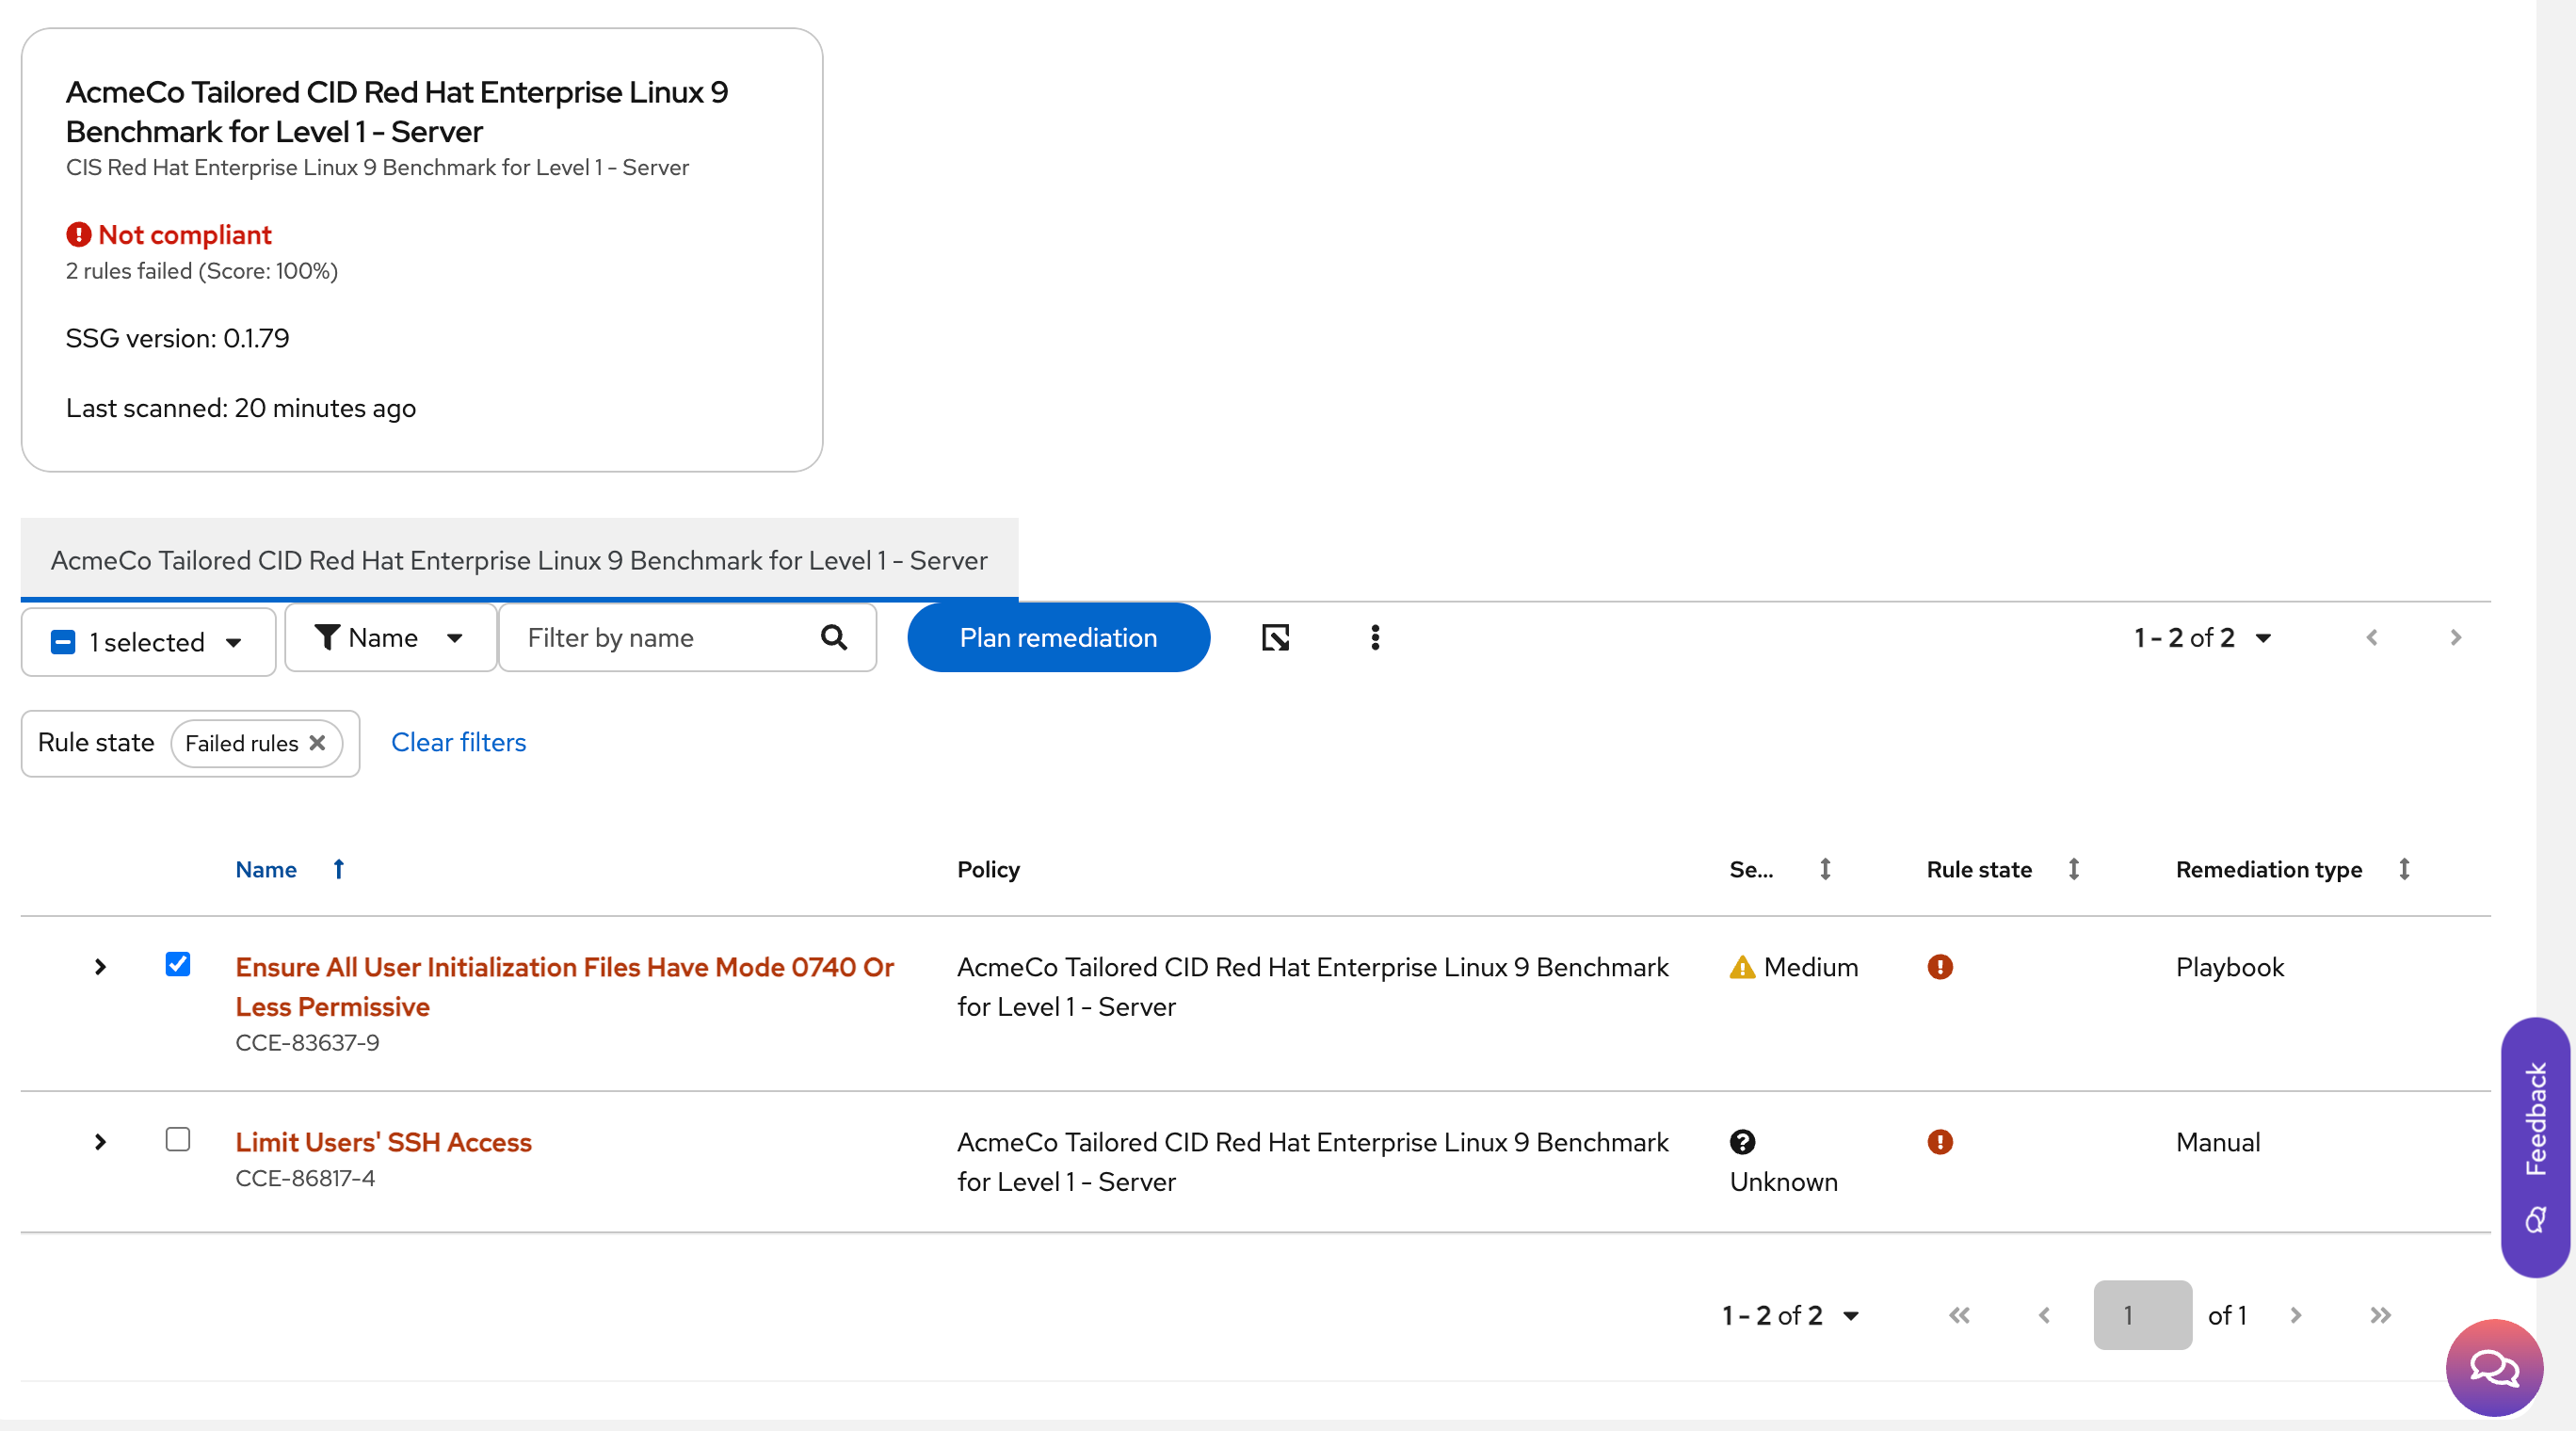
- Select all the compliance check failures that provide remediation via a playbook.
Click the Plan remediation button (Figure 1).

Figure 1: Click the Plan remediation button. On the Remediate with Ansible screen, select the Create a new playbook option and give it a unique name, then click Next (Figure 2).
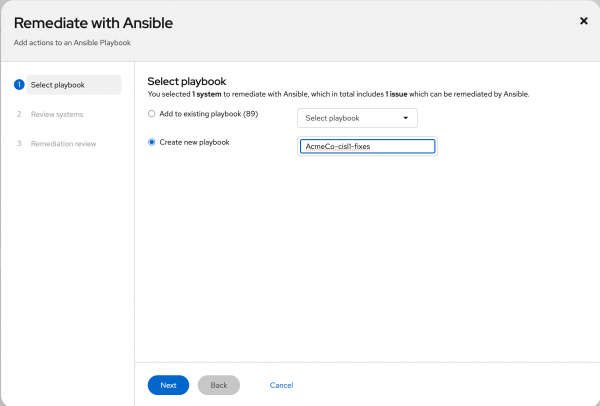
Figure 2: Give the new playbook a name. - On the Review Systems screen, I should just see my host listed. Confirm this and click Next.
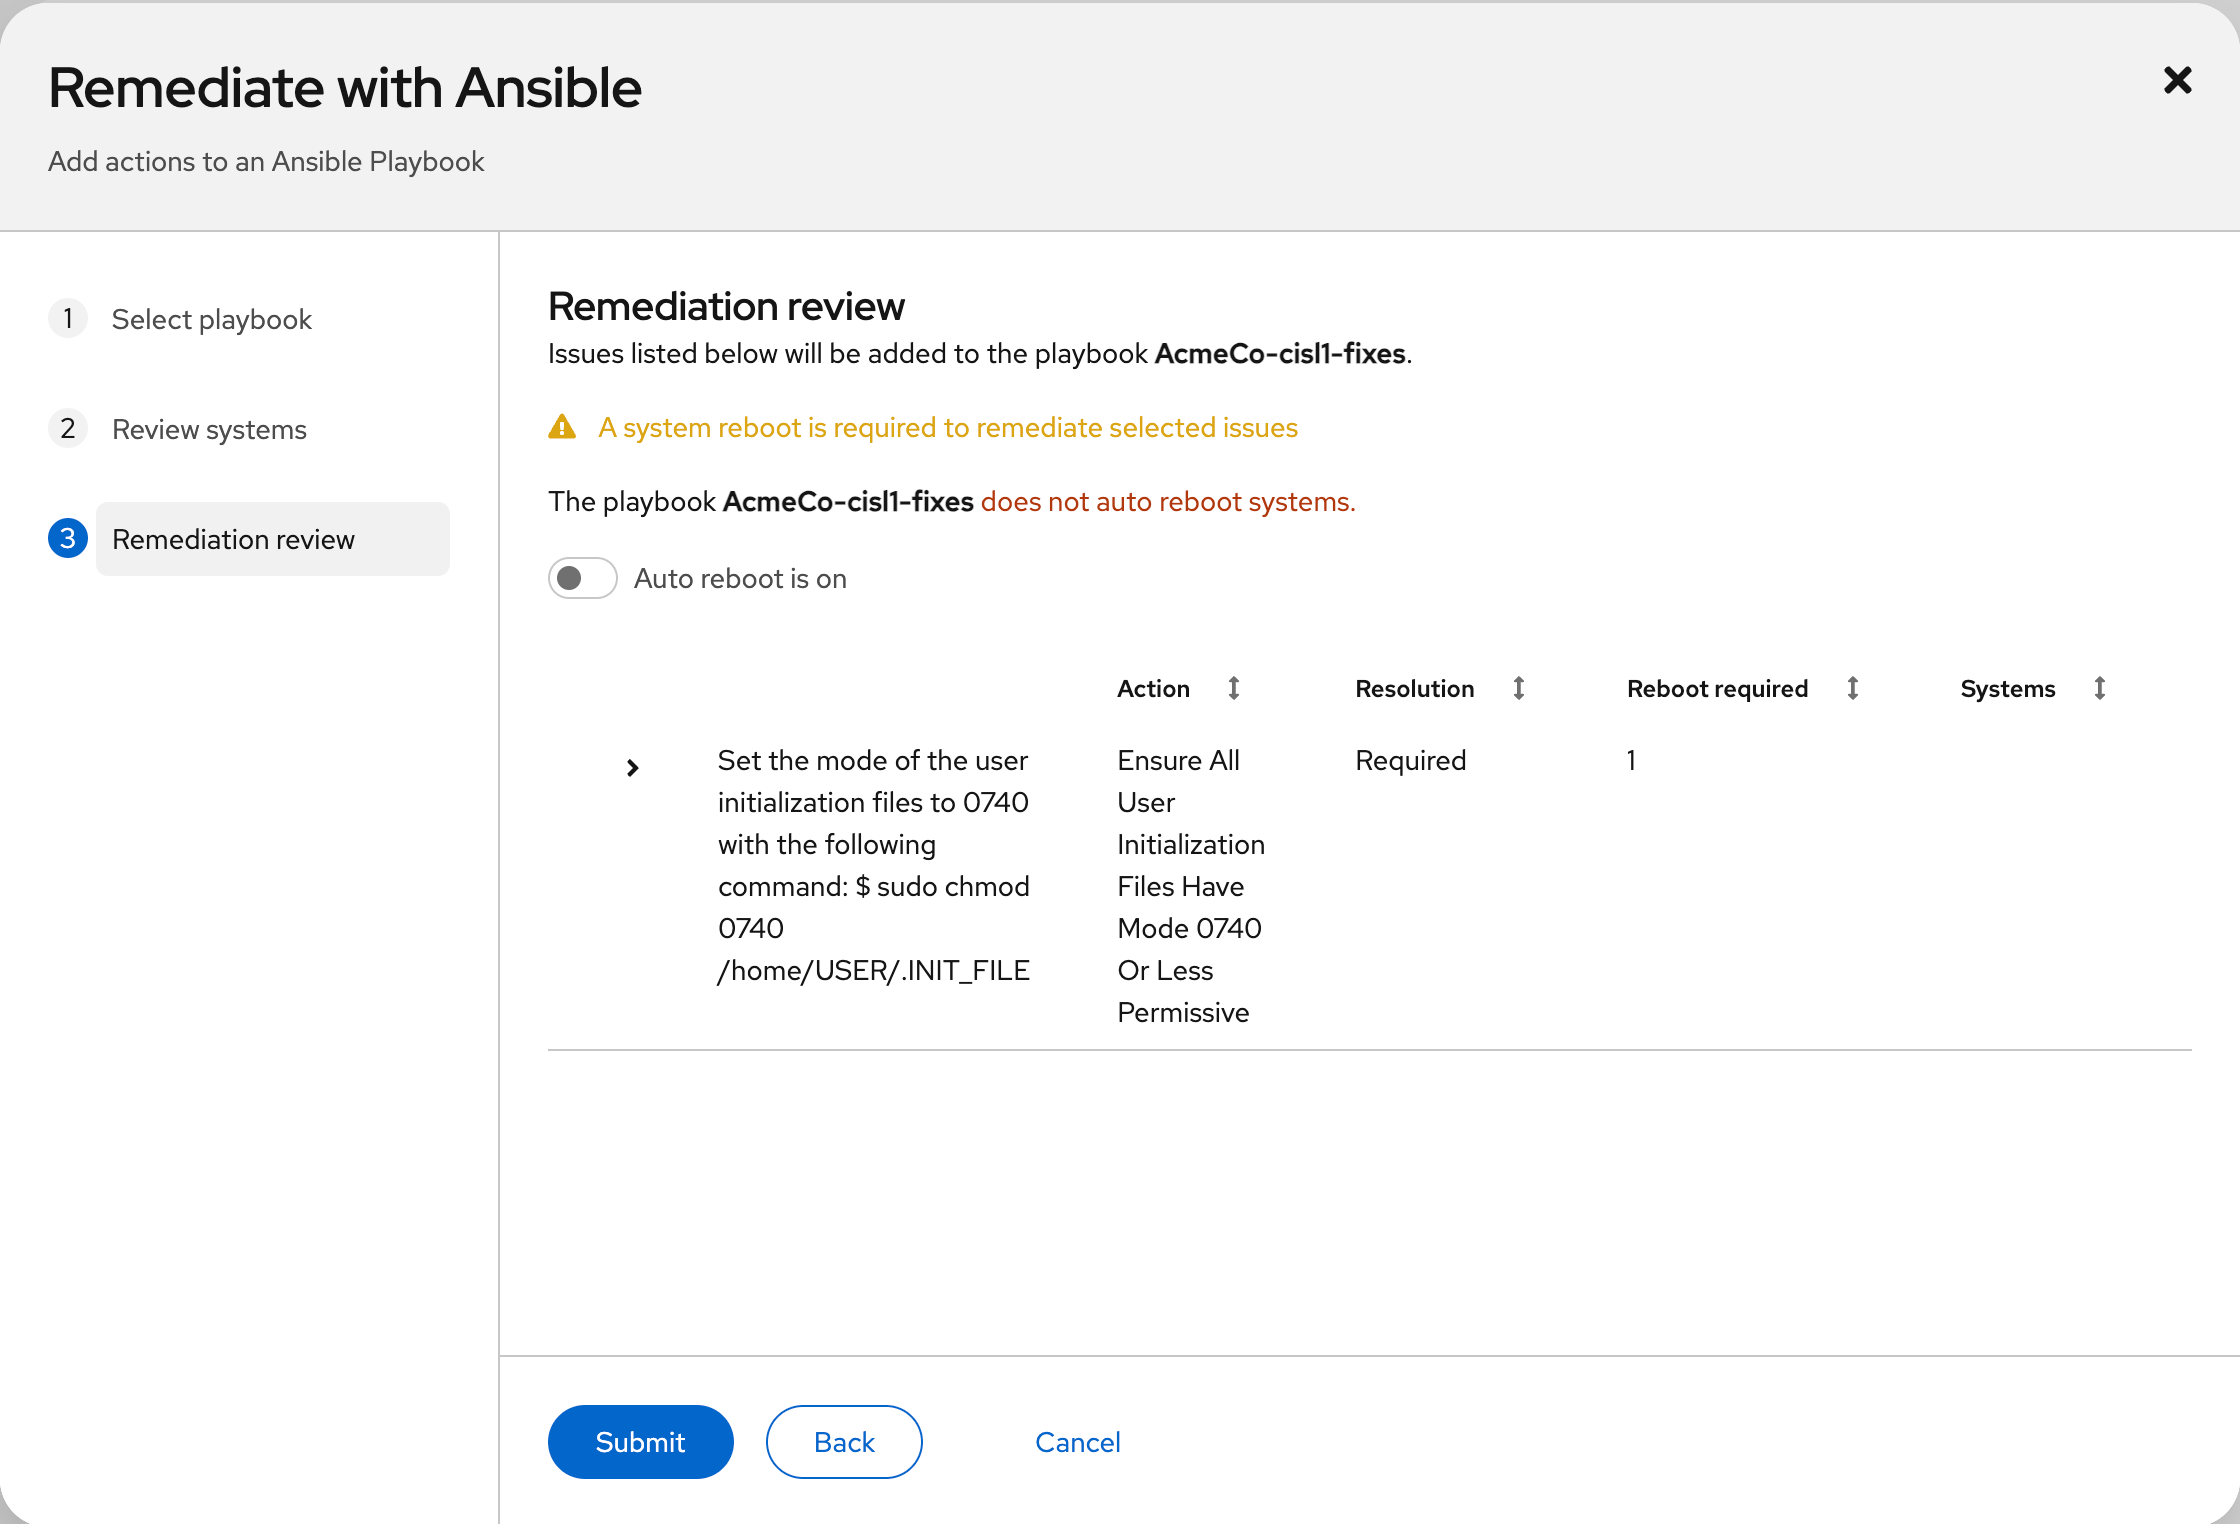
On the Remediation Review screen, I will choose not to auto-reboot and double-check all the actions (Figure 3).

Figure 3: Decide whether to auto-reboot or not. Click Submit to create the playbook. You will receive a confirmation with a hyperlink to the remediation plan, as shown in Figure 4. The hyperlink disappears after a few moments - if you miss if you can find it in Automation Toolkit > Remediation Plans.

Figure 4: Submit the remediation playbook.


Run the compliance playbook against the system
Here's where it gets interesting. I have a playbook, and now I want to run it against my system. I have a number of ways to do this, depending on the other systems in my environment, my level of maturity when it comes to automation and Ansible, and my organization's approach to change control.
Here are the options:
Launch the remediation directly from Red Hat Lightspeed if my host is directly connected to Red Hat Lightspeed. See: “Enabling the rhc client on systems directly managed by Red Hat Lightspeed” Red Hat Lightspeed Remediations Guide.
Launch the remediation directly from Red Hat Lightspeed if my host is connected to Satellite and Satellite is integrated with Red Hat Lightspeed via Cloud Connector.
See: “Red Hat Satellite synchronization with Red Hat Lightspeed” Red Hat Satellite synchronization with Red Hat Lightspeed.
And
“Enabling Cloud Connector for content hosts managed by Satellite” Red Hat Lightspeed Remediations Guide.Import the remediation into an Ansible Automation Platform (AAP) job template and execute from AAP.
See: “Setting up Red Hat Lightspeed Remediations” 31. Setting up Red Hat Lightspeed Remediations — Automation Controller User Guide v4.5.Download the playbook and run it offline on my own Ansible control host
Selecting the most appropriate option for your environment is outside the scope of this learning path, but is certainly an important consideration to make based on tooling available, security requirements, automation maturity, and so on. In my case, my host is directly connected to Red Hat Lightspeed and has been configured for direct remediation, which requires the least infrastructure and setup. This is actually taken care of in its entirety by the host registration step in Red Hat Lightspeed image builder.
Run the remediation
Launch the remediation in Red Hat Lightspeed via the following steps:
- Navigate to console.redhat.com.
- Click RHEL.
- Click Automation Toolkit -> Remediation Plans.
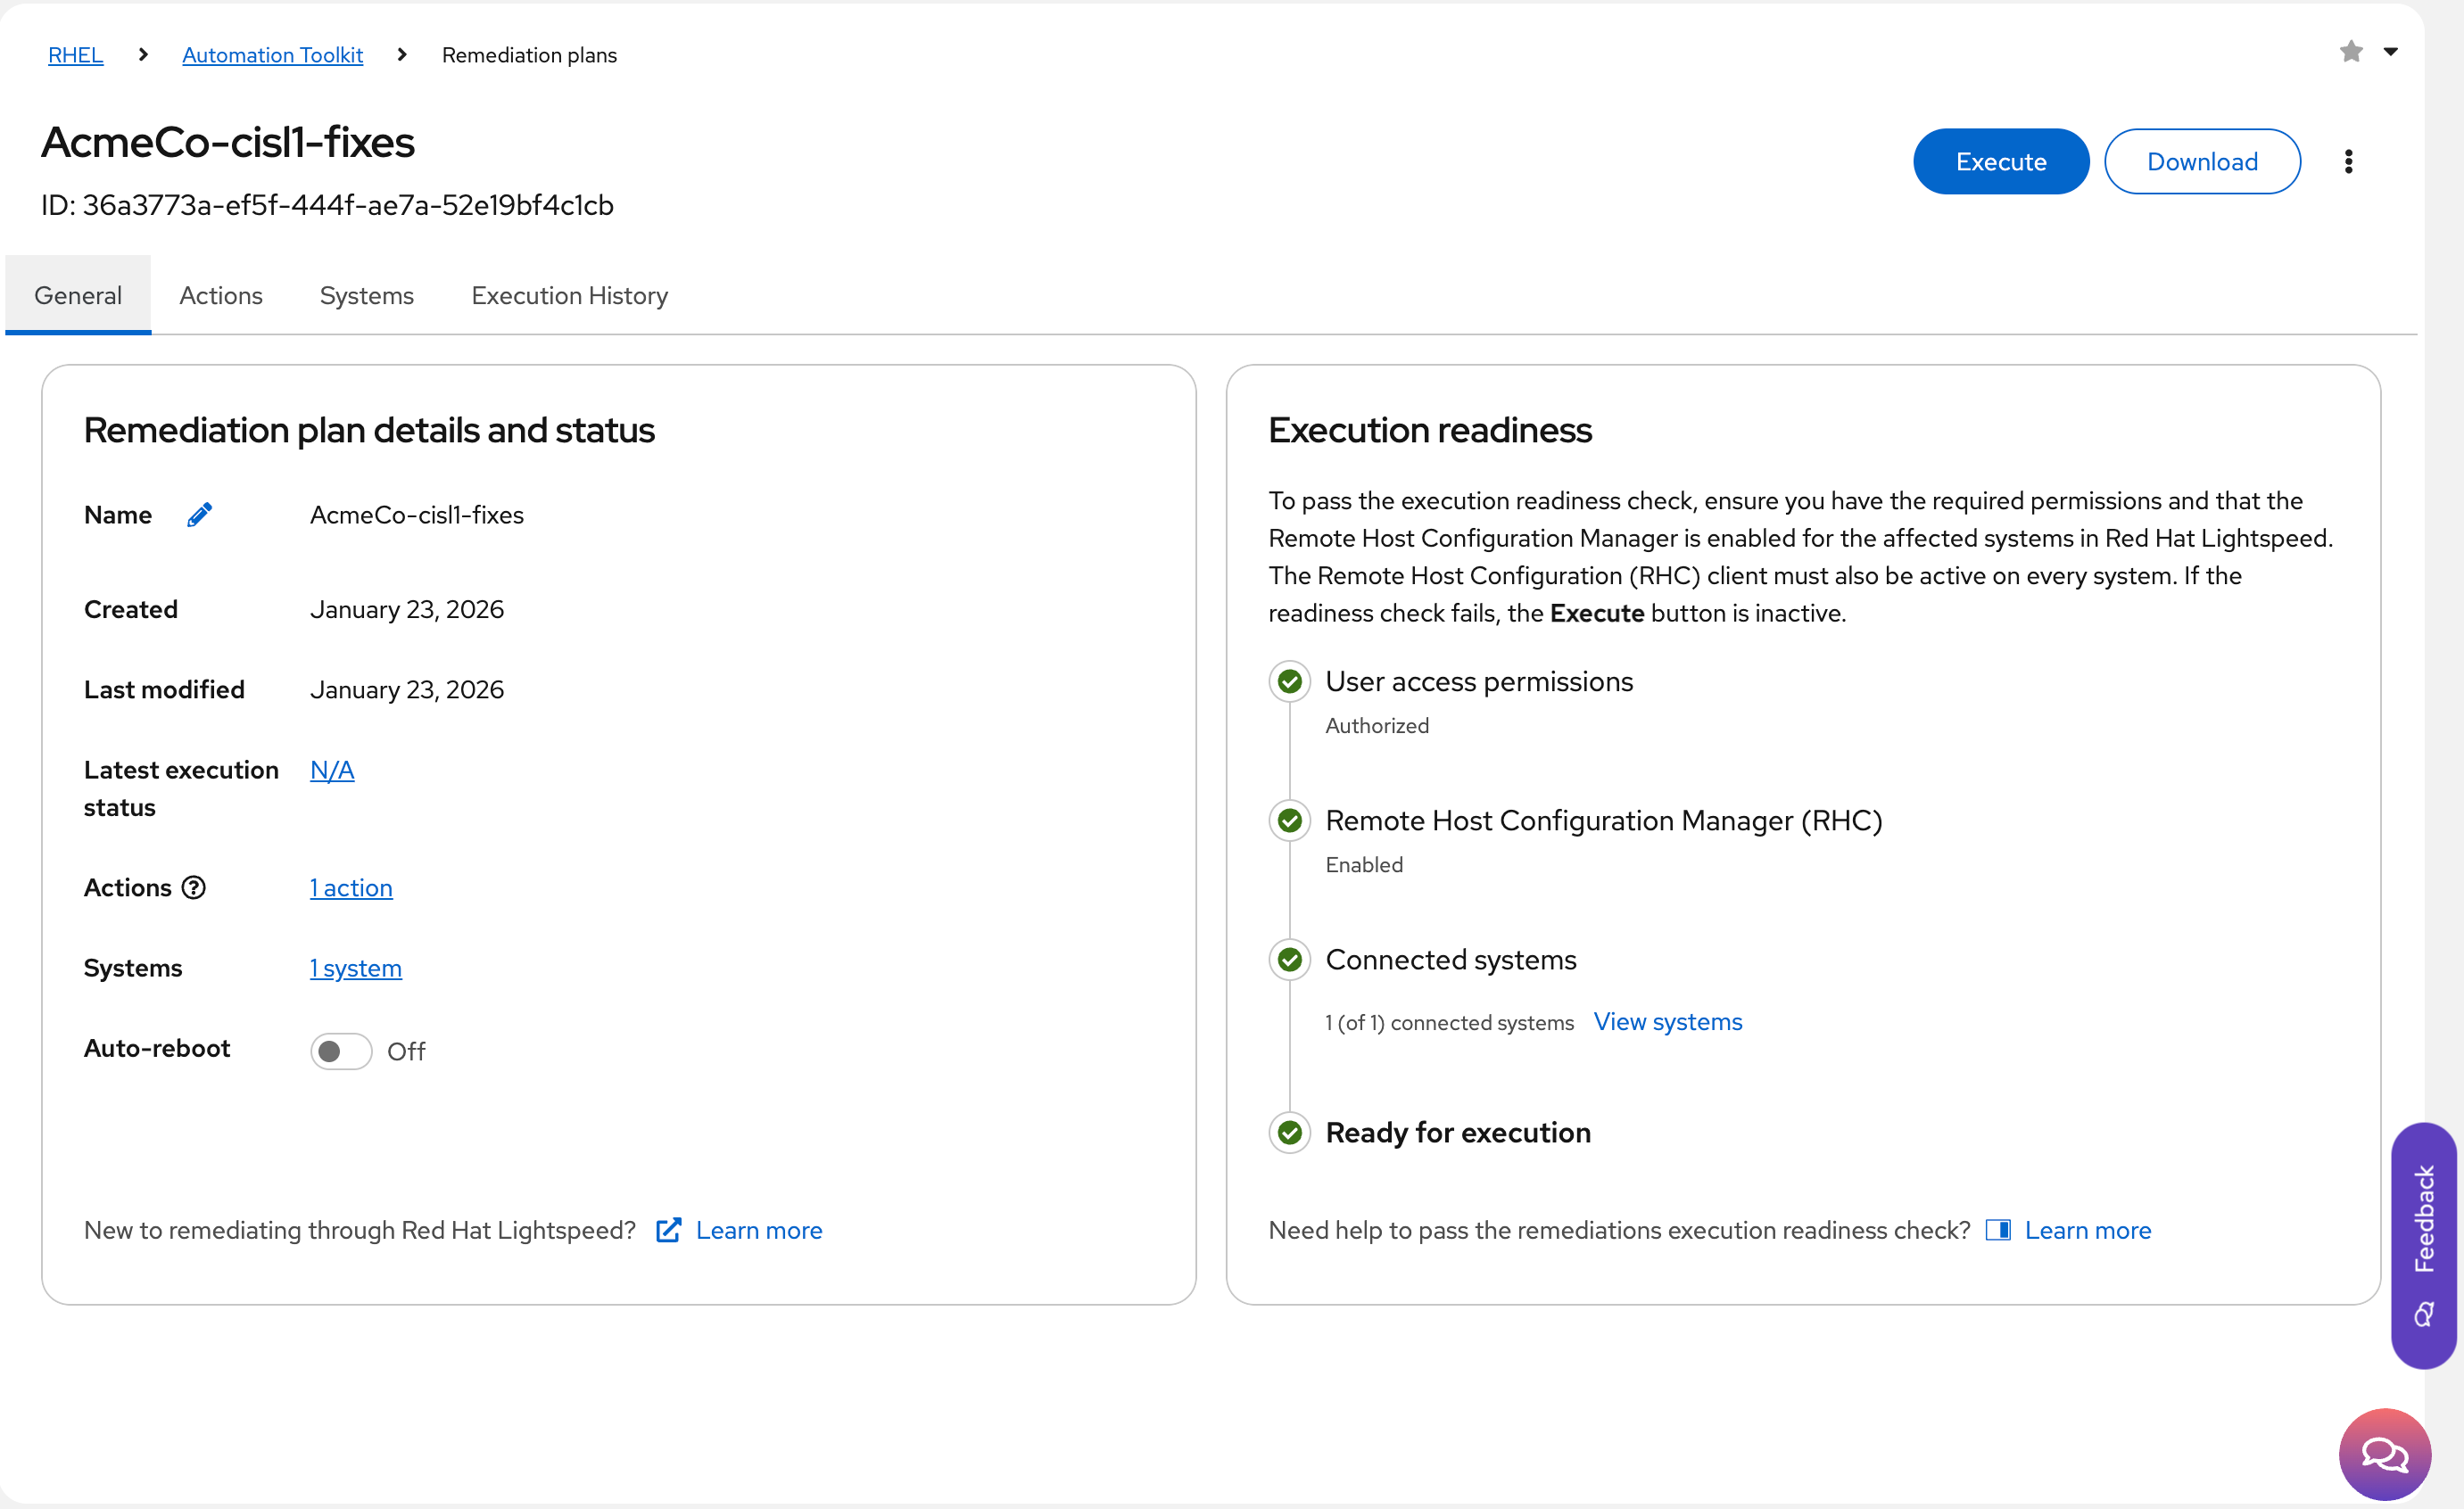
Select the remediation plan (Figure 5).

Figure 5: Select the remediation playbook to run. - Download a copy of the playbook for offline reading by clicking the Download button.
- Check that execution readiness indicates that you are Ready for execution. If the configuration doesn't allow your remediation to continue, the configuration will inform you in this window.
- Click the blue Execute button.
Optional: Log on to the host and watch the logs (as root) with the following command:
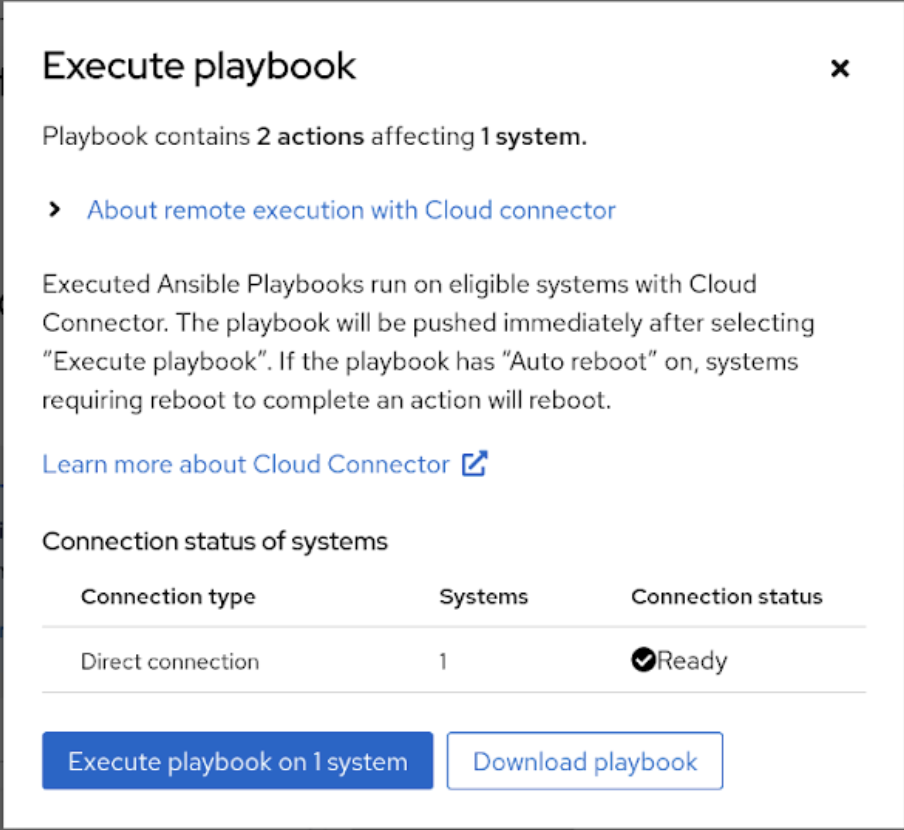
journalctl -xe -f --unit=rhcd.serviceClick the Execute playbook on 1 system button to launch the playbook (Figure 6).

Figure 6: Review systems and launch the playbook. Click the Execution History tab to track the progress. It should be in In progress status, as shown in Figure 7.
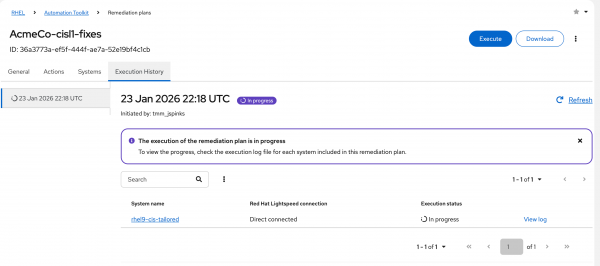
Figure 7: Check the playbook execution status. - You can click View Logs or follow the logs on the host to see a number of Ansible tasks running on the host.
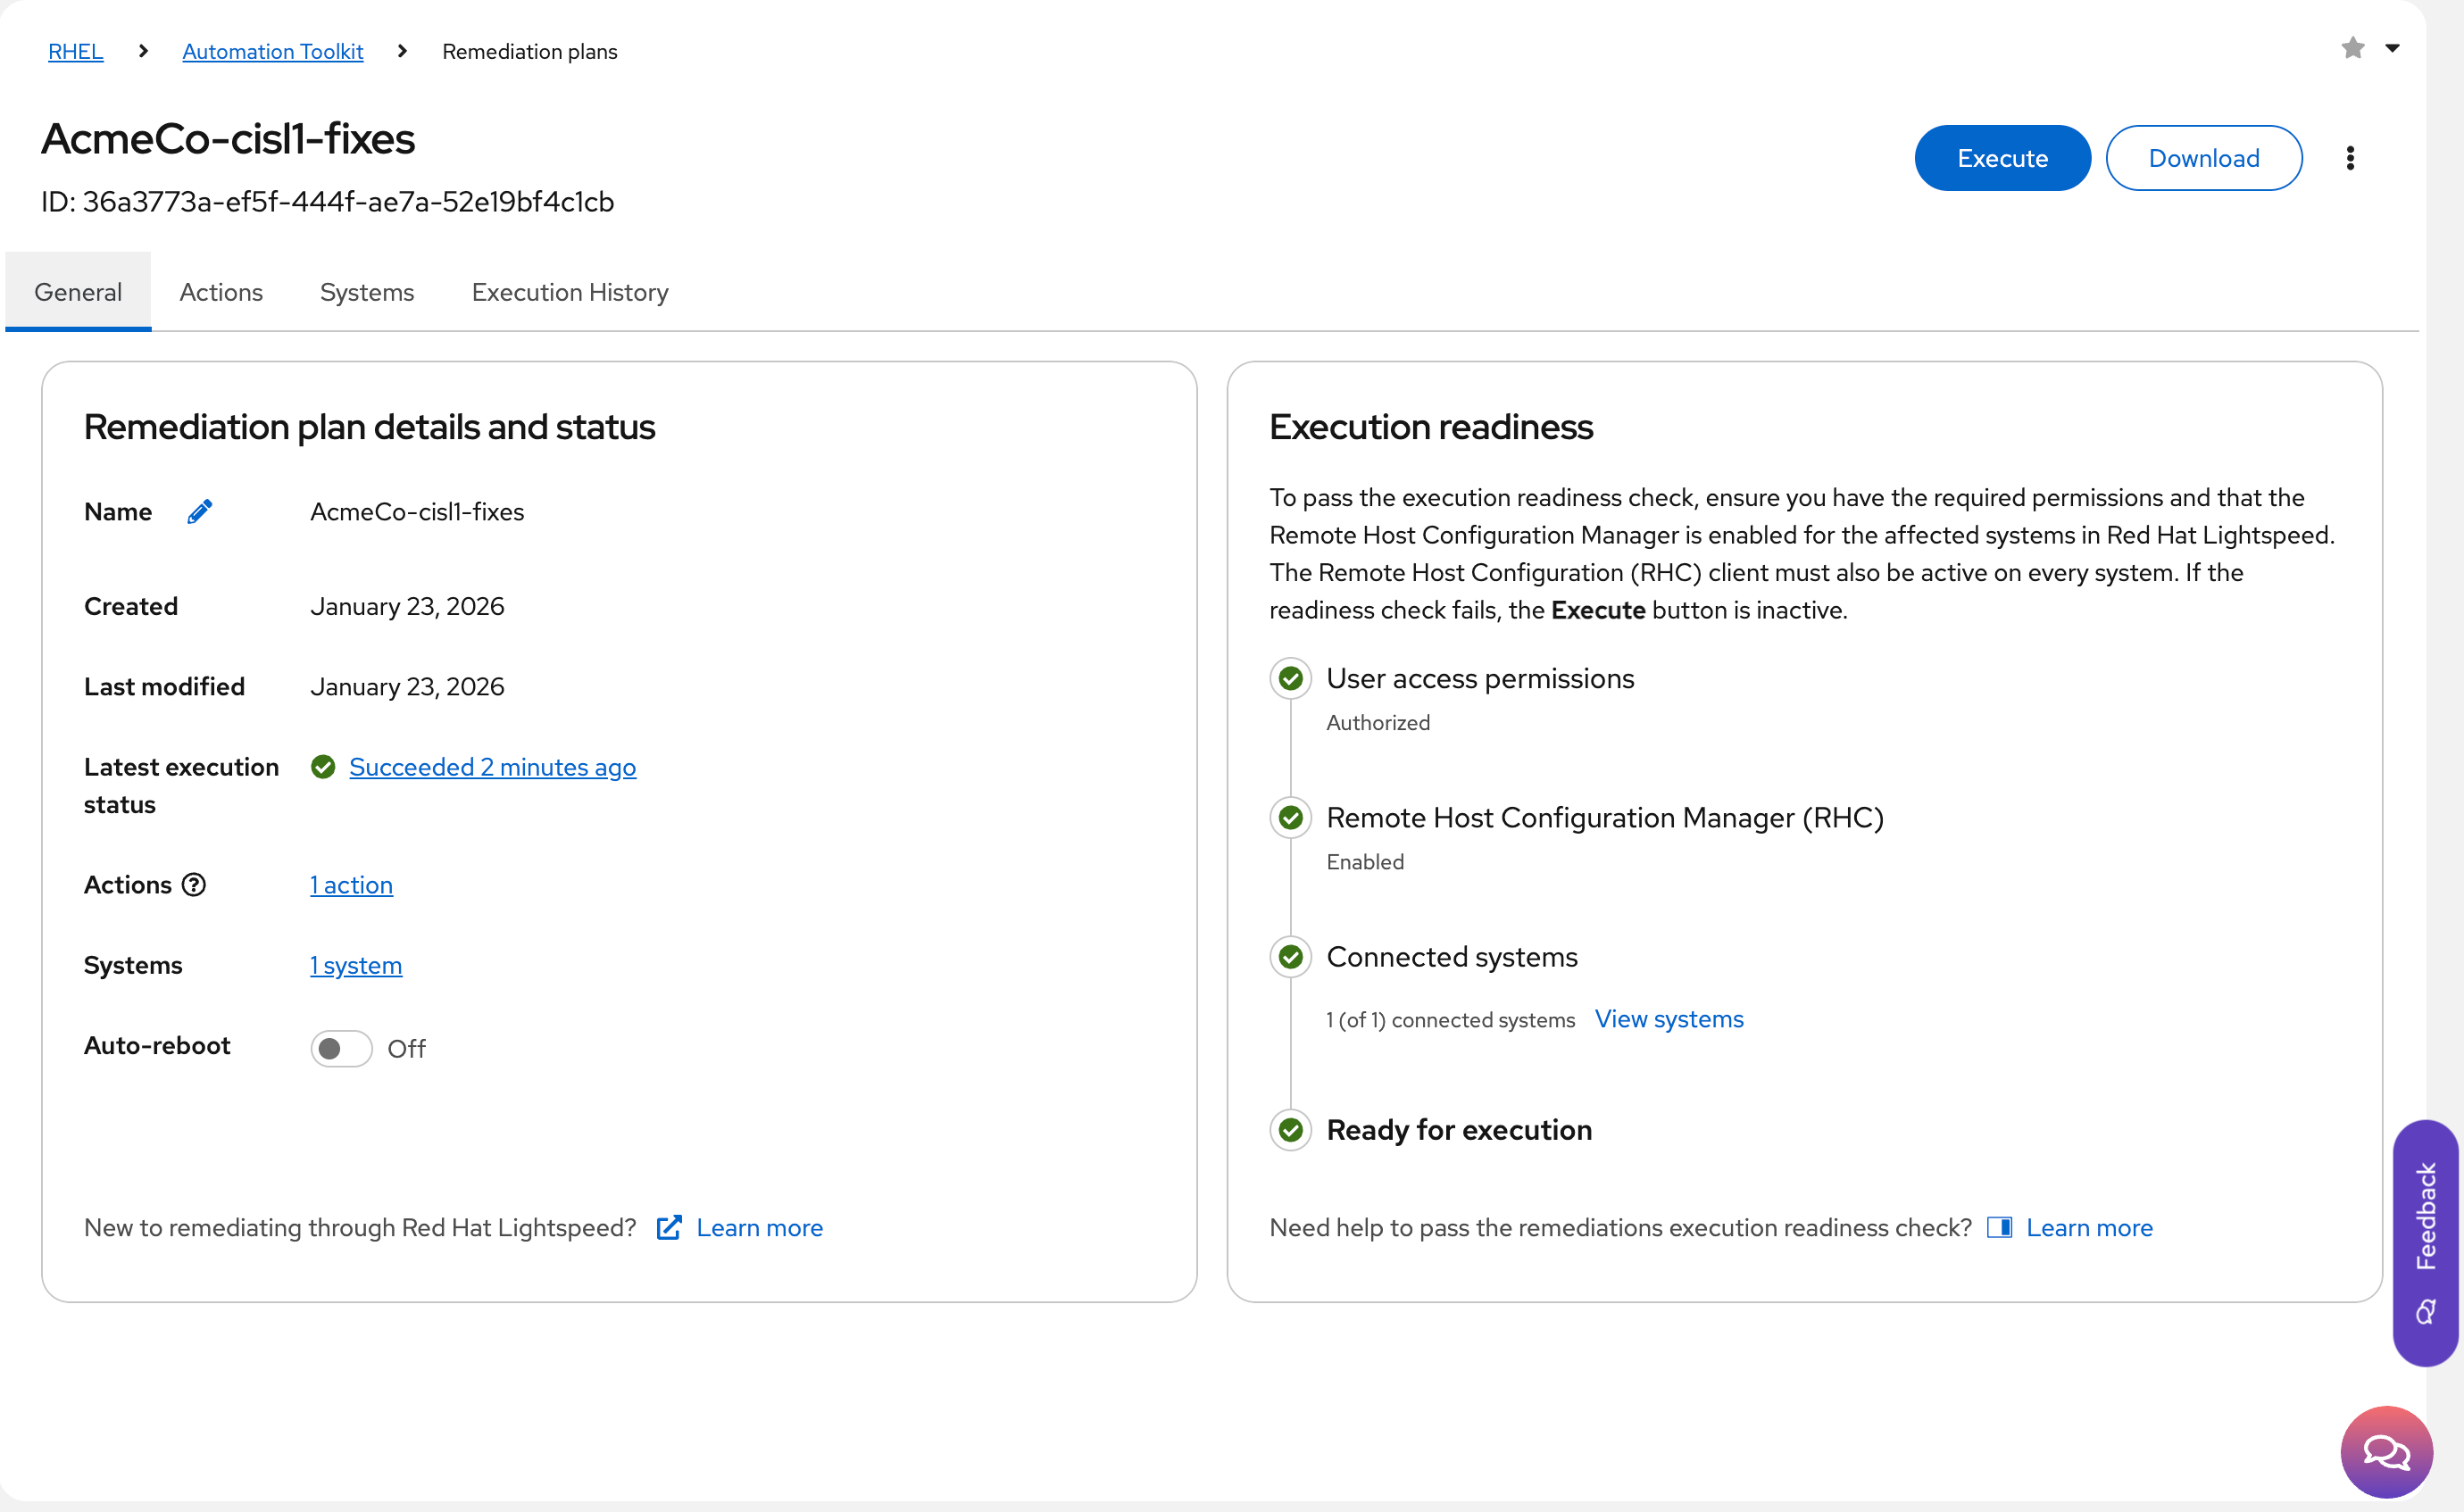
When the playbook execution is complete, I expect to see the status change from Running to Succeeded in the General tab (Figure 8).
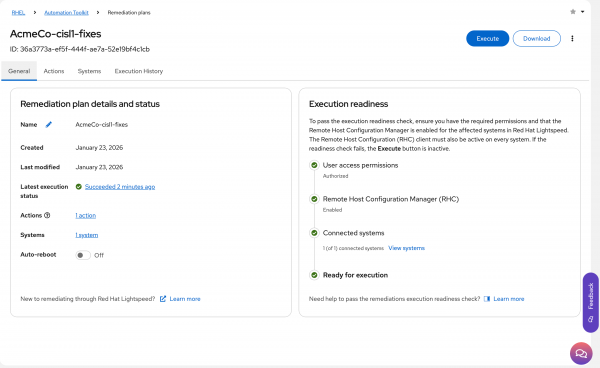
Figure 8: Check the playbook execution has completed successfully. - Since I disabled auto-reboot, I need to schedule a reboot for the host to ensure all changes in the remediation have fully taken effect.
Run another compliance scan after rebooting with the following command:
insights-client --compliance

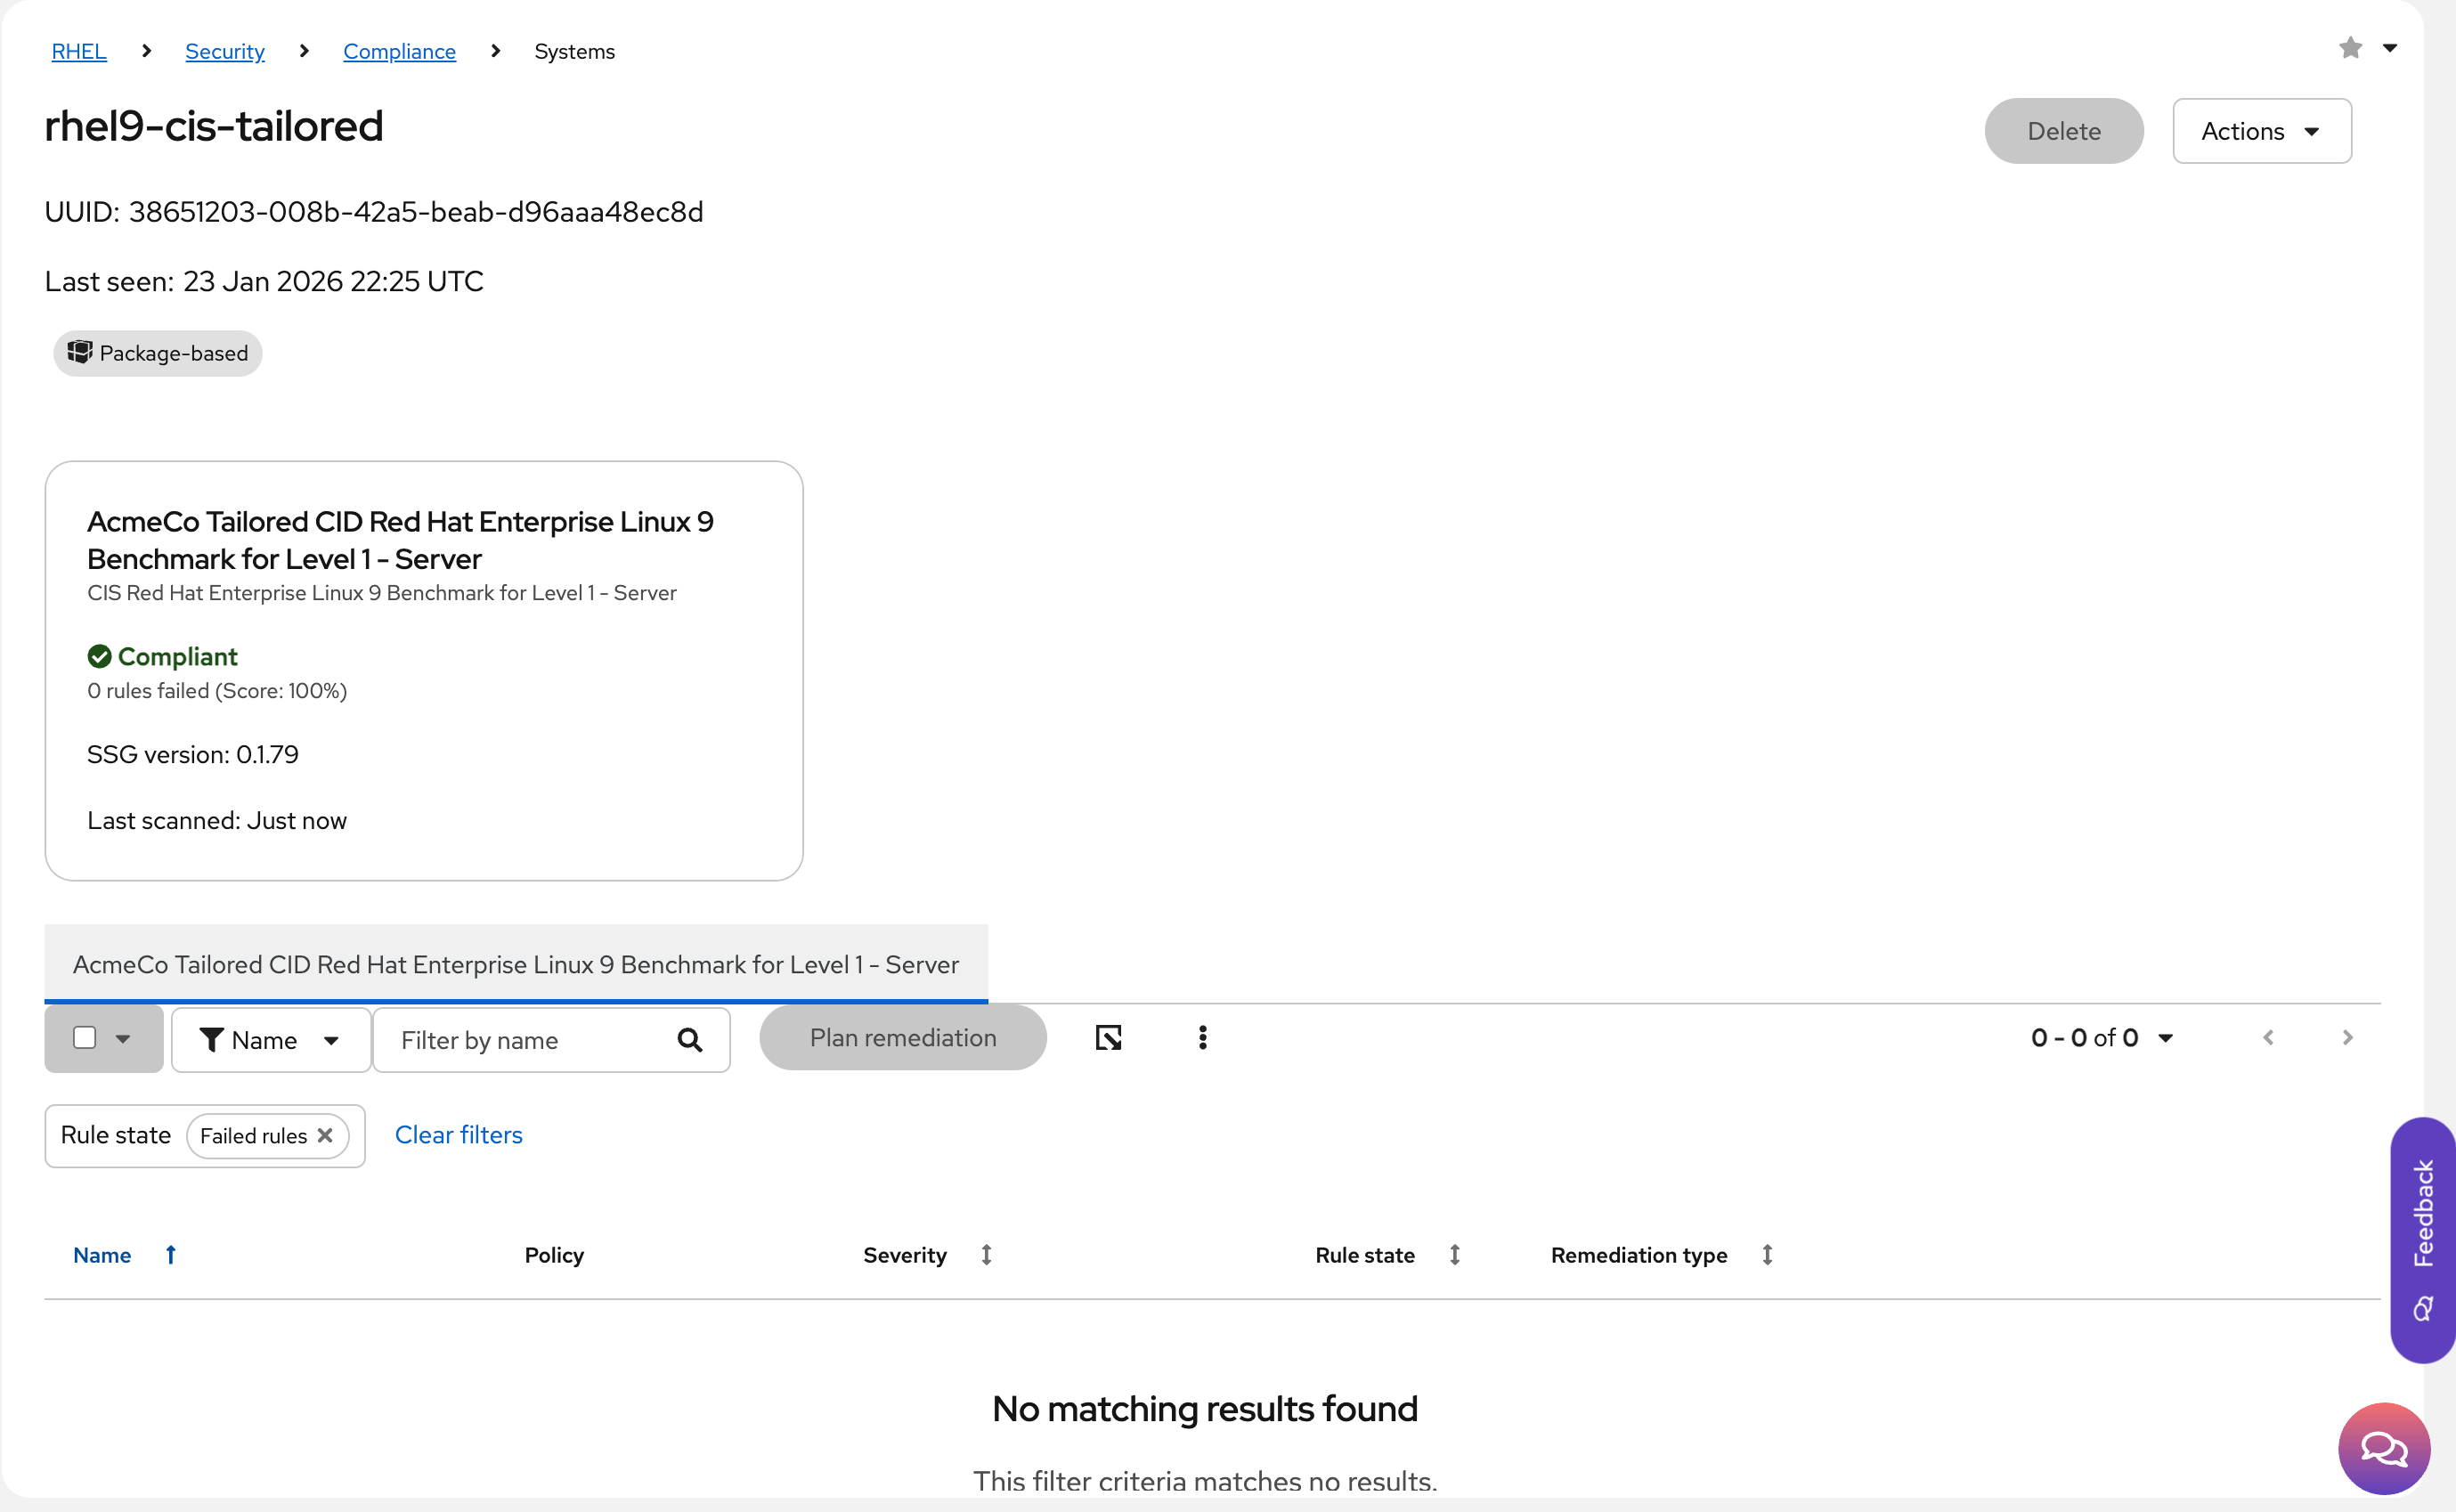
Check the results
I won't explain how to access the results again since we covered it previously. However, at this stage, I would expect to see 100% compliance from my host (Figure 9).
Common issues and troubleshooting
My system is now 100% compliant, hooray! However, that doesn't mean it will stay that way. If I modify the system in any way, whether it be through user changes, configuration changes, package installations, and upgrades, then the system may revert to a non-compliant state. As an unfortunate consequence, I can confidently say that security compliance will be a constant and ongoing effort for all the hosts in my environment.
The first step required to help with constant vigilance is to schedule regular compliance scans on the host. The easiest way to do this is via a systemd service and timer to run a compliance check on a regular basis. Here's an example service unit:
[root@rhel9-cis-tailored system]# cat insights-compliance.service
[Unit]
Description=Insights Compliance Service
After=network.target network-online.target
Wants=insights-compliance.timer
[Service]
Type=oneshot
ExecStart=/usr/bin/insights-client --compliance
StandardOutput=null
Here's the corresponding timer, which runs a compliance check at about 02:00 every weekday:
[root@rhel9-cis-tailored system]# cat insights-compliance.timer
[Unit]
Description=Run Insights Compliance scan daily
Requires=insights-compliance.service
[Timer]
Unit=insights-compliance.service
OnCalendar=Mon,Tue,Wed,Thu,Fri 02:00:00
RandomizedDelaySec=2h
Persistent=true
[Install]
WantedBy=timers.target
These files then need to be copied into /etc/systemd/system and then enable the timer with the following command:
root@rhel9-cis-tailored system]# systemctl enable --now insights-compliance.timer
Created symlink /etc/systemd/system/timers.target.wants/insights-compliance.timer → /etc/systemd/system/insights-compliance.timer
The second step is to monitor the compliance status of the host via the Red Hat Lightspeed compliance service, and address compliance issues as they arise, following the same approach I took with the original issues found after deploying the host.
Your partner in implementing compliance
I started this learning path by asking the question: "How can Linux teams improve their fleet's security posture for the entire lifecycle of workloads without significantly increasing the overall effort associated with managing them?" Have I helped to answer that?
Attaining security compliance to your own customized policy does take some effort. Red Hat's tooling, including OpenSCAP, Red Hat Lightspeed compliance, Red Hat Lightspeed image builder, and Ansible Automation Platform, greatly streamline the process of defining and applying a policy to hosts at scale.
Maintaining compliance is an ongoing process, and you can take advantage of the very same tooling to report on and remediate your hosts through the entirety of their lifecycle. Remember that the planning and effort put into this offset by a significant reduction in security risk to your infrastructure, your data, your customers' data, and your business as a whole. Trying to achieve this manually would be next to impossible.
The best thing you can do to get started is connect all your hosts to Red Hat Lightspeed, associate them with your chosen compliance policy, and review their current compliance state. From there, you’ll get a clear idea of what's required to achieve and maintain compliance for new and existing hosts in your fleet.
Don't hesitate to get in touch with your local Red Hat team, who will be more than happy to help guide you.