Enterprises adopting Red Hat OpenShift at scale increasingly look to hosted control planes (HCP) to reduce infrastructure costs, increase cluster density, and speed up cluster provisioning. When paired with KubeVirt which is an upstream project for Red Hat OpenShift Virtualization where cluster worker nodes run as virtual machines (VMs) while the control plane runs as lightweight pods. This dramatically compresses the hardware footprint and enables multi-cluster scale unattainable with traditional OpenShift installation.
As enterprise environments are diverse, different organizations split their management and hosting responsibilities across various clusters, teams, and network zones. As a result, there is no single correct architecture, only a set of practical topologies, each with trade-offs.
This three-part series walks through the three most common hosted control plane and OpenShift Virtualization topologies deployed in enterprises today.
What this series covers
Part 1 of this series covers the all-in-one cluster, which includes Red Hat Advanced Cluster Management for Kubernetes, multicluster engine for Kubernetes, hosted control plane, and OpenShift Virtualization.
A single OpenShift cluster acts as:
- Hub cluster (Red Hat Advanced Cluster Management)
- Hosting cluster (multicluster engine for Kubernetes and hosted control plane)
- Hosting provider (OpenShift Virtualization for worker VMs)
This is the simplest, most compact setup, ideal for learning, labs, POCs, and small-scale environments.
Part 2 covers split hub and management, including Red Hat Advanced Cluster Management on cluster A, multicluster engine for Kubernetes/HCP, and OpenShift Virtualization on Cluster B. In this model, we split the management and hosting into different OpenShift clusters. Hosted clusters are created on the multicluster engine for Kubernetes cluster and later imported into Red Hat Advanced Cluster Management for lifecycle operations.
Part 3 discusses split control plane and dataplane further: Red Hat Advanced Cluster Management on Cluster A, multicluster engine for Kubernetes/HCP on Cluster B, and OpenShift Virtualization worker VMs for nodepools on Cluster C. An advanced architecture where control planes run on one cluster while nodepools run on a separate OpenShift Virtualization compute cluster.
This series does not list every possible topology, but these represent the most widely deployed real-world patterns. We cover both the why and how, including the technical steps, prerequisites, operators, and pros/cons of each design.
Now, let’s begin with the simplest model: everything in one cluster. Figure 1 illustrates the all-in-one architecture.

Prerequisites
DNS entries for the hub cluster pointing to the IP from the same subnet as the nodes of the cluster.
Examples:
- API: api.cluster.example.com
- Ingress: *.apps.cluster.example.com
Tools and credentials required:
- OpenShift installer
- oc CLI
- Pull secret
- SSH keys
- HCP CLI
For demonstration purposes, we tested this on VMs running on vSphere using nested virtualization.
Nodes sizing:
- 3 x Master Nodes - 8 vCPU / 32G Memory / 1 x 125 GB disk
- 3 x Worker Nodes - 16 vCPU / 48G Memory / 1 x 125 GB disk + 1 x 500 GB disk
Once you have all the prerequisites, install the OpenShift cluster using your preferred installation method.
Install LVM storage operator
To keep things simple, we are going to use LVM storage class for both etcd PVs of hosted clusters and for OpenShift Virtualization requirements. But in the real world scenario, consult official Red Hat documentation for choosing the right storage classes.
Once you’ve installed the LVMS operator, create the following CR.
$ cat <<EOF | oc apply -f -
apiVersion: lvm.topolvm.io/v1alpha1
kind: LVMCluster
metadata:
  name: lvmcluster-sample
  namespace: openshift-storage
spec:
  storage:
    deviceClasses:
      - fstype: xfs
        thinPoolConfig:
          chunkSizeCalculationPolicy: Static
          metadataSizeCalculationPolicy: Host
          sizePercent: 90
          name: thin-pool-1
          overprovisionRatio: 10
        default: true
        name: vg1
EOF
Once the LVMCluster is available, you should see a new StorageClass created by name lvms-vg1 but we need to create a new StorageClass with VolumeBindingMode: Immediate.
Note: This step is required only when you use LVM StorageClass for OpenShift Virtualization and for testing purposes. In the production scenario, you might choose a different storage solution which supports RWX and the recommended VolumeBindingMode: WaitForFistConsumer.
$ cat <<EOF | oc apply -f -
apiVersion: storage.k8s.io/v1
kind: StorageClass
metadata:
  name: lvm-immediate
  annotations:
    description: Provides RWO and RWOP Filesystem & Block volumes
    storageclass.kubernetes.io/is-default-class: "true"
  labels:
    owned-by.topolvm.io/group: lvm.topolvm.io
    owned-by.topolvm.io/kind: LVMCluster
    owned-by.topolvm.io/name: lvmcluster-sample
    owned-by.topolvm.io/namespace: openshift-storage
    owned-by.topolvm.io/version: v1alpha1
provisioner: topolvm.io
parameters:
  csi.storage.k8s.io/fstype: xfs
  topolvm.io/device-class: vg1
reclaimPolicy: Delete
allowVolumeExpansion: true
volumeBindingMode: Immediate
EOF
Make sure to remove the default SC annotation from lvms-vg1.
$ oc patch storageclass lvms-vg1 \
  -p '{"metadata": {"annotations": {"storageclass.kubernetes.io/is-default-class": null}}}'
Install MetalLB operator
Configure IPPool and L2Advertisement as per the official documentation. Once you’ve installed the MetalLB operator, create the following.
$ cat <<EOF | oc apply -f -
apiVersion: metallb.io/v1beta1
kind: MetalLB
metadata:
  name: metallb
  namespace: metallb-system
EOF

$ cat <<EOF | oc apply -f -
apiVersion: metallb.io/v1beta1
kind: IPAddressPool
metadata:
  name: metallb
  namespace: metallb-system
spec:
  addresses:
  - 192.168.34.205-192.168.34.215
EOF

$ cat <<EOF | oc apply -f -
apiVersion: metallb.io/v1beta1
kind: L2Advertisement
metadata:
  name: l2advertisement
  namespace: metallb-system
spec:
  ipAddressPools:
   - metallb
EOF
Once you’ve installed multicluster engine for Kubernetes successfully, make sure the hub cluster is seen as the managed cluster.
$ oc get managedclusters local-cluster
NAME            HUB ACCEPTED   MANAGED CLUSTER URLS               JOINED   AVAILABLE   AGE
local-cluster   true           https://api.hub.example.com:6443   True     True        5h37m
Patch the network operator.
$ oc patch ingresscontroller -n openshift-ingress-operator default \
  --type=json \
  -p '[{ "op": "add", "path": "/spec/routeAdmission", "value": {wildcardPolicy: "WildcardsAllowed"}}]'
Install OpenShift Virtualization operator and hyperconverged CR
Once you’ve successfully installed all the operators, it’s time to test it by creating a simple VM to make sure OCP Virtualization is functioning.
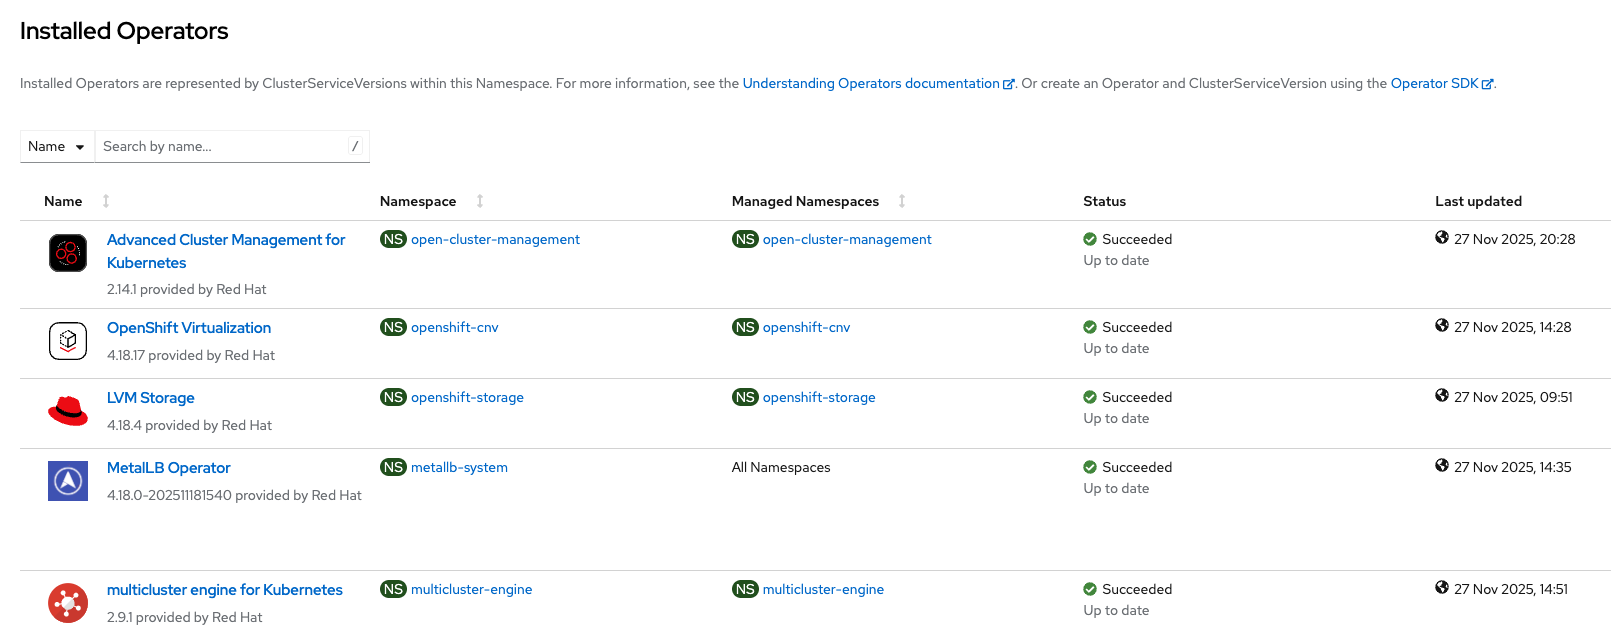
After successful VM validation, proceed with the next steps to create the hosted cluster. Check whether all the required operators are installed (Figure 2).
Create the hosted cluster
Provision the hosted cluster and node pools using OpenShift Virtualization with this command: hcp create cluster.
$ hcp create cluster kubevirt \
    --name hc1 \
    --pull-secret pull-secret.txt \
    --node-pool-replicas 2 \
    --memory 8Gi \
    --cores 2 \
    --etcd-storage-class=lvm-immediate \
    --namespace clusters \
    --release-image quay.io/openshift-release-dev/ocp-release:4.18.28-multi
Wait for 10 to 15 minutes to create the hosted cluster. While waiting, you can check the status on the GUI of the hub cluster. We can check the status of the hosted cluster and NodePool from Red Hat Advanced Cluster Management.
$ oc get managedcluster
NAME            HUB ACCEPTED   MANAGED CLUSTER URLS               JOINED   AVAILABLE   AGE
hc1             true           https://192.168.34.205:6443        True     True        13m
local-cluster   true           https://api.hub.example.com:6443   True     True        5h53m

$ oc get hostedcluster -n clusters
NAME   VERSION   KUBECONFIG             PROGRESS    AVAILABLE   PROGRESSING   MESSAGE
hc1              hc1-admin-kubeconfig   Partial    True        False         The hosted control plane is available

$ oc get vmi -n clusters-hc1
NAME              AGE     PHASE     IP             NODENAME       READY
hc1-jtzj5-8jdgx   7m49s   Running   10.129.3.48    hub-worker2   True
hc1-jtzj5-l2r96   8m19s   Running   10.128.2.193   hub-worker3   True
Finally, we can check the access of the hosted cluster and run the following commands.
$ hcp create kubeconfig --name hc1 --namespace clusters > kubeconfig-hc1

$ oc --kubeconfig=kubeconfig-hc1 get nodes
NAME              STATUS   ROLES    AGE     VERSION
hc1-jtzj5-8jdgx   Ready    worker   5m47s   v1.31.13
hc1-jtzj5-l2r96   Ready    worker   5m56s   v1.31.13

$ oc --kubeconfig=kubeconfig-hc1 whoami --show-console
https://console-openshift-console.apps.hc1.apps.hub.example.com
Notice that the console points to a wildcard DNS of the cluster.
$ oc --kubeconfig=kubeconfig-hc1 whoami --show-server
https://192.168.34.205:6443
The API address points to the IP address provided by our configured MetalLB range.
Pros & cons of the all-in-one topology
This all-in-one architecture is intentionally simple and ideal for learning and experimentation, but not representative of large multi-cluster environments. These are the pros and cons of this topology.
Pros:
- Easiest and fastest to deploy
- Perfect for labs, demos, POCs
- Zero networking complexity
- No management/hub/hosting separation needed
Cons:
- Not suitable for production scale
- Overloads a single cluster
- No isolation between:
- Fleet management
- Control plane hosting
- Worker VM hosting
Wrap up
In this first series installment, we built a complete hosted control plane environment with OpenShift Virtualization using only one OpenShift cluster. This setup provides the easiest on-ramp for understanding how Red Hat Advanced Cluster Management, hosted control plane, and OpenShift Virtualization work together.
But in real enterprise environments, customers rarely run everything in a single cluster. This leads us to Part 2, where we will separate the responsibilities as follows:
- Red Hat Advanced Cluster Management runs on its own hub cluster.
- Multicluster engine for Kubernetes, hosted control plane, and OpenShift Virtualization run on a separate management/hosting cluster.
- Hosted clusters are created on the
- Multicluster engine for Kubernetes cluster and then imported into Red Hat Advanced Cluster Management for Day-2 operations.
This is the most common pattern in production environments.
Last updated: April 27, 2026