Page
Build a sample Go web application from a sample Containerfile
This lesson will walk us through developing a basic Go web application as a containerized service and deploying it with RESTful API endpoints. We'll set up basic code and configuration files and build a Containerfile which we will use to create our containerized application.
Prerequisites:
- Have a basic understanding of how to traverse a Linux file system.
- Understand how to create and edit Linux text files.
- Have a basic understanding of Go programming.
- Install Podman Desktop. Download Red Hat build of Podman Desktop for Windows, macOS, or Red Hat Enterprise Linux (RHEL).
In this lesson, you will:
- Develop a foundational understanding of the core application components.
- Set up a container for hardened image application development
- Create a basic web application by using Go with multiple API endpoints.
- Test our application.
Core application components
This application leverages Go's built-in HTTP server and routing capabilities:
- Go HTTP Server: Go includes a production-ready HTTP server in its standard library. Unlike interpreted languages that require separate web servers, Go compiles into a single binary that can serve web traffic directly. This makes our deployment simpler and our container smaller.
- Modern Routing (Go 1.22+): Since Go 1.22, the standard library's
http.ServeMuxsupports method-aware routing and path variables natively. Patterns likeGET /api/items/{id}work out-of-the-box with no external dependencies. We extract path variables by usingr.PathValue("id"). This means we can build RESTful APIs by using only the standard library. - Static Compilation: One of Go's biggest advantages for containers is static compilation. When we build our Go application, it creates a single binary file that includes everything it needs to run. This means our final production image can be extremely minimal,just our binary and nothing else.
Set up a container for hardened image application development
Before we write any code, let's start by creating a developer container that can serve as a cross-platform application development environment for our application. This approach provides byte-for-byte compatibility between our development tools and the production container environment, regardless of whether our desktop runs Linux, macOS, or Windows. It allows us to explore modifications through trial and error, like we would if we were building a native application on our desktop. By using a volume mount, we can edit code with our native desktop tools—VS Code, Cursor, or any IDE—and see changes instantly inside the container. The /app directory in the container maps directly to a local directory on our drive, giving us the best of both worlds: production-identical compilation tools and libraries inside the container, with the convenience of our familiar desktop editing environment. Because the container runtime is accessible through Podman, your favorite IDE has a plugin available that can execute build tools running in the container as part of an integrated development workflow. VSCode, for example, has these options.
We need a place on our computer to store our source files for our application. We’ll create this directory by using our preferred tools.
For example, on the macOS, RHEL, or Windows (PowerShell) command line, we can use:
mkdir -p $HOME/go-web-devOur
Containerfilewill use the latest builder version of our Red Hat hardened Go image container for development. The current version of the image includes Go, which also provides a shell and development tools. We set the workspace to the/appdirectory where our development work will happen. We expose port 8080 so Podman Desktop knows to expose the port for our web app when the container is running and finally use a "keep-alive" command to ensure the container stays running in the background while we write code on our laptops.We save the following file as
Containerfilein our go-web-dev folder:# Start with a Red Hat Hardened image for builders FROM registry.access.redhat.com/hi/go:latest-builder # Set working directory WORKDIR /app # Expose port 8080 EXPOSE 8080 # Keep the container running so we can work inside it CMD ["tail", "-f", "/dev/null"]With the file
$HOME/go-web-dev/Containerfilein place, we're ready to build our app development container.We create the subdirectory
$HOME/go-web-dev/appon our local desktop system. Because this directory will be volume-mounted into our container, we can use our preferred native desktop tools—VS Code, Cursor, or any text editor or IDE—to create and edit all our application files. Changes made on our desktop are instantly visible inside the container. From the macOS, RHEL, or Windows (PowerShell) command line, we create this directory with:mkdir $HOME/go-web-dev/appOpen Podman Desktop on our local machine and go to the Images section in the left navigation (Figure 1):
Select Build in the top right corner.
Specify the
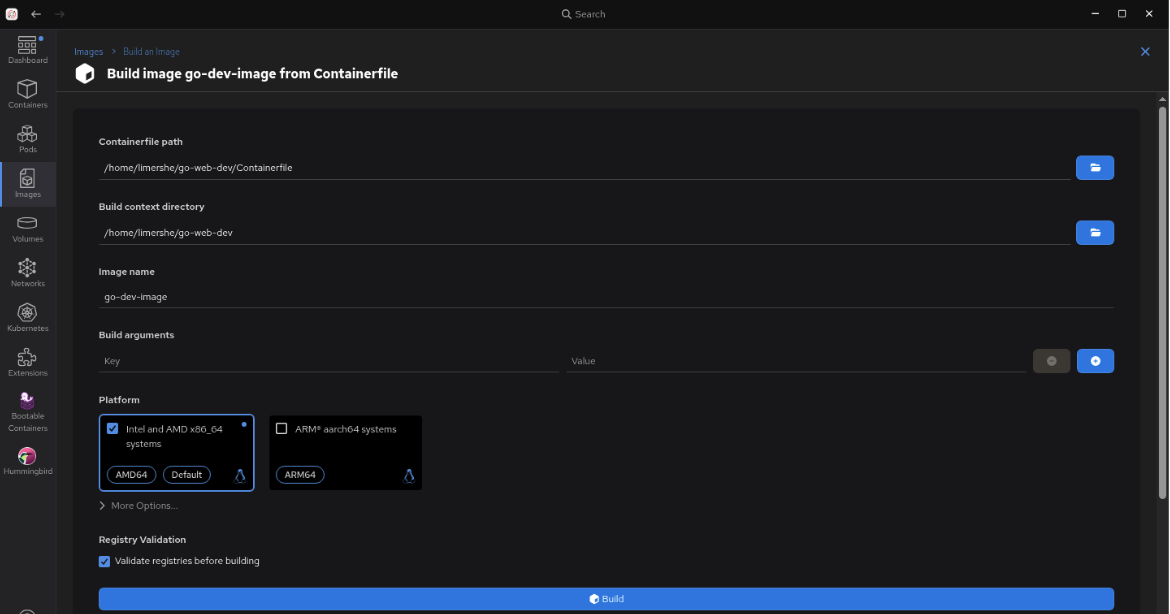
Containerfilepath for the file we created, specify the image name,go-dev-image, and specify a platform. On my laptop, I chose the Intel and AMD x86_64 image option for my RHEL-based laptop (Figure 2).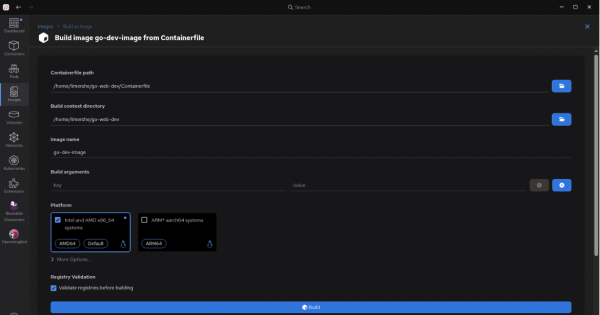
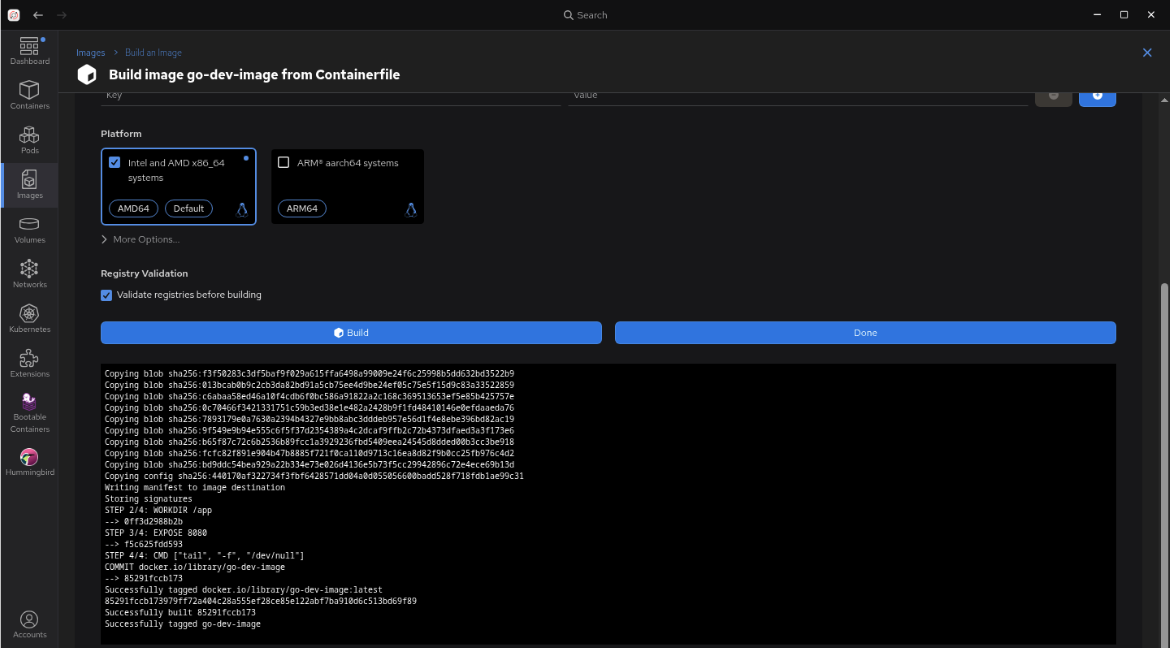
Figure 2: Build our go-dev image. Now select Build at the bottom. It will build our new image as shown in Figure 3.
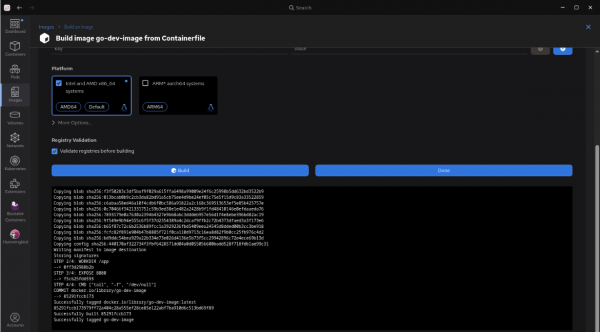
Figure 3: Confirm the image built successfully. Select Done.
Back on the main Images section, select the right arrow next to
go-dev-imageto start the image (Figure 4).
Figure 4: Run the image named go-dev-image. Give the container the name
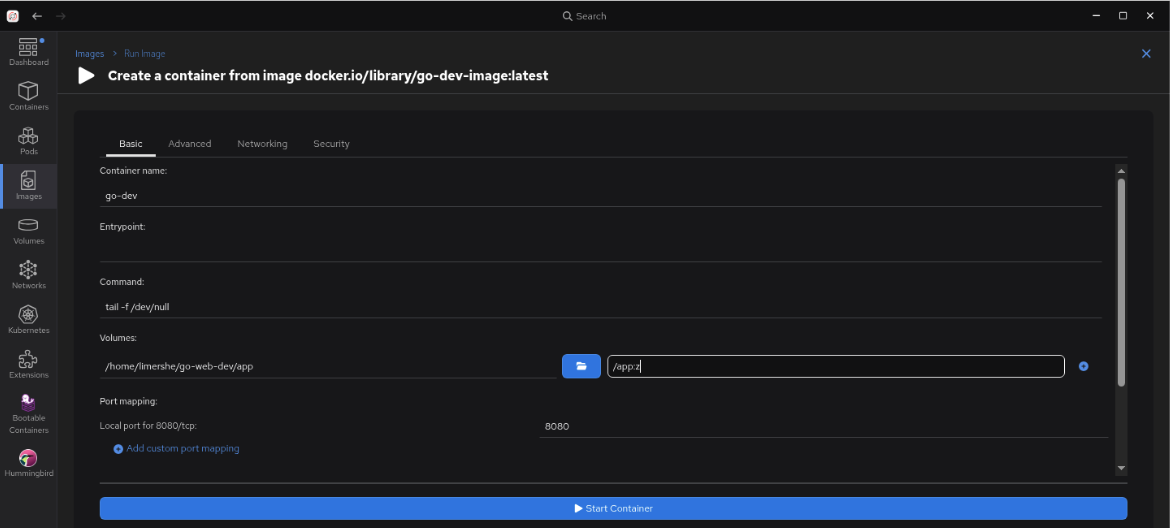
go-dev. Under Volumes, select the subdirectory we created earlier,go-web-dev/app, as the Path on the Host, and specify/app:zas the Path inside the container (Figure 5).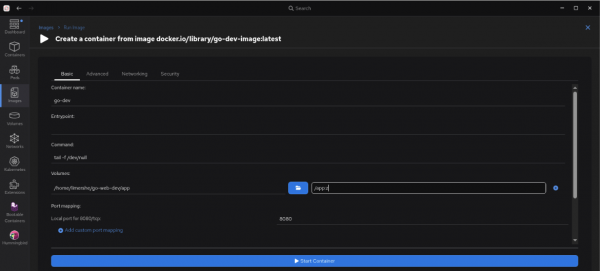
Figure 5: Name the new container go-dev and map the go-web-dev/app directory to /app:z.

Note
The :z option will not show up in the actual path in the container. It's a directive to Podman to allow multiple containers to share the volume content with the local host, in this case our desktop. We achieve this by re-labeling the directory to "container_t" on SELinux-enabled Linux systems. It is only necessary if our desktop is a Linux system such as RHEL. Do not select Start Container as we still have an additional step to take.
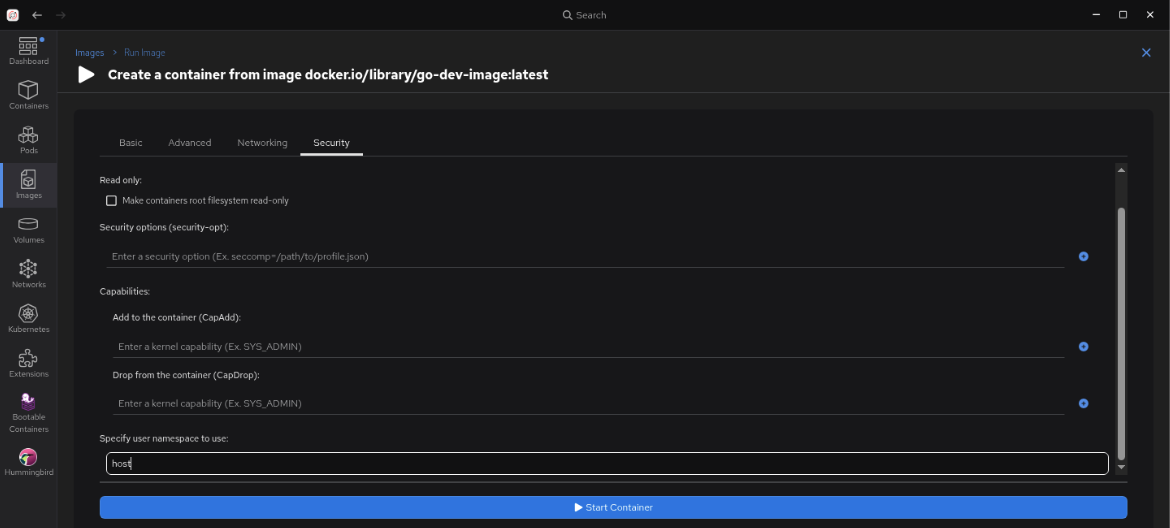
Select the Security section at the top right of the form and scroll down to Specify user namespace to use: and enter host. This keyword will map the root user in our container to our local system user on the machine running Podman. That way, we can share files between our native desktop environment and our new development container. An example is shown in Figure 6:
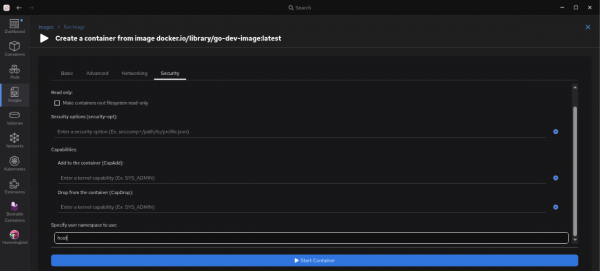
Figure 6: In the Security tab set “Specify user namespace to use” to “host”. Select Start container at the bottom. We now have a running container named
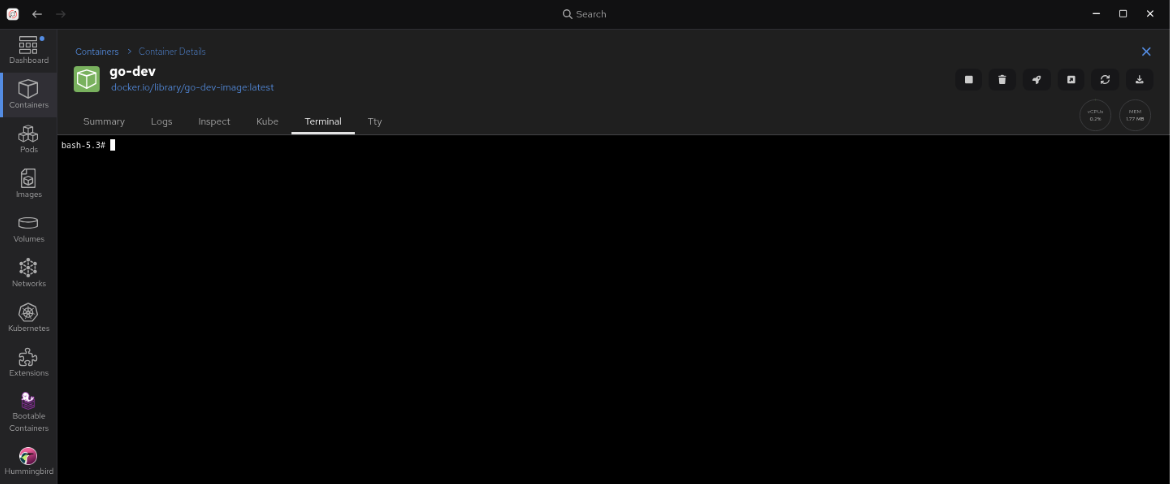
go-dev.Go to the Containers section, double-click on the container, and select Terminal. For the next part of this learning path, our examples assume we'll be working from our local host by using our preferred desktop editor or IDE (Figure 7).
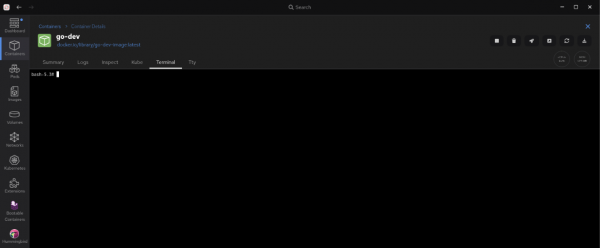
Figure 7: Terminal screen for the go-dev container.
Create a basic web application by using Go with multiple API endpoints
Let's start creating our Go web application. We'll create a RESTful API with multiple endpoints that demonstrate routing, JSON responses, and path parameters.
First, we need to initialize our Go module. From the terminal in Podman Desktop, run:
cd /app
go mod init github.com/redhat/go-web-demo
This creates a go.mod file that tracks our dependencies. Since we're using only the Go standard library, we don't need any external packages.
Now create the file
$HOME/go-web-dev/app/main.goby using your preferred desktop editor (VS Code, Cursor, vim, etc.) as follows:package main import ( "encoding/json" "fmt" "log" "net/http" "strconv" "time" ) // Message represents a simple JSON response type Message struct { Message string `json:"message"` Timestamp time.Time `json:"timestamp"` } // HealthResponse represents the health check response type HealthResponse struct { Status string `json:"status"` Timestamp time.Time `json:"timestamp"` Version string `json:"version"` } // ItemResponse represents an item response type ItemResponse struct { ID string `json:"id"` Name string `json:"name"` Description string `json:"description"` Timestamp time.Time `json:"timestamp"` } func main() { // Create a new ServeMux for routing mux := http.NewServeMux() // Define routes with Go 1.22+ method and path variable support mux.HandleFunc("GET /{$}", homeHandler) mux.HandleFunc("GET /health", healthHandler) mux.HandleFunc("GET /api/items/{id}", getItemHandler) // Start server port := "8080" log.Printf("Starting Go web server on port %s", port) log.Printf("Access the application at http://localhost:%s", port) if err := http.ListenAndServe(":"+port, mux); err != nil { log.Fatal("Server failed to start:", err) } } // homeHandler handles the root endpoint func homeHandler(w http.ResponseWriter, r *http.Request) { w.Header().Set("Content-Type", "application/json") response := Message{ Message: "Welcome to the Go Web Application built with Red Hat Hardened Images!", Timestamp: time.Now(), } json.NewEncoder(w).Encode(response) } // healthHandler handles the health check endpoint func healthHandler(w http.ResponseWriter, r *http.Request) { w.Header().Set("Content-Type", "application/json") response := HealthResponse{ Status: "healthy", Timestamp: time.Now(), Version: "1.0.0", } json.NewEncoder(w).Encode(response) } func validateItemID(input string) bool { id, err := strconv.Atoi(input) if err != nil || id < 0 { return false } return true } // getItemHandler handles retrieving an item by ID func getItemHandler(w http.ResponseWriter, r *http.Request) { w.Header().Set("Content-Type", "application/json") // Use PathValue to extract the path variable (Go 1.22+) itemID := r.PathValue("id") if !validateItemID(itemID) { http.Error(w, "Bad Request: Invalid item ID format", http.StatusBadRequest) return } response := ItemResponse{ ID: itemID, Name: fmt.Sprintf("Item %s", itemID), Description: fmt.Sprintf("This is a demo item with ID: %s", itemID), Timestamp: time.Now(), } json.NewEncoder(w).Encode(response) }This application creates three RESTful endpoints by using only the Go standard library:
GET /{$}- Returns a welcome message with timestamp (the {$} ensures only the root path matches)GET /health- Returns application health status and versionGET /api/items/{id}- Returns item information based on the ID in the URL path (extracted withr.PathValue("id"))
Test our application
We can test our application now by running the following from our container Terminal screen:
cd /app
go run main.go
Our application will start and display startup messages:
2026/08/05 16:53:16 Starting Go web server on port 8080
2026/08/05 16:53:16 Access the application at http://localhost:8080
We can test our endpoints in our browser or by using curl:
curl http://localhost:8080/The command displays output similar to the following:
{
  "message": "Welcome to the Go Web Application built with Red Hat Hardened Images!",
  "timestamp": "2026-07-27T20:52:48.536802931Z"
}

Now check the health of the Go application with:
Now check the health of the Go application with:
curl http://localhost:8080/healthThe command displays output similar to the following:
{
  "status": "healthy",
  "timestamp": "2026-07-27T20:53:01.388804199Z",
  "version": "1.0.0"
}
Finally we can check the API items in use with:
curl http://localhost:8080/api/items/123The command displays output similar to the following:
{
  "id": "123",
  "name": "Item 123",
  "description": "This is a demo item with ID: 123",
  "timestamp": "2026-07-27T20:53:29.587086407Z"
}
Invalid ID requests are gracefully rejected:
curl http://localhost:8080/api/items/-123The command displays output similar to the following:
Bad Request: Invalid item ID format
Finally, we can test with your desktop web browser, and you’ll see something similar to Figure 8.

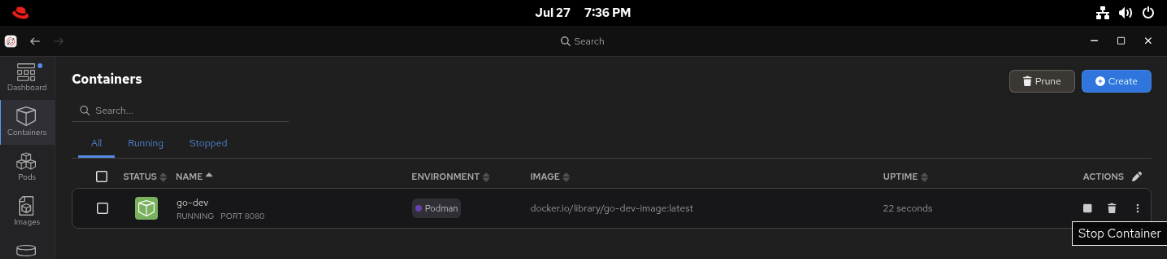
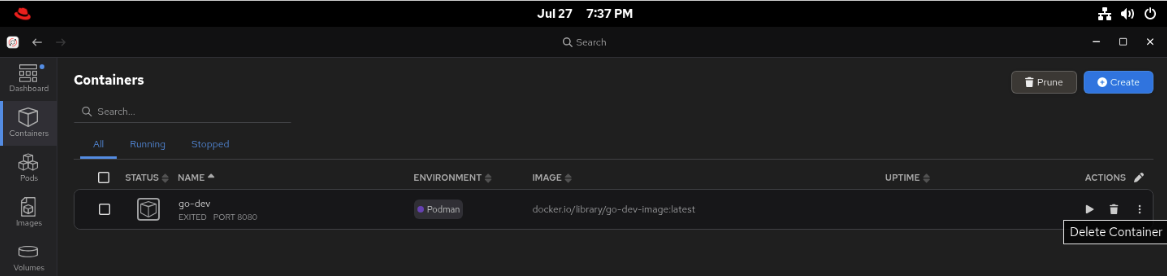
Before moving to the Build and run a Go application in a hardened container in Podman Desktop lesson, launch Podman Desktop and go to Containers. Select the go-dev container, and click Stop, then Delete.