Page
Build and run a Go application in a hardened container in Podman Desktop
Now that we've built our application, it's time to deploy it in a hardened container with the minimal packages it needs.
Prerequisites:
- Download Red Hat build of Podman Desktop for Windows, macOS, or Red Hat Enterprise Linux (RHEL).
- The configuration files in the
$HOME/go-web-dev/app/directory from the Build a sample Go web application from a sample Containerfile lesson:- main.go
- go.mod
In this lesson, we will:
- Build a slimmed-down container from a production
Containerfile. - Test the production container.
Step 1: Build a slimmed-down container from a production Containerfile
To start, we create a second Containerfile for building our production workload. This file uses a multi-stage build approach. In the first stage, it compiles our Go application into a static binary. In the second stage, it uses the static runtime image that has no extra tools and copies only our compiled binary into the clean image. Finally, it tells the container to start our application automatically as soon as it boots up.
We now create a multi-stage
Containerfile.appinto the$HOME/go-web-dev/directory.
Note
This file is different from the Containerfile we created in the Build a sample Go web application from a sample Containerfilelesson, which is just used for coding and experimentation.
# Multi-stage build using Red Hat Hardened Images
# Stage 1: Build the Go application
FROM registry.access.redhat.com/hi/go:latest-builder AS builder

# Set working directory
WORKDIR /app

# Copy go module file
COPY app/go.mod ./

# Copy source code
COPY app/main.go .

# Build the application as a static binary
RUN CGO_ENABLED=0 go build -o server

# Stage 2: Create minimal runtime image
FROM registry.access.redhat.com/hi/static:latest

# Set working directory
WORKDIR /app

# Copy the binary from builder stage
COPY --from=builder /app/server .

# Expose application port
EXPOSE 8080

# Run the application
CMD ["./server"]
Now, let's use the
Containerfile.appwe created to build our production hardened image.Open Podman Desktop on our local machine and go to the Images section in the left navigation.
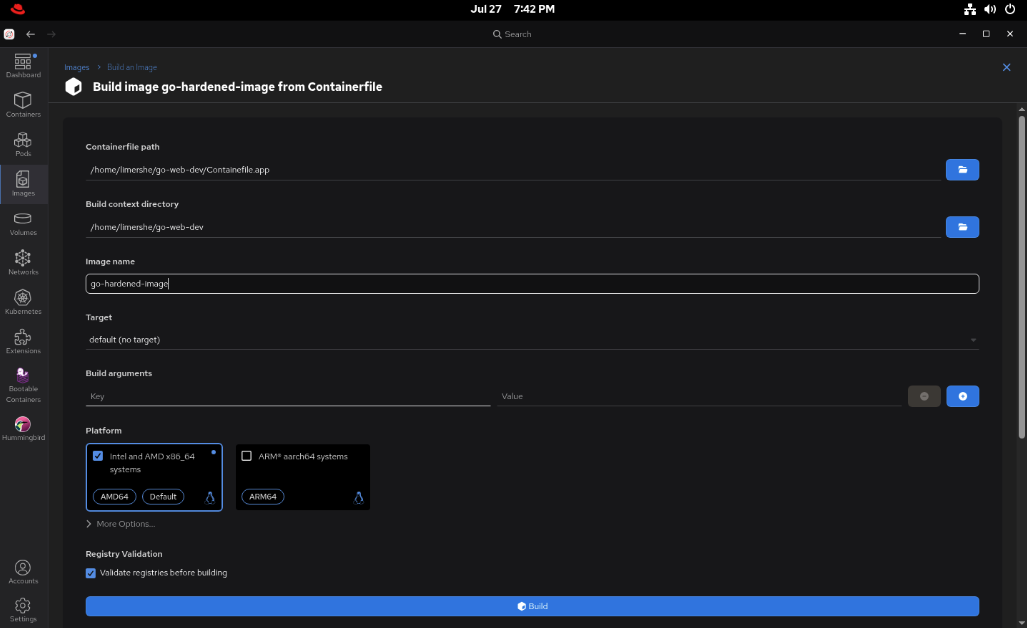
Select Build to open the Build image from the Containerfile screen.
Provide the following:
- Containerfile path:
$HOME/go-web-dev/Containerfile.app - Build directory path:
$HOME/go-web-dev/ - Image name: go-hardened-image
Platform hardware spec: I chose the Intel and AMD x86_64 image option for my desktop environment (Figure 1).
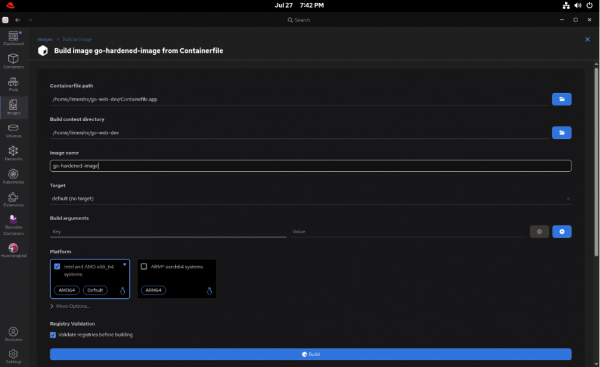
Figure 1: Build our go-hardened-image.
- Containerfile path:
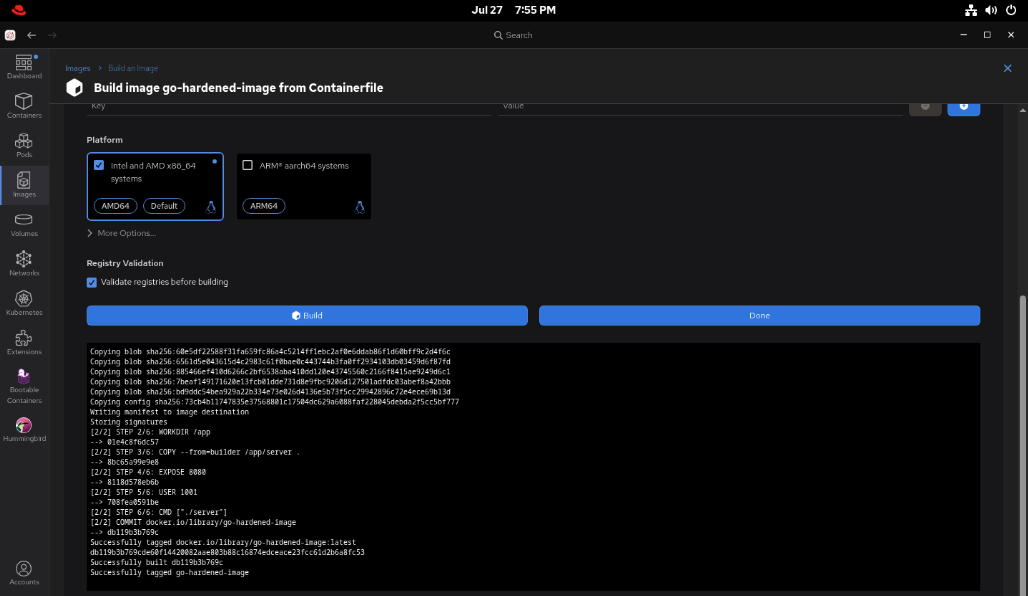
Now select Build at the bottom. It will build our new image as shown in Figure 2.
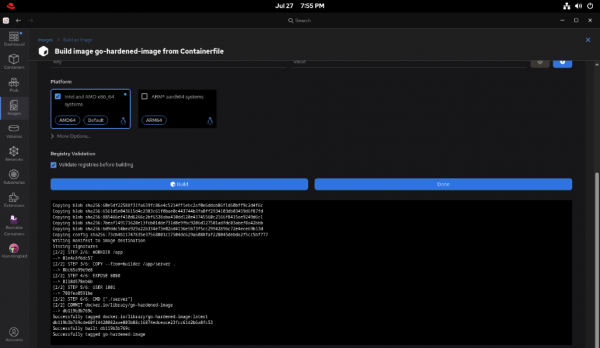
Figure 2: Confirm the image built successfully. Select Done.
Because this image is derived from a Red Hat Hardened Image pulled from the official Red Hat repository, the final image is going to be both current and distroless (it has no extra tools). Because of this, we will find it will have few (if any) alerts when we scan it.
Step 2: Test the production container
At this point, we should be back at the Images section and ready to test our production-hardened container.
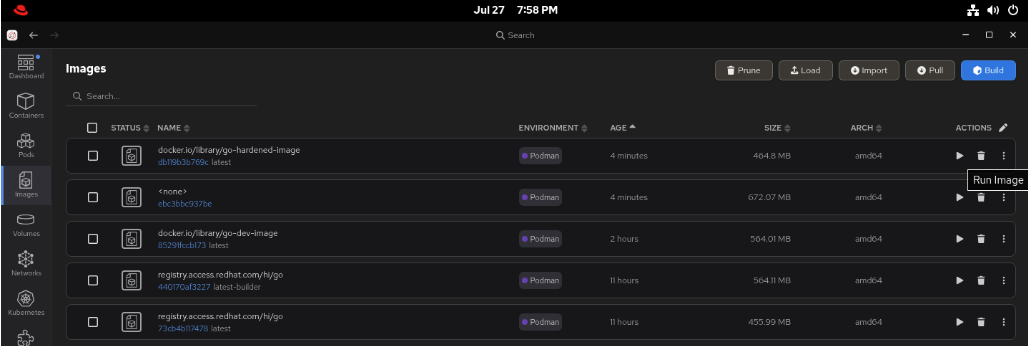
Select the right arrow next to
go-hardened-imageto start the image (Figure 3).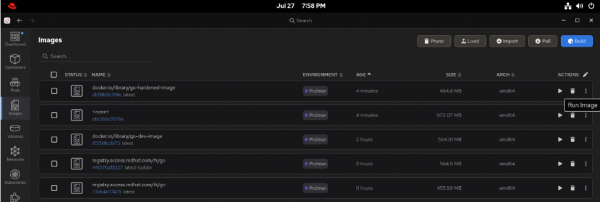
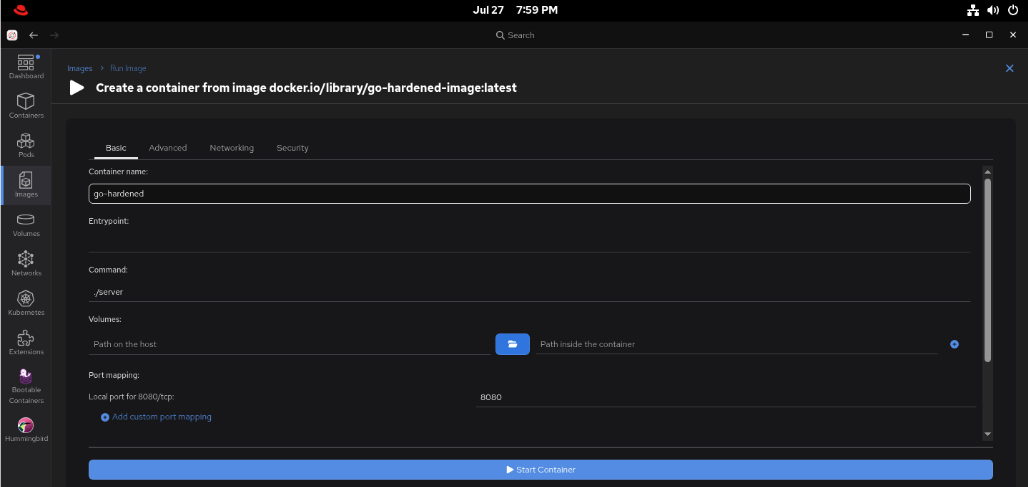
Figure 3: Run the image named go-hardened-image. Give the container the name go-hardened (Figure 4).
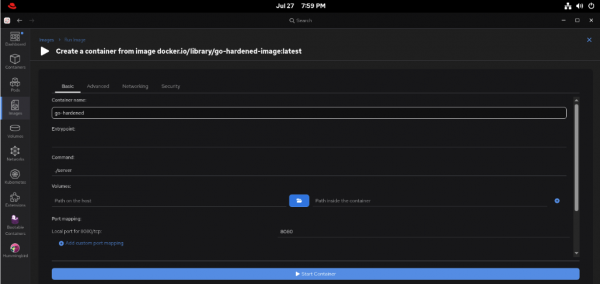
Figure 4: Name the new container go-hardened. Select Start container at the bottom. We now have a running container named go-hardened.
As in the Build a sample Go web application from a sample
Containerfilelesson, we can test our endpoints in our browser by using the URLs (Figure 5):curl http://localhost:8080/ curl http://localhost:8080/health curl http://localhost:8080/api/items/456
Figure 5: Successful test in a web browser.

Congratulations! We've moved a project from a portable development environment to a hardened production image. Most developers wait until the very end of a project to worry about scanner reports; we built our app on a foundation designed to keep those reports clean on day one.
Summary
This learning path introduced a workflow that focuses on a hardened posture.
In the Build a sample Go web application from a sample Containerfile lesson, we used a builder Red Hat Hardened Image to create a developer workspace. This allowed us to keep our favorite tools on our desktop while the application was built in an environment that would be consistent with our production image.
In the Build and run a Go application in a hardened container in Podman Desktop lesson, we learned how to use one image to "build" the application and a second, cleaner image to run it in production. This ensures that development tools like compilers can be used for reproducible build processes but never make it into our final product. Finally, we tested a production image with a minimal package footprint that provides a near-zero known vulnerability starting point.
At the end of the day, we should all care about hardened images. We want to spend our time writing code, not chasing down alerts for parts of the operating system we aren't even using. By using Red Hat Hardened Images, we can start with a clean slate. Because these images are stripped of "extra junk," there are fewer parts that can break or be attacked. We also reduce alerts from security scanners. If a file isn't in our container, a scanner can't flag it. This helps us focus on our actual code rather than managing potential vulnerabilities.
To turn this prototype into a functional production application, consider these next steps:
Expand the code: Move beyond simple API endpoints. Start adding TLS support, authentication, database connections, and business logic to your application. Go's standard library provides excellent support for building production-ready APIs.
Add a hardened database: Most apps need to store data. You can use the same "hardened" approach for your database. Red Hat provides hardened versions of popular databases that follow the same minimal, secure design:
- etcd: a distributed, reliable key-value store for critical data in distributed systems. It is commonly used as the backing store for Kubernetes and provides a strongly consistent API, clustering, and durable persistence.
- MariaDB: a relational database management system, built on the MySQL technology, it offers a powerful SQL interface for data access and includes advanced features, such as support for multiple storage engines.
- memcached: a high-performance key-value cache that stores frequently-accessed data in RAM to significantly reduce database load and minimize latency.
- PostgreSQL: a database system for environments that require high data integrity, strong standards compliance, and extensibility. It handles workloads, ranging from applications on a single computer to large services with many concurrent users.
- sqlite: a self-contained, serverless, zero-configuration SQL database engine. This image contains the SQLite library and the sqlite3 command-line tool for creating, querying, and managing databases. SQLite databases are stored as ordinary files and support full SQL, ACID transactions, and concurrent reads.
- valkey: provides a robust environment for managing complex data structures with sub-millisecond latency. This high-performance database maintains compatibility with the Redis protocol to support caching and session management for modern applications.
Front-end with a reverse proxy and load balancer: In a real production setup, you wouldn't let the internet talk directly to your Go application. You would place something like a hardened HAProxy or NGINX container in front of it to handle web traffic, manage security certificates (SSL), and provide load balancing.
Ready to build more?
Find the full list of trusted, minimal images from Go and Python to Node.js, Java, and various databases:
Learn more and get updates: images.redhat.com/about
View the full Red Hat Hardened Images catalog: images.redhat.com
Explore these Red Hat Developer learning paths:

