Page
Package a Flask application as a production-ready hardened container with Red Hat build of Podman Desktop
Now that you’ve built your application, it’s time to deploy it in a hardened container with the minimal packages it needs.
Prerequisites:
- Download Red Hat build of Podman Desktop for Windows, macOS, or Red Hat Enterprise Linux (RHEL).
In this lesson, you will:
- Package a Flask application as a production-ready, hardened container with the Red Hat build of Podman Desktop.
- Step 1: Build a slimmed-down container from a production
Containerfile. - Step 2: Create a production container image.
- Step 3: Test the production container.
- Step 1: Build a slimmed-down container from a production
Package a Flask application as a production-ready, hardened container with Red Hat build of Podman Desktop
Step 1: Build a slimmed-down container from a production Containerfile
To start, create a second Containerfile for building our production workload. This file will create a temporary build space to install your application's libraries into a Python virtual environment (venv). It then switches to the minimal runtime image that has no extra tools or shell, and copies your application code and the libraries from the first step into the clean image. Finally, it tells the container to start Gunicorn automatically as soon as it boots up.
Create the following Containerfile into the your_home_directory/src/flask-dev/hardened/ directory:
# Stage 1: Build the app
FROM registry.access.redhat.com/hi/python:latest-builder AS builder
USER 0
WORKDIR /app
# Install Flask and Gunicorn into a virtual environment
RUN python3 -m venv /opt/venv && /opt/venv/bin/pip install flask gunicorn
# Stage 2: Final production image
FROM registry.access.redhat.com/hi/python:latest
WORKDIR /app
# Copy only the virtual environment and your code to the clean image
COPY --from=builder /opt/venv /opt/venv
ENV PATH="/opt/venv/bin:$PATH"
COPY app/app.py app/wsgi.py .
# Tell the system this app runs on port 8080
EXPOSE 8080
# Use Gunicorn to run the app
STOPSIGNAL SIGINT
ENTRYPOINT ["gunicorn", "--bind", "0.0.0.0:8080", "wsgi:app"]
Step 2: Create a production container image
Now, let’s use the Containerfile that you created to build your production-hardened image.
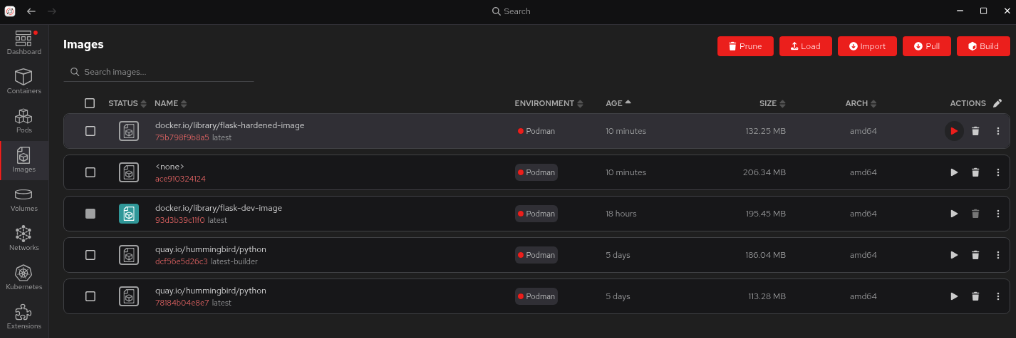
- Open Red Hat build of Podman Desktop on your local machine and go to the Images section in the left navigation.
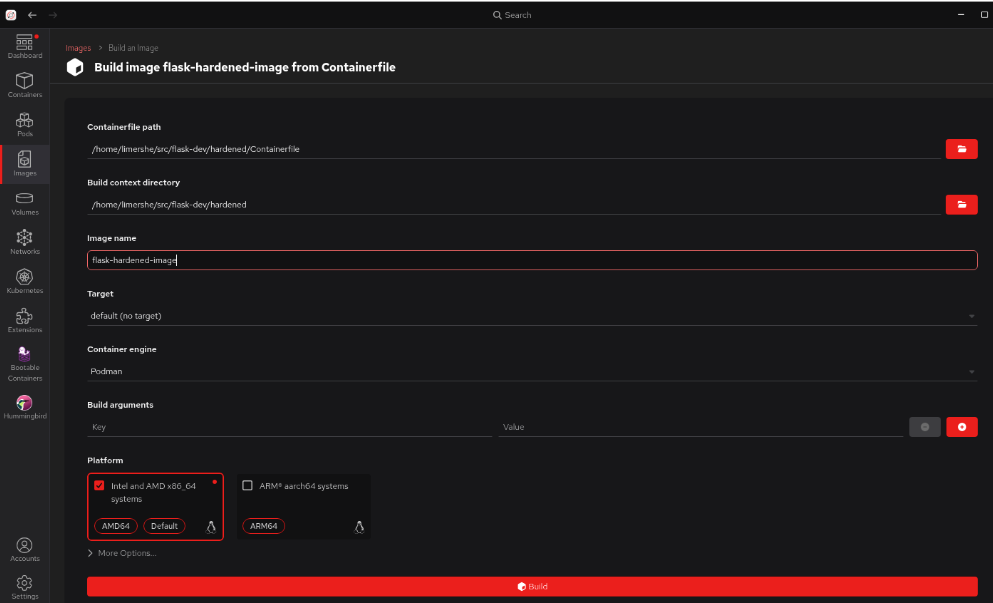
Select Build to open the Build image from the Containerfile screen (Figure 1).
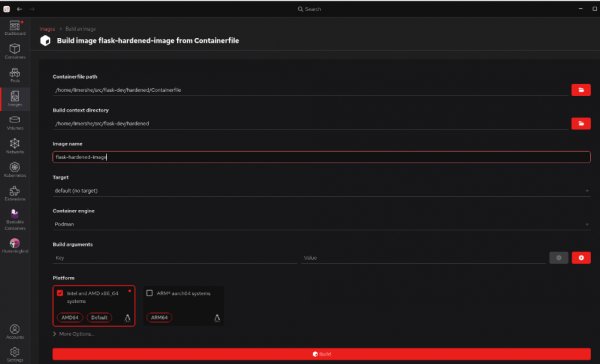
Figure 1: Build your Flask hardened image from a Containerfile. - Provide the following:
- Containerfile path:
your_home_directory/src/flask-dev/hardened/Containerfile - Build context directory path:
your_home_directory/flask-dev/hardened/ - Image name:
flask-hardened-image - Platform (hardware spec): I chose the Intel and AMD x86_64 image option for my desktop environment.
- Containerfile path:
Now select Build at the bottom. Red Hat build of Podman Desktop will build your new image as shown in Figure 2.
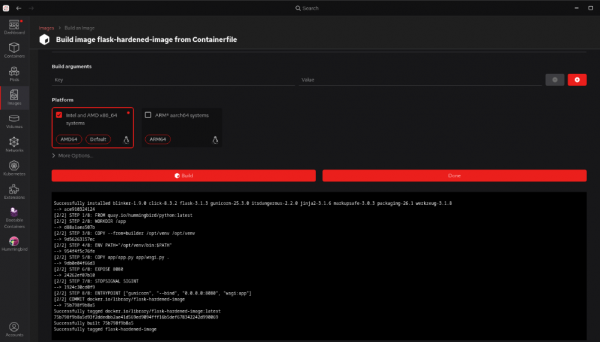
Figure 2: Watch and verify build progress in the Build image screen. - Select Done.

Because this image is derived from a Red Hat Hardened Image pulled from the official Red Hat repository, the final image is both current and distroless, meaning it has no shell or extra tools. Because of this, you will find it will have few, if any, alerts when you scan it.
Step 3: Test the production container
At this point, you should be back at the Images section and ready to test your production-ready hardened container.
Select the right arrow next to
flask-hardened-imageto start the image (Figure 3).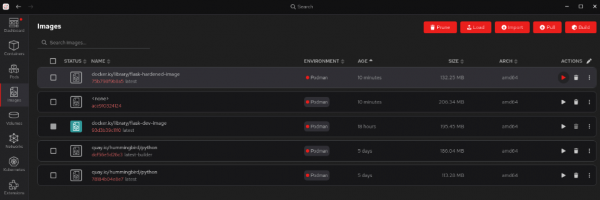
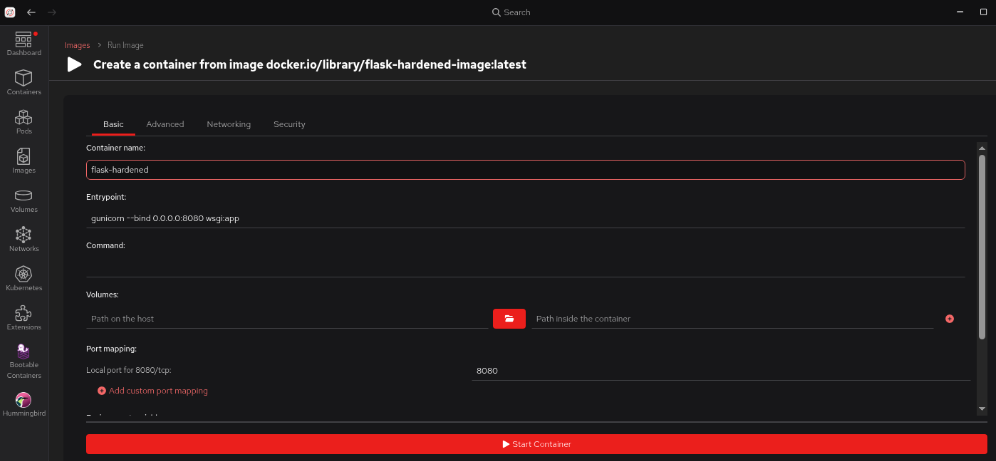
Figure 3: Run your new hardened image from Red Hat build of Podman Desktop Images screen. In the Create a container screen, give the container the name
flask-hardened(Figure 4).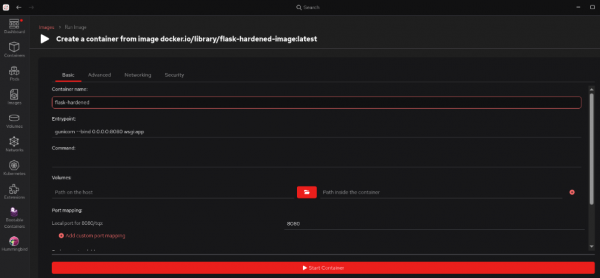
Figure 4: Red Hat build of Podman Desktop Create Container screen (Basic tab). - Select Start container at the bottom. You now have a running container named
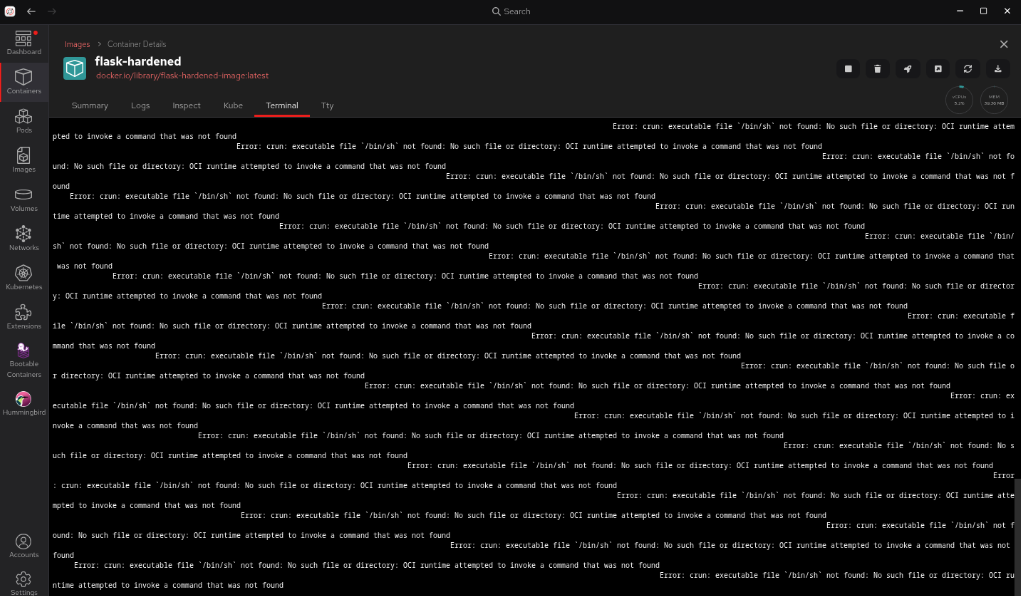
flask-hardened. Go to the Containers section, double-click on the container, and select Terminal.
Wait, where is the terminal? As you can see in Figure 5, if you try to go to the Terminal tab for this container, the tab won't work. That is because this image is hardened. It has no shell (no bash or sh). This makes it a much smaller target for attackers and keeps your security scanner reports clean.
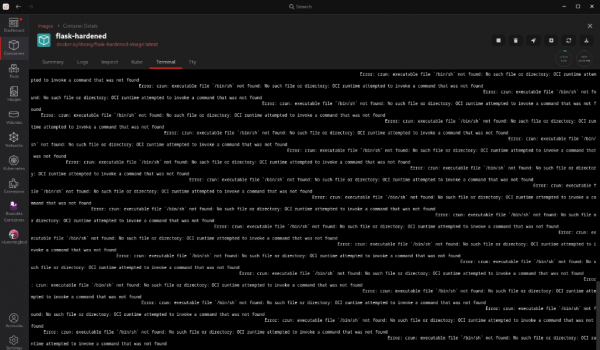
Figure 5: The container details screen for your new hardened container.
As before, our "Hello, world" message will be displayed in your browser using the URL (Figure 6):
http://localhost:8080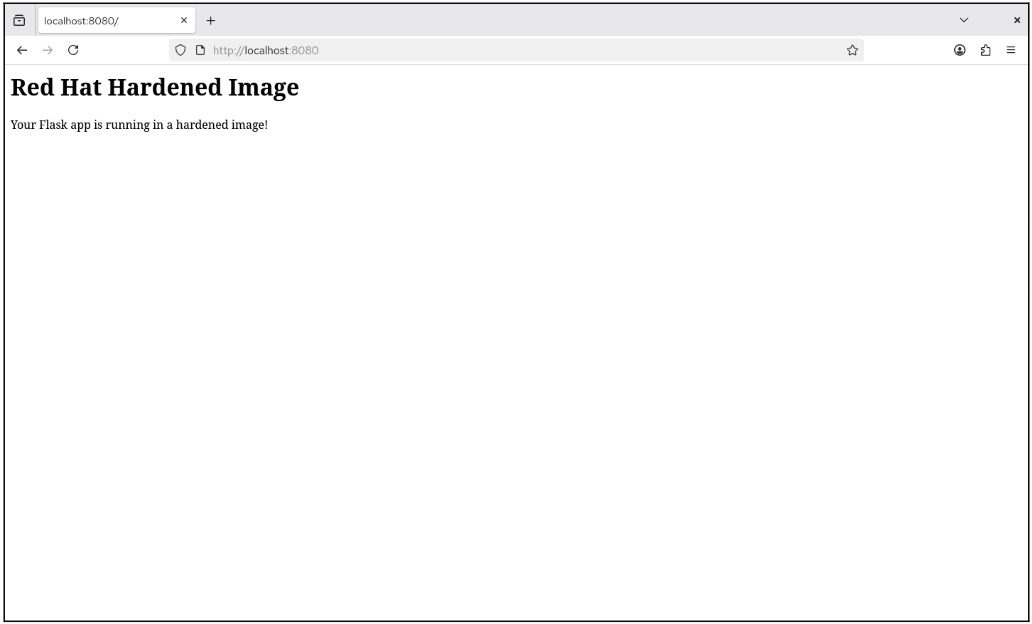
Congratulations! You have successfully moved a project from a portable development environment to a hardened production image. Most developers wait until the very end of a project to worry about scanner reports, but you built your application on a foundation designed to keep those reports clean on day one.
Summary
This learning path introduced a workflow that focuses on a hardened posture:
- The workflow uses a Red Hat Hardened Image to create a workspace. This practice lets you use your preferred desktop tools while building the application in an environment consistent with the production image.
- Use one image to build the application and a second, cleaner image to run it in production. This ensures that development tools like compilers never make it into the final product.
- Verify a distroless production image. Because it has no shell and no extra files, it provides a near-zero known vulnerability starting point.
At the end of the day, we should all care about hardened images. You want to spend your time writing code, not chasing down alerts for parts of the operating system you aren't even using. By using Red Hat Hardened Images, you can start with a clean slate. Because these images are stripped of extra software, there are fewer parts that can break or be attacked. You also reduce alerts from security scanners. If a file isn't in our container, a scanner can't flag it. This helps you focus on your actual code rather than managing potential vulnerabilities.
To turn this prototype into a functional production application, consider these next steps:
- Expand the code: Move beyond a single web page. Start adding real routes, logic, and APIs to our
app.py. You already set up our volume mount in the developer stage, so you can see these changes live as we write them. - Add a hardened database: Most apps need to store data. You can use the same hardened approach for our database. Red Hat provides hardened versions of popular databases that follow the same minimal, secure design:
- MariaDB: Great for standard web applications.
- PostgreSQL: Ideal for complex data and heavy workloads.
- Front-end with a reverse proxy and load balancer: In a real production setup, you wouldn't let the internet talk directly to Gunicorn. You would place something like a hardened NGINX container in front of it to handle web traffic, manage security certificates (SSL), and speed up your site.
Explore the catalog
Ready to build more? Find the full list of trusted, minimal images—from Python and Node.js to Java and various databases—in the Red Hat Hardened Images catalog:
