Page
Create and run a LAMP application locally

In this lesson, you will launch a LAMP stack using Red Hat Hardened Images. You will use standard Podman command-line interface (CLI) commands to network and run Apache, PHP, and MariaDB containers locally.
Prerequisites:
- The ability to create and edit Linux text files.
- Understand how to traverse a Linux file system.
- A working knowledge of the script language PHP.
- A no-cost Developer subscription from developers.redhat.com
- Red Hat Enterprise Linux, CentOS Stream, or Fedora Linux installed with the subscription-manager package, and subscription credentials provided on the host.
In this lesson, you will:
- Review the core application components.
- Develop the application.
- Launch and test the application.
Core application components
This application uses three key Linux containers, each packaged as a ready-to-use Red Hat Hardened Image:
- PHP-FPM (FastCGI Process Manager): Processes the code in the
index.phpfile. It communicates with the database to save and retrieve visit counts. - MariaDB: A trusted, SQL-compliant database that stores the timestamp of every visitor to your site.
- Apache HTTP Server: Acts as a reverse proxy. It handles incoming web traffic on port 8080 and passes PHP requests to the application server.
Step 1: Prepare the development workspace
Open your Linux terminal and create a directory for the project. Inside, create an app folder for your PHP code and an httpd folder for the server configuration.
mkdir -p lampdev-hardened/{app,httpd}
cd lampdev-hardened
Step 2: Create the application logic
The PHP application logic will display "Hello World — LAMP on Red Hat Hardened Images”. The example below will also connect with the rest of the stack and perform the following tasks:
- Environment discovery: The script uses
getenv()to find the database credentials. This keeps Secrets out of your code and lets the container platform manage them. - Database handshake: It uses the PHP Data Objects (PDO) extension to reach out to the MariaDB container. If the connection fails, it catches the error so your whole page doesn't crash.
- Schema automation: On the first run, the script automatically creates a
visitstable. This demonstrates how your app can set itself up in a new environment. - Persistence check: Every time you refresh, it inserts a new row with a timestamp and then counts the total rows. This confirms that your data volume is working and your data won't disappear if the container restarts.
Save the following code as lampdev-hardened/app/index.php:
<?php
$db_host = getenv('DB_HOST') ?: 'mariadb';
$db_user = getenv('DB_USER') ?: 'appuser';
$db_pass = getenv('DB_PASS') ?: 'apppass';
$db_name = getenv('DB_NAME') ?: 'hellodb';

$status = 'Disconnected';
$error  = '';
$count  = 0;

try {
    $pdo = new PDO(
        "mysql:host={$db_host};dbname={$db_name}",
        $db_user,
        $db_pass,
        [PDO::ATTR_ERRMODE => PDO::ERRMODE_EXCEPTION]
    );

    $pdo->exec("CREATE TABLE IF NOT EXISTS visits (
        id INT AUTO_INCREMENT PRIMARY KEY,
        visited_at TIMESTAMP DEFAULT CURRENT_TIMESTAMP
    )");

    $pdo->exec("INSERT INTO visits (visited_at) VALUES (NOW())");

    $count  = $pdo->query("SELECT COUNT(*) FROM visits")->fetchColumn();
    $status = 'Connected';
} catch (PDOException $e) {
    $error = $e->getMessage();
}
?>
<!DOCTYPE html>
<html lang="en">
<head>
    <meta charset="UTF-8">
    <title>Hello LAMP on RHEL</title>
    <style>
        body { font-family: sans-serif; max-width: 600px; margin: 4em auto; }
        .ok   { color: green; }
        .fail { color: red; }
    </style>
</head>
<body>
    <h1>Hello World — LAMP on RHEL (Hardened Images)</h1>
    <ul>
        <li>PHP version: <?= phpversion() ?></li>
        <li>MariaDB status:
            <span class="<?= $status === 'Connected' ? 'ok' : 'fail' ?>">
                <?= htmlspecialchars($status) ?>
            </span>
        </li>
        <?php if ($status === 'Connected'): ?>
            <li>Total visits: <?= (int)$count ?></li>
        <?php endif; ?>
        <?php if ($error): ?>
            <li class="fail">Error: <?= htmlspecialchars($error) ?></li>
        <?php endif; ?>
    </ul>
</body>
</html>
Step 3: Configure the Apache HTTP Proxy
The Apache HTTP server needs to know it shouldn't try to run the PHP itself (since the Apache image is minimal and doesn't have PHP installed). Create lampdev-hardened/httpd/proxy-php.conf with the following contents to tell Apache to forward traffic to the PHP-FPM container:
DirectoryIndex index.php index.html

<FilesMatch "\.php$">
    SetHandler "proxy:fcgi://php-fpm:9000"
</FilesMatch>
Step 4: Define the stack in a Bash shell startup script
A Bash script launches the stack using native Podman commands. This script creates a virtual network, provisions a storage volume, and launches the three Hardened Images.
Create the file lampdev-hardened/start-lamp.sh with the following contents:
#!/bin/bash
set -euo pipefail

echo "Creating network and volume..."
podman network create lamp-net || true
podman volume create db-data || true

echo "Starting MariaDB..."
podman run -d --name mariadb --network lamp-net \
-e MARIADB_ROOT_PASSWORD=rootpass \
-e MARIADB_USER=appuser \
-e MARIADB_PASSWORD=apppass \
-e MARIADB_DATABASE=hellodb \
-v db-data:/var/lib/mysql:Z \
-p 3306:3306 \
registry.access.redhat.com/hi/mariadb:latest

echo "Starting PHP-FPM..."
podman run -d --name php-fpm --network lamp-net \
-e DB_HOST=mariadb \
-e DB_USER=appuser \
-e DB_PASS=apppass \
-e DB_NAME=hellodb \
-v ./app:/var/www/html:z \
registry.access.redhat.com/hi/php:latest-fpm

echo "Starting Apache HTTPD..."
podman run -d --name httpd --network lamp-net \
-p 8080:8080 \
-v ./app:/var/www/html:z,ro \
-v ./httpd/proxy-php.conf:/etc/httpd/conf.d/proxy-php.conf:Z,ro \
registry.access.redhat.com/hi/httpd:latest

echo "--------------------------------------------------------"
echo "LAMP stack is running!"
echo "To stop the stack, run: podman stop httpd php-fpm mariadb"
echo "To completely remove the containers, run: podman rm -f httpd php-fpm mariadb"
echo "--------------------------------------------------------"
Make the script executable:
chmod 755 start-lamp.shStep 5: Launch and test results
To run the application in containers using your code and Red Hat Hardened Images, execute the bash script from the lampdev-hardened/ directory:
./start-lamp.shTo test, point your web browser to http://localhost:8080. You should see results similar to the screenshot below:
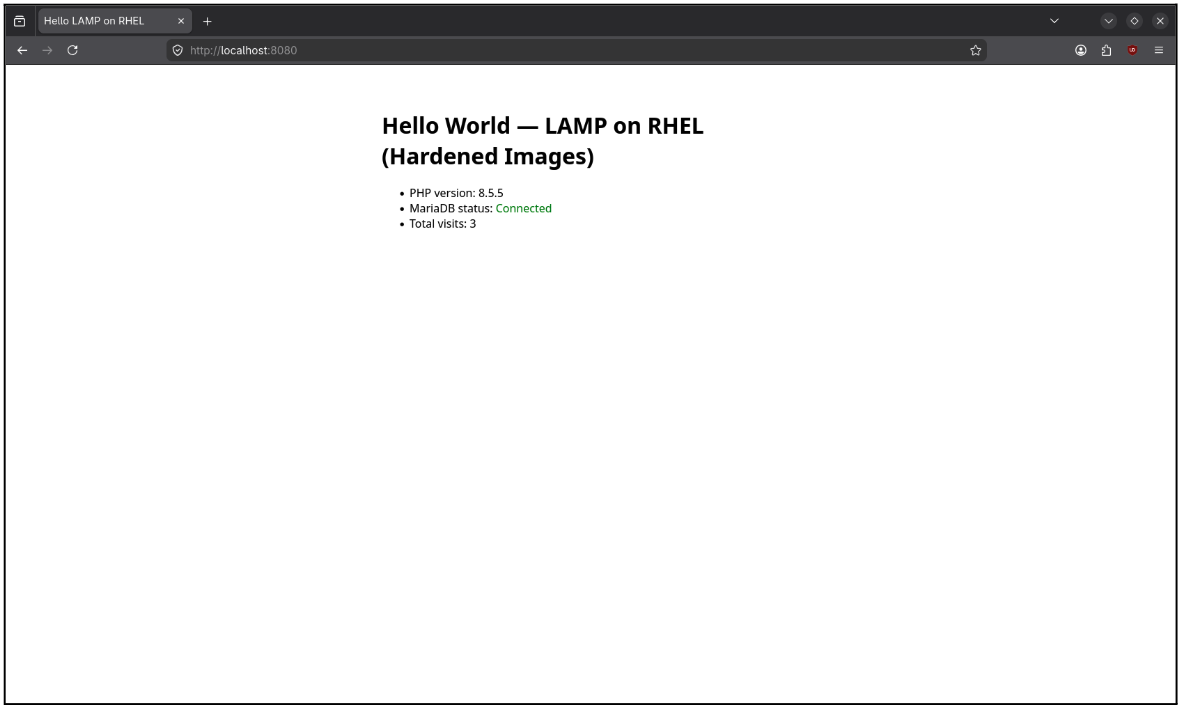
Here is what to look for:
- PHP version: Confirms the PHP-FPM container is processing code.
- MariaDB status: "Connected" means your application successfully authenticated with the hardened database.
- Total visits: Refresh the page to see the count increase, confirming persistent storage is working.
Success! You’ve developed, launched, and tested the application and confirmed the basic functionality of the LAMP containers.
Next, you will use Podman Quadlets to tell the operating system how to manage those containers.