Page
Run a WebUI chat application against three GPU-hosted models

Now that you have interacted with the models, it's time to deploy a fully functional chatbot that talks to all the models at once.
Prerequisites:
- Log in to Developer Sandbox.
In this lesson, you will:
- Deploy a Helm chart.
- Run a WebUI chatbot application.
- Connect to three GPU-hosted models.
- Interact with a web application to send a prompt to all the models simultaneously.
Deploy a Helm chart
This step requires us to deploy a Helm chart to the Developer Sandbox. By default, the terminal provided within the Red Hat OpenShift user interface (UI) does not have Helm preinstalled.
Log back into the OpenShift user interface, open the Terminal (using the >_ icon in the top right), and enter the following:
curl -Lo /wto/bin/helm https://mirror.openshift.com/pub/openshift-v4/clients/helm/latest/helm-linux-amd64

chmod +x /wto/bin/helm

helm
This will install Helm, and, with the last command, print the help message for Helm.
Once you have Helm running, we are going to git-clone a repository from the Red Hat AI business unit that contains a quickstart Helm chart for getting the WebUI application running. We will need to configure the values file.
In the terminal, type the following:
cd
git clone https://github.com/rh-aiservices-bu/vllm-quickstart
cd vllm-quickstart/charts/openwebui
This subdirectory contains the Helm chart and the values.yaml it uses. We will be editing the values.yaml to add the three inference servers and their models to the chatbot, as well as load the appropriate certificate authority (CA) from the system itself.
Use an editor, such as the user-friendly nano or vi if you're old-school, edit the values.yaml file. Scroll down to where it reads:
configuration:
  env:
    ENABLE_SIGNUP: "false"
    WEBUI_AUTH: "false"
  extraArgs: []
  vllmEndpoints:
    - endpoint: http://vllm.example.svc:8000/v1
      token: ""
  data:
We will replace the vllmEndpoints: entry with the following, but you need to add your OpenShift token.
Open an additional terminal tab by clicking on the + in the terminal portion of the interface. Then type the following command:
oc whoami -tCopy the output token, then remove the default endpoint from the values.yaml file and replace it with the following. Remember to replace INSERT OC WHOAMI -t with your token from above.
  vllmEndpoints:
    - endpoint: https://isvc-granite-31-8b-fp8-predictor.sandbox-shared-models.svc.cluster.local:8443/v1
      token: "INSERT OC WHOAMI -t"
    - endpoint: https://isvc-qwen3-8b-fp8-predictor.sandbox-shared-models.svc.cluster.local:8443/v1
      token: "INSERT OC WHOAMI -t"
    - endpoint: https://isvc-nemotron-nano-9b-v2-fp8-predictor.sandbox-shared-models.svc.cluster.local:8443/v1
      token: "INSERT OC WHOAMI -t"
Notice there are no linebreaks between the endpoint: and the URL. This is due to the rendering of the textbox.
Before you save this file in the terminal, scroll down to the injectServiceCA line. Set it to true:
injectServiceCA: trueSave the file. Now you can instantiate the Helm chart with the following:
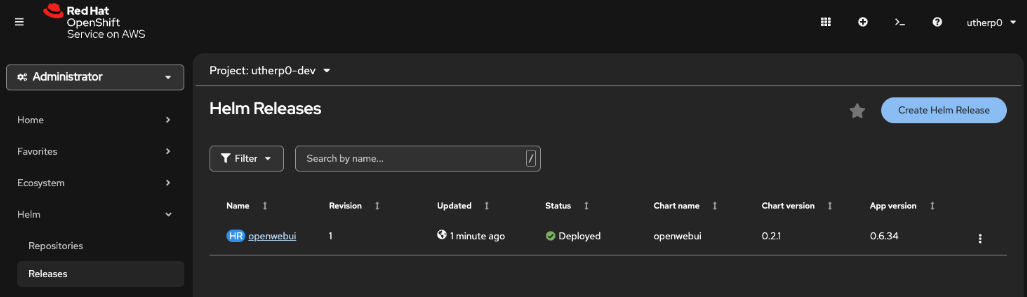
helm upgrade --install --namespace [YOUR_USER_HERE]-dev openwebui ./ -f values.yamlIn the OpenShift UI navigation, click on Helm/Releases. It should look similar to Figure 1:
Now switch to the Topology (Workloads > Topology). You will see a running instance of the WebUI chatbot. Click on the route icon shown in Figure 2.
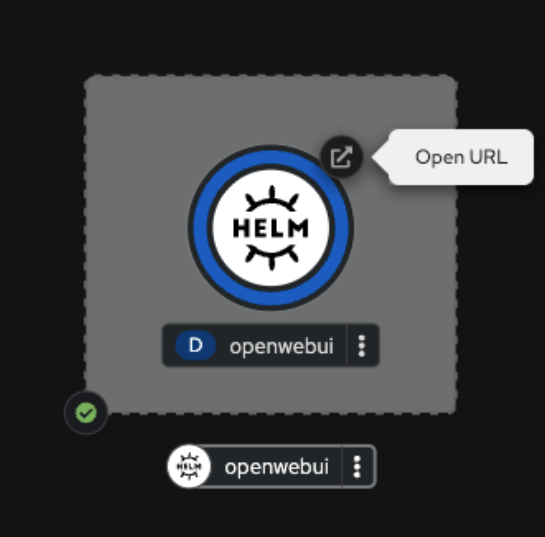
When you click on the icon, it will open a tab and ask you to log on using OpenShift, the inject service CA we set to true. Once you click on this, the WebUI should render.
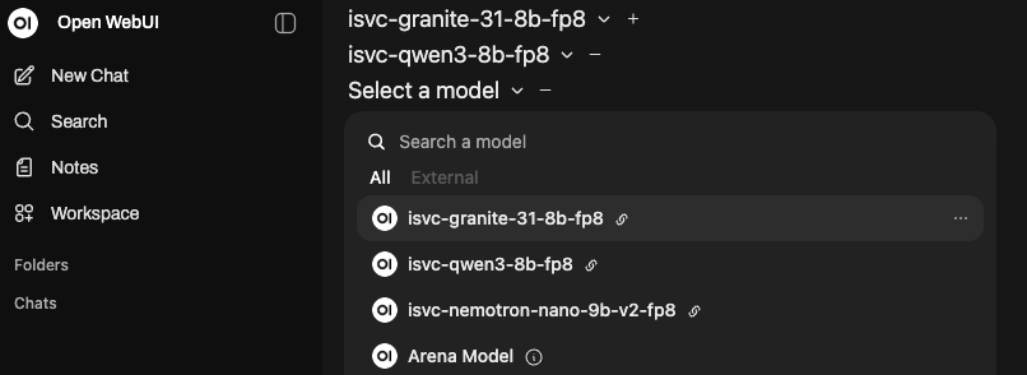
Remove the welcome message, Note that it has, by default, selected the Granite model.
Click on the plus button next to it to add a model. Choose the qwen3 one.
Then click on the plus button again and select the nemotron model.
All three models should be selected as shown in Figure 3.
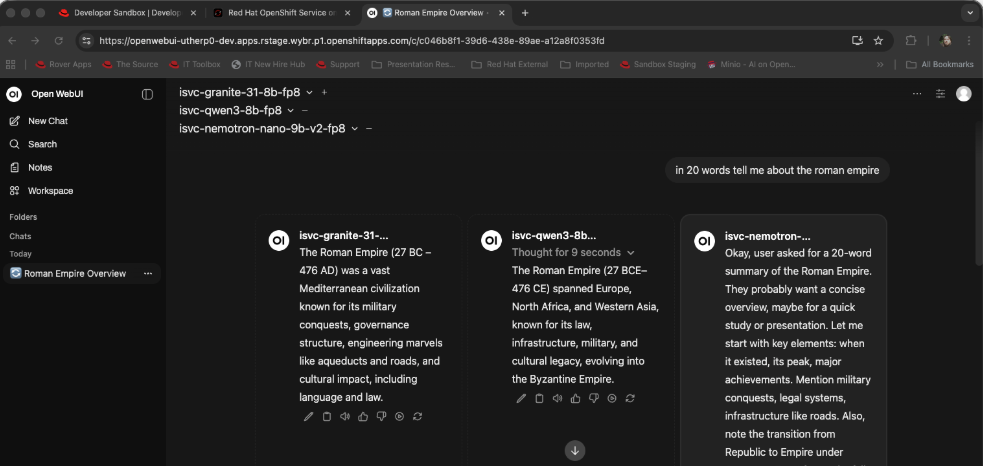
In the prompt box, type anything you want. As a suggestion, try this:
in 20 words tell me about the roman empireThe system will then query all three GPU-hosted models and return information (Figure 4).
Next steps
And there you go! You have successfully connected to and queried the three GPU-hosted models provided by the Red Hat Developer Sandbox.
Ready to learn more about AI?
Now you have the basic mechanisms to directly query and consume the hosted LLMs. You can now write test applications on the Red Hat Developer Sandbox that use this information.
For more information on writing applications and developing on the Sandbox, read the free eBook, The Grumpy Developer’s Guide to OpenShift.