Page
Interact with the GPU-hosted models using Jupyter notebook and langchain

For this exercise, we will use the Red Hat OpenShift AI components offered via the Developer Sandbox.
Prerequisites:
- Log in to Developer Sandbox.
In this lesson, you will:
- Create a workbench in OpenShift AI.
- Install the required Python libraries in a Jupyter Notebook.
- Connect and interact with the models using Python.
Create a workbench
To create a workbench, follow these steps.
Start by going back to the Developer Sandbox.
Click on the OpenShift AI tile (Figure 1):
Figure 1: OpenShift tile in sandbox startup. Figure 1: Click on this OpenShift AI tile in the Developer Sandbox startup. Another way to get to the OpenShift AI components is to click on Applications in the OpenShift User Interface. It's the icon with 3x3 squares in the top right. This pulldown lists all of the extra features, as well as the AI components.
If you have already logged onto the console, it will ask you to log on using Red Hat OpenShift. If not, it will send you through the login process.
Note
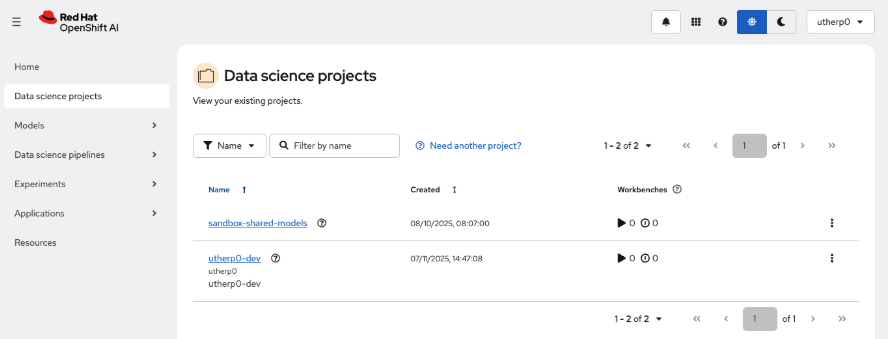
The shared-sandbox-models is listed as one of your Data science projects. As with the OpenShift console you can see it, but not modify it.
Click on the left-hand navigation for Data science projects. You will see a screen similar to Figure 2.

Figure 2: This shows the Data science projects in the OpenShift AI console. Click on the project with your ID and
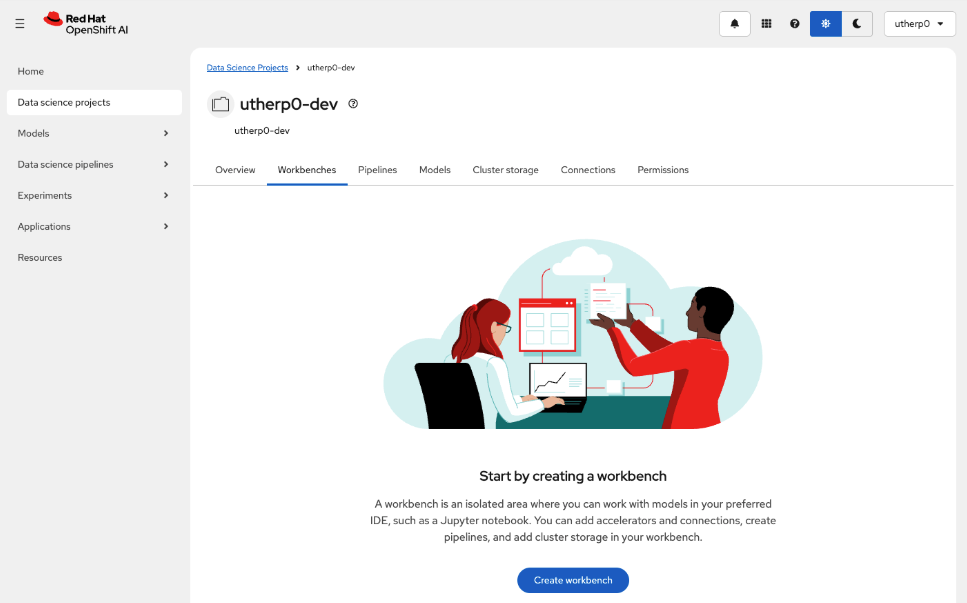
-dev. Mine isutherp0-dev.When the project is rendered, click on the Workbenches tab (Figure 3).

Figure 3: Workbench tab in Data Science Project overview. Figure 3: This is an overview of the Workbench tab in the Data Science Project. Click on Create Workbench.
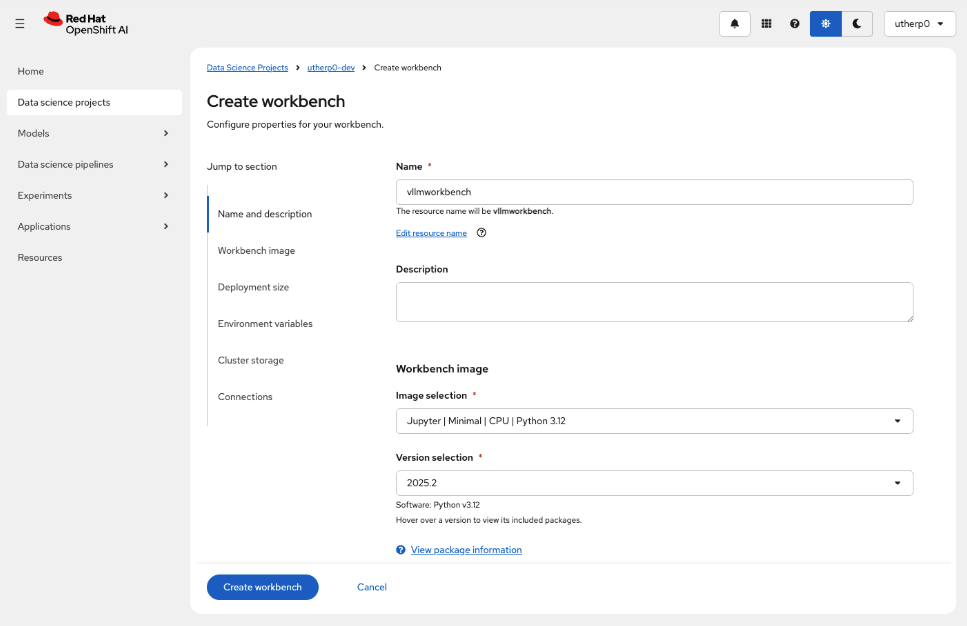
Set the name of the workbench to
vllmworkbench.Set the Image Selection to Jupyter | Minimal | CPU | Python 3.12 (Figure 4).

Figure 4: Create workbench dialog. Figure 4: This shows the Create workbench dialog box. Click on Create workbench and wait for the workbench to start (Figure 5).

Figure 5: Running workbench information. Figure 5: This shows the running workbench status information for vllmworkbench. Click on the icon next to the name to enter the workbench.
In the workbench, click on the
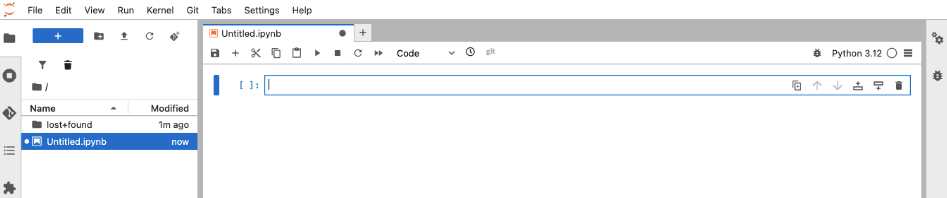
Python 3.12 Notebooktile.For those of you who haven’t used OpenShift AI or Jupyter before, it works by allowing you to create cells of code that you can run in any order. When you start, it will be empty, as shown in Figure 6:

Figure 6: An empty Jupyter notebook. Figure 6: This is the empty Jupyter notebook. In the first cell, type the following:
!pip install langchain-openai
!pip install langchain
Click the play button in the notebook toolbar to execute the commands.
In the notebook, you should see a number of packages installing in the notebook directly beneath the cell.
We will now import and instantiate objects from these libraries for our test. Enter the following code into the next empty cell:
from langchain.messages import HumanMessage, SystemMessage
from langchain_core.prompts.chat import (
  ChatPromptTemplate,
  HumanMessagePromptTemplate,
  SystemMessagePromptTemplate
)
from langchain_openai import ChatOpenAI
Click the run icon again. You can also use Shift + Enter or Return on your keyboard to do the same thing.
There will be no output this time since just creating the objects. However, you should see an index number populate the brackets on the left, indicating that it ran and its order.
This is the fun part. Enter the following code into the next empty cell, but do not run it yet.
inference_server_url = "https://isvc-granite-31-8b-fp8-predictor.sandbox-shared-models.svc.cluster.local:8443/v1"
llm = ChatOpenAI(
    model="isvc-granite-31-8b-fp8",
    openai_api_key="PLACEHOLDER",
    openai_api_base=inference_server_url,
    max_tokens=5,
    temperature=0
)

messages = [
    SystemMessage( content="You are a helpful assistant that translates English to German." ),
    HumanMessage( content="Translate the following sentence from English to German: Java is better." )
]

llm.invoke(messages)
Before running this code, we need to give the LLM a valid token (your OpenShift token). In another tab, go to the Developer Sandbox OpenShift UX. You can also use the sandbox.redhat.com tile if you don’t have the sandbox UX open.
Once the OpenShift UX is running, open the Terminal (
>_at the top right), and type the following command:oc whoami -tCopy the token it produces, and replace the
PLACEHOLDERtext in the cell with this token.Now press the run button. You can also use Shift + Enter or Return on your keyboard to do the same thing.
The LLM should respond with an AIMessage object, which will look like this:
AIMessage(content='Java ist besser.', additional_kwargs={'refusal': None}, response_metadata={'token_usage': {'completion_tokens': 5, 'prompt_tokens': 38, 'total_tokens': 43, 'completion_tokens_details': None, 'prompt_tokens_details': None}, 'model_provider': 'openai', 'model_name': 'isvc-granite-31-8b-fp8', 'system_fingerprint': None, 'id': 'chatcmpl-0866620e7d3146fd8b15da1e5a012be4', 'finish_reason': 'length', 'logprobs': None}, id='lc_run--019b8dc7-6411-74e1-815a-ed664ad0fd58-0', tool_calls=[], invalid_tool_calls=[], usage_metadata={'input_tokens': 38, 'output_tokens': 5, 'total_tokens': 43, 'input_token_details': {}, 'output_token_details': {}})

Note
The content component at the start contains the information generated by the LLM.
One of the great things about Jupyter is the use of the cells. Go back to the cell with the call to the LLM and change the
max_tokensto8192.Now change the
SystemMessageto translate to French, not German.Now replace the
Java is bettercomponent in theHumanMessagewith something longer (around twenty words).Remember to change the
HumanMessageto ask for French, not German. Then hit the run button for this cell, making sure the cell is highlighted. The result cell will change with the new message.
We have now connected and interacted with one of the models (Granite) using langchain and Python. If you like, change the inference_server_url to one of the other two models and change the model field in the llm definition to the model hosted by the server, as we saw in the curl exercise.
Next, we will take advantage of OpenShift and deploy a fully functional chatbot that can talk to all the models at once.