Red Hat single sign-on (SSO)—or its open source version, Keycloak—is one of the leading products for web SSO capabilities, and is based on popular standards such as Security Assertion Markup Language (SAML) 2.0, OpenID Connect, and OAuth 2.0. One of Red Hat SSO's strongest features is that we can access Keycloak directly in many ways, whether through a simple HTML login form, or an API call. In the following scenario, we will generate a JWT token and then validate it. Everything will be done using API calls, so Keycloak's UI is not exposed to the public directly.
Set up a user
First, we will create a simple user in Keycloak, as shown in Figure 1.

Figure 1: Create a user in Keycloak.">
Fill in all mandatory fields, such as Username, First Name, and Last Name, as shown in Figure 2.
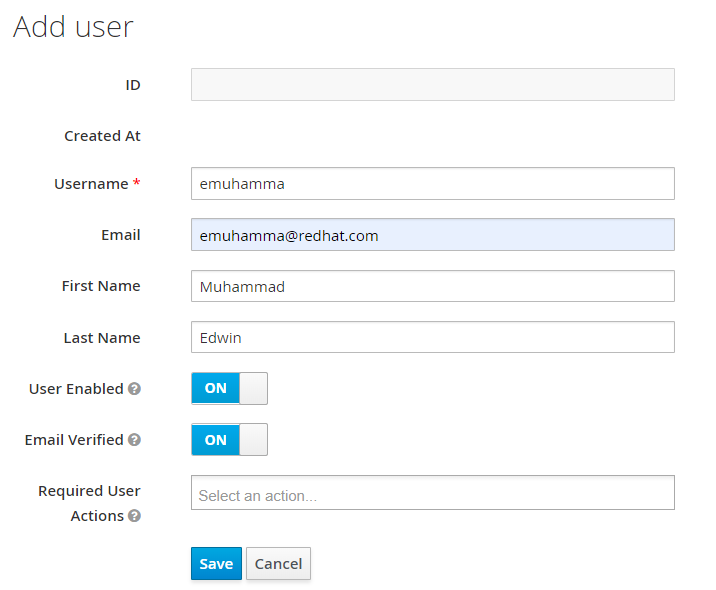
Figure 2: Enter the user's information.">
Set the user's password, as shown in Figure 3.

Figure 3: Set the user's password.">
Set up a client
The next step is to create a specific client in our realm, as shown in Figure 4. A client in Keycloak represents a resource that particular users can access, whether for authenticating a user, requesting identity information, or validating an access token.

Figure 4: View your existing clients.">
Click Create to open the Add Client dialog box, as shown in Figure 5.

Figure 5: Create a new client.">
Fill in all of the mandatory fields in the client form. Pay attention, especially, to Direct Grant Flow (shown in Figure 6) and set its value to direct grant. Also, change Access Type to confidential.

Figure 6: Overriding the client's authentication flow.">
Finally, change the client's credentials in the Client Authenticator field to Client Id and Secret, as shown in Figure 7.

Figure 7: Set your new client's credentials.">
Test your new client
Now we can test our newly created client through the REST API to simulate a simple login. Our authentication URL is:
http://localhost:8080/auth/realms/<your-realm-name>/protocol/openid-connect/token
Fill out the parameters and set our client_id and client_secret with our username and password:
curl -L -X POST 'http://localhost:8080/auth/realms/whatever-realm/protocol/openid-connect/token' \
-H 'Content-Type: application/x-www-form-urlencoded' \
--data-urlencode 'client_id=clientid-03' \
--data-urlencode 'grant_type=password' \
--data-urlencode 'client_secret=ec78c6bb-8339-4bed-9b1b-e973d27107dc' \
--data-urlencode 'scope=openid' \
--data-urlencode 'username=emuhamma' \
--data-urlencode 'password=1'
Or, we can use REST API tools like Postman to simulate an HTTP POST request, as shown in Figure 8.
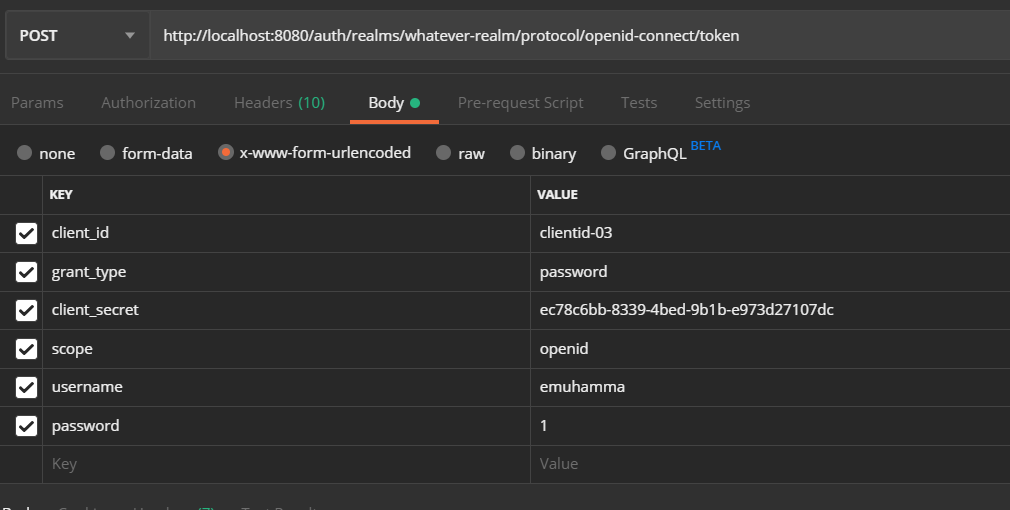
Figure 8: Our simulated HTTP POST request.">
The result would be a valid JWT token:
{
    "access_token": "eyJhbGciOiJSUzI1NiIsInR5cCIgOiAiSldUIiwia2lkIiAwNjEwLCJpc3MiOiJodHRwO.......wKRTus6PAoHMFlIlYQ75dYiLzzuRMvdXkHl6naLNQ8wYDv4gi7A3eJ163YzXSJf5PmQ",
    "expires_in": 600,
    "refresh_expires_in": 1800,
    "refresh_token": "eyJhbGciOiJIUzI1NiIsInR5cC.......IsInZpZXctcHJvZmlsZSJdfX0sInNjb3BlIjoib3BlbmlkIGVtYWlsIHByb2ZpbGUifQ.ePV2aqeDjlg6ih6SA7_x77gT4JYyv7HvK7PLQW-X1mM",
    "token_type": "bearer",
    "id_token": "eyJhbGciOiJSUz.......A_d_LV96VCLBeTJSpqeqpMJYlh4AMJqN6kddtrI4ixZLfwAIj-Qwqn9kzGe-v1-oe80wQXrXzVBG7TJbKm4x5bgCO_B9lnDMrey90rvaKKr48K697ug",
    "not-before-policy": 0,
    "session_state": "22c8278b-3346-468e-9533-f41f22ed264f",
    "scope": "openid email profile"
}
A wrong username and password combination results in an HTTP 401 response code and a response body like this:
{
    "error": "invalid_grant",
    "error_description": "Invalid user credentials"
}
There you go. Now you have a login API configured to work well with Keycloak. Have fun!
Last updated: January 12, 2024