The release of Red Hat CodeReady Workspaces 2.0 (CRW) brings changes. Based on Eclipse Che 7 and the Theia online editor, CRW 2.0 frees the developer from the confines of a specially configured PC in favor of multiple specially configured workspaces. Imagine having a separate work environment for each language, version, tools and more, all available from a browser. This article discusses some of the features of CRW.
The components of a modern development environment
Workspaces
At the heart of CRW is the concept and implementation of "workspaces." A workspace is a development environment that can be likened to a PC loaded up with an operating system, programming language, tools, editor, and one or more development projects. You can even access a command line running in your browser.
You might have a workspace that has Java and Maven installed on a CoreOS image. Another workspace might be based on Red Hat Enterprise Linux (RHEL) with Node.js and MongoDB installed. Need to work on some .NET Core 3.0 code? No problem, simply create a workspace. Yes, while Che 7 and CRW might have been initially created with Java developers in mind it is, in fact, very much language neutral. Its use of the Language Server Protocol ensures future language support. Yes, even COBOL is supported. Grace Hopper meets Tim Berners-Lee.
In each case, you can optionally—and probably should—include a software project. For most use cases, this will be source code stored in a Git repository. CodeReady Workspaces handles this, as GitHub integration is built in.
In CRW, you simply start a workspace just as you would power on a PC. In seconds, the code editor is open in front of you, your project is loaded, and all the tools and language support you need are at hand. Several workspaces can be defined and switching between them is easy. Start and stop workspaces with a mouse click. Stop now, here, and restart the workspace later from a different computer. Indeed, all you need is a browser.
In-browser editor
The online editor for CRW is Theia, which is a browser-based editor based on Microsoft's Monaco editor. That name might not be familiar, so consider this: Monaco is the editor on which Visual Studio Code (VS Code) is built. This all really ties the editor together because some VS Code plugins will be API-compatible with Theia. In simpler terms: Some VS Code plugins will work with CRW.
Because VS Code is so popular, switching to CRW is a breeze. Indeed, if you put your browser in full-screen mode (by pressing F11), you'll soon forget that you're working in a browser. Very slick.
Aside: Just to underscore this and demonstrate how off-the-wall I can be, I took my old Windows 10 mobile phone, connected it to my Microsoft Continuum adapter, and wrote Node.js code in the Edge browser. That's right; I wrote code using a mobile phone. I mean, somebody had to do it.
The bottom line is this: If you have an internet connection and a browser, you can edit your code in an environment that feels just like working on a local PC.
Stack configurations
A stack is a combination of operating system, programming language support, tools, and any other bits necessary to create a workspace. A workspace is built using a stack as the starting point. Think of it this way: A stack is a definition much like a class in software, while a workspace is the instance of a stack, like an object is an instance of a class. Several pre-configured stacks are supplied with CRW out of the box, and you can easily create your own stacks to meet your specific needs.
Factories
A factory is the means by which you build and share your workspace(s). That is, after you have a workspace that is tailored to exactly what you need to do, you then create a factory that builds that workspace. Once built, a factory is shared by simply sharing the URL. When a teammate visits the URL, the factory will build the workspace and they'll have the exact same environment you do.
Example
With the basics covered, above, let's see how to get CRW running and a workspace provisioned.
How to get started
The first step is to get an OpenShift cluster provisioned and CodeReady Workspaces up and running. You can find detailed instructions on the Red Hat Developer CodeReady Workspaces page.
Creating a workspace
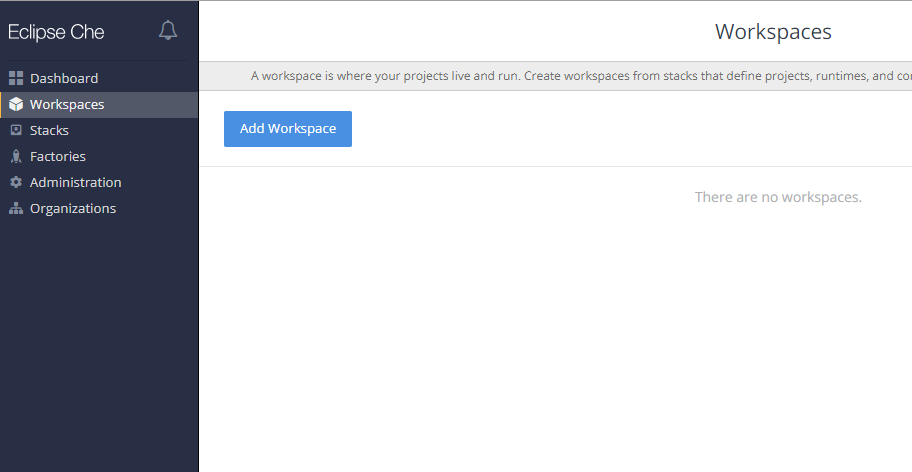
The quickest and easiest way to ease into CRW is to create a predefined workspace. From the main Workspaces page of the dashboard, click on the Add Workspace button to get started.
The next page will be where we can select a workspace.
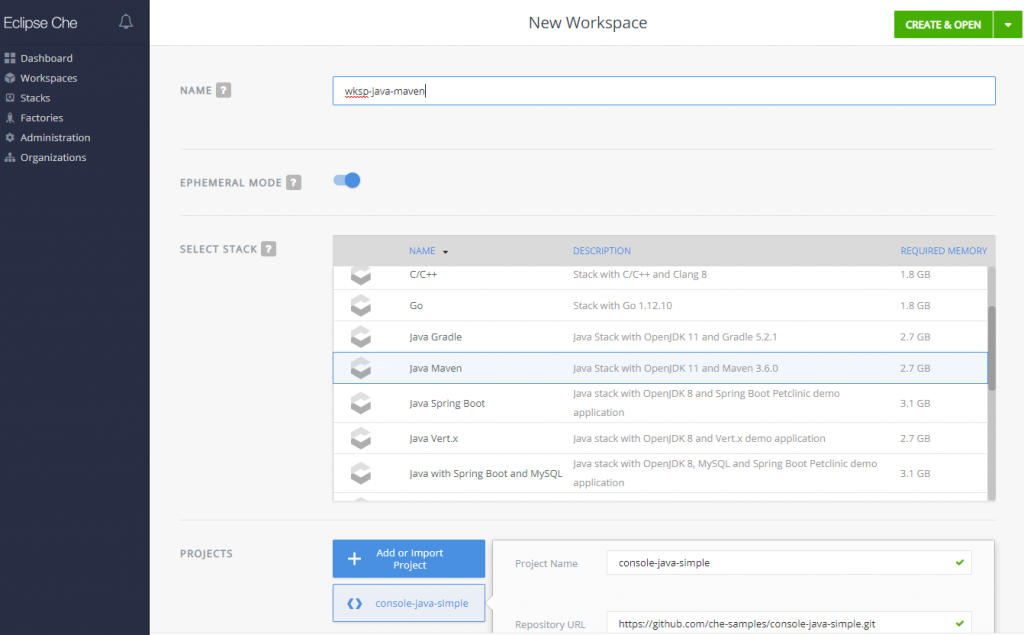
For this article, I'm choosing the Java-Maven workspace. I've also changed the workspace name to wksp-java-maven. You will probably want to make this a habit because the default names provide very little information about the workspace.
Click the CREATE & OPEN button. There's one at the top of the page and another at the bottom—either will do the same thing—and wait a minute or so. Instant workspace.
We're just getting started
So, now you have some code in a workspace. My next article will guide you through the edit-build-debug-commit cycle.
