On October 25th Red Hat announced the general availability of their AMQ Streams Kubernetes Operator for Apache Kafka. Red Hat AMQ Streams focuses on running Apache Kafka on Openshift providing a massively-scalable, distributed, and high performance data streaming platform. AMQ Streams, based on the Apache Kafka and Strimzi projects, offers a distributed backbone that allows microservices and other applications to share data with extremely high throughput. This backbone enables:
- Publish and subscribe: Many to many dissemination in a fault tolerant, durable manner.
- Replayable events: Serves as a repository for microservices to build in-memory copies of source data, up to any point in time.
- Long-term data retention: Efficiently stores data for immediate access in a manner limited only by disk space.
- Partition messages for more horizontal scalability: Allows for organizing messages to maximum concurrent access.
One of the most requested items from developers and architects is how to get started with a simple deployment option for testing purposes. In this guide we will use Red Hat Container Development Kit, based on minishift, to start an Apache Kafka cluster on Kubernetes.
To set up a Kafka cluster on Openshift from scratch, follow the steps below or watch this short video:
https://vimeo.com/middlewarepro/amq-streams-getting-started
https://vimeo.com/302934145
Setup Red Hat Container Development Kit (CDK)
- Setup CDK (minishift) on your laptop if you haven’t done that before.
- Download CDK.
- Follow the Hello World to install and configure CDK.
- The latest version of CDK leverages the concept of profiles, so we will using them to avoid changing other configurations. Create a new
streamsprofile:
$ minishift profile set streams
- Configure the system requirements (we recommend 8GB and at least 2 vCPUs available to run smoothly) in this new profile:
$ minishift config set cpus 2
$ minishift config set memory 8192
- In my case I use VirtualBox as the VM driver, substitute whichever hypervisor you are using:
$ minishift config set vm-driver virtualbox
- Because of the Zookeeper dependencies on users, we will need to remove the anyuid add-on that comes out-of-the-box for CDK:
$ minishift addons disable anyuid
NOTE: This is a CRITICAL step if you are running CDK. If the add-on is not disabled you'll get an error when trying to start the Zookeeper TLS sidecar.
- Start the CDK environment
$ minishift start
You will see the following output if everything worked fine:
OpenShift server started.
The server is accessible via web console at:

    https://192.168.99.100:8443

You are logged in as:

    User:     developer
    Password: <any value>

To login as administrator:

    oc login -u system:admin

-- Applying addon 'xpaas':..
XPaaS imagestream and templates for OpenShift installed
See https://github.com/openshift/openshift-ansible/tree/release-3.10/roles/openshift_examples/files/examples/v3.10
-- Applying addon 'admin-user':..
-- Exporting of OpenShift images is occuring in background process with pid 35470.
Setup AMQ Streams
- Download the Red Hat AMQ Streams installation and example resources from the Red Hat Customer Portal.
- Navigate to the unzipped folder to get access to the yaml files
- Unzip the downloaded
install_and_examples_0.zipfile.
$ cd <your_download_folder>/install_and_examples_0
- Login in to the OpenShift cluster with admin privileges:
$ oc login -u system:admin
- Apply the customer resource definitions (CRDs) and role bindings required to manage the CRDs.
$ oc apply -f install/cluster-operator/
- The last step will create the Kafka CRD and start the deployment of the Cluster Operator. This operator will keep track of your kafka resources and provision or update the changes to those resources. Open a new browser tab and navigate to your web console URL:
https://<your-ip>:8443/console/project/myproject/overview
Check the assigned IP issuing the minishift ip command or just run minishift console and navigate to My Project.
- Login in to the OpenShift web console to check the deployment. Use
developer/developeras the user and password. If you haven’t done before, accept the self signed certificates in your browser.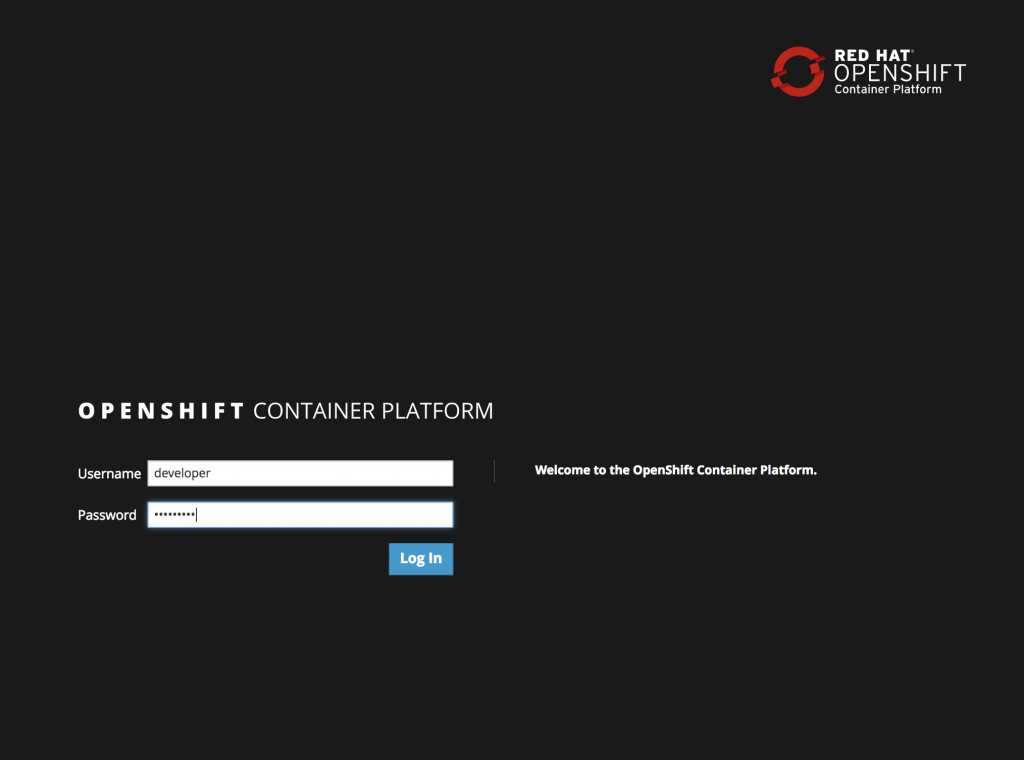
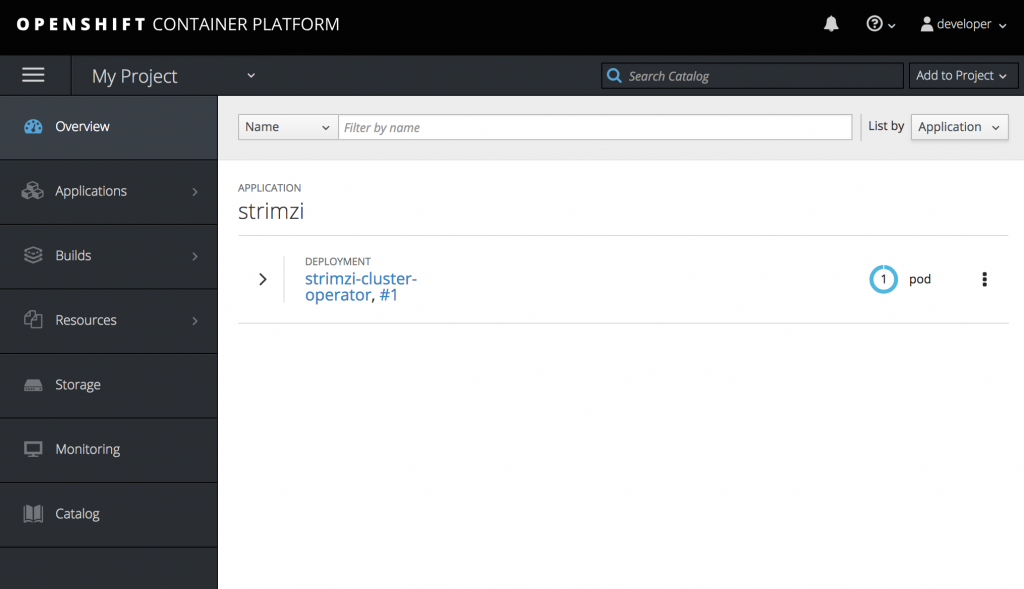
- You will see in the project workspace the new deployed Cluster Operator running.
Setup your first Apache Kafka Cluster
The Cluster Operator now will listen for new Kafka resources. Let’s create a simple Kafka cluster with external access configured, so we are able to connect from outside the OpenShift cluster.
- Create the new
my-clusterkafka Cluster with 3 zookeeper and 3 kafka nodes usingephemeralstorage:$ cat << EOF | oc create -f - apiVersion: kafka.strimzi.io/v1alpha1 kind: Kafka metadata: name: my-cluster spec: kafka: replicas: 3 listeners: external: type: route storage: type: ephemeral zookeeper: replicas: 3 storage: type: ephemeral entityOperator: topicOperator: {} EOF
-
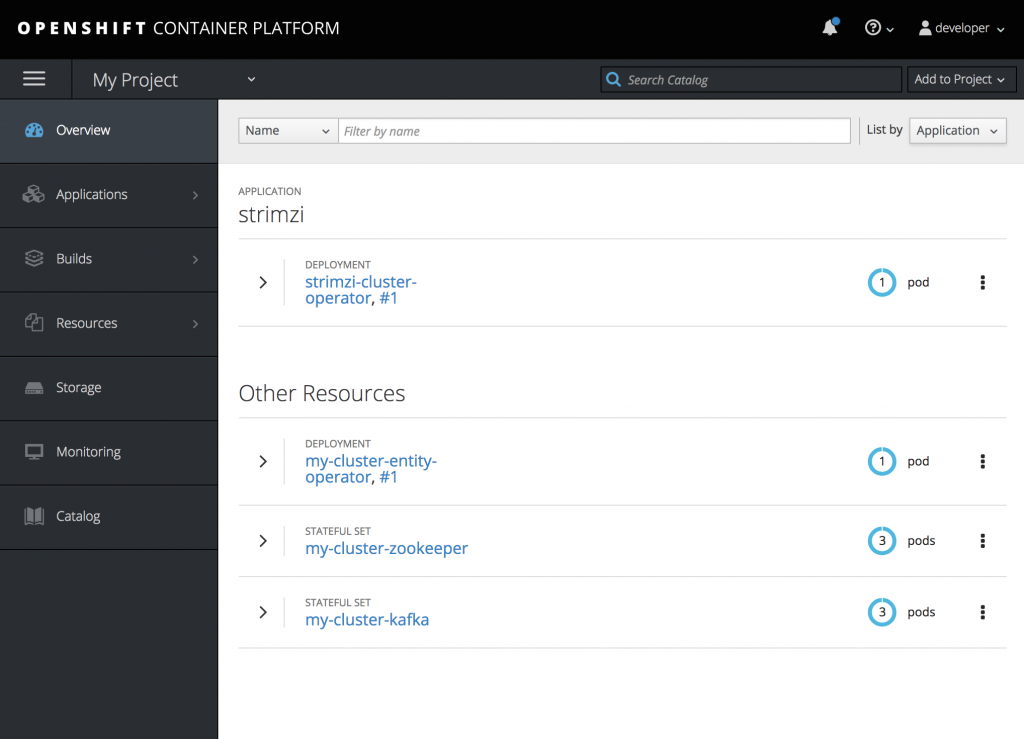
- Wait a couple minutes, after that you will see the deployment of the Zookeeper and Kafka resources as well as the topic operator.
- Now that our cluster is running, we can create a topic to publish and subscribe from our external client. Create the following
my-topicTopic custom resource definition with 3 replicas and 3 partitions inmy-clusterKafka cluster:
$ cat << EOF | oc create -f -
apiVersion: kafka.strimzi.io/v1alpha1
kind: KafkaTopic
metadata:
 name: my-topic
 labels:
   strimzi.io/cluster: "my-cluster"
spec:
 partitions: 3
 replicas: 3
EOF
You are now ready to start sending and receiving messages.
Test using an external application
- Clone this git repo to test the access from to your new Kafka cluster:
$ git clone https://github.com/hguerrero/amq-examples.git
- Switch to the
camel-kafka-demofolder
$ cd amq-examples/camel-kafka-demo/
- As we are using Routes for external access to the cluster, we need the CA certs to enable TLS in the client. Extract the public certificate of the broker certification authority
$ oc extract secret/my-cluster-cluster-ca-cert --keys=ca.crt --to=- > src/main/resources/ca.crt
- Import the trusted cert to a keystore
$ keytool -import -trustcacerts -alias root -file src/main/resources/ca.crt -keystore src/main/resources/keystore.jks -storepass password -noprompt
- Now you can run the Fuse application using the maven command:
$ mvn -Drun.jvmArguments="-Dbootstrap.server=`oc get routes my-cluster-kafka-bootstrap -o=jsonpath='{.status.ingress[0].host}{"\n"}'`:443" clean package spring-boot:run
After finishing the clean and package phases you will see the Spring Boot application start creating a producer and consumer sending and receiving messages from the “my-topic” Kafka topic.
14:36:18.170 [main] INFO  com.redhat.kafkademo.Application - Started Application in 12.051 seconds (JVM running for 12.917)
14:36:18.490 [Camel (MyCamel) thread #1 - KafkaConsumer[my-topic]] INFO  o.a.k.c.c.i.AbstractCoordinator - [Consumer clientId=consumer-1, groupId=6de87ffa-c7cf-441b-b1f8-e55daabc8d12] Discovered coordinator my-cluster-kafka-1-myproject.192.168.99.100.nip.io:443 (id: 2147483646 rack: null)
14:36:18.498 [Camel (MyCamel) thread #1 - KafkaConsumer[my-topic]] INFO  o.a.k.c.c.i.ConsumerCoordinator - [Consumer clientId=consumer-1, groupId=6de87ffa-c7cf-441b-b1f8-e55daabc8d12] Revoking previously assigned partitions []
14:36:18.498 [Camel (MyCamel) thread #1 - KafkaConsumer[my-topic]] INFO  o.a.k.c.c.i.AbstractCoordinator - [Consumer clientId=consumer-1, groupId=6de87ffa-c7cf-441b-b1f8-e55daabc8d12] (Re-)joining group
14:36:19.070 [Camel (MyCamel) thread #3 - KafkaProducer[my-topic]] INFO  producer-route - producer >>> Hello World from camel-context.xml with ID ID-hguerrer-osx-1540578972584-0-2
14:36:19.987 [Camel (MyCamel) thread #4 - KafkaProducer[my-topic]] INFO  producer-route - producer >>> Hello World from camel-context.xml with ID ID-hguerrer-osx-1540578972584-0-4
14:36:20.982 [Camel (MyCamel) thread #5 - KafkaProducer[my-topic]] INFO  producer-route - producer >>> Hello World from camel-context.xml with ID ID-hguerrer-osx-1540578972584-0-6
14:36:21.620 [Camel (MyCamel) thread #1 - KafkaConsumer[my-topic]] INFO  o.a.k.c.c.i.AbstractCoordinator - [Consumer clientId=consumer-1, groupId=6de87ffa-c7cf-441b-b1f8-e55daabc8d12] Successfully joined group with generation 1
14:36:21.621 [Camel (MyCamel) thread #1 - KafkaConsumer[my-topic]] INFO  o.a.k.c.c.i.ConsumerCoordinator - [Consumer clientId=consumer-1, groupId=6de87ffa-c7cf-441b-b1f8-e55daabc8d12] Setting newly assigned partitions [my-topic-0, my-topic-1, my-topic-2]
14:36:21.959 [Camel (MyCamel) thread #6 - KafkaProducer[my-topic]] INFO  producer-route - producer >>> Hello World from camel-context.xml with ID ID-hguerrer-osx-1540578972584-0-8
14:36:21.973 [Camel (MyCamel) thread #1 - KafkaConsumer[my-topic]] INFO  consumer-route - consumer >>> Hello World from camel-context.xml with ID ID-hguerrer-osx-1540578972584-0-8
14:36:22.970 [Camel (MyCamel) thread #7 - KafkaProducer[my-topic]] INFO  producer-route - producer >>> Hello World from camel-context.xml with ID ID-hguerrer-osx-1540578972584-0-11
14:36:22.975 [Camel (MyCamel) thread #1 - KafkaConsumer[my-topic]] INFO  consumer-route - consumer >>> Hello World from camel-context.xml with ID ID-hguerrer-osx-1540578972584-0-11
14:36:23.968 [Camel (MyCamel) thread #8 - KafkaProducer[my-topic]] INFO  producer-route - producer >>> Hello World from camel-context.xml with ID ID-hguerrer-osx-1540578972584-0-14
You’re done! Press Ctrl + C to stop the running program.
You've seen how easy it is to create an Apache Kafka cluster in OpenShift and be ready to have your applications send and consume messages using it. You can find more information in the official getting started guide if you want to check more advanced configurations.
Soon, I will publish an another how to configuring configuring Kafka Connect and Kafka Streams with OpenShift and AMQ Streams.
Last updated: December 21, 2021