Redhat Developers  Logo
  • AI

    Get started with AI

    • Red Hat AI
      Accelerate the development and deployment of enterprise AI solutions.
    • AI learning hub
      Explore learning materials and tools, organized by task.
    • AI interactive demos
      Click through scenarios with Red Hat AI, including training LLMs and more.
    • AI/ML learning paths
      Expand your OpenShift AI knowledge using these learning resources.
    • AI quickstarts
      Focused AI use cases designed for fast deployment on Red Hat AI platforms.
    • No-cost AI training
      Foundational Red Hat AI training.

    Featured resources

    • OpenShift AI learning
    • Open source AI for developers
    • AI product application development
    • Open source-powered AI/ML for hybrid cloud
    • AI and Node.js cheat sheet

    Red Hat AI Factory with NVIDIA

    • Red Hat AI Factory with NVIDIA is a co-engineered, enterprise-grade AI solution for building, deploying, and managing AI at scale across hybrid cloud environments.
    • Explore the solution
  • Learn

    Self-guided

    • Documentation
      Find answers, get step-by-step guidance, and learn how to use Red Hat products.
    • Learning paths
      Explore curated walkthroughs for common development tasks.
    • Guided learning
      Receive custom learning paths powered by our AI assistant.
    • See all learning

    Hands-on

    • Developer Sandbox
      Spin up Red Hat's products and technologies without setup or configuration.
    • Interactive labs
      Learn by doing in these hands-on, browser-based experiences.
    • Interactive demos
      Click through product features in these guided tours.

    Browse by topic

    • AI/ML
    • Automation
    • Java
    • Kubernetes
    • Linux
    • See all topics

    Training & certifications

    • Courses and exams
    • Certifications
    • Skills assessments
    • Red Hat Academy
    • Learning subscription
    • Explore training
  • Build

    Get started

    • Red Hat build of Podman Desktop
      A downloadable, local development hub to experiment with our products and builds.
    • Developer Sandbox
      Spin up Red Hat's products and technologies without setup or configuration.

    Download products

    • Access product downloads to start building and testing right away.
    • Red Hat Enterprise Linux
    • Red Hat AI
    • Red Hat OpenShift
    • Red Hat Ansible Automation Platform
    • See all products

    Featured

    • Red Hat build of OpenJDK
    • Red Hat JBoss Enterprise Application Platform
    • Red Hat OpenShift Dev Spaces
    • Red Hat Developer Toolset

    References

    • E-books
    • Documentation
    • Cheat sheets
    • Architecture center
  • Community

    Get involved

    • Events
    • Live AI events
    • Red Hat Summit
    • Red Hat Accelerators
    • Community discussions

    Follow along

    • Articles & blogs
    • Developer newsletter
    • Videos
    • Github

    Get help

    • Customer service
    • Customer support
    • Regional contacts
    • Find a partner

    Join the Red Hat Developer program

    • Download Red Hat products and project builds, access support documentation, learning content, and more.
    • Explore the benefits

Guide to starting to use AWX, the upstream of Red Hat Ansible Tower, on top of OpenShift

<p>&nbsp;</p> <quillbot-extension-portal></quillbot-extension-portal>

October 16, 2017
Erick Brito
Related topics:
DevOpsLinuxKubernetes
Related products:
Streams for Apache KafkaRed Hat OpenShiftRed Hat OpenShift Container Platform

    Introduction

    This is the first post in a series that shows how to use the new release of the community version of Red Hat Ansible Tower. In this post, we will start with the installation of AWX on top of OpenShift. In the next post, I'll show how to set a dynamic inventory to access the servers from AWS (EC2) and how to run a playbook to access our AWS EC2 inventory.

    For many of you, Ansible needs an introduction, however, for those not already familiar, Ansible is a tool that allows you to have infrastructure as a code. In many ways, it is similar to Chef or Puppet.

    The benefits of Ansible to adopt it are:

    1. It is human readable and very simple to understand.
    2. Code by convention: the structure of the projects follows a convention.
    3. To access the managed resources, you don't need an agent. Access is done with SSH.
    4. A motivated and growing Ansible community brings you almost every kind of module you can imagine, accessible at Ansible-Galaxy.
    5. A host inventory handles and defines the infrastructure.

    That last point is what makes Ansible Tower an Enterprise tool to enable Cloud Automation. Because cloud infrastructure is elastic, we need a host inventory that is dynamic. Ansible handles this with dynamic inventories in a very simple way. Moreover, plugins already exist to handle the big public cloud providers (AWS, GCP, Azure, OpenStack).

    An Ansible project is composed of code that defines the Playbook, the roles, and the tasks. Ansible Tower brings the Enterprise Level to have a Cloud Automation tool.

    Installation of AWX (upstream version of Ansible Tower)

    Pre-requirements

    1. As our target deployment is OpenShift, we should already have OpenShift installed. For this example, I used a local installation with $oc cluster up. You can learn how to install oc cluster up here.
    2. We should have also installed Ansible – I have installed the version 2.3.1.0, but you can install a newer version. You can review the directions on how to install Ansible here.

    Steps to Install AWX

    Clone the code from AWX (at the time this post the version comes from devel branch). You can review the steps to install it at gist install awx on openshift.

    mkdir Tower
    cd Tower/
    git clone https://github.com/ansible/awx.git 
    cd awx 
    cd installer/

    You have to edit the inventory file to configure the installation to be on OpenShift.

    -# openshift_host=127.0.0.1:8443 
    -# awx_openshift_project=awx 
    -# openshift_user=developer 
    -# awx_node_port=30083 
    + openshift_host=127.0.0.1:8443 
    + awx_openshift_project=awx 
    + openshift_user=developer 
    + awx_node_port=30001 
    +# valid host port range 30000-32767 
    + openshift_password=developer 
    # Standalone Docker Install 
    -postgres_data_dir=/tmp/pgdocker 
    -host_port=80 
    +#postgres_data_dir=/tmp/pgdocker 
    +#host_port=80 
    # Define if you want the image pushed to a registry. The container definition will also use these images 
    -# docker_registry=172.30.1.1:5000 
    -# docker_registry_repository=awx 
    -# docker_registry_username=developer 
    + docker_registry=172.30.1.1:5000 
    + docker_registry_repository=awx 
    + docker_registry_username=developer

    Now, execute the installation with Ansible.

    ansible-playbook -i inventory install.yml

    Last, add a mounting point to AWX-Celery.

    #get the name of the AWX replica set
    export RS_AWX = oc get rs|awk  'FNR>1 {print $1}'
    oc scale --replicas=0 rs $RS_AWX
    
    #add volume to the replicaset that will be mounted to awx-celery
    oc patch rs $RS_AWX -p '{"spec":{"template":{"spec":{"volumes":[{"name":"awxprojectsdata","persistentVolumeClaim":{"claimName":"claim-awx"}}]}}}}'
    #mount the volume to awx-celery
    oc patch rs $RS_AWX -p '{"spec":{"template":{"spec":{"containers":[{"name":"awx-celery","volumeMounts":[{"mountPath":"/var/lib/awx/projects/","name":"awxprojectsdata"}]}]}}}}'
    
    oc scale --replicas=1 rs $RS_AWX

    After the launch of the Ansible playbook, if we go to OpenShift, we should be able to see the project.

    Image of OpenShift List Projects including AWX

    OpenShift projects list including AWX">

    The Ansible playbook installation creates a Postgress Database that will be in one Pod and will create the AWX pod that contains the Web tier, the engine, a cache and a queue. In another Pod it will be deployed the database:

    • AWX Web
    • AWX Celery
    • RabbitMq
    • Memcached
    • Postgress Database

    The installation also creates the network service and a route to have access to the AWX Web console.
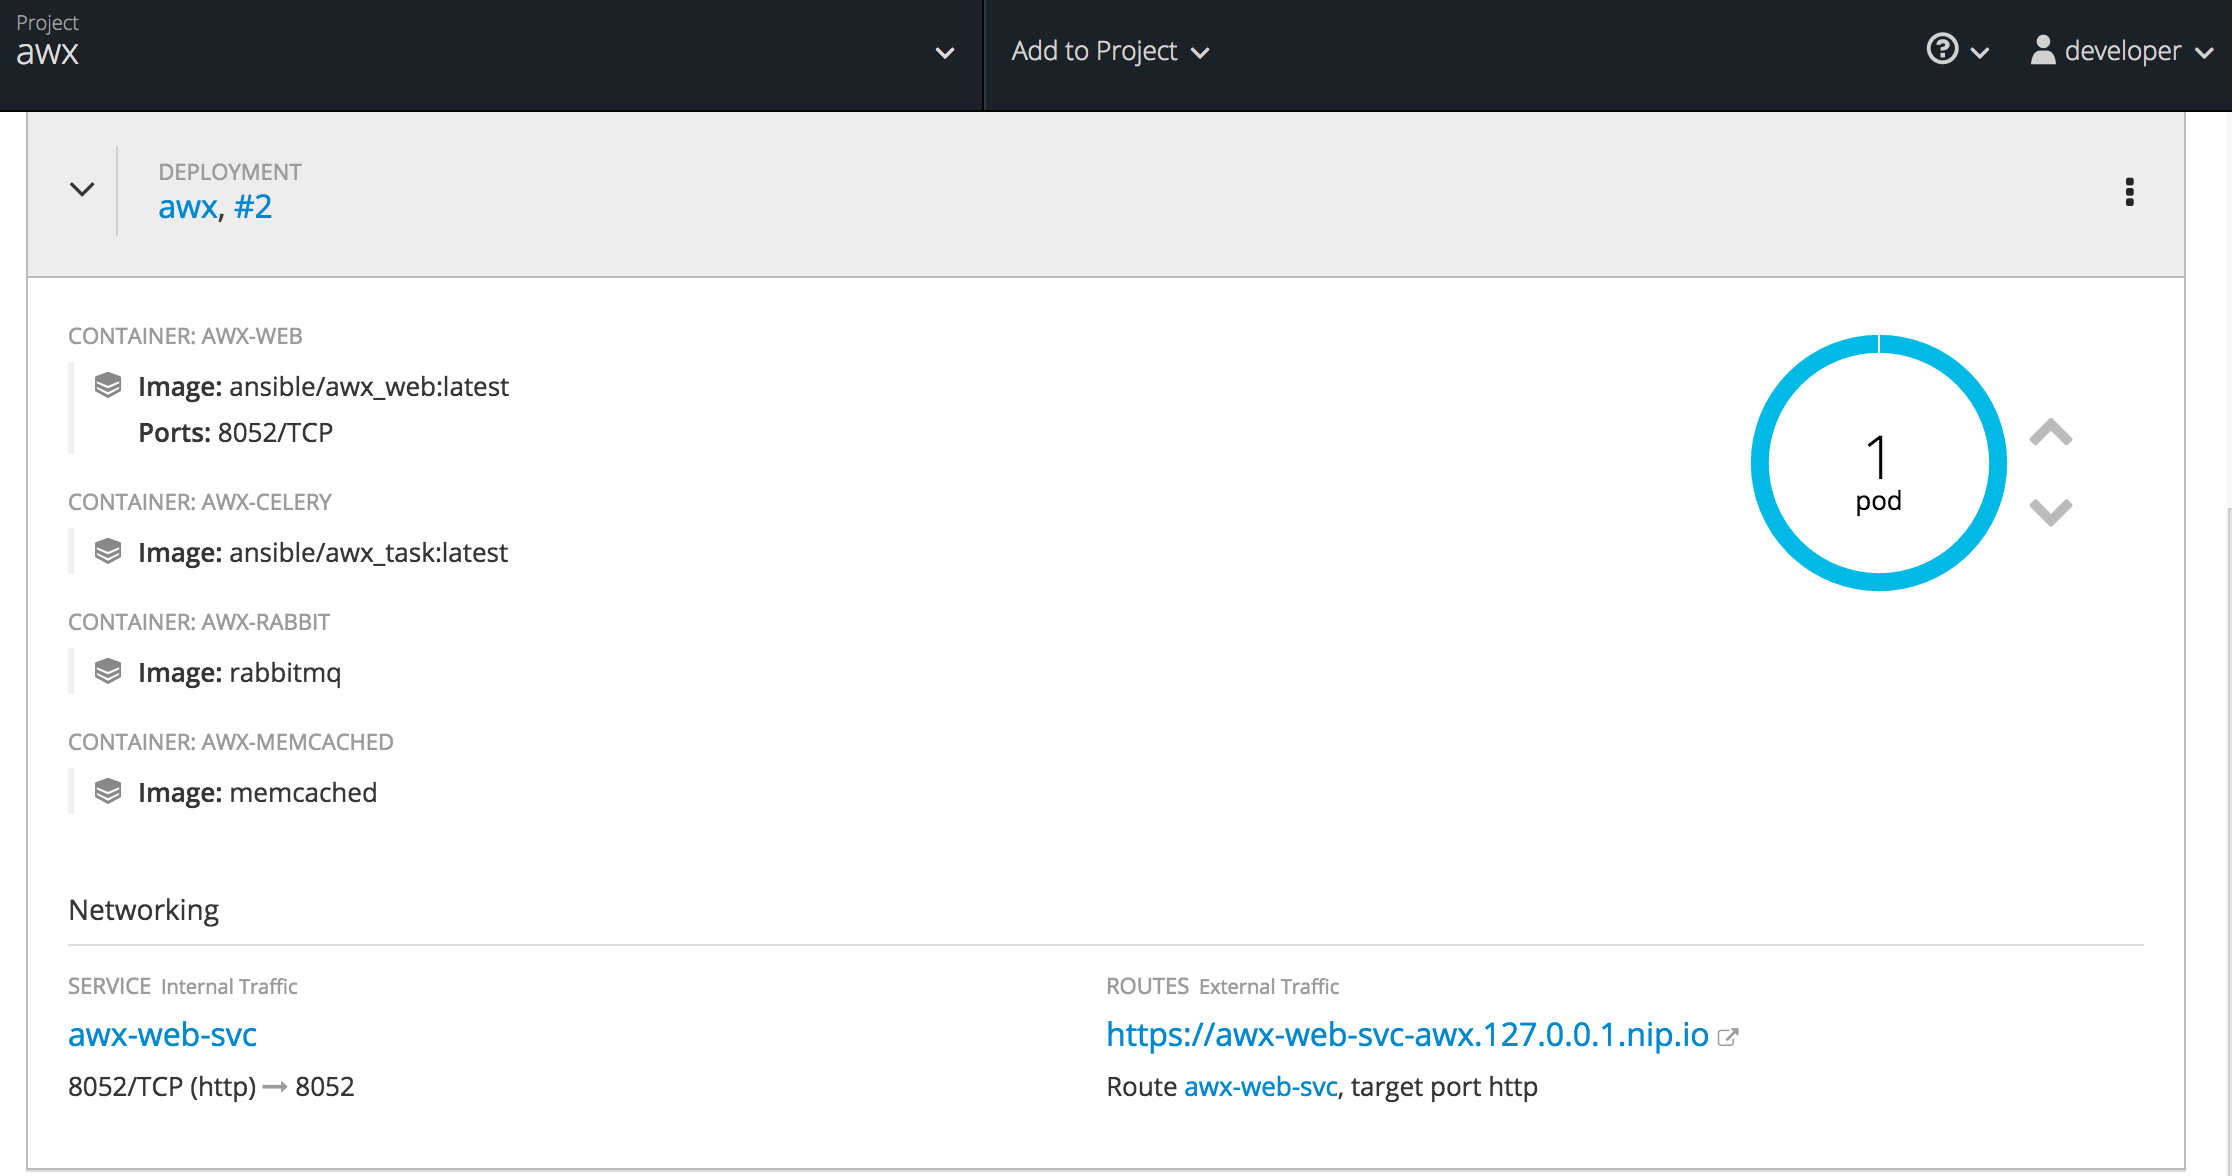
    image of OpenShift AWX Deployment Configuration and networking details

    OpenShift AWX Deployment Configuration and networking details">

    Now, we should be able to access AWX going to a browser by using the uri from the exposed route. In my case, this is http://awx-web-svc-awx.127.0.0.1.nip.io the first screen of AWX should look something like this:

    image of the first AWX first screen

    Test the installation

    After the upgrade process of AWX is finished, we can log in to AWX and start using it. At this point, we will be ready to launch the demo project and the demo job, however, we won't be able to create and use other projects.
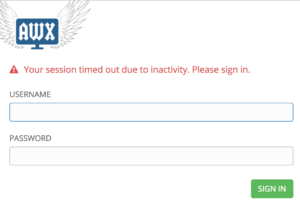
    Next, use the username 'admin' and the password 'password' to log in and you will be able to access AWX.
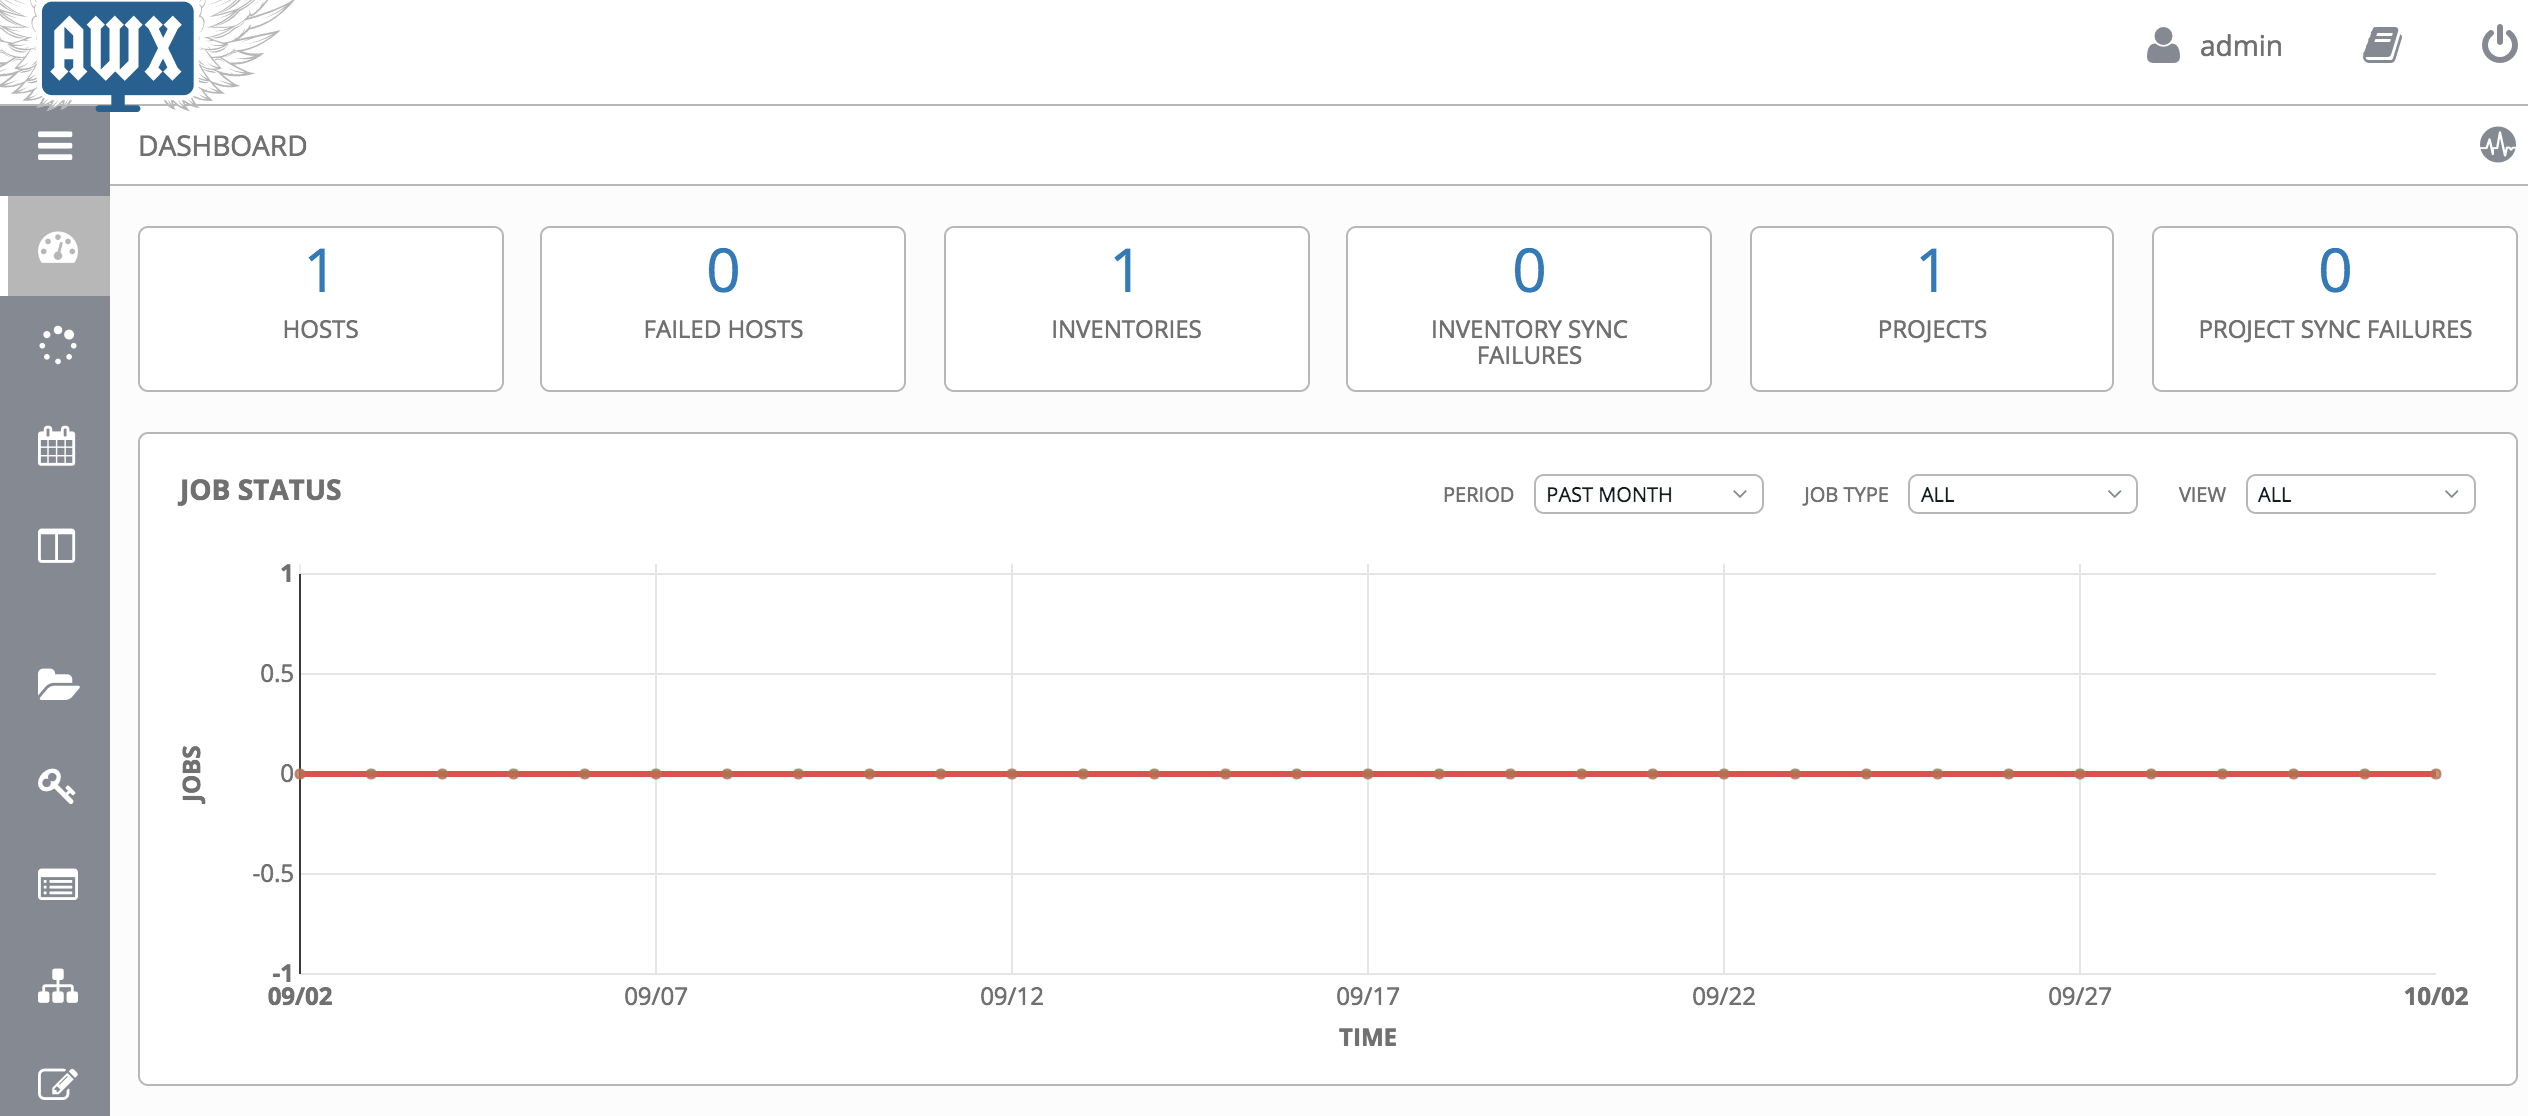
    image of AWX- Ansible Tower Dashboard

    AWX - Ansible Tower Dashboard">

    To verify that is running, you can download the sample project and run the job based on the sample template.
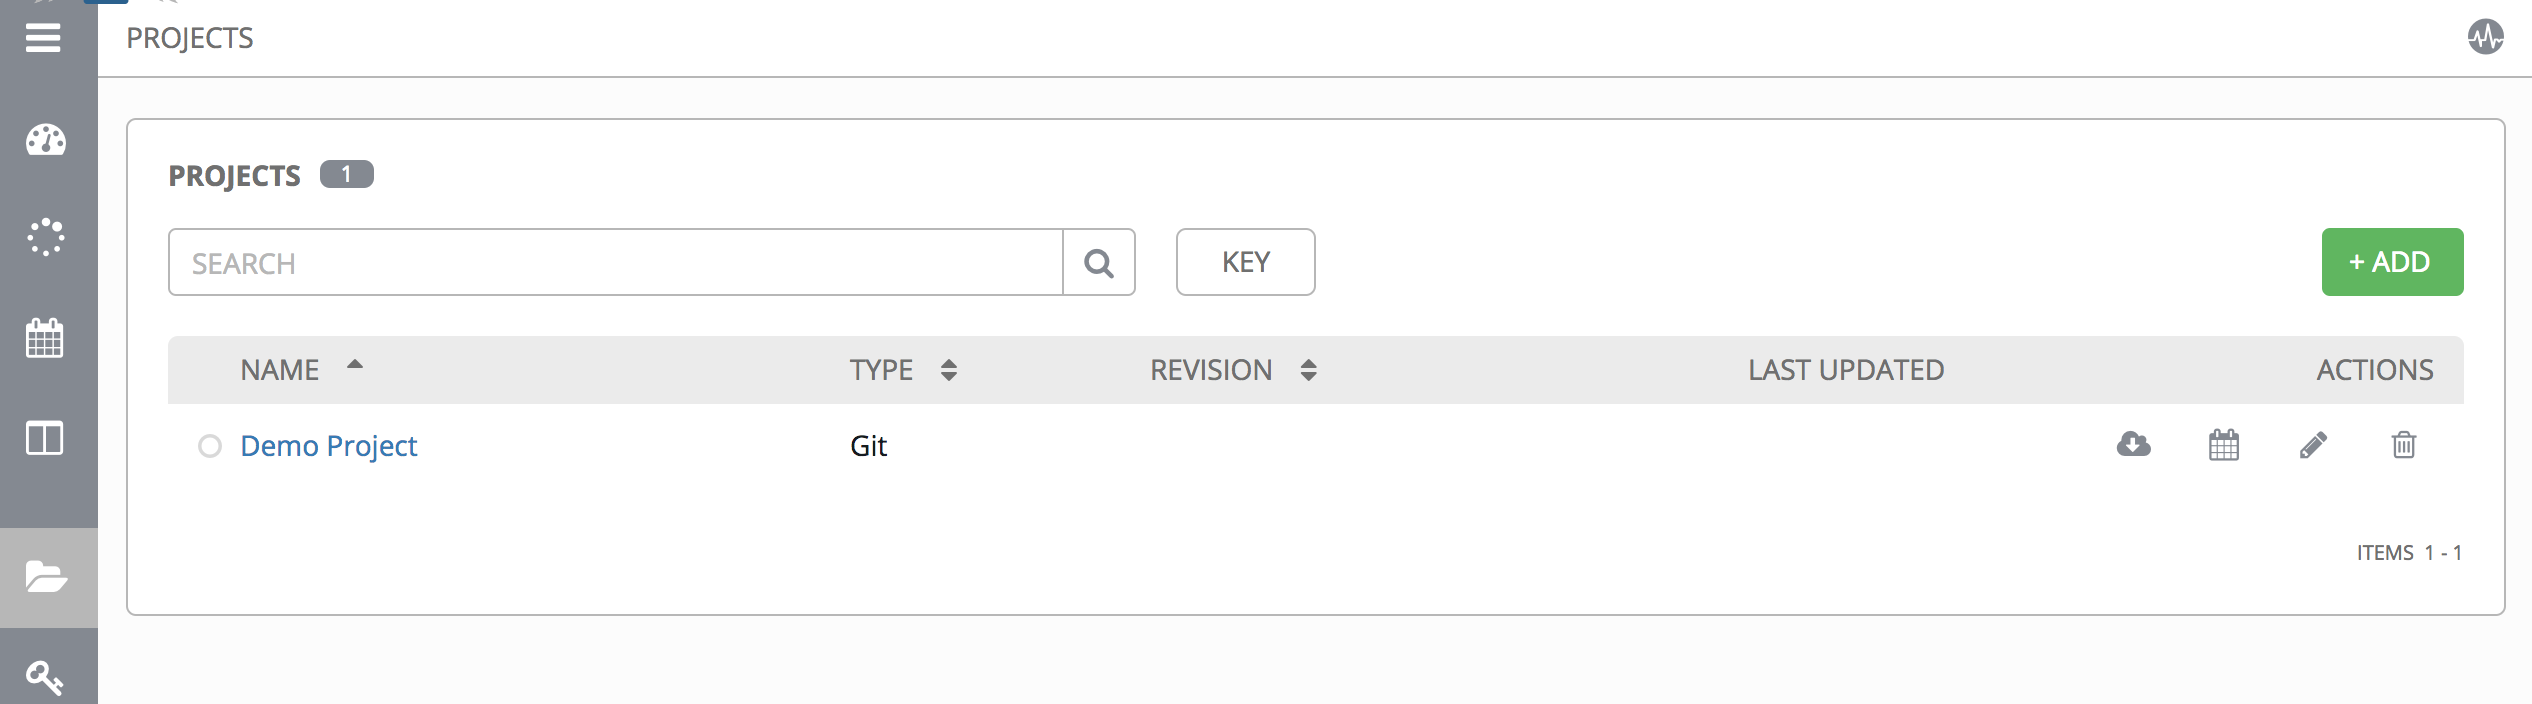
    Go to the Projects page and click the cloud download icon.
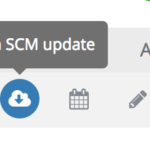
    SCM update icon

    Now, we can download the project from the git source.
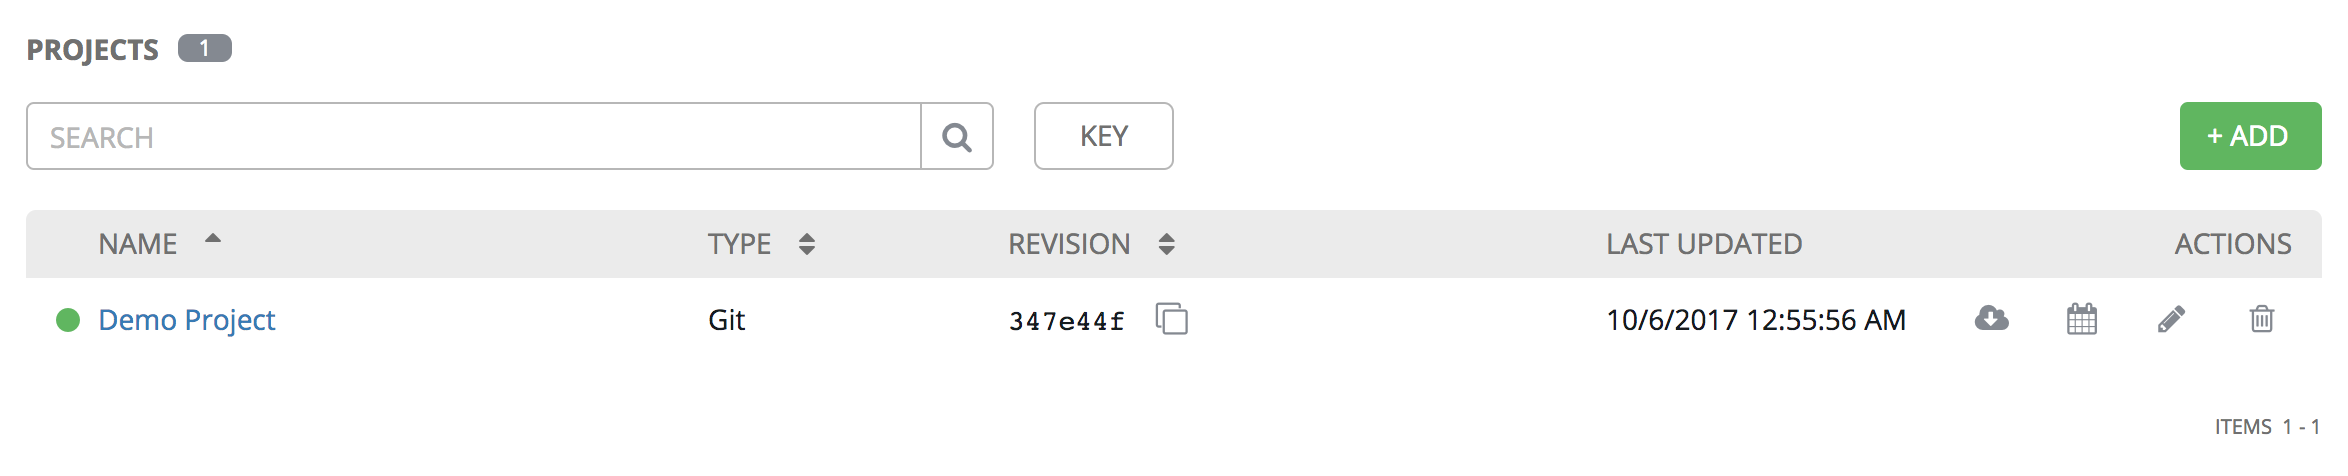
    At this point, you can run the job based on the template.
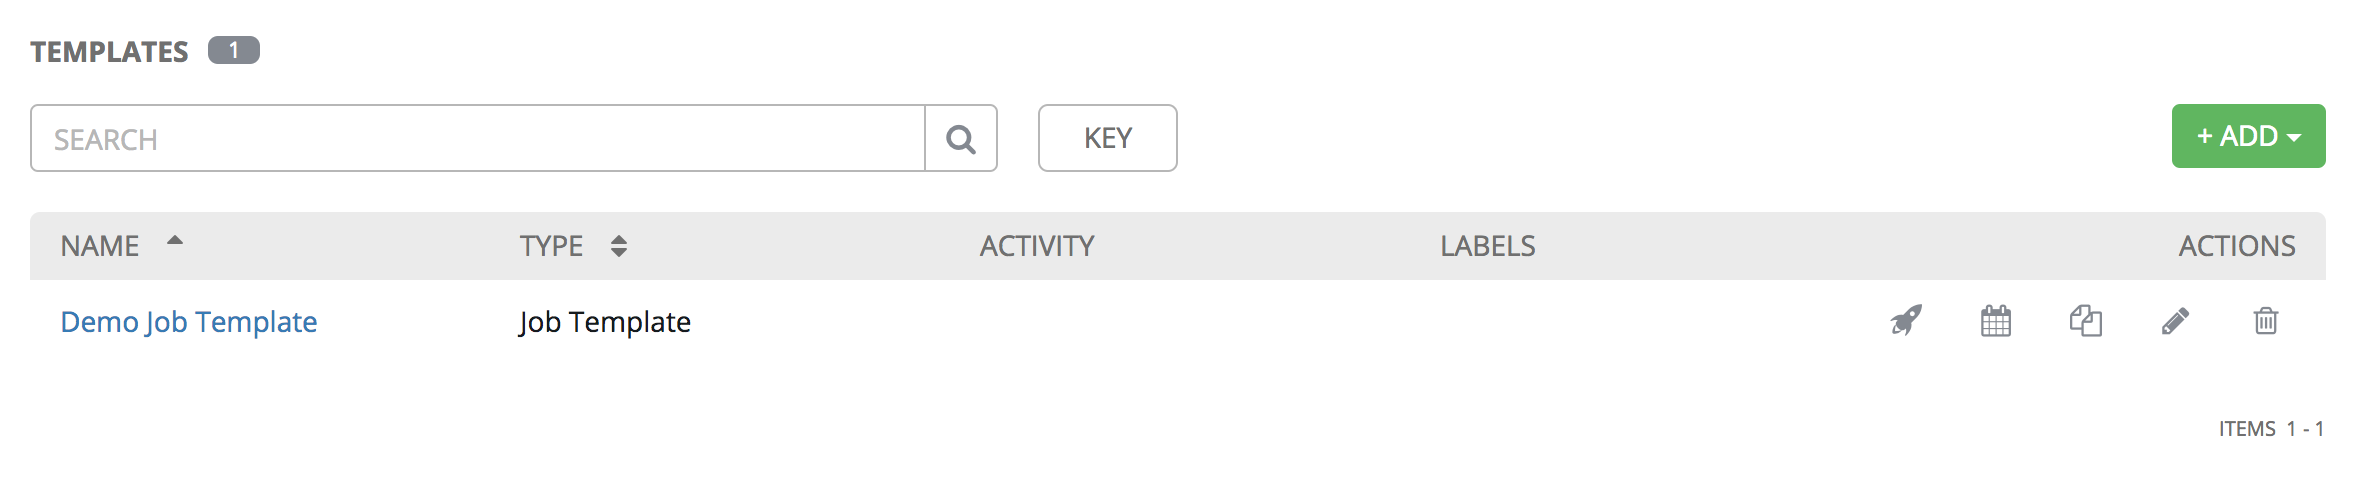
    Just click the launch icon.
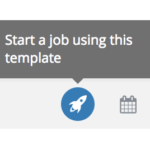
    launch template icon

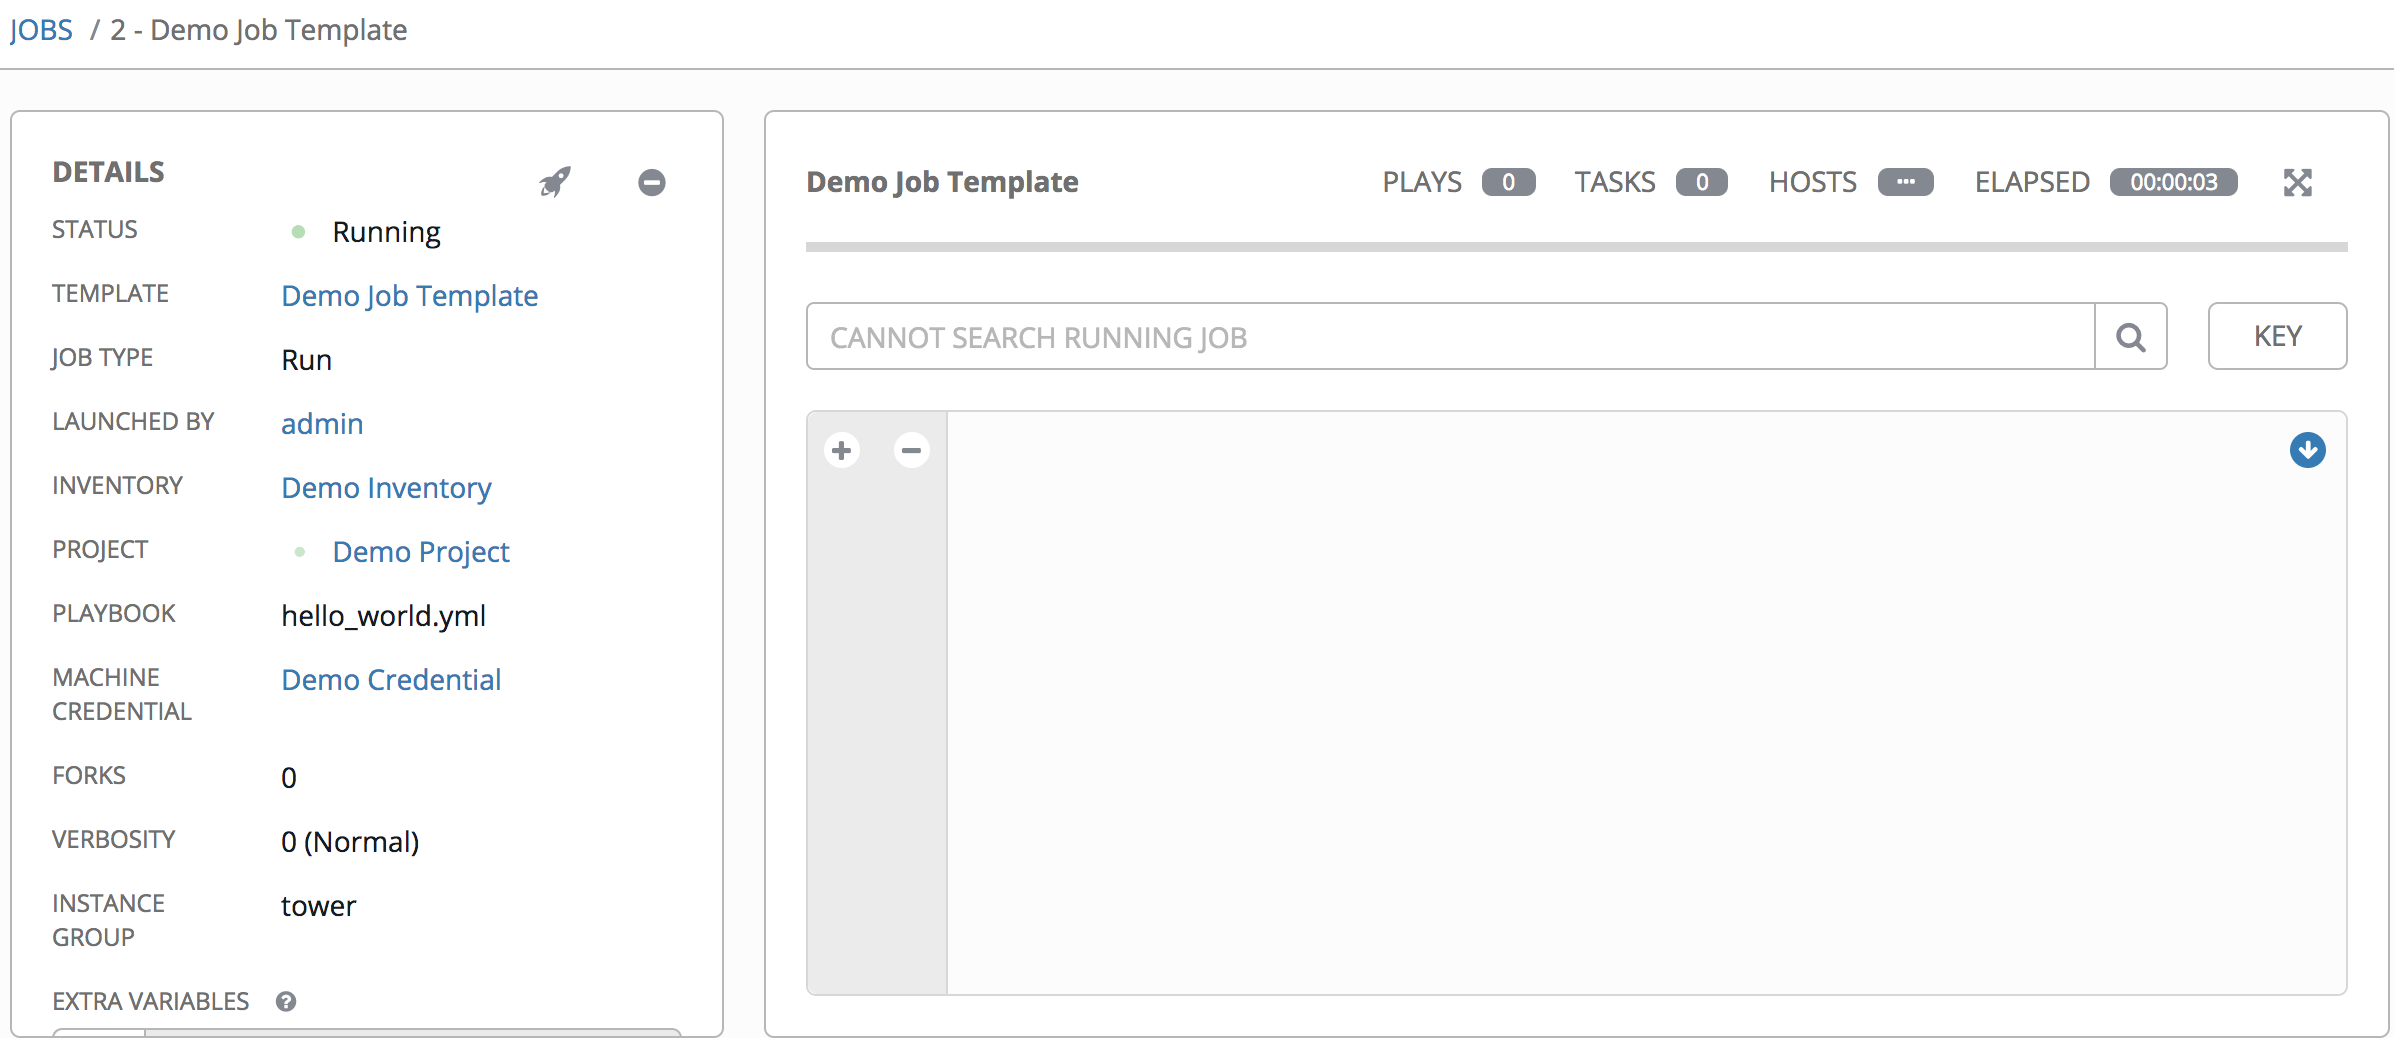
    And here you have it the job is running.
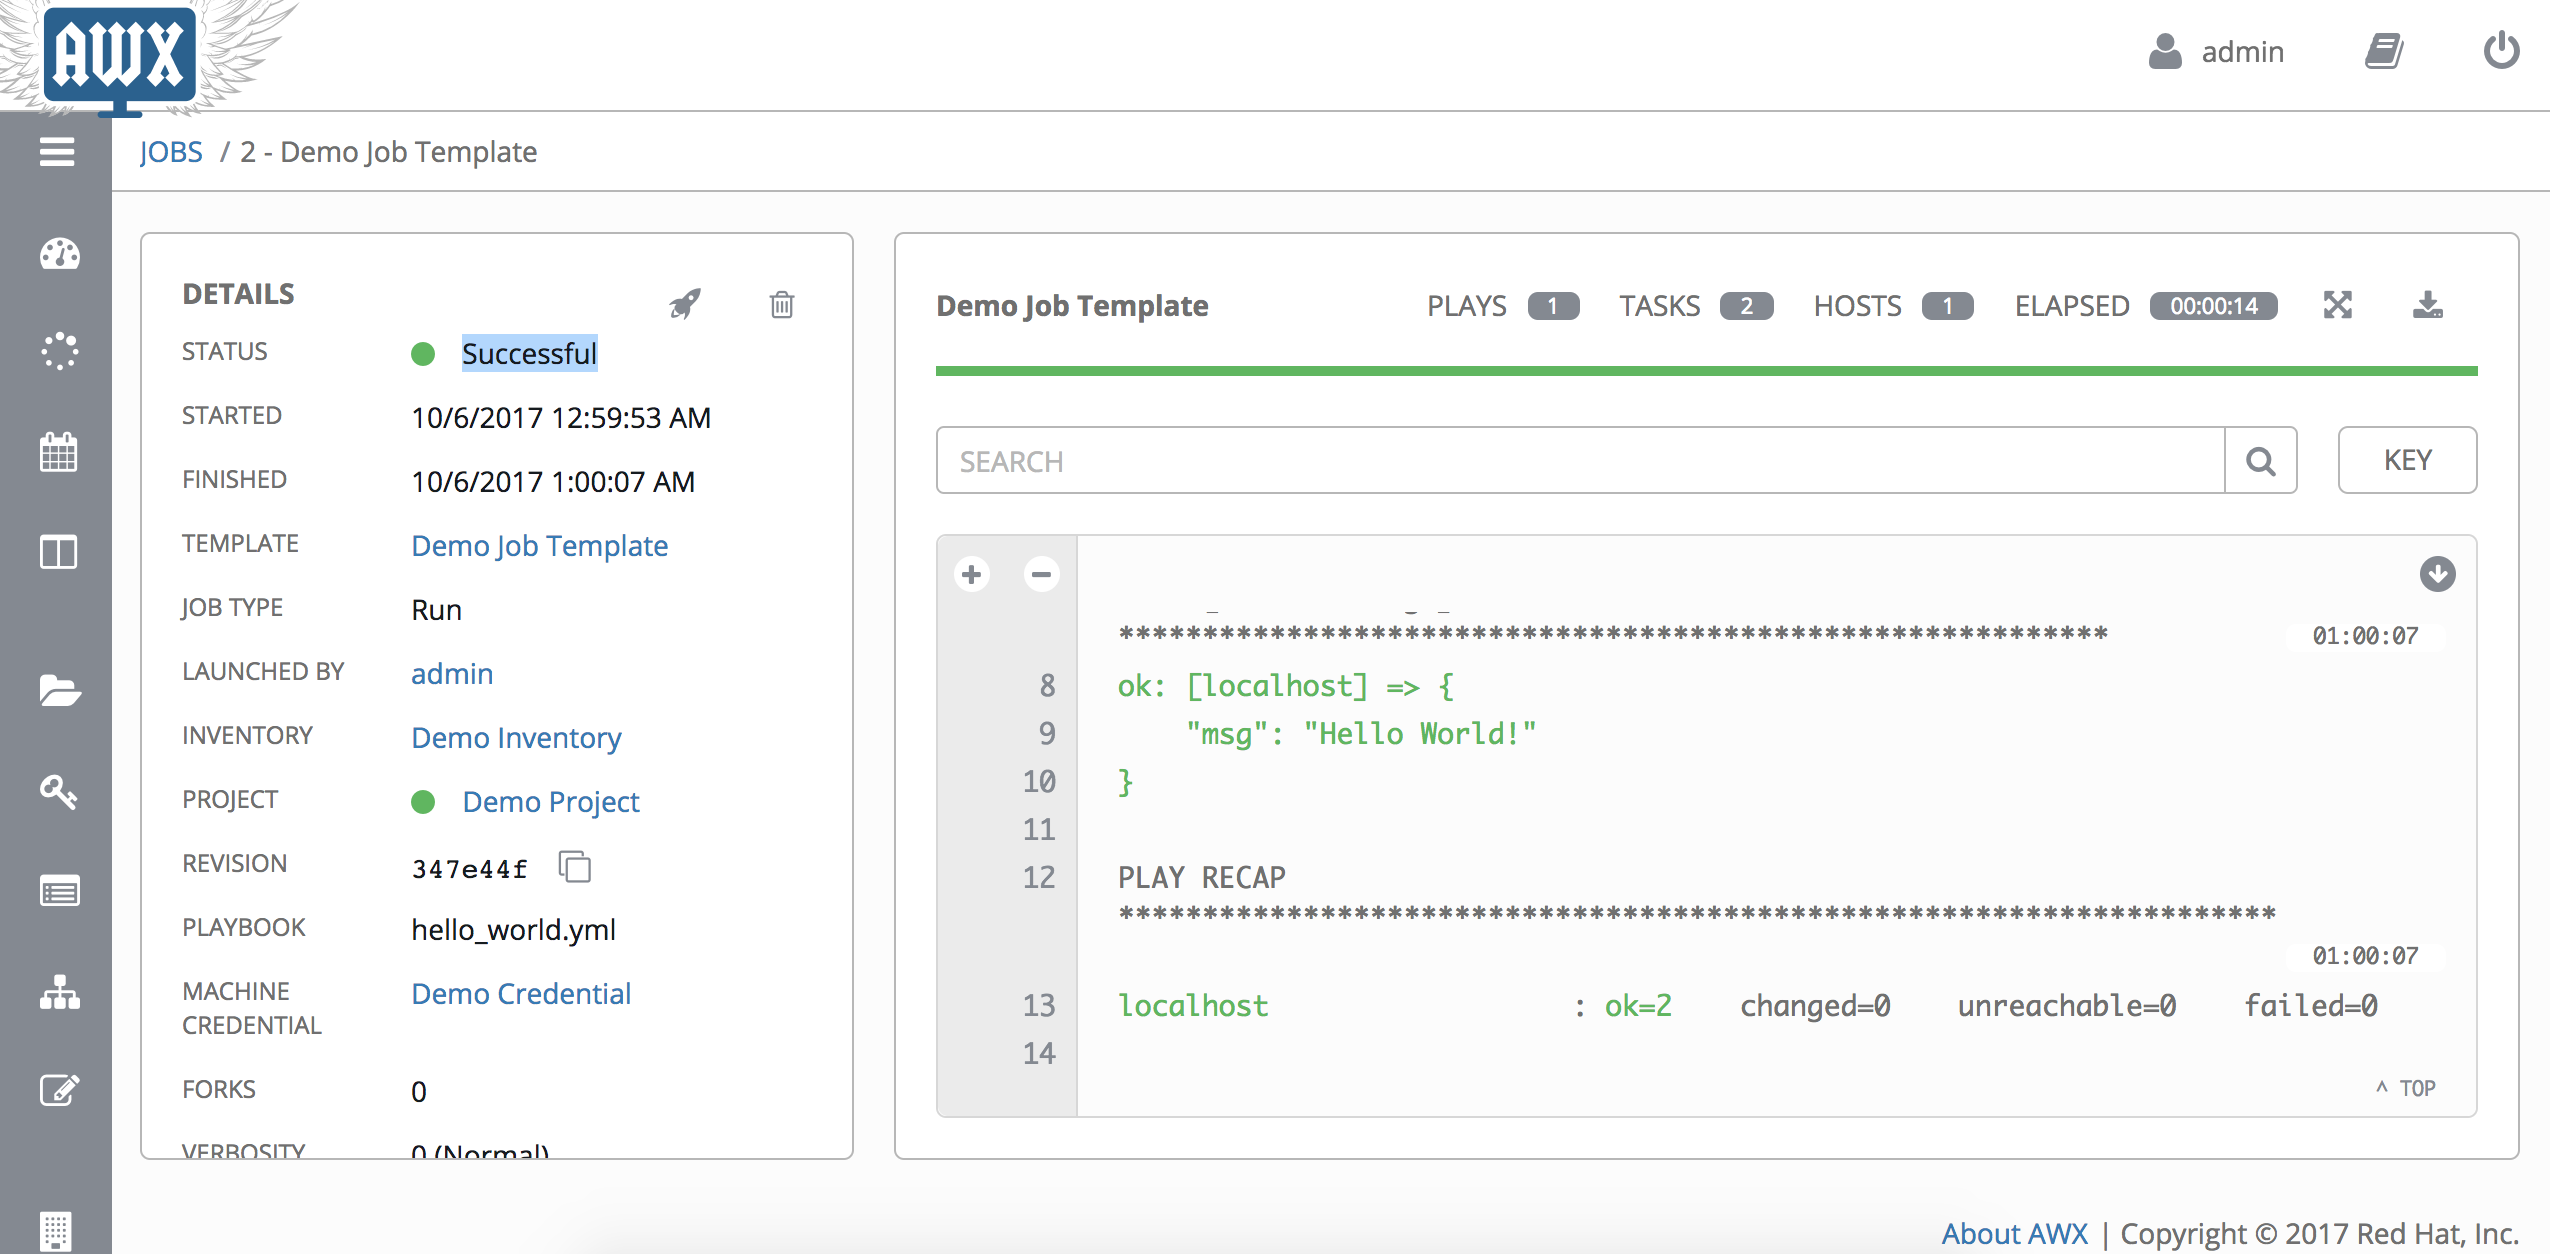
    And here we see we have a Successful state job.
    Conclusion

    In this post, we covered how to install AWX, the upstream version of Red Hat Ansible Tower, on OpenShift. We also covered how to test the installation. These are the first steps to start using AWX. In the next post, I'm will cover how to configure Ansible Tower and show the best practices to run Playbooks to automate the provisioning and deployment on AWS.

    Last updated: March 23, 2023

    Recent Posts

    • Protect data offloaded to GPU-accelerated environments with OpenShift sandboxed containers

    • Case study: Measuring energy efficiency on the x64 platform

    • How to prevent AI inference stack silent failures

    • Preventing GPU waste: A guide to JIT checkpointing with Kubeflow Trainer on OpenShift AI

    • How to manage TLS certificates used by OpenShift GitOps operator

    What’s up next?


    Red Hat Developers logo LinkedIn YouTube Twitter Facebook

    Platforms

    • Red Hat AI
    • Red Hat Enterprise Linux
    • Red Hat OpenShift
    • Red Hat Ansible Automation Platform
    • See all products

    Build

    • Developer Sandbox
    • Developer tools
    • Interactive tutorials
    • API catalog

    Quicklinks

    • Learning resources
    • E-books
    • Cheat sheets
    • Blog
    • Events
    • Newsletter

    Communicate

    • About us
    • Contact sales
    • Find a partner
    • Report a website issue
    • Site status dashboard
    • Report a security problem

    RED HAT DEVELOPER

    Build here. Go anywhere.

    We serve the builders. The problem solvers who create careers with code.

    Join us if you’re a developer, software engineer, web designer, front-end designer, UX designer, computer scientist, architect, tester, product manager, project manager or team lead.

    Sign me up

    Red Hat legal and privacy links

    • About Red Hat
    • Jobs
    • Events
    • Locations
    • Contact Red Hat
    • Red Hat Blog
    • Inclusion at Red Hat
    • Cool Stuff Store
    • Red Hat Summit
    © 2026 Red Hat

    Red Hat legal and privacy links

    • Privacy statement
    • Terms of use
    • All policies and guidelines
    • Digital accessibility

    Chat Support

    Please log in with your Red Hat account to access chat support.