In this series of articles, I will present several ways to deploy an application on an EAP Domain. The series consists of four parts. Each one will be a standalone article, but the series as a whole will present a range of useful topics for working with JBoss EAP.
- Part 1: Set up a simple EAP 7.0 Domain (this article).
- Part 2: Domain deployments through the new EAP 7.0 Management Console
- Part 3: Introduction to DMR (Dynamic Model Representation) and domain deployments from the Common Language Interface CLI
- Part 4: Domain deployment from the REST Management API
In part one, we set up a simple EAP domain with the following topology:

In part two, we reviewed the EAP management console deployment mechanism, and deployed the helloworld-html5 EAP Quickstart on the main-server-group ( Server11 and Server21).
When it comes to interactions with a continuous deployment software factory, however, we need more powerful and flexible tools to organize the build and deployment process --- the management console is not a good fit for build automation.
To solve this problem, JBoss EAP provides users with both a CLI tool and a simple REST API to perform complex administration tasks.
In this article, we will use the EAP CLI to deploy the helloworld-html5 Application on the secondary-server-group.
CLI Deployment
Remember, from parts one and two, that the management CLI is available through the native management interface configured in host-master.xml on 127.0.0.0:9999.
Prior to EAP 7.0, you needed your EAP instance / controller to be up and running before connecting and interacting with the CLI, but EAP 7.0 brings a new feature called the offline management CLI. This means you don't need the server to be started in order to use the CLI (learn more about the Offline CLI). The deploy command, however, still requires a connection to the controller.
Make sure your domain and hosts controllers are started, then run the following commands:
cd $EAP_DOMAIN/labs/jboss-eap-7.0/bin
/jboss-cli.sh --connect --controller=127.0.0.1:9999
[domain@127.0.0.1:9999 /]
You are now connected to the CLI and can check the existing deployments in the domain repository:
[domain@127.0.0.1:9999 /] deploy -l
NAME                       RUNTIME-NAME
jboss-helloworld-html5.war jboss-helloworld-html5.war
[domain@127.0.0.1:9999 /]
jboss-helloworld-html5.war is deployed on the primary-server-group, and you can verify this by checking the deployment info of the group:
[domain@127.0.0.1:9999 /] deployment-info --server-group=primary-server-group
NAME RUNTIME-NAME STATE
jboss-helloworld-html5.war jboss-helloworld-html5.war enabled
[domain@127.0.0.1:9999 /]
...
[domain@127.0.0.1:9999 /] deployment-info --server-group=secondary-server-group
NAME RUNTIME-NAME STATE
jboss-helloworld-html5.war jboss-helloworld-html5.war not added
[domain@127.0.0.1:9999 /]
Now we can add the jboss-helloworld-html5.war deployment on our secondary server group, with the following command:
[domain@127.0.0.1:9999 /] deploy --name=jboss-helloworld-html5.war --server-groups=secondary-server-group
[domain@127.0.0.1:9999 /]
With the --name option, the deployment is located in the EAP content repository, if you want to specify another file location you can just use the --file_path option and remove --name.
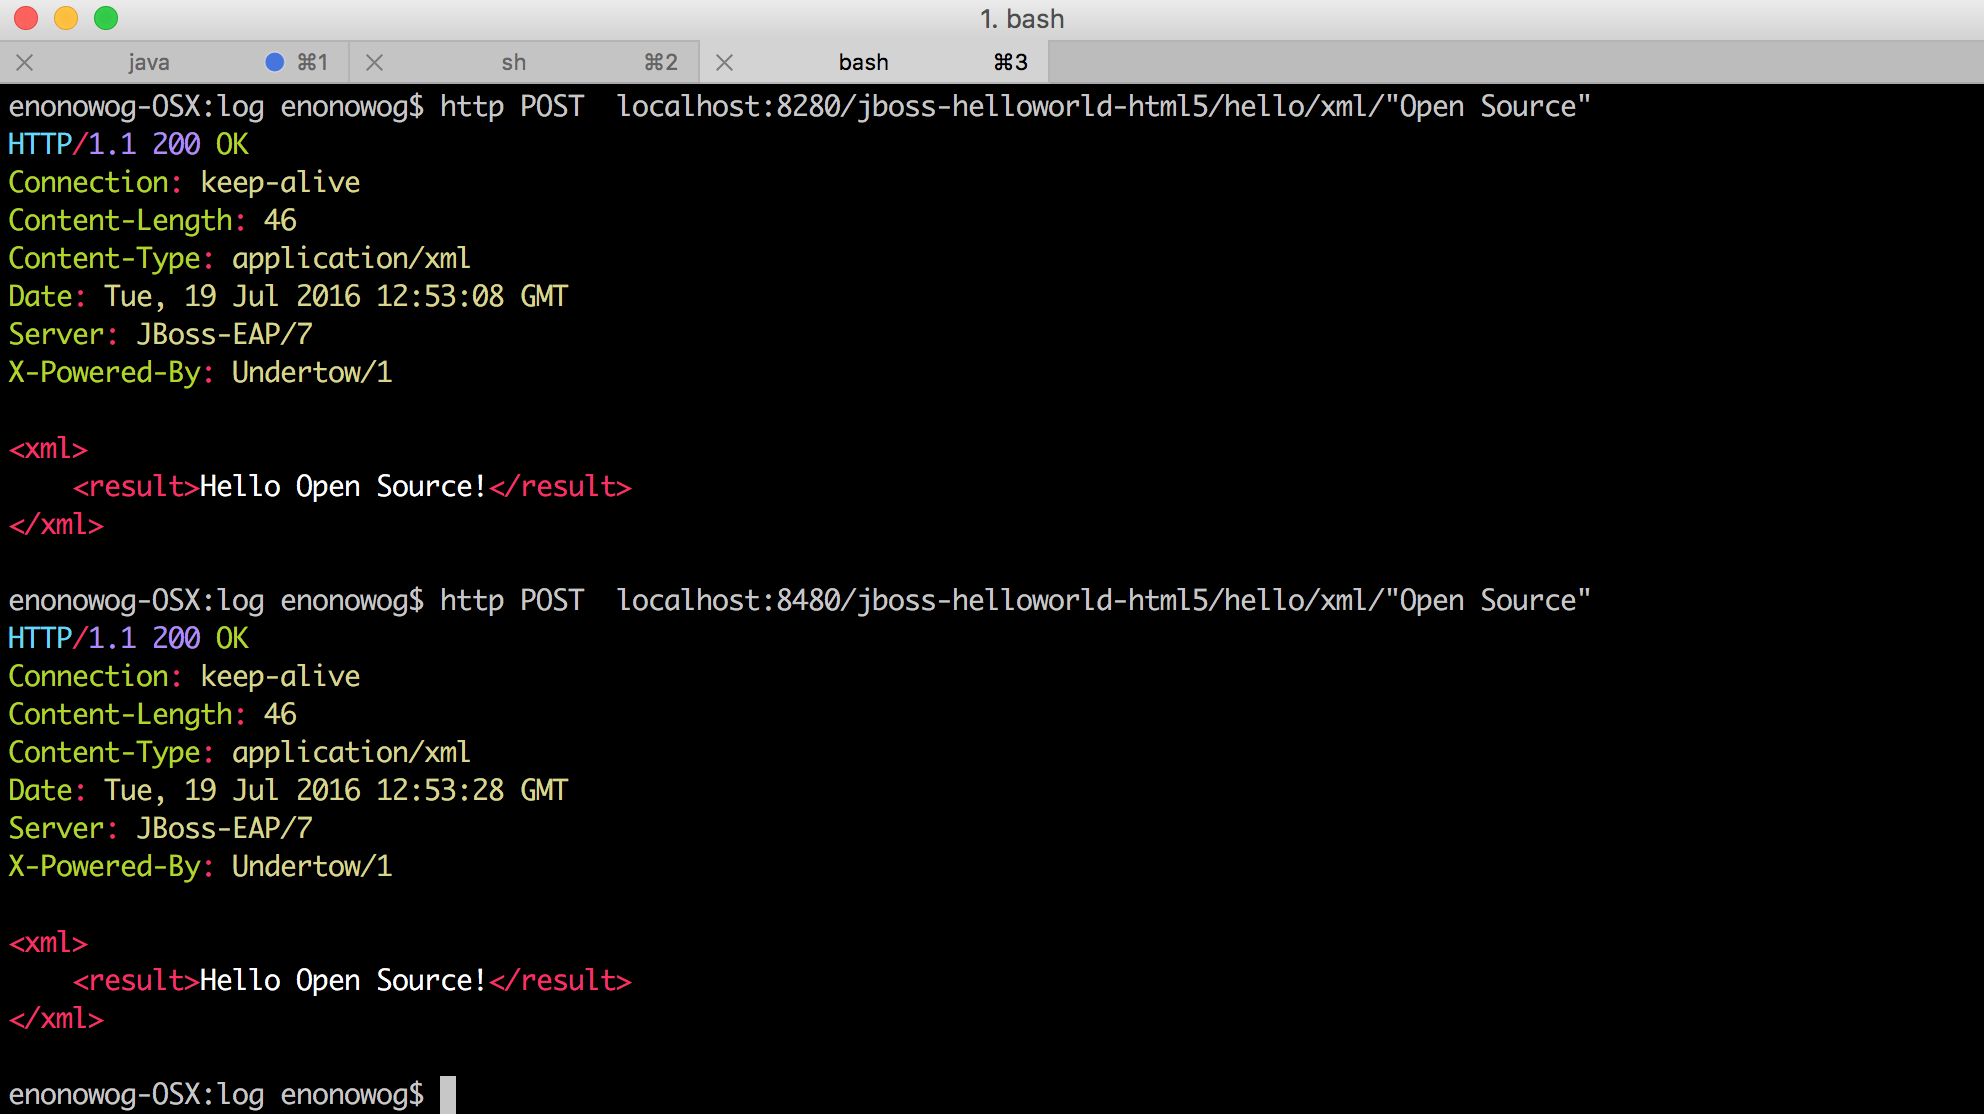
Congratulations! The deployment is now active on server 12 (HTTP 8280) and server 22 (HTTP 8480). In the next section (part four) we will see how to perform deployments using the REST Management API.