When a virtual machine (VM) is missing from the configuration management database (CMDB), it can become invisible to the rest of an IT team. Change management never sees it. Incident routing cannot find its owner. License reconciliation skips it. That matters right now, because Red Hat OpenShift Virtualization is increasingly becoming the landing zone for many VMware migrations. Teams going through this migration are expecting migrated VMs to show up in ServiceNow the way the old hypervisor VMs always did.
Here is the trap I keep running into. When you point ServiceNow stock Kubernetes discovery at a Red HatOpenShift Virtualization cluster, it imports pods, deployments, and nodes. KubeVirt VMs, however, only ever land as virt-launcher pod rows. They never become VM configuration items (CI).
By the end of this article, I will have a registered ServiceNow MID server (Management, Instrumentation, and Discovery) running inside the cluster. It will be trusted by the right certificate authority (CA) and scoped to least-privilege access. This is part 1 (setup) of a two-part series. A second article, How to discover Red Hat OpenShift Virtualization VMs as ServiceNow CMDB configuration items with a custom discovery pattern, builds the pattern on this foundation.
Why stock Kubernetes discovery fails for KubeVirt VMs
The stock ServiceNow Kubernetes pattern is broad and noisy. It pulls every pod, deployment, replicaset, service, and node into CMDB, far more than I want if I only care about VMs. Also, KubeVirt (the upstream project behind OpenShift Virtualization) runs each VM inside a virt-launcher pod, so those VMs map to virt-launcher pod CI rows and never get classified as a VM CI.
The alternative is to skip the stock pattern entirely. Instead, I create a custom VM CI class and a purpose-built discovery pattern that calls the KubeVirt application programming interface (API) directly and creates exactly one VM CI per VirtualMachine object. I build that pattern in part 2.
The architecture at a glance: An in-cluster MID server uses its pod-mounted service account token to call the KubeVirt API, and the custom pattern turns each VirtualMachine into a custom VM CI.
Prerequisites
Before starting, confirm the following are in place:
- OpenShift 4.14 or later, with the OpenShift Virtualization operator healthy and at least one running VirtualMachine to inventory.
- The OpenShift command-line interface (
oc), logged in as cluster-admin. - A ServiceNow instance on the Australia release family (ServiceNow names releases alphabetically) with admin or equivalent Discovery and CMDB access.
- Outbound HTTPS connectivity from the cluster to the ServiceNow instance.
- The Discovery plug-in activated, which provides the Pattern engine and Pattern Designer.
Deploy a CA-trusted in-cluster MID server
I tested this against the ServiceNow Australia release. For the full plug-in table, including the optional Certificate Management plugin, see sections 0 and 1 of the runbook.
1. Create a least-privilege service account and role-based access control (RBAC)
First, set up the cluster resources. Create a new project called servicenow-discovery and a service account named snow-discovery to go with it. To keep things secure, bind only the kubevirt.io:view ClusterRole to this account. This gives the MID server exactly the permissions it needs to read VirtualMachine objects—and nothing else. By running the MID server directly in the cluster, it uses the pod-mounted service account token to authenticate automatically. This means no worrying about manually copying long-lived Kubernetes bearer tokens into ServiceNow. Check out section 2 of the runbook for the specific commands to get this running.
2. Create the MID server user in ServiceNow
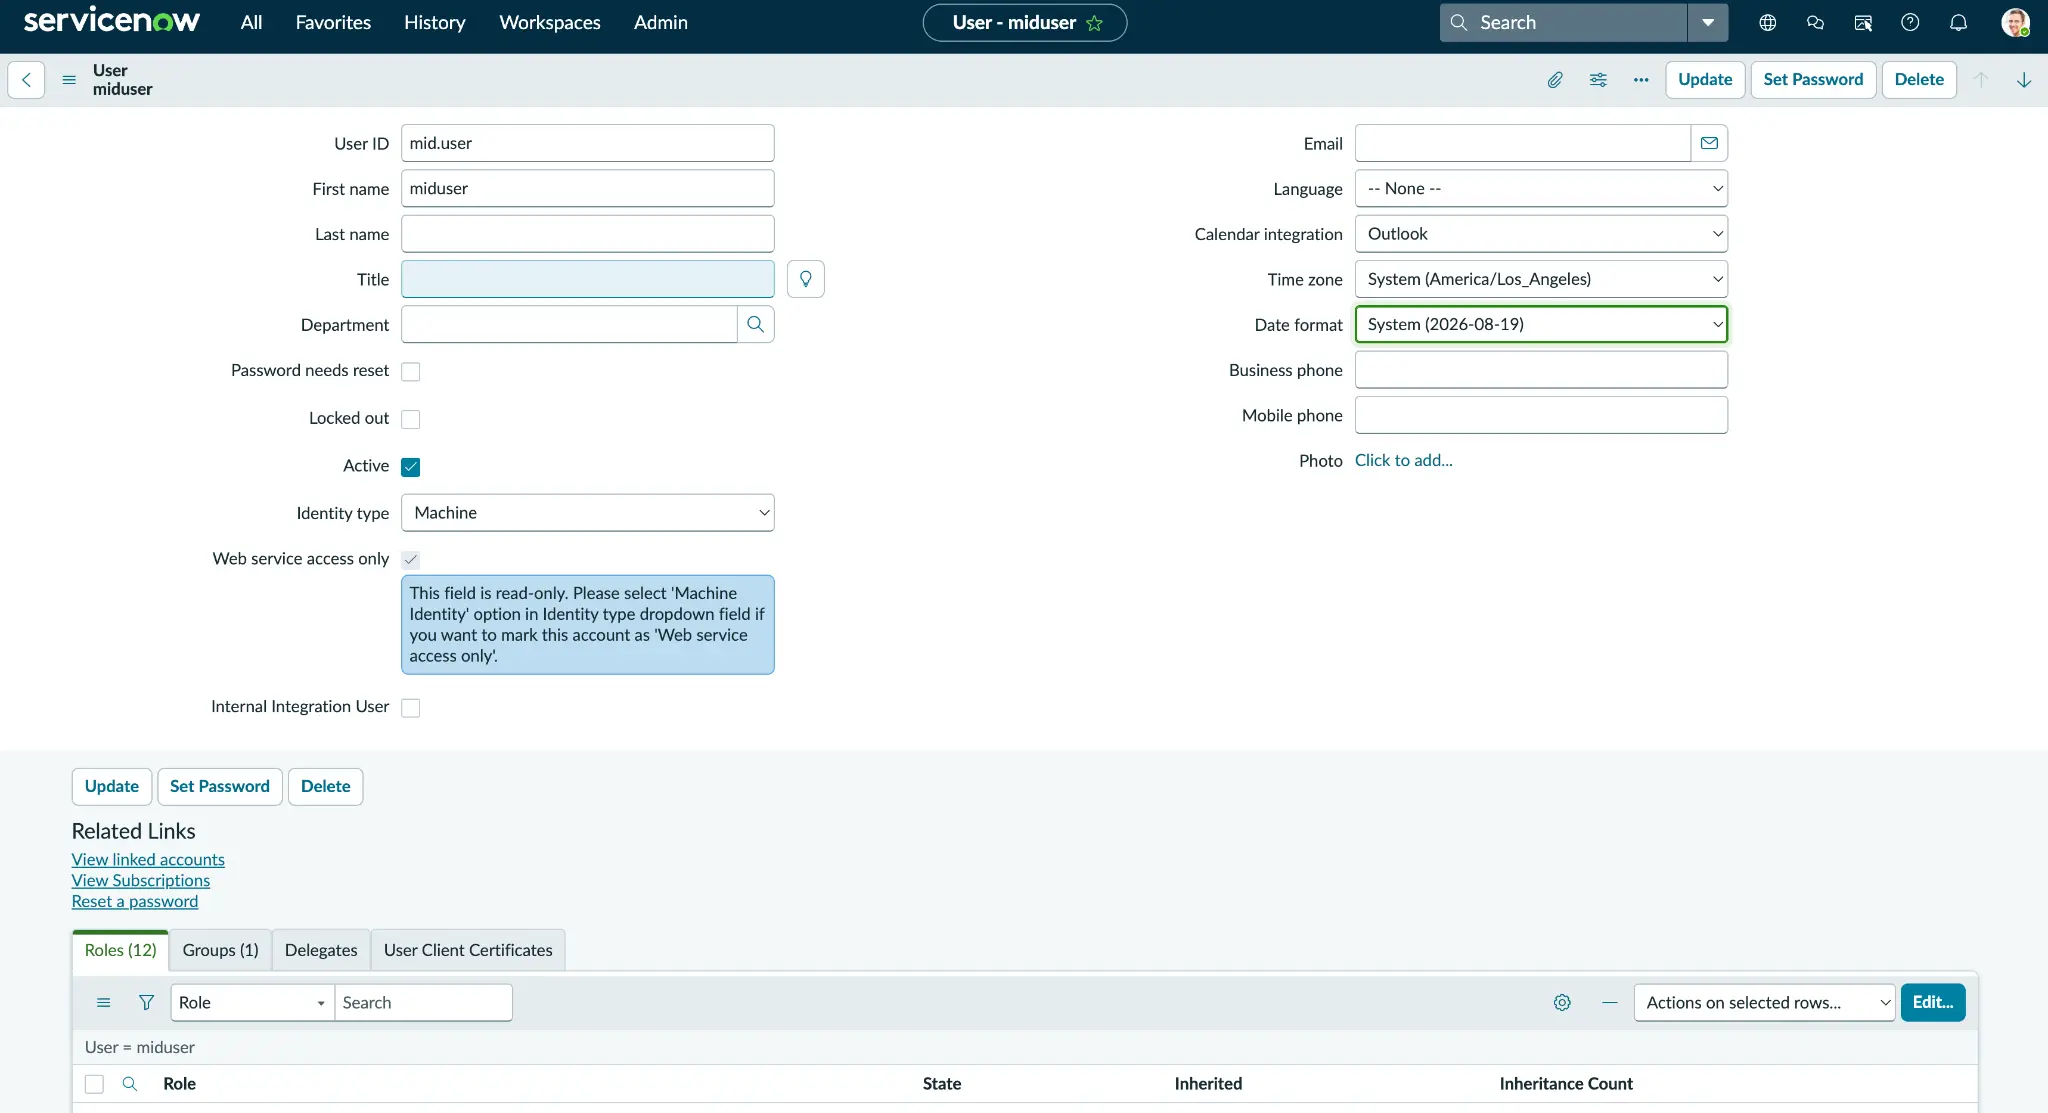
Your new MID server needs a way to talk back to home base. In ServiceNow, head over to the user administration form and create a new user—I called mine mid.user. Set a rock-solid password, and make sure you stash it somewhere safe (figure 1).
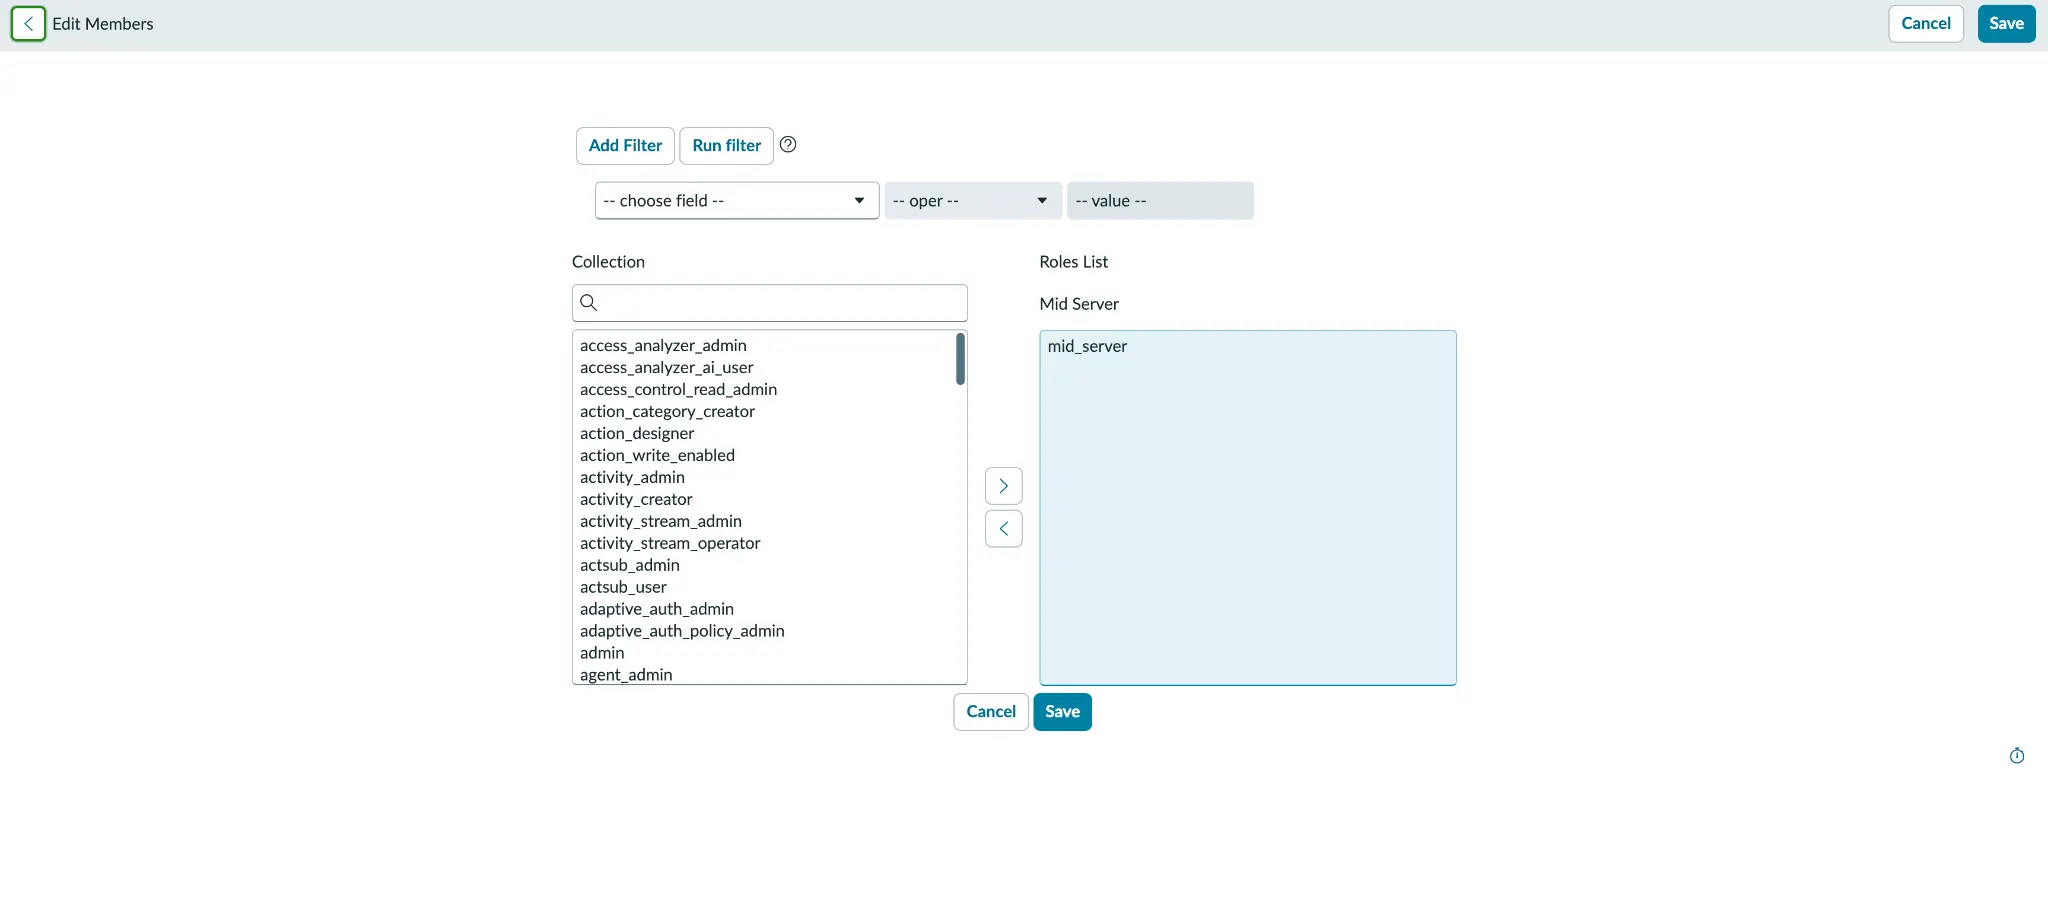
Grant it the mid_server role. To wrap this step up, just double-check that your new user is showing up correctly in the MID server users list (figure 2).
See runbook section 3.1 for the field-by-field walkthrough.
3. Build the MID server image with the OpenShift service-CA startup hook
ServiceNow provides a Docker recipe (figure 3), which works really well but there can be a snag with certs. The bundled Java runtime has its own truststore, and it has no idea what your OpenShift internal CA is. This means every fresh MID pod has its TLS handshake with the Kubernetes API, and your discovery probes just sit there going nowhere. You could manually import the certificate using keytool, but that's a temporary fix—the moment your pod is rescheduled or scaled, that manual work evaporates.
To solve this once and for all, add a startup hook to the image build that re-imports the CA every single time the pod starts. It ensures your MID server comes up already trusting the API server, no manual intervention required. You can find the full breakdown and the companion script (import_ocp_service_ca.sh), in section 3.2 of the runbook.

4. Deploy the MID server and confirm CA trust
When you're ready to deploy the MID server, set your Deployment manifest with the serviceAccountName. The serviceaccount grants your MID pod the kubevirt.io:view permissions we established earlier with the pod-mounted token. This allows the Discovery pattern in part 2 to read the KubeVirt API without ever needing a credential record stored in ServiceNow (figure 4). Check out section 3.3 of the runbook for the full preflight details.
Common issues and troubleshooting
A few failures come up often. Each one has a clear cause and fix:
- The MID pod is in CrashLoopBackOff: The instance URL or credentials in the secret are wrong. Fix the secret and restart.
- The MID server shows
Downafter roughly five minutes: Outbound port 443 is blocked or a proxy is in the way. Open the egress path. - The log shows
SSLPeerUnverifiedExceptionor PKIX path building failed: The Java runtime does not trust the service-network CA. Confirm the in-cluster endpoint is used, then re-run the CA import or rebuild with the hook.
The full symptom matrix lives in the runbook troubleshooting cheatsheet.
Tips and best practices
Keep RBAC minimal. Only widen it to a pod-list view later if you want the virt-launcher pod name column in part 2. Bake CA trust into the image rather than patching a live pod, so the trust survives every reschedule. Pin the recipe revision to the ServiceNow release you tested against.
Wrap up
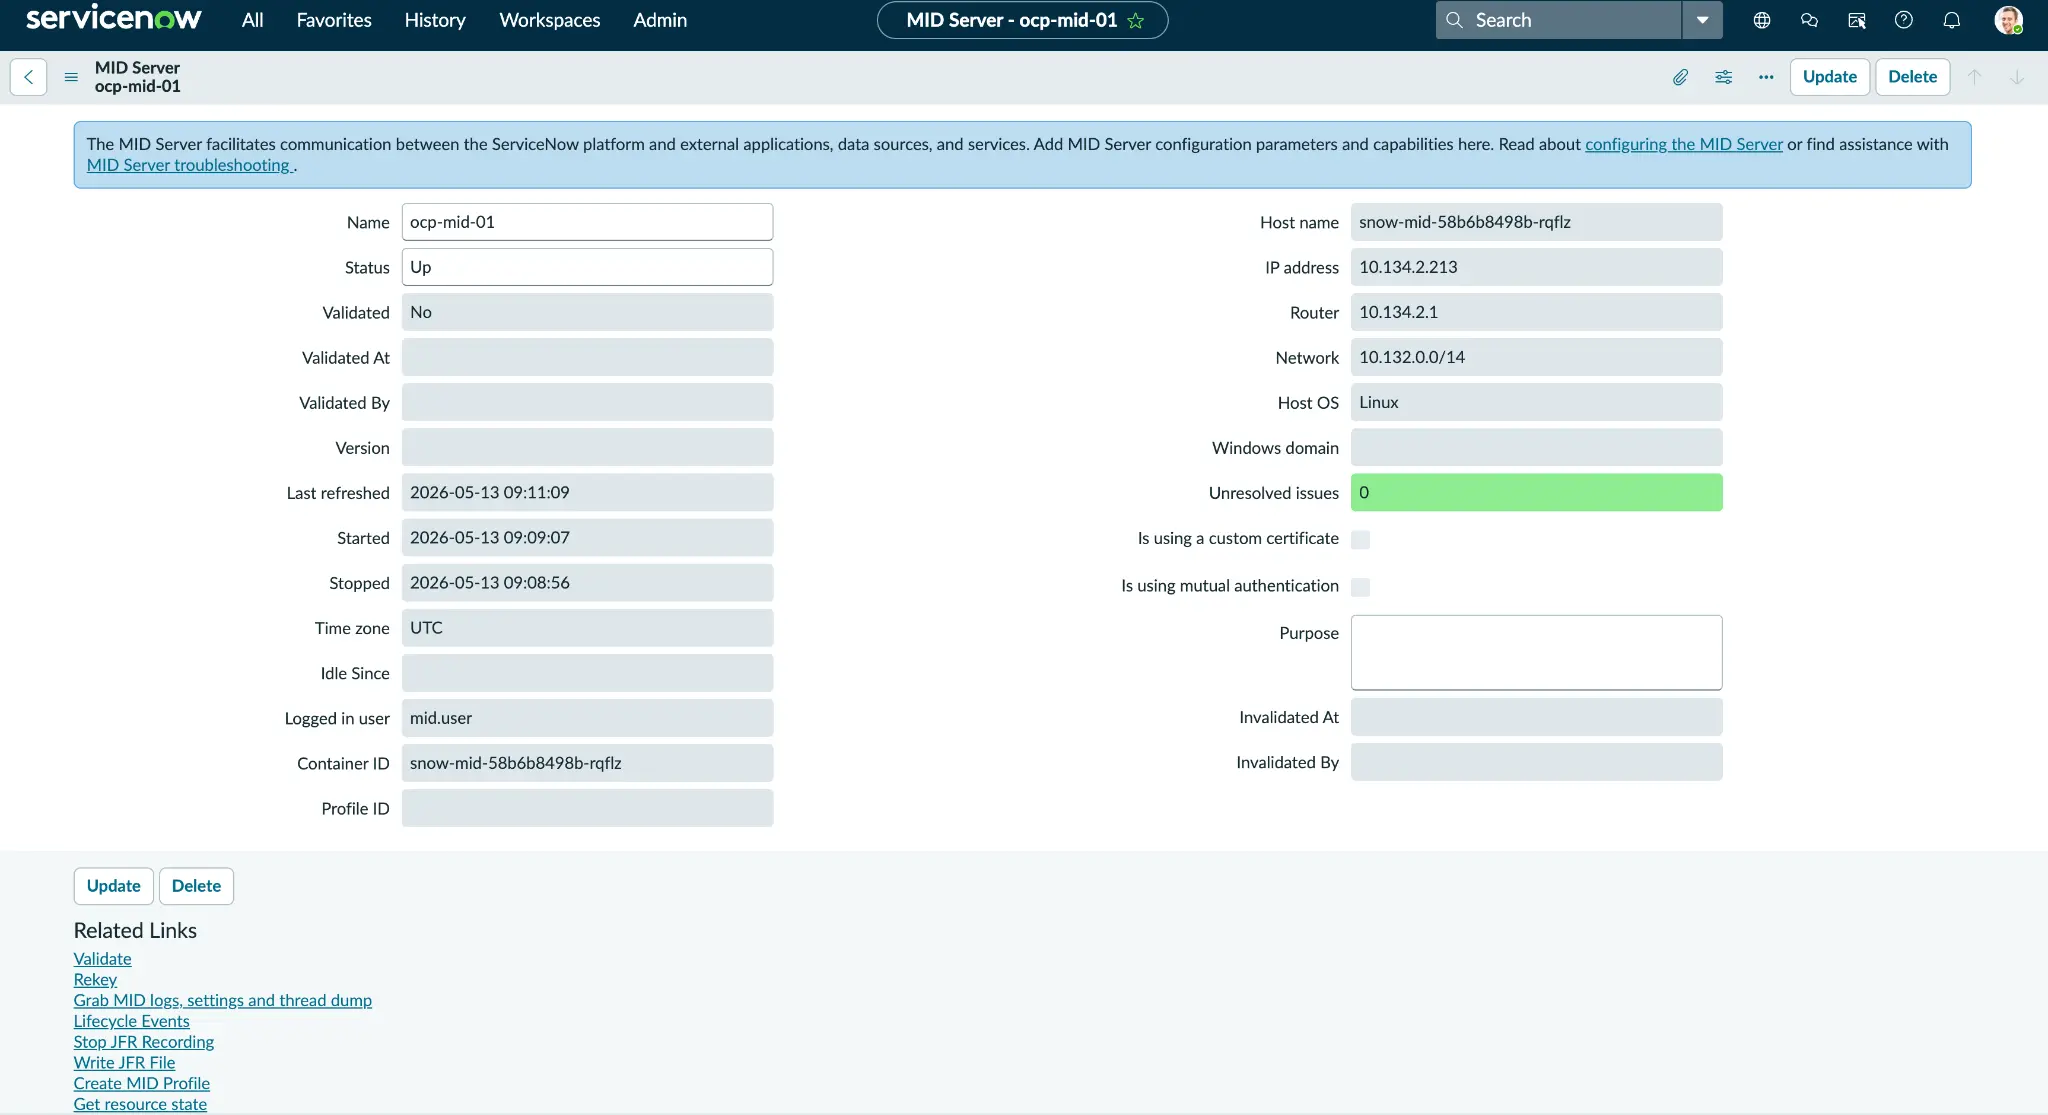
At this point, I have a least-privilege service account, a MID server user, a CA-trusted image, and a running in-cluster MID server (figure 5).

Next steps
Clone and follow the full runbook on GitHub. To learn more about the platform behind these VMs, explore Red Hat OpenShift Virtualization. With the MID server registered and trusted, continue with part 2: How to discover OpenShift Virtualization VMs as ServiceNow CMDB configuration items with a custom Discovery pattern", which builds the custom CI class and pattern on this foundation.