
The Red Hat SSO extension in Podman Desktop allows you to register with a no-cost developer subscription and access the Red Hat Container Registry for image mode for RHEL binary.
Prerequisites:
- A no-cost Red Hat Developer subscription. Register here if you do not already have a subscription.
- Download Podman Desktop for Windows, macOS, or Linux (Fedora or RHEL).
In this lesson, you will:
- Sign in using Red Hat SSO and the Red Hat Authentication extension.
Add the Red Hat Extension Pack
In this learning path, we will use Red Hat SSO and bootc extension to create and build a bootable container. Follow these steps to get started:
- Open the Red Hat build of Podman Desktop on your local machine.
Note
If this is your first time using Podman Desktop, you may be prompted to install Podman and set up a Podman machine. Follow those steps before continuing.
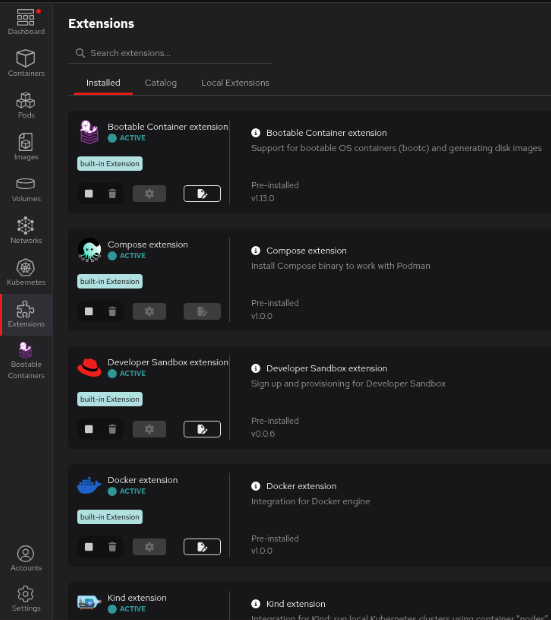
Because you are using the Red Hat build of Podman Desktop, the bootable container, Red Hat Subscriptions, registries, and VM extensions used through the lab are pre-installed (Figure 1).

Figure 1: Installed tab of the Extensions section in Podman Desktop. - Sign in using Red Hat SSO and the Red Hat Authentication extension.
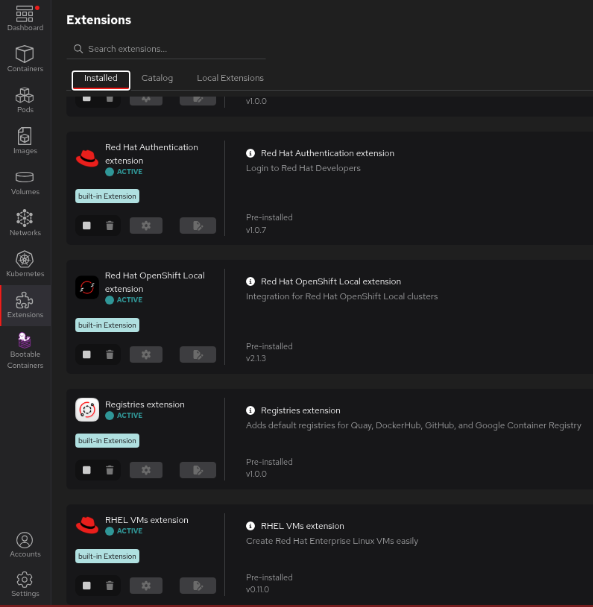
Select the Installed tab from the Extensions section and scroll down to locate the Red Hat Authentication (Figure 2).

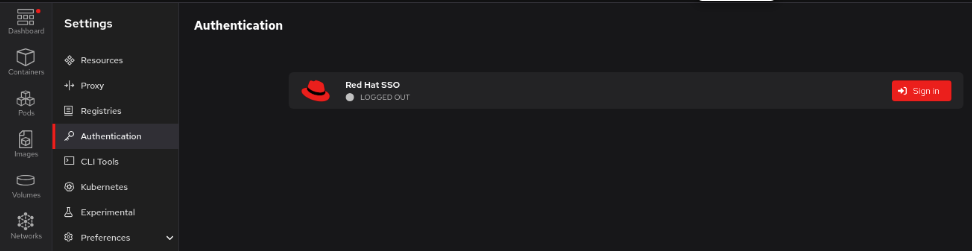
Figure 2: Installed tab of the Extensions section in Podman Desktop. Select Settings from the bottom of the menu bar on the left side and navigate to Authentication. You will see that Red Hat SSO is on the list and that you are currently logged out (Figure 3).

Figure 3: The Authentication tab with Red Hat SSO showing as LOGGED OUT. - Select Sign in to continue.
In the new window that opens, enter your Red Hat account login credentials or register and create a developer account if you haven’t already (Figure 4).
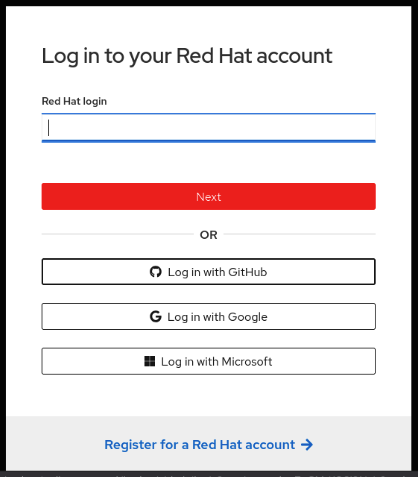
Figure 4: The Red Hat account log in page. The authentication plug-in logs into the Red Hat container registry and runs
subscription-manageron thepodman-machine. If you are running Red Hat Enterprise Linux and registered your system, this will work automatically.- Once you log in, go back to Podman Desktop. The status for Red Hat SSO in Settings -> Authentication will update to show that you are
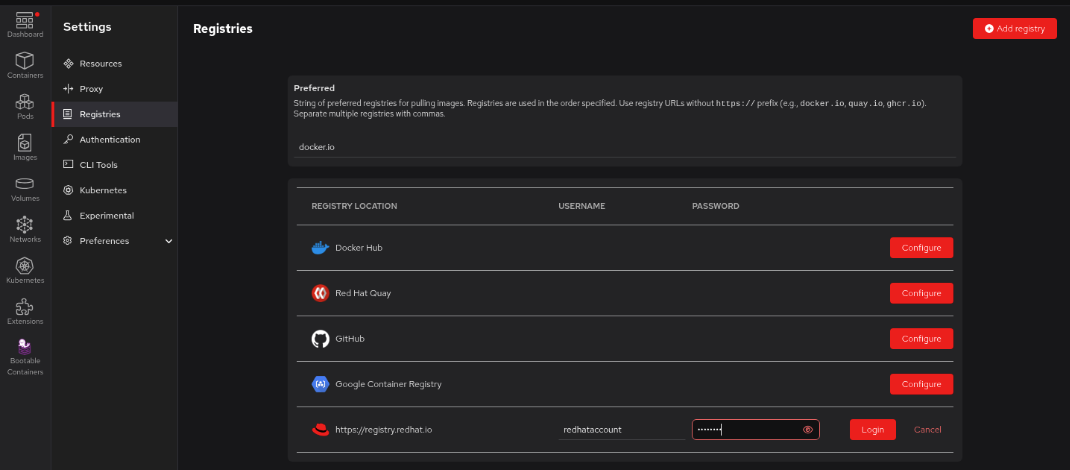
LOGGED IN. Navigate to Settings -> Registries and verify that you have an entry for Red Hat Container Registry as a configured registry location (Figure 5).

Figure 5: Red Hat Container Registry is configured once Red Hat Account log in is successfully completed.

Now that you’ve configured the SSO extension and have access to the container registry, it’s time to create a disk image and set up a virtual machine.
