If you're are anything like me, you find the easiest -- yet still best -- way to get things done. After all, life is too short to write programs using Edlin, so give me Visual Studio Code (VS Code). So, what's an easy way for a Windows .NET developer to write code for Linux?
Enter the Red Hat Development Suite, a zero-cost bundle for running Linux on your Windows PC, including running .NET Core. After installing the Red Hat Development Suite, and installing .NET Core on your VM, you're ready to start writing .NET code that runs on Linux. This is the opportunity for Windows developers to rule the world! Well, or at least cross over to another operating system.
Once you're all set with the above, you'll have a VM running Red Hat Enterprise Linux (RHEL) on your Windows PC. But, since it (RHEL) is running "headless", it doesn't have a desktop interface; that is to say, you have only the command line. That means you can't launch VS Code from inside your VM.
But what if you could run VS Code on your Windows PC and edit files that are sitting inside your RHEL VM? Now that would be awesome.
Well, here you go, because you're awesome and deserve more awesomeness:
Step 1: Create a Shared Folder on your Windows PC
Ditch that "right-mouse click and select..." stuff; we're developers, are we not? Let's do this in code ... PowerShell, to be exact. Open PowerShell as Administrator and run the following command:
NEW-ITEM C:\shared -Type directory
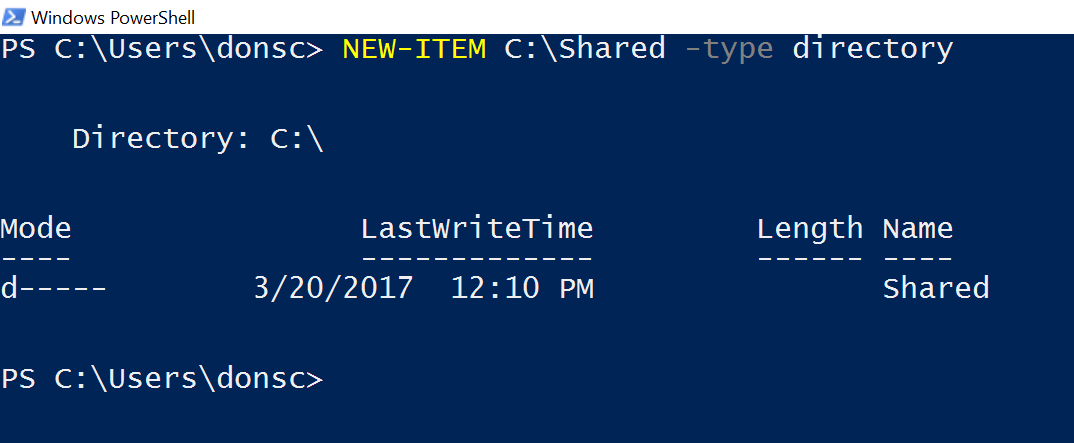
Note; you don't have to use that path ("C:\shared"); use what you want. I suggest keeping it very simple and off the root of your drive. This will give you the ability to navigate to it easily from the command line no matter which machine (Windows or RHEL) you are in at the time. A simple cd /shared and you're there, whether you're at your VM prompt or in PowerShell. Easy.
Step 2: Grant access to the Shared Folder
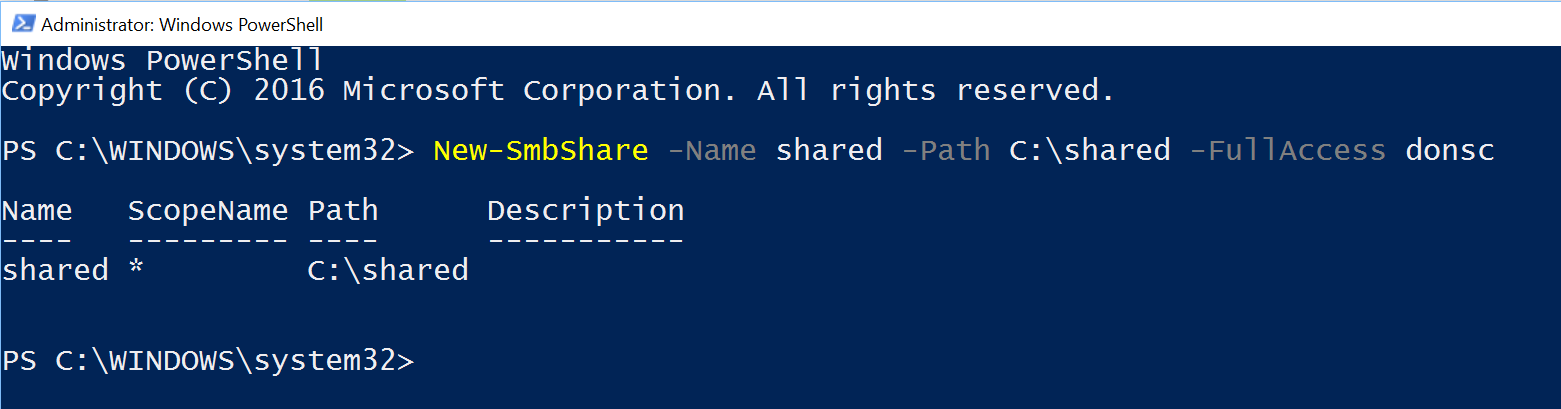
Now that you've created the shared folder, you need to grant yourself access to it. The following PowerShell command takes care of that:
New-SmbShare -Name shared -Path C:\shared -FullAccess {your_windows_user_id}
Like this:
If you're not sure of your Windows user id (hey, it can happen when you're working in multiple environments), use the whoami command:

At this point, things are set up on the Windows host. Now for the VM.
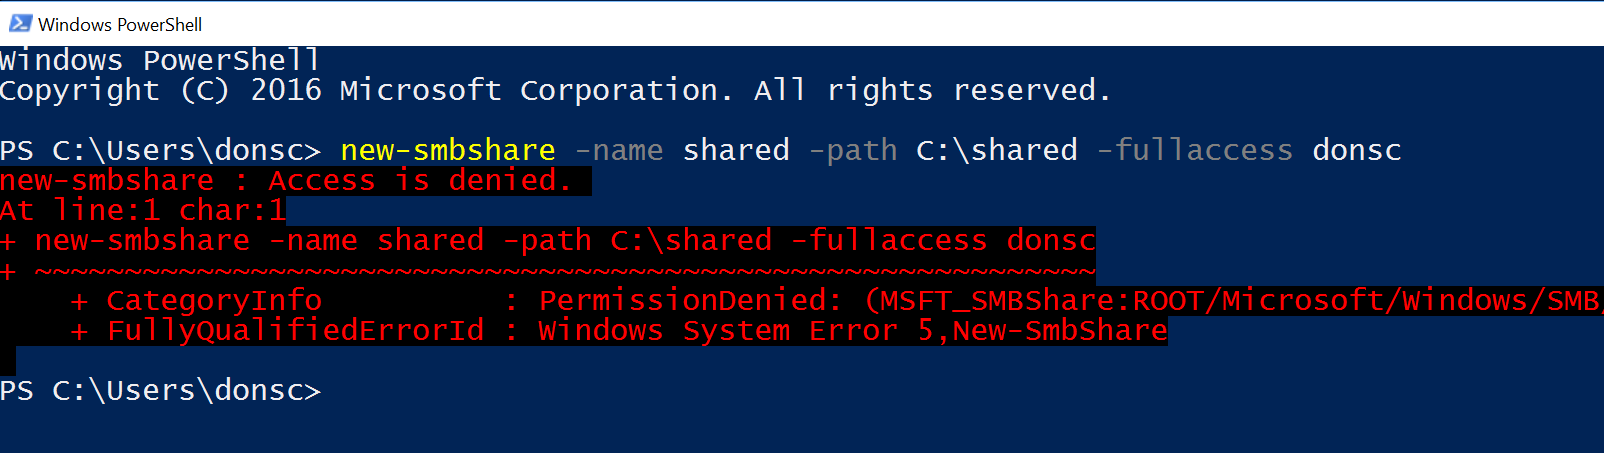
It didn't work!
If you get the following error, it's because you didn't run PowerShell using the 'Run as administration' option. Don't ask how I know this.
Step 3: Add Vagrant Plugin
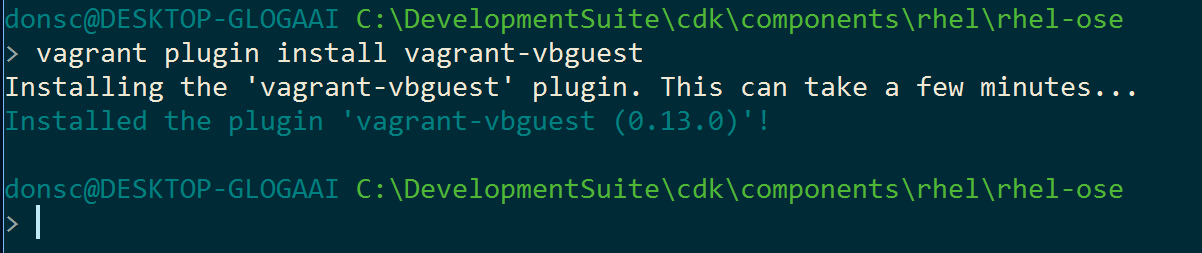
A plugin -- an additional feature needed for sharing -- needs to be installed in Vagrant. This is done at the PowerShell command line with the following command:
vagrant plugin install vagrant-vbguest
Step 4: Configure the VM
The change to the VM side of things is one simple line in the Vagrantfile. If you used the default installation path for the Red Hat Development Suite, it can be found at,
C:\DevelopmentSuite\cdk\components\rhel\rhel-ose\Vagrantfile.
Add the following line; I added mine at the end:
config.vm.synced_folder "\\shared", "/shared"
Note that you can, if you wish, give the shared folder a name in your VM that does not match the name on your Windows host. I'm sure there are scenarios where this is a good idea, but you'll probably want them to match to keep things ... easy.
That's it. Start your VM with vagrant up and you should then be able to edit files using, say, VS Code on Windows, and then build and run on your RHEL VM.
A future blog post will dive into the idea of editing in Windows and building and running in RHEL.
For additional information and articles on .NET Core visit our .NET Core web page for more on this topic.
As a developer, you can get a no-cost Red Hat Enterprise Linux Developer Suite subscription, which includes Red Hat Enterprise Linux 7 server, a collection of development tools, and much more.
Last updated: May 2, 2019