Follow this blog post, and within minutes you will have an ASP.NET MVC website running on Red Hat Enterprise Linux (RHEL). Yes, I'm talking to you, Windows .NET developer; you're about to double your OS skillset. Let's do this.
I'm going to start with some assumptions:
- You are running Windows.
- You are not running Linux.
Based on those two assumptions, we're going to:
- Install a RHEL Virtual Machine (VM) on your Windows PC.
- Start and run the VM.
- Install .NET on your VM.
- Create an ASP.NET MVC website.
Install a RHEL VM on your Windows PC
The quickest and most useful way to get Linux running in a VM is to download and install the Red Hat Development Suite. Sure, it has some pieces you probably don't want -- Java-related stuff -- but the remaining bits are great. You'll get a RHEL VM with kubernetes, Linux container, and OpenShift added in for container development.
(Such a deal; you're not only going to have an ASP.NET MVC website running in a few minutes, but you're also going to have all you need to start creating and using containers. Hey man ... we .NET developers need to look out for each other, am I right?)
Run the install and use the default installation path. You can change it if you wish, but you'll need to use that path in the next step.
Start and Run the VM
Open PowerShell and run some commands. Here's the list of commands you'll need:
cd C:\DevelopmentSuite\cdk\components\rhel\rhel-ose\
vagrant up
That's it! That's the list! Move it into the proper directory and run vagrant up. You'll use this magic every time you want to start your RHEL VM. Pretty easy, eh?
When the VM is starting, you'll be asked if you want to register the system now. Answer 'y' and then use your Red Hat account credentials to register. Registering means, you have a proper, valid, full-fledged installation of RHEL; complete with the subscriptions you need to be a productive RHEL developer.
Install .NET on your VM
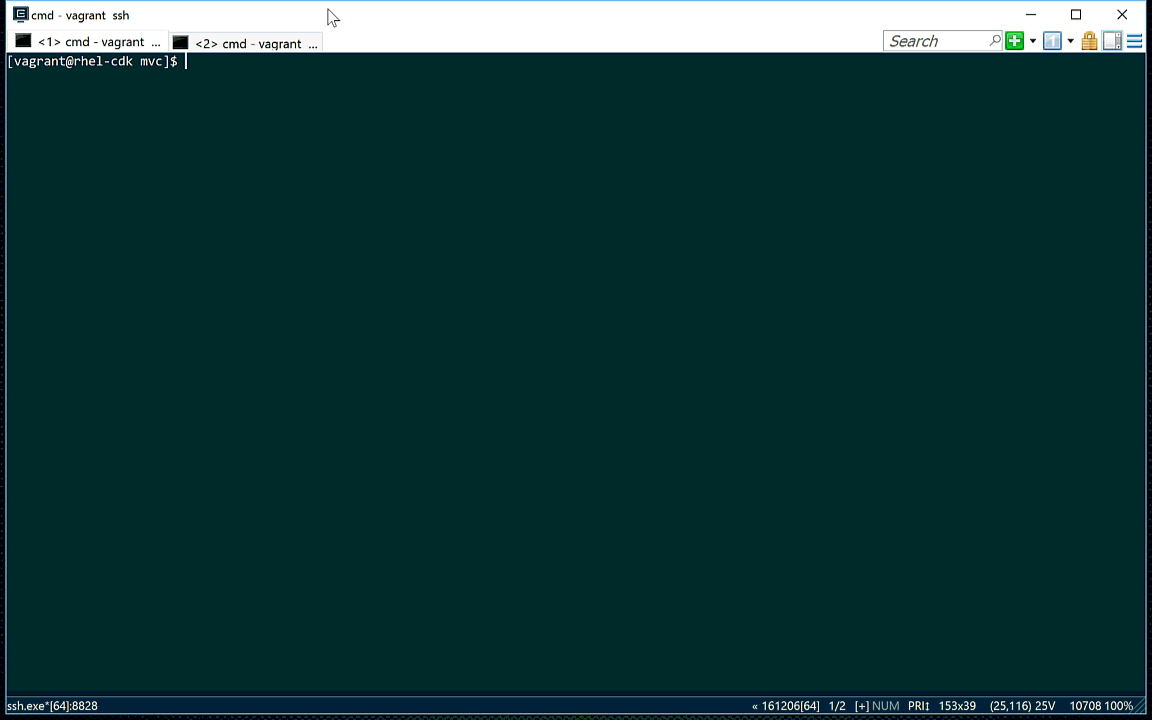
At the command line, use the following command to use ssh to get into your RHEL VM:
vagrant ssh
The installation automatically sets up the public and private keys needed for security. For the record, both user id and password is 'vagrant'.
Now you're at a RHEL command prompt.

Now we can install .NET. Note that this is .NET Core 1.1.
First, run the command sudo subscription-manager register. If prompted for a password, it's vagrant, as mentioned earlier. If you're new to Linux, 'sudo' is like running a program "as Administrator" on Windows.
Next, sudo subscription-manager list --available. This will give you the Pool ID you need next.

Use that Pool ID in the following command: sudo subscription-manager attach --pool={pool id from previous step}
Next, sudo subscription-manager repos --enable=rhel-7-server-dotnet-rpms
sudo yum install -y scl-utils
sudo yum install -y rh-dotnetcore11
scl enable rh-dotnetcore11 bash
Finally, prove the installation by running dotnet.
These instructions, with more explanation, can be found at the Red Hat .NET installation web page.
Create an ASP.NET MVC website
Create a directory for your new site and move the following into it.
mkdir mvc
cd mvc
Now to create the website.
dotnet new --type web
dotnet restore
dotnet run
That's it; you now have a basic ASP.NET MVC website running on your RHEL VM.
There's a tiny issue: You see, the generated code is meant to run on localhost:5000. Well, localhost is the VM, so you won't be able to view the website outside of the VM.
Before we change any code, open another PowerShell session, navigate to your VM directory, C:\DevelopmentSuite\cdk\components\rhel\rhel-ose\, and run the vagrant ssh command to get a second VM command prompt. Now you can run cURL to see the website; use the command curl localhost:5000. You'll see the HTML for the web page.
More: Viewing the site from outside the VM
This is fine, but cURL isn't exactly the user experience of choice. Instead, viewing the page from a browser would be what we really want.
Fortunately, all it takes is a change to one line of code. Unfortunately, this involves using an editor that's built into RHEL: VI. It's ... uh ... not exactly intuitive (understatement of the year right there!). In fact, it's so challenging that at this point you can just search the Internet for a "VI Cheat Sheet" and use it.
The line of code to be changed is line 18 in the file Program.cs. Change the code from .UseStartup<Startup>() to .UseStartup<Startup>.UseUrls("http://*:5000"). The following illustrates the change:

Now, after you start the program (using dotnet run), you can access the web page from your browser in your Windows host by using the IP address of your VM -- which is 10.1.2.2.
So there you have it; your first ASP.NET Core MVC web site, running on RHEL. In a production environment, you'll want to put the Kestrel web server behind NGINX or Apache ... but that's another blog post.
For additional information and articles on .NET Core visit our .NET Core web page for more on this topic.
Last updated: May 26, 2022