It's been a while since Red Hat released version 3.3 of OpenShift Container Platform, this version is full of features.
One of my favorites is the support for Pipelines (Tech Preview for now) that lets you easily integrate Jenkins builds on your OpenShift (Origin) Platform.
OpenShift Pipelines
OpenShift Pipelines are based on the Jenkins Pipeline plugin. (https://jenkins.io/solutions/pipeline/)
Integrating Jenkins Pipelines into OpenShift unlocks all the features for the CI/CD world enabling its users to easily manage repeatable tasks in the easiest way.
As you can imagine OpenShift lets you run a containerized version of the Jenkins container in one of your projects and then, after setting the right permission for the Jenkins' ServiceAccount, it'll do the job for you.
Pipelines are nothing more than a BuildConfig with type 'JenkinsPipeline'.
But let's take a more in-depth look using this simple scenario below:
- Jenkins OpenShift project: The base project, handling the Jenkins container and all the pipelines.
- Development OpenShift project: The project used for the development environment, it will handle the BuildConfig for building the app from source.
- Testing OpenShift project: The project used for the testing environment, it will not use any BuildConfig and it'll expect ImageStream to be the only source for new deployments.
We'll create two Pipelines that will simulate a Continuous Integration scenario:
- Development Pipeline: It will trigger the BuildConfig for the development project and handle its deployment.
- Testing Pipeline: It will handle the tagging/pulling/pushing operations to let the image flow from development project to testing project and then it will schedule a new deployment.
OpenShift start
First of all, I'll start my OpenShift cluster, you can skip to the next section in case you're already up & running.
For running OpenShift on my laptop, the easiest and fastest method I found is "oc cluster up". All you need to do is to have a working Linux container daemon and an updated origin-clients package. On Fedora 25 I've successfully installed "origin-clients-1.3.1" from the default repos.
So that's all, let's "oc cluster up" my OpenShift platform:
[alex@freddy ~]$ oc cluster up --host-data-dir=/var/lib/origin/openshift.local.data --use-existing-config --version=v1.3.1 --public-hostname=192.168.123.1

-- Checking OpenShift client ... OK

-- Checking Docker client ... OK

-- Checking Docker version ... OK

-- Checking for existing OpenShift container ... Deleted existing OpenShift container

-- Checking for openshift/origin:v1.3.1 image ... OK

-- Checking Docker daemon configuration ... OK

-- Checking for available ports ...

-- Checking type of volume mount ... Using nsenter mounter for OpenShift volumes

-- Creating host directories ... OK

-- Finding server IP ... Using public hostname IP 192.168.123.1 as the host IP Using 192.168.123.1 as the server IP

-- Starting OpenShift container ...

Starting OpenShift using container 'origin'

Waiting for API server to start listening

OpenShift server started

-- Installing registry ... OK

-- Installing router ... OK

-- Importing image streams ... OK

-- Importing templates ... OK

-- Login to server ... OK

-- Creating initial project "myproject" ...

Now using project "myproject" on server "https://192.168.123.1:8443".

-- Server Information ...

OpenShift server started.

The server is accessible via web console at:

https://192.168.123.1:8443

You are logged in as:

User: developer

Password: developer

To login as administrator:

oc login -u system:admin
Please note: I've manually created the "host-data" folder, the other options used are self-explanatory.
The Jenkins project
We should now be ready to sign into our OpenShift platform. 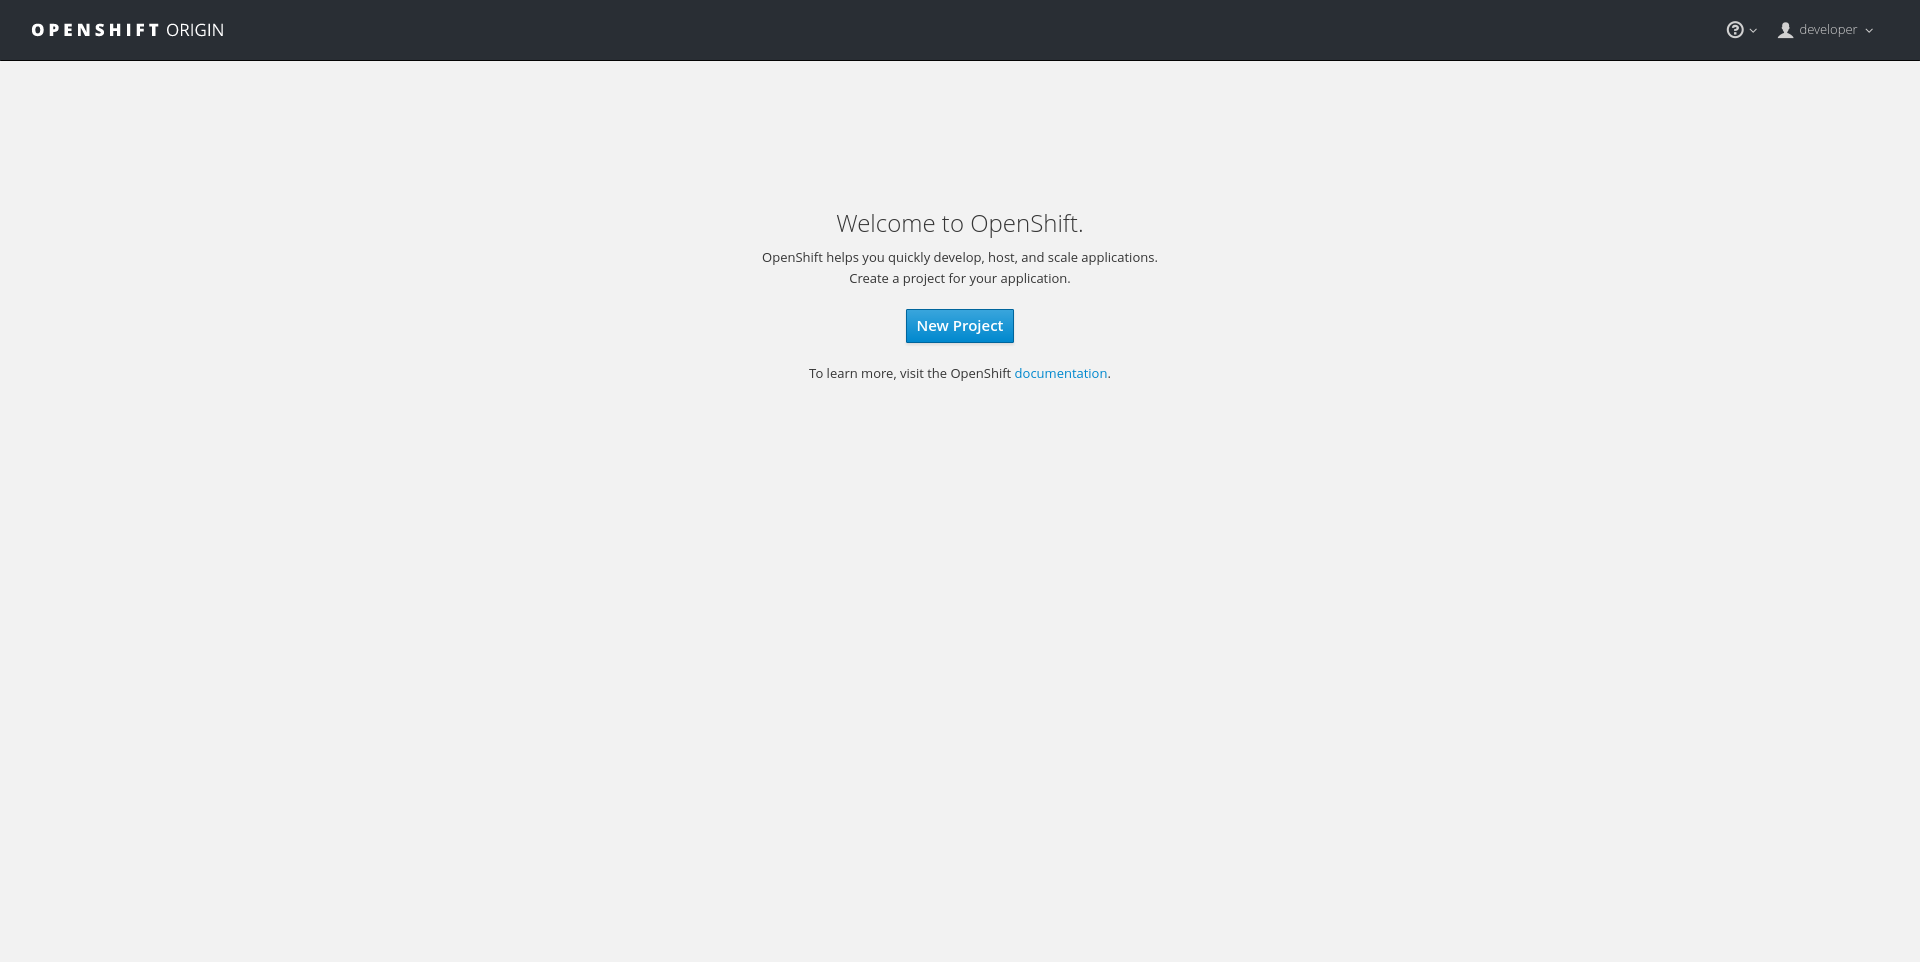
Now, let's create our first project, the Jenkins project:

Select the "Jenkins ephemeral" template.

Leave all the parameters set to default and press create. At the end, you should see a notice like the following: Make a note of the generated password. You may need this in the future. (Anyway you can easily recover it should you need it).

Enabling Pipelines feature (currently in Tech Preview)
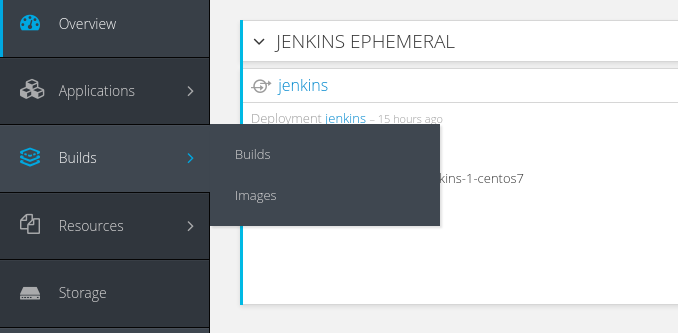
As you can see by clicking on the Builds tab menu, there is no trace of the Pipelines support. As specified in the title this feature is a tech preview, so we need to activate it.
For activating the Pipelines feature we need to create a JS config file, for enabling it:
# echo "window.OPENSHIFT_CONSTANTS.ENABLE_TECH_PREVIEW_FEATURE.pipelines = true;" >> /var/lib/origin/openshift.local.config/master/tech-preview.js
Please note: You can create the file in a location you prefer. Then we need to inject the file through the master-config.yaml file, in my case, using "oc cluster up", it's located in "/var/lib/origin/openshift.local.config/master/". Place the following lines in your config file:
assetConfig: ... extensionScripts: - /var/lib/origin/openshift.local.config/master/tech-preview.js
Then restart your OpenShift master. You should then be able to find the Pipelines section under the Builds tab:

We're almost ready to start working on our pipelines.
The development project
We can now create the development project, which we'll use as a root for source building:
$ oc new-project development --display-name="Development" --description="Development project"

Now using project "development" on server "https://192.168.123.1:8443".
We can now use the template I just prepared for our development environment. In this demo, we'll use the nodejs-example application available in the standard set of the OpenShift templates. Let's populate the just created development project:
$ oc new-app https://raw.githubusercontent.com/alezzandro/nodejs-ex/master/openshift/templates/nodejs-dev.json

--> Deploying template nodejs-example for "https://raw.githubusercontent.com/alezzandro/nodejs-ex/master/openshift/templates/nodejs-dev.json"
Node.js
---------
This is an example of a Node.js application with no database. For more information about using this template, including OpenShift considerations, see https://github.com/openshift/nodejs-ex/blob/master/README.md.The following service(s) have been created in your project: nodejs-example.
For more information about using this template, including OpenShift considerations, see https://github.com/openshift/nodejs-ex/blob/master/README.md.
* With parameters:
* Name=nodejs-example
* Namespace=openshift
* Memory Limit=512Mi
* Git Repository URL=https://github.com/alezzandro/nodejs-ex.git
* Git Reference=
* Context Directory=
* Application Hostname=
* GitHub Webhook Secret=cR48n2GX67ADfxwi63uGomiXjxgMUCEykekbNR0G # generated
* Generic Webhook Secret=Hvx3stEhQuAmKPnjaujQHvYFV1cl1cvmh4IjXnri # generated
* Database Service Name=
* MongoDB Username=
* MongoDB Password=
* Database Name=
* Database Administrator Password=
* Custom NPM Mirror URL=--> Creating resources with label app=nodejs-example ...
service "nodejs-example" created
route "nodejs-example" created
imagestream "nodejs-example" created
buildconfig "nodejs-example" created
deploymentconfig "nodejs-example" created
--> Success
Use 'oc start-build nodejs-example' to start a build.
Run 'oc status' to view your app.
As you can see by running "oc get pods", no deployment has started so no pods will be seen. This is a wanted behavior because we want to manage the build process and the deployment through a Jenkins' Pipeline. For achieving this, I've just edited the original nodejs-ex template and removed all the triggers from the DeploymentConfig. Looking at our development project we'll have created the following elements at the end: A BuildConfig, an ImageStream, a DeploymentConfig, a Route and a Service.
$ oc get all

NAME

bc/nodejs-example

NAME

is/nodejs-example

NAME

dc/nodejs-example

NAME

routes/nodejs-example

NAME

svc/nodejs-example
The testing project
We can now setup the testing project, like the development project I've already set up a template, removing the BuildConfig section. We'll promote the container built in the development project to testing, using Jenkins Pipeline. Let's create and populate the environment:
$ oc new-project testing --display-name="Testing" --description="Testing project"

Now using project "testing" on server "https://192.168.123.1:8443".
You can add applications to this project with the 'new-app' command. For example, try:
oc new-app centos/ruby-22-centos7~https://github.com/openshift/ruby-ex.git
to build a new example application in Ruby.
$ oc new-app https://raw.githubusercontent.com/alezzandro/nodejs-ex/master/openshift/templates/nodejs-test.json
--> Deploying template nodejs-example for "https://raw.githubusercontent.com/alezzandro/nodejs-ex/master/openshift/templates/nodejs-test.json"Node.js
---------
This is an example of a Node.js application with no database. For more information about using this template, including OpenShift considerations, see https://github.com/openshift/nodejs-ex/blob/master/README.md.The following service(s) have been created in your project: nodejs-example.
For more information about using this template, including OpenShift considerations, see https://github.com/openshift/nodejs-ex/blob/master/README.md.
* With parameters:
* Name=nodejs-example
* Namespace=openshift
* Memory Limit=512Mi
* Git Repository URL=https://github.com/alezzandro/nodejs-ex.git
* Git Reference=
* Context Directory=
* Application Hostname=
* GitHub Webhook Secret=XFlNUpDsLBotlrcyAnRQdLkKyq65iKE6xOMxqQr5 # generated
* Generic Webhook Secret=LX3PdBcU4dTKPyvTi8aw02VeXBjCxuJpyA7kgV8c # generated
* Database Service Name=
* MongoDB Username=
* MongoDB Password=
* Database Name=
* Database Administrator Password=
* Custom NPM Mirror URL=--> Creating resources with label app=nodejs-example ...
service "nodejs-example" created
route "nodejs-example" created
imagestream "nodejs-example" created
deploymentconfig "nodejs-example" created
--> Success
Run 'oc status' to view your app.
As you can see by running "oc get pods", no deployment has started so no pods will be seen. This is a wanted behavior because we want to manage the deployment through a Jenkins' Pipeline. For achieving this, I've just edited the original nodejs-ex template and removed all the triggers from the DeploymentConfig. Looking at our testing project we'll have at the end the following elements created:
$ oc get all

NAME

is/nodejs-example

NAME

dc/nodejs-example

NAME

routes/nodejs-example

NAME

svc/nodejs-example
Please note: As I said before, there is no BuildConfig, we'll promote the container built in the development project to testing, using Jenkins Pipeline.
Pipelines definition and import
Ok, we're now ready to define our Pipelines. I've prepared two Jenkins' pipelines, one for the development project and one for the testing project. Return back to the Jenkins project and import the two BuildConfigs containing the pre-configured pipelines:
$ oc project jenkins

Now using project "jenkins" on server "https://192.168.123.1:8443".
$ oc create -f https://raw.githubusercontent.com/alezzandro/nodejs-ex/master/openshift/pipeline/development-pipeline.yaml
buildconfig "development-pipeline" created$ oc create -f https://raw.githubusercontent.com/alezzandro/nodejs-ex/master/openshift/pipeline/promote2testing-pipeline.yaml
buildconfig "testing-pipeline" created$ oc get bc
NAME TYPE FROM LATEST
development-pipeline JenkinsPipeline 0
testing-pipeline JenkinsPipeline 0
We can now take a look a what the two pipelines will be able to do.
Jenkins development pipeline
apiVersion: v1

kind: BuildConfig

metadata:

annotations:

pipeline.alpha.openshift.io/uses: '[{"name": "nodejs-example", "namespace": "development",

"kind": "DeploymentConfig"}]'

creationTimestamp: 2016-12-22T13:54:23Z

labels:

app: jenkins-pipeline-development

name: development-pipeline

template: application-template-development-pipeline

name: development-pipeline

namespace: jenkins

resourceVersion: "5781"

selfLink: /oapi/v1/namespaces/jenkins/buildconfigs/development-pipeline

uid: 24c166c2-c84e-11e6-b4f7-68f7286606f4

spec:

output: {}

postCommit: {}

resources: {}

runPolicy: Serial

source:

type: None

strategy:

jenkinsPipelineStrategy:

jenkinsfile: |-

node('maven') {

stage 'build'

openshiftBuild(buildConfig: 'nodejs-example', showBuildLogs: 'true', namespace: 'development')

stage 'deploy'

openshiftDeploy(deploymentConfig: 'nodejs-example', namespace: 'development')

}

type: JenkinsPipeline

...
As you can see this BuildConfig's type is: "JenkinsPipeline" with a well-defined "JenkinsPipelineStrategy" defined through a "JenkinsFile". The pipeline itself is composed of two stages:
- Build: we start the build process in the project/namespace "development" through the "BuildConfig" named: "nodejs-example".
- Deploy: after the build, we can then start a new deployment in the project/namespace "development" through the "DeploymentConfig" named: "nodejs-example".
Jenkins testing pipeline
$ oc get bc/testing-pipeline -o yaml

apiVersion: v1

kind: BuildConfig

metadata:

annotations:

pipeline.alpha.openshift.io/uses: '[{"name": "nodejs-example", "namespace": "testing",

"kind": "DeploymentConfig"}]'

creationTimestamp: 2016-12-22T13:54:30Z

labels:

app: jenkins-pipeline-testing

name: testing-pipeline

template: application-template-testing-pipeline

name: testing-pipeline

namespace: jenkins

resourceVersion: "5994"

selfLink: /oapi/v1/namespaces/jenkins/buildconfigs/testing-pipeline

uid: 292fa5e5-c84e-11e6-b4f7-68f7286606f4

spec:

output: {}

postCommit: {}

resources: {}

runPolicy: Serial

source:

type: None

strategy:

jenkinsPipelineStrategy:

jenkinsfile: |-

node('maven') {

stage 'tag'

openshiftTag(namespace: 'development', sourceStream: 'nodejs-example', sourceTag: 'latest', destinationNamespace: 'testing', destinationStream: 'nodejs-example', destinationTag: 'latest')

stage 'deploy'

openshiftDeploy(deploymentConfig: 'nodejs-example', namespace: 'testing')

}

type: JenkinsPipeline

...
As in the previous BuildConfig, you can see this BuildConfig's type is: "JenkinsPipeline" with a well-defined "JenkinsPipelineStrategy" defined through a "JenkinsFile". The pipeline itself is composed of two stages:
- Tag: we tag the latest ImageStream built on "development" project, setting the destination to "testing" project. Through this action, we're promoting the image from dev to test environment.
- Deploy: after the image promotion, we can then deploy the new image in the "testing" project through the "DeploymentConfig" named: "testing".
Jenkins Service Account
Now, we need to enable Jenkins service account (sa) to access and edit resources on "development" and "testing" project:
$ oc policy add-role-to-user edit system:serviceaccount:jenkins:jenkins -n testing

$ oc policy add-role-to-user edit system:serviceaccount:jenkins:jenkins -n development
Run the pipelines!
We're now ready to see the pipelines in action! You can access the Pipelines page through Builds->Pipelines. 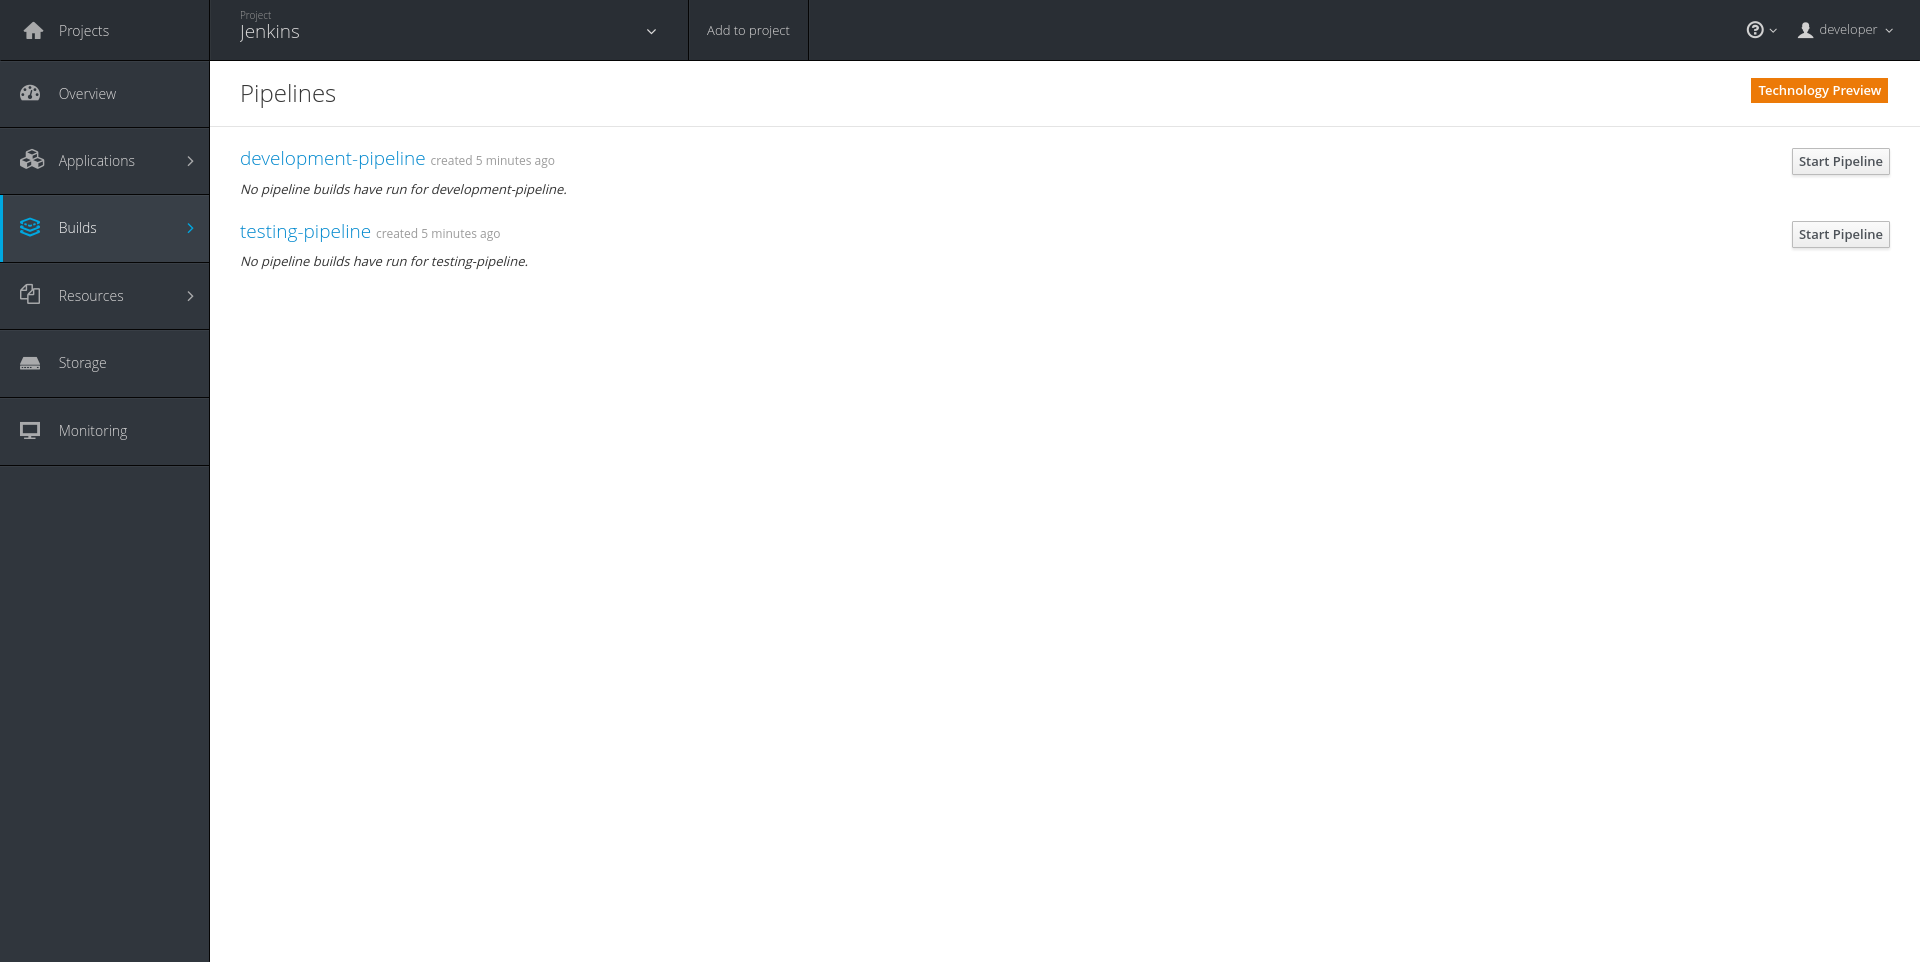
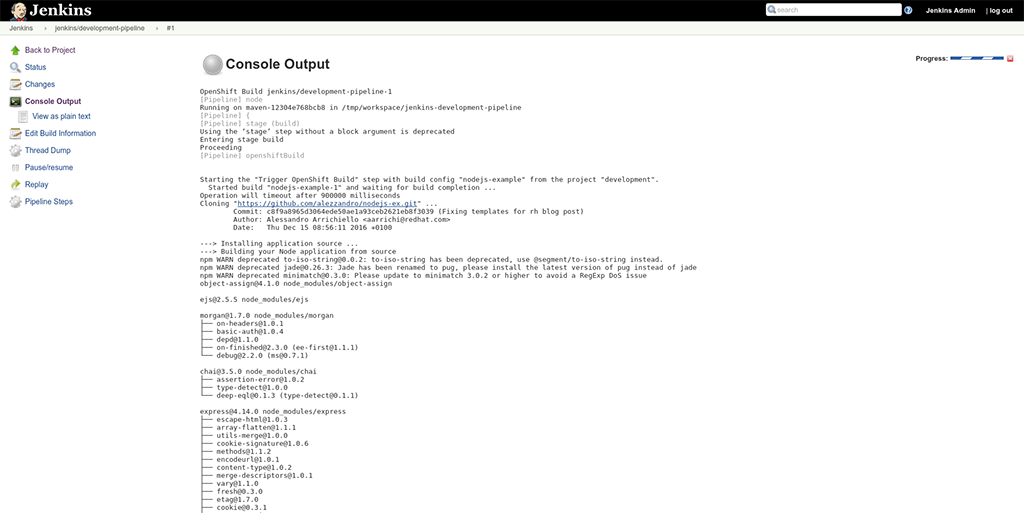
We're almost ready, just click on the "Start Pipeline" button for the "development-pipeline". You'll see the Build starting and moving forward: 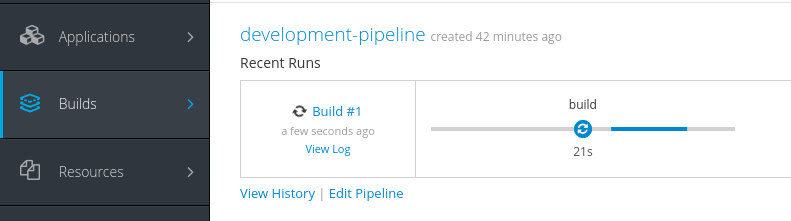
Clicking on the "View Log" link will redirect you to the Jenkins login page. You can gain access through user "admin" and the generated password. The password is in the environment variables for the Jenkins pod.
At end of the process, you'll see all the steps completed and marked in green: 
We now have at least one image ready for the promotion process. We can start the testing-pipeline: 
Finally, we can check the result by querying OpenShift using the web interface: Development project: 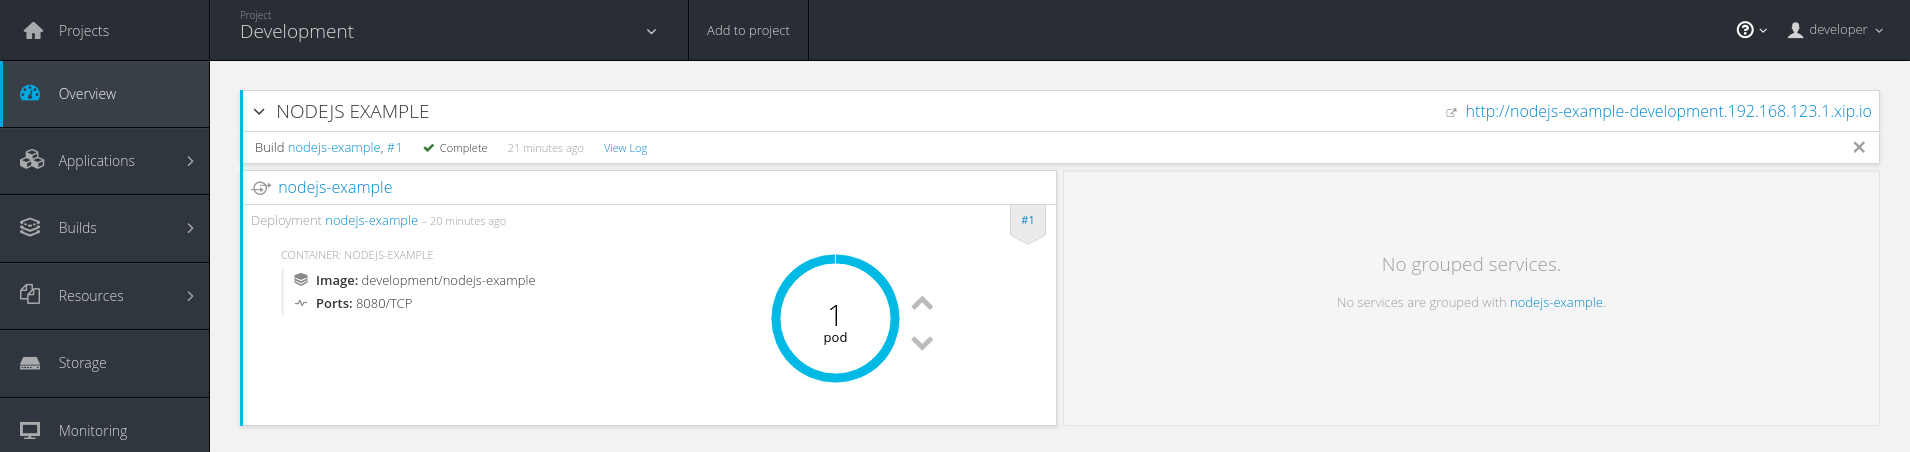
Testing project: 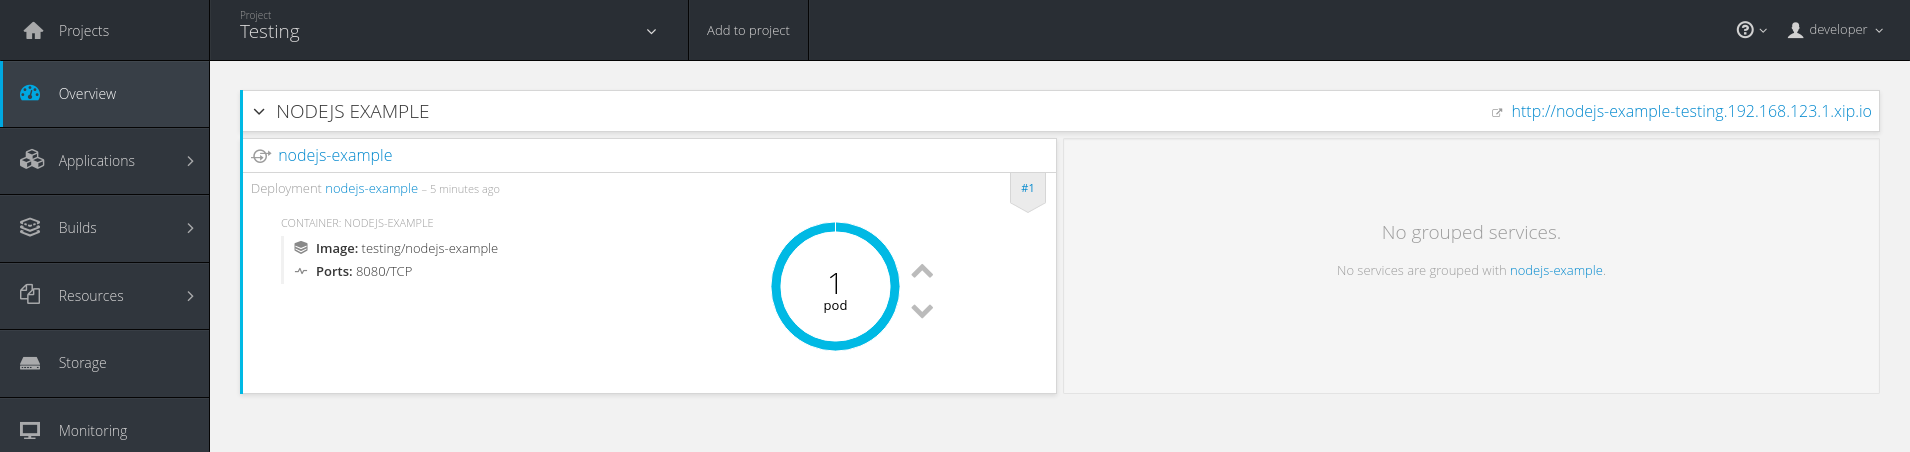
Or by console:
$ oc project development

Now using project "development" on server "https://192.168.123.1:8443".
$ oc get pods
NAME READY STATUS RESTARTS AGE
nodejs-example-1-build 0/1 Completed 0 23m
nodejs-example-1-trurc 1/1 Running 0 22m$ oc project testing
Now using project "testing" on server "https://192.168.123.1:8443".$ oc get pods
NAME READY STATUS RESTARTS AGE
nodejs-example-1-b1kcf 1/1 Running 0 19m
That's all! Should you have any doubts, please comment!
About Alessandro
 Alessandro Arrichiello is a Platform Consultant for Red Hat Inc. He has a passion for GNU/Linux systems, that began at age 14 and continues today. He worked with tools for automating Enterprise IT: configuration management and continuous integration through virtual platforms. He's now working on distributed cloud environment involving PaaS (OpenShift), IaaS (OpenStack) and Processes Management (CloudForms), Containers building, instances creation, HA services management, workflows build.