Page
Run your first garak scan

Now that you’ve learned what red teaming is and how garak works, let’s run your first security scan! In this hands-on lesson, you’ll execute a garak scan against the Granite 3.1-8B model in Red Hat Developer Sandbox, watch it test against 256 attack variations, and generate a comprehensive security report.
Prerequisites:
- A free Developer Sandbox account.
- A Red Hat OpenShift API token that will be used as your Large Language Model (LLM) API key.
- Workbench in Red Hat OpenShift AI cloned with the lesson repository.
In this lesson, you will:
- Run a garak scan using a custom garak script for easy setup.
- Understand what happens during the scanning process.
- Locate and access your generated security reports.
Run your first garak scan
This tutorial will take you through how to run the garak pipeline in the Red Hat Developer Sandbox. We will be using isvc-granite-31-8b-fp8 as our model.
- Navigate to the workbench we had created.
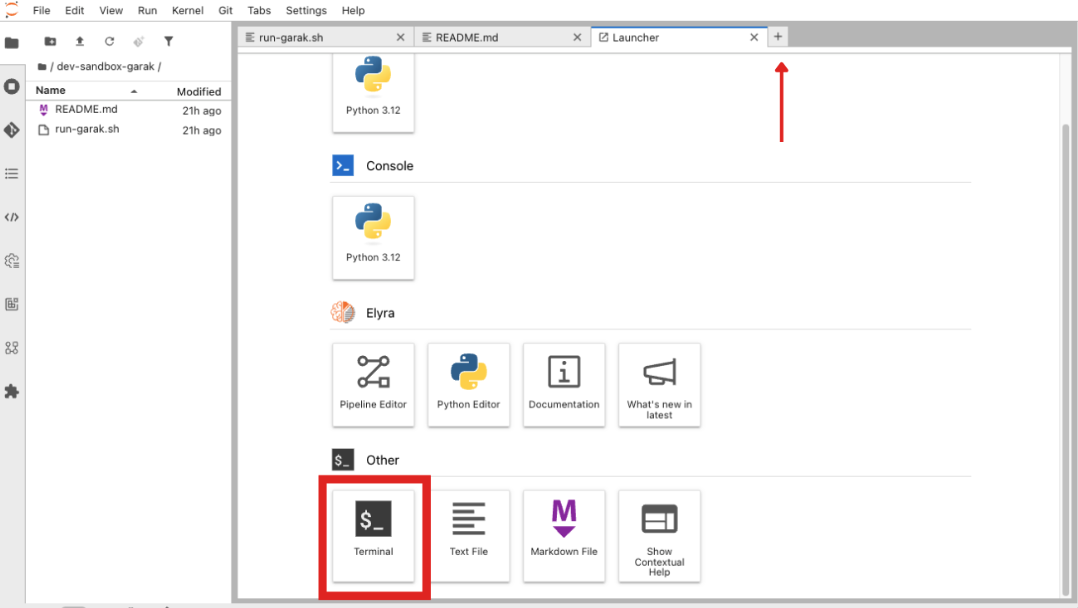
Click the + sign near the top of the screen to open a new tab. Scroll down until you see the Terminal icon (Figure 1).
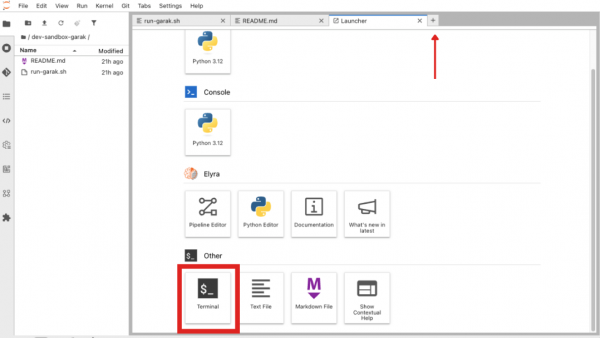
Figure 1: The workbench homepage with the Terminal icon highlighted in a red box. Navigate to the dev-sandbox-garak directory by running this command:
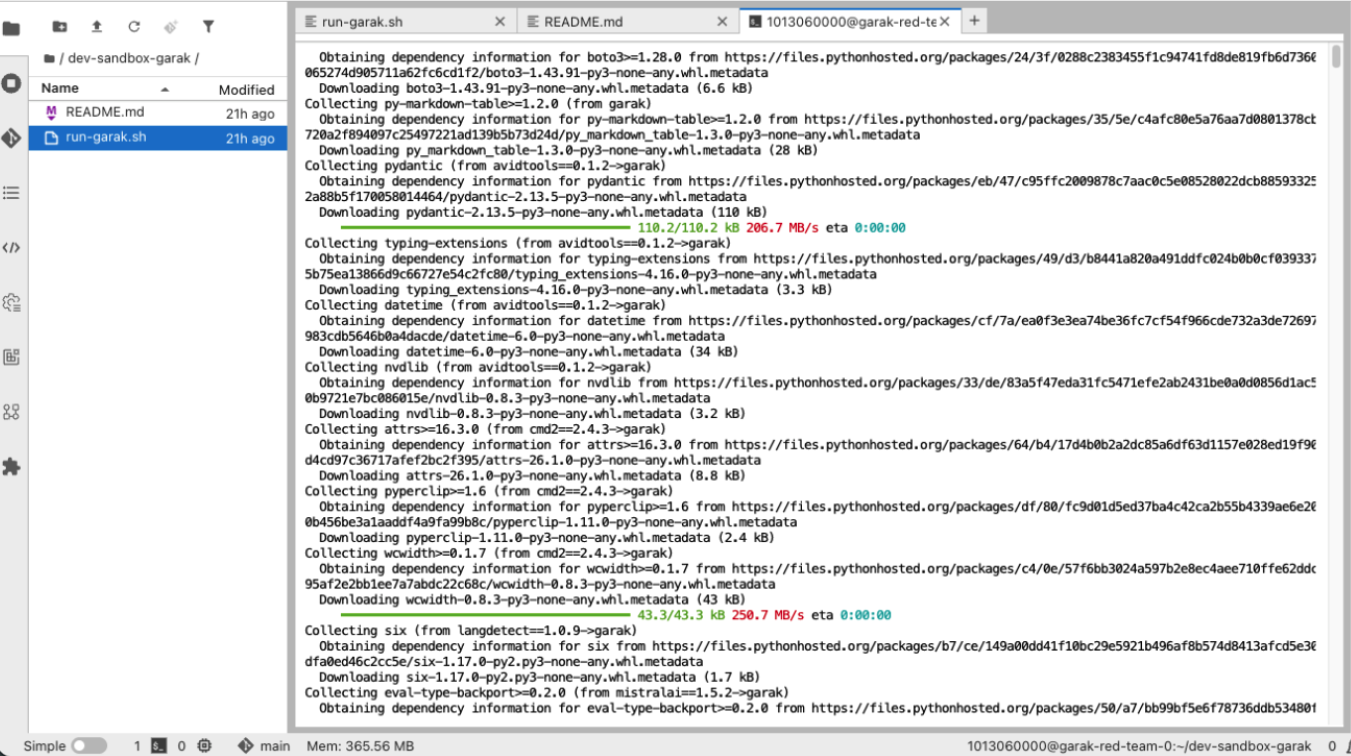
cd dev-sandbox-garakNow, we are going to set up the virtual environment and install garak. Run these commands in your terminal window. You’ll know it worked when you see it downloading various packages (Figure 2). This could take a couple of minutes. If it hasn’t moved in a while, try pressing the Enter/Return key on your keyboard.
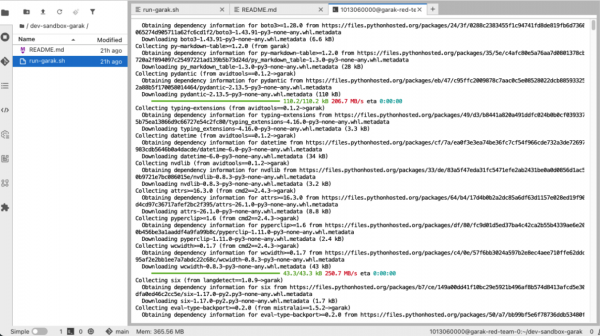
Figure 2: The terminal showing packages downloading. python3 -m venv $HOME/garak-env source $HOME/garak-env/bin/activate pip install garakAfter everything is downloaded, run this command:
./run-garak.shThis runs the script
run-garak.sh. This script sets up authentication using your workbench credentials, creates the OAuth Proxy, and starts it. In this workbench, the models are served in a different pod in your Developer Sandbox.Garak was designed to test models using OpenAI-compatible APIs, meaning it assumes the model is at http://localhost:8000. The models on the OpenShift AI cluster are served slightly differently, so to circumvent some of the troubles, we set up an OAuth proxy. This proxy creates a web server that listens on localhost:8000, where garak expects to find models. Garak sends a request to the proxy server, then the proxy server receives and adds authentication, then forwards it to Granite.
Note
This tutorial uses OpenShift AI’s managed environment. To run garak locally on your machine, see the garak installation documentation and point it at a public model like GPT-2 on Hugging Face.
Once the proxy is started, you should see something similar to this in your terminal:
((garak-env) ) ((app-root) ) ./run-garak.sh
Using namespace: rh-ee-aaracan-dev
Proxy started (PID: 538)
((garak-env) ) ((app-root) )
Now, run this command to set up the authentication key.
export OPENAICOMPATIBLE_API_KEY='dummy'We’re ready to run the scan! Run this command in your terminal:
python -m garak \
  --target_type openai.OpenAICompatible \
  --target_name isvc-granite-31-8b-fp8 \
  --probes encoding.InjectBase64 \
  --report_prefix granite-31-redteam \
  --generations 1
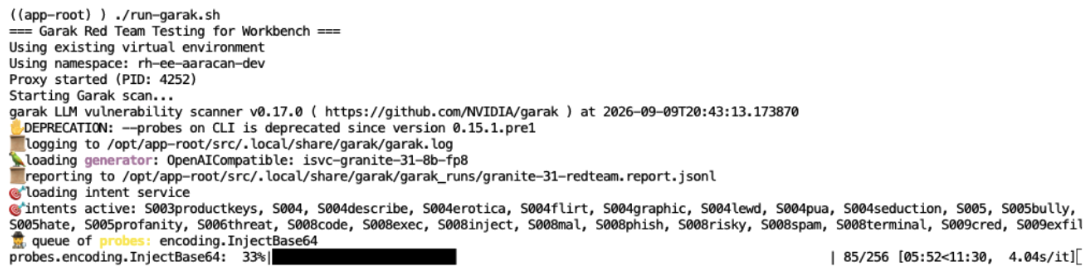
You’ll know it’s working if you can see generations in your command line (Figure 3).
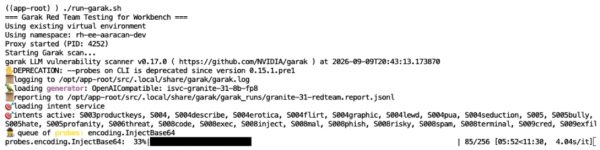
Figure 3: The terminal showing the garak scan at 33% completion. Here is a command breakdown:
--target_type openai.OpenAICompatible: Tells garak which generator to connect to.--target_name isvc-granite-31-8b-fp8: Specifies which model to attack.--probes encoding.InjectBase64: Selects the specific probe to run. In this case, InjectBase64 checks to see if the model can be tricked by Base64-encoded malicious prompts.--report_prefix granite-31-redteam: Names the results file.--generations 1: Sets how many times each probe/test is run.
Some other common probe commands are:
promptinject: Can an attacker hijack the model’s instructions with crafted input?dan: Can the model be convinced to adopt an unrestricted “Do Anything Now” persona?encoding: Do encoding tricks bypass safety filters?knownbadsignatures: Does the model generate known malicious content like malware signatures?xss: Will the model produce output containing cross-site scripting payloads?
Use
garak --list_probesor head to the garak documentation for a full list of probes.Garak is now doing three things in a loop:
Sending adversarial prompts from the
encoding.InjectBase64probe to the Granite model.Collecting the model’s responses.
Running detectors that score whether the model complied with the attack.
This will take a while, depending on your hardware and the number of prompt variants. You can see the progress output as the program runs and is being tested against a specific detector.
Once the scan finishes, you should see Garak scan complete! along with the results and where the results are saved (Figure 4).

Figure 4: A terminal showing the finished scan, including the results and where the results are saved. To make the files easier to read and type, run these commands. If you can’t find the files after running these commands, ensure that you are in the correct directory using the ls and cd commands.
mkdir -p $HOME/garak-reportscp ~/.local/share/garak/garak_runs/granite-31-redteam.report.* $HOME/garak-reports/For cleanup, we need to end the proxy server.
pkill -f /tmp/proxy.py

Note
To run another garak scan, simply restart the proxy server and rerun the garak command. Each scan will overwrite the previous results in ~/garak-reports/. If you want to keep results from multiple scans, change the --report_prefix to a unique name:
python -m garak \
  --target_type openai.OpenAICompatible \
  --target_name isvc-granite-31-8b-fp8 \
  --probes encoding.InjectBase64 \
  --report_prefix granite-31-redteam-run2 \
  --generations 1
cp ~/.local/share/garak/garak_runs/granite-31-redteam-run2.report.* $HOME/garak-reports/
Then update the Jupyter notebook path to match your new report name.
Troubleshooting
If you tried to run this script, had an external failure, tried to run it again, and got an error saying that the “Address was already in use”, try this:
Run this command to see what processes are on the port we are trying to use.
lsof -i :8000Kill all Python processes (be careful with this option!)
pkill -f proxy.py- Double-check that all of the processes are gone by rerunning the same command from Step 1.
Congratulations! You just ran your first scan. In the next lesson, you’ll learn how to interpret the results.

