
The Windows Subsystem for Linux (WSL) has opened up a new world for developers, allowing them to run Linux distributions alongside their Windows environment. The release of WSL 2 introduced support for more Linux distributions, including Red Hat Enterprise Linux (RHEL). In this article, we'll explore the steps to get started with RHEL on WSL, enabling developers to work seamlessly with Windows and Linux environments.
Prerequisites
Before we begin, ensure that you have the following prerequisites in place:
Launch the RHEL distro on WSL
This article assumes that you have successfully installed the WSL CLI on your machine, obtained the RHEL image from the hybrid cloud, and imported the RHEL image into WSL.
Note: All following commands are performed in PowerShell with administrator permissions.
As demonstrated below, list the installed Linux distributions on your Windows Subsystem for Linux.
> wsl -l
Windows Subsystem for Linux Distributions:
rhel8 (Default)
Initiate the image launch, specifying the distribution name. For this article it is rhel8.
> wsl -d rhel8
[root@user directory]#
Verify the installed version using the following command:
[root@nagesh home]# cat /etc/os-release
NAME="Red Hat Enterprise Linux"
VERSION="8.9 (Ootpa)"
ID="rhel"
With the assistance of the subscription-manager command, register the machine on the Red Hat Insights portal using the following link.
Note: If you do not have a Red Hat account, please use the link above to create one.
Verify the current status of your system using the following command:
# subscription-manager status
Register the system using the following command, utilizing the same user ID and password as for Red Hat Insights:
# subscription-manager register
Associate the subscription with the RHEL system using the following command:
# subscription-manager attach
Update the RHEL packages using the following command:
# dnf update
Deploy sample app on WSL
This article uses a Java sample application designed to run on the Quarkus framework. However, you can employ any programming language and framework of your choice. Follow the steps below to deploy the initial hello-world app on your WSL.
Install Quarkus via the command-line interface using the following packages:
# curl -Ls https://sh.jbang.dev | bash -s - trust add https://repo1.maven.org/maven2/io/quarkus/quarkus-cli/
# curl -Ls https://sh.jbang.dev | bash -s - app install --fresh --force quarkus@quarkusio
Restart the terminal to apply the changes made by the Quarkus CLI to the RHEL distribution:
# quarkus
Generate an application using the Quarkus command as illustrated below:
# quarkus create
Inspect the application directory that is generated after executing the above command:
#cd code-with-quarkus
Execute the hello-world application using the following command:
# quarkus dev
[INFO] Invoking quarkus:3.6.1:generate-code-tests (default) @ code-with-quarkus
[INFO] Invoking compiler:3.11.0:testCompile (default-testCompile) @ code-with-quarkus
[INFO] Changes detected - recompiling the module! :dependency
[INFO] Compiling 2 source files with javac [debug release 17] to target/test-classes

----------------------------
--- Help improve Quarkus ---
----------------------------
* Learn more: https://quarkus.io/usage/
* Do you agree to contribute anonymous build time data to the Quarkus community? (y/n and enter)
y
[info] [Quarkus build analytics] Quarkus Build Analytics enabled by the user.

Listening for transport dt_socket at address: 5005
__  ____  __  _____   ___  __ ____  ______
--/ __ \/ / / / _ | / _ \/ //_/ / / / __/
-/ /_/ / /_/ / __ |/ , _/ ,< / /_/ /\ \
--\___\_\____/_/ |_/_/|_/_/|_|\____/___/
2023-12-08 15:43:37,106 INFO  [io.quarkus] (Quarkus Main Thread) code-with-quarkus 1.0.0-SNAPSHOT on JVM (powered by Quarkus 3.6.1) started in 1.503s. Listening on: http://0.0.0.0:8080

2023-12-08 15:43:37,109 INFO  [io.quarkus] (Quarkus Main Thread) Profile dev activated. Live Coding activated.
2023-12-08 15:43:37,110 INFO  [io.quarkus] (Quarkus Main Thread) Installed features: [cdi, resteasy-reactive, smallrye-context-propagation, vertx]
After successfully executing the app, you will see similar logs in your terminal as shown above.
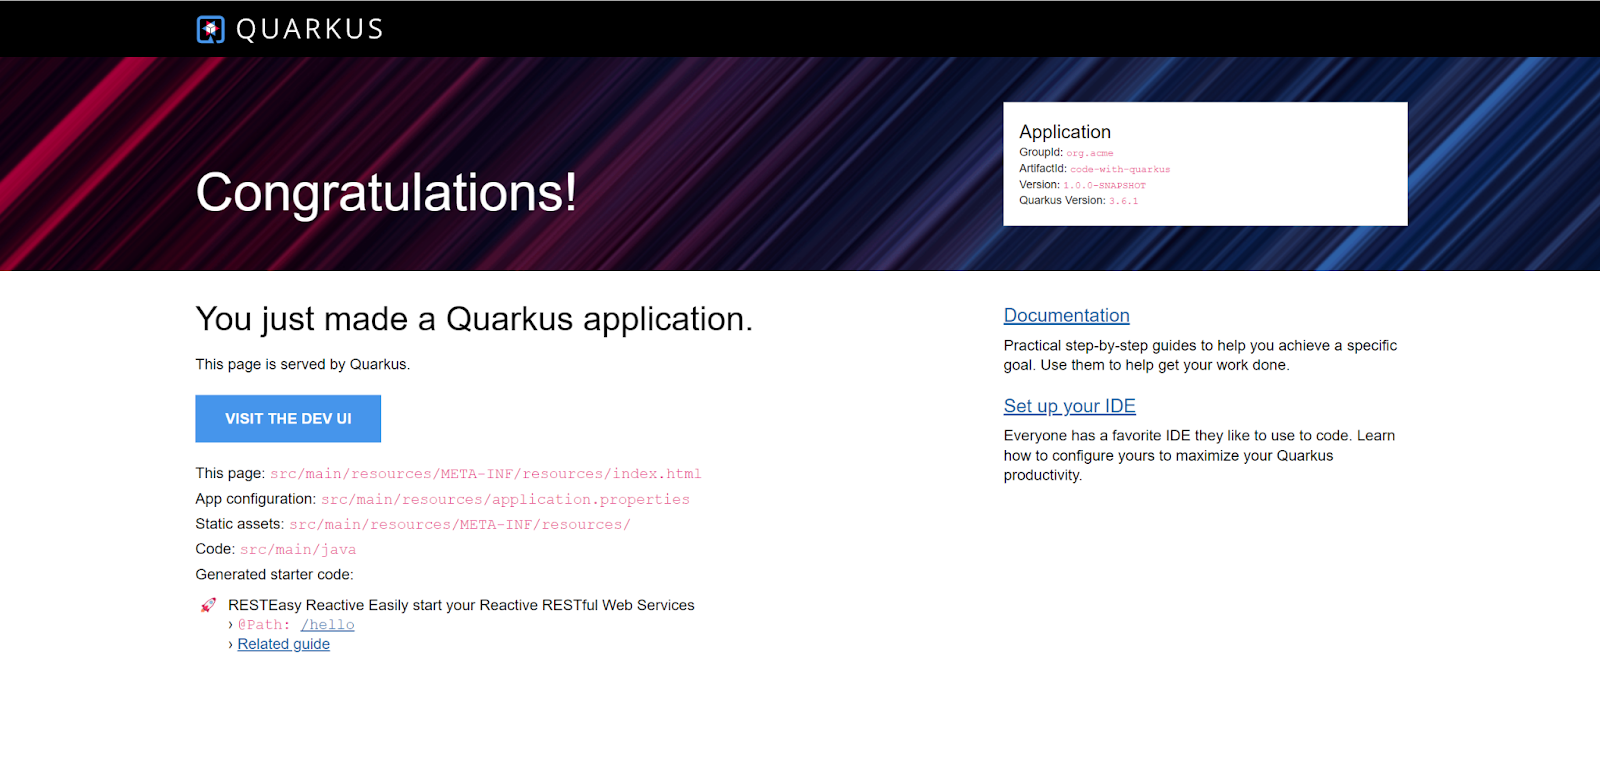
Confirm that the application is running on your system by visiting the URL in your browser: http://localhost:8080. You should see the default Quarkus web page as depicted in Figure 1.
Note: To exit from interactive mode in the terminal, press the q key.
Containerize the Quarkus application on WSL
To containerize the Quarkus application, a container management tool like Podman is required. Install it on your RHEL distribution using the following command:
# dnf install podman -y
Generate dependency files using the following command before packaging or building the container image. Ensure that you are in the application directory.
./mvnw package
Build the application image using the following podman command:
# podman build -f src/main/docker/Dockerfile.jvm -t quarkus/hello .
After a successful build, you can list the available images using the following command:
# podman images
REPOSITORY                                  TAG         IMAGE ID      CREATED         SIZE
localhost/quarkus/hello                     latest      9c5aa577f473  44 seconds ago  462 MB
registry.access.redhat.com/ubi8/openjdk-17  1.18        f5b3ec58f205  3 weeks ago     448 MB
Run the container with the recently built image localhost/quarkus/hello using the podman run command, as demonstrated below:
# podman run -it -p 8080:8080 quarkus/hello
INFO exec -a "java" java -XX:MaxRAMPercentage=80.0 -Dquarkus.http.host=0.0.0.0 -Djava.util.logging.manager=org.jboss.logmanager.LogManager -cp "." -jar /deployments/quarkus-run.jar
INFO running in /deployments
__  ____  __  _____   ___  __ ____  ______
--/ __ \/ / / / _ | / _ \/ //_/ / / / __/
-/ /_/ / /_/ / __ |/ , _/ ,< / /_/ /\ \
--\___\_\____/_/ |_/_/|_/_/|_|\____/___/
2023-12-08 11:42:08,350 INFO  [io.quarkus] (main) code-with-quarkus 1.0.0-SNAPSHOT on JVM (powered by Quarkus 3.6.1) started in 0.505s. Listening on: http://0.0.0.0:8080
2023-12-08 11:42:08,353 INFO  [io.quarkus] (main) Profile prod activated.
2023-12-08 11:42:08,353 INFO  [io.quarkus] (main) Installed features: [cdi, resteasy-reactive, smallrye-context-propagation, vertx]
Revisit http://localhost:8080 in your browser to observe the Quarkus welcome webpage, similar to the one shown above.
Find more resources
For a more profound and practical understanding of Red Hat Enterprise Linux, you can engage in thoughtfully curated hands-on labs by Red Hat. Red Hat Universal Base Images (UBI) are container-based and operating system images with complementary runtime languages and packages. Try Red Hat UBI on the curated Red Hat UBI hands-on lab.
As a result of this article, we have successfully deployed and containerized a simple hello-world Quarkus application on the RHEL distro running on a WSL-enabled Windows machine. This exemplifies the availability and flexibility of Red Hat Enterprise Linux across diverse platforms.
Furthermore, you can obtain tailored Red Hat Enterprise Linux images designed for AWS, Google Cloud Platform, Microsoft Azure, and VMware, facilitating their seamless deployment on your chosen platform.
