
Why
If you are like me, you probably prefer to install new and exploratory software in a fresh virtual machine (VM) or container to insulate your laptop/desktop from software pollution (TM). Red Hat Container Development Kit (CDK) relies on virtualization to create a Red Hat Enterprise Linux (RHEL) virtual machine to run OpenShift (based on Kubernetes). Red Hat specifically supports installation of the CDK on Windows, macOS, and RHEL Server, but if you are running Fedora, RHEL Workstation, or even CentOS, you will run into trouble. If you are not running a supported desktop, you can always use a RHEL Server virtual machine, and this tutorial is for you.
This tutorial is specific to running RHEL Server as a VM on RHEL Workstation, but these instructions should work for Fedora and CentOS. With a modification of the first step - creating a virtual machine with nested virtualization enabled (vmware, hyper-v) - you should be able to make these instructions work on Windows and macOS as well. (Note: VirtualBox does not support nested virtualization, so this will not work with VirtualBox.)
How
Create a Virtual Machine
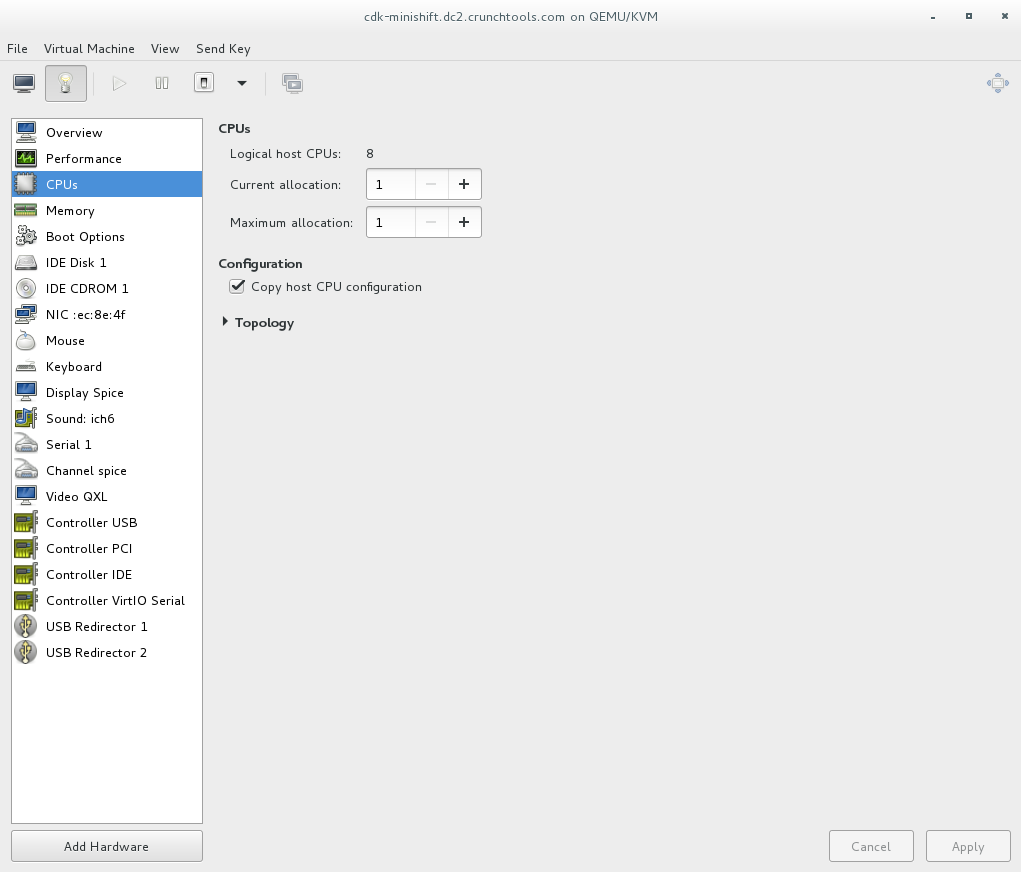
First, create a new virtual machine and do a RHEL Server installation. Personally, I use virt-manager because it makes it easy to create ephemeral virtual machines for testing. I gave my VM 8192 MB of RAM, and 1 vCPU. While creating the VM, remember to configure the CPU to copy the host configuration. This will enable Nested KVM which will allow you to run virtual machines inside of your new virtual machine - mind....blown....
Install RHEL
Download and install RHEL Server, because that's one of the supported platforms for CDK. I won't rewrite the instructions on this because most people can do this without documentation.
On the new RHEL Installation, install and configure virtualization and a few other tools to make things easier:
yum install -y qemu-kvm qemu-img libvirt virt-manager xauth firefox
Install CDK
In the newly created virtual machine enable, download, and install CDK. Remember to:
subscription-manager repos --enable rhel-7-server-devtools-rpms
subscription-manager repos --enable rhel-server-rhscl-7-rpms
cd /etc/pki/rpm-gpg
wget -O RPM-GPG-KEY-redhat-devel https://www.redhat.com/security/data/a5787476.txt
rpm --import RPM-GPG-KEY-redhat-devel
yum install cdk-minishift docker-machine-kvm
Now, setup the CDK. This will do everything for you, including putting the OC binary where it needs to be.
ln -s /root/.minishift/cache/oc/v3.7.14/linux/oc /usr/bin/oc
minishift setup-cdk
minishift start
Up and Running
These are instructions usually missed by tutorials. Notice, the oc command is automatically configured to connect to the Kubernetes/OpenShift environment in the virtual machine (which is inside the virtual machine you created - mic drop)
oc get pods
oc get pv
oc get node
You can also get directly into the CDK virtual, virtual machine by using the following command. From here you can run docker commands, look at underlying storage, etc:
minishift ssh
docker ps
docker images
Or, go into the browser console with this command. This will show you the OpenShift web console in a browser, displayed over X11 to your laptop (that's why we installed xauth). Warning, you have to disable SELinux:
setenforce 0
minishift console
Now, you have a fully functional OpenShift environment up and running, and you are ready explore just about any Kubernetes or OpenShift tutorial on the Internet. You even have persistent volumes set up for storage tests.
Tips & Tricks
Tip: if the minishift setup fails, you can always delete and start again with:
minishift delete
minishift cdk-setup
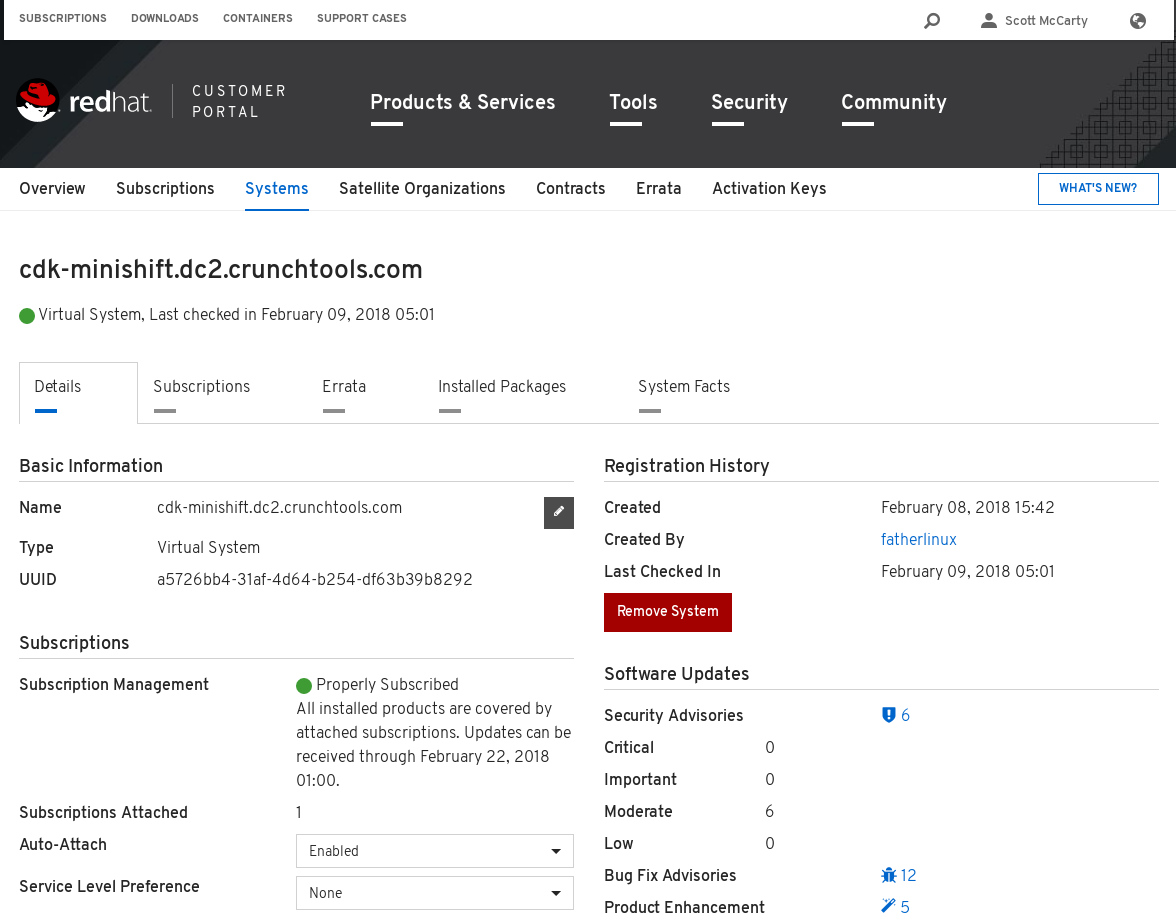
Tip: Sometimes you have to manually delete the subscription on the Red Hat Portal so that you can run the CDK setup again. Just use the Remove System button:
Tip: Since we are doing nested virtualization, every now and then you will end up with some funky network problems or other problems. Just, delete the CDK and reboot the virtual machine:
minishift delete
reboot
Last updated: December 1, 2023
