Ansible serves as a great tool for those system administrators who are trying to automate the task of system administration. From automating the task of configuration management to provisioning and managing containers for application deployments, Ansible makes it easy. In this article, we will see how we can use Ansible to provision Vagrant boxes.
So, what exactly is a Vagrant box? In simple terms, we can think of a vagrant box as a virtual machine prepackaged with the development tools we require to run our development environment. We can use these boxes to distribute the development environment which the other team members can use to work on the projects. Using Ansible, we can automate the task of provisioning the Vagrant boxes with our development packages. So, let's see how we can do this.
For this tutorial, I am using Fedora 24 as my host system and Ubuntu 14.04 (Trusty) as my Vagrant box.
Editor's note: If you want to run get started with Vagrant to provision or build containers using Red Hat Enterprise Linux with just a few clicks, check out the Red Hat Container Development Kit.
Setting up the pre-requisites
For configuring Vagrant boxes using Ansible, we will require a few things to be setup beforehand. The tutorial requires Ansible and Vagrant to be installed on the host machine. So, let's install Ansible first.
On your host machine, execute the following command to install Ansible.
sudo dnf install ansible
This will automatically Ansible and the required dependencies on your host system. To test if Ansible has been properly installed, execute the following command:
ansible --help
If you get a screen which looks somewhat similar to the one below, Ansible installed just fine for you.

Now, since we are done installing Ansible, let's install Vagrant.
To install Vagrant, execute the following command on your host system,
sudo dnf install vagrant VirtualBox
The above command will install Vagrant on your host system. As you have noticed, alongwith Vagrant, we are also installing VirtualBox. The need for installing VirtualBox is because, Vagrant doesn't provide functionality to host your virtual machines but rather depends on 3rd party providers such as VirtualBox, VMWare, etc. to actually host the VMs.
Now, since we are done with setting up the per-requisites, lets move on and create our first Vagrant box which we will soon configure using Ansible.
Setting up the Vagrant box
Editor's note: If you want to run get started with Vagrant to provision or build containers using Red Hat Enterprise Linux with just a few clicks, check out the Red Hat Container Development Kit.
Before we use Ansible to provision our box, we need to create one. So, let's start by creating a new directory which will store our files related to the Vagrant box. To create this directory and make it as our current working directory, issue the following command:
mkdir -p ~/lampbox && cd ~/lampbox
Now, we have created our directory. Let's move on to initializing our box.
Before we move on to create our box, let me explain what we will be aiming for. Our box will be a simple one which will run Ubuntu 14.04 as its base system over which we will be running Apache 2, MySQL and PHP5.
A Vagrant box can be initialized using the vagrant init command. For our tutorial, we will be initializing our box with Ubuntu 14.04 as base. Issue the following command to initialize the box:
vagrant init ubuntu/trusty64
This will initialize the Vagrant box and create a file named Vagrantfile with some pre-configured variables.
Let's open this file and modify it according to our needs.
config.vm.box = "ubuntu/trusty64"
The following line lists the base box which our configuration uses. Now, let's setup port forwarding for so that after everything is setup and running, we can test our server. To setup port forwarding, add the following line just before the end statement in Vagrantfile:
config.vm.network "forwarded_port", guest: 80, host: 8080
This will map the port 80 of our Vagrant ox to port 8080 off our host machine.
The next step is to set Ansible as our provisioning provider for the Vagrant box. Add the following lines before the end statement in your Vagrantfile to set Ansible as the provisioning provider:
config.vm.provision :ansible do |ansible|
 ansible.playbook = "lamp.yml"
 end
Here, let's focus on the statement ansible.playbook = "lamp.yml". This statement defines the name of the playbook that should be used to provision our box.
Creating our Ansible Playbook
In Ansible, Playbooks serve the purpose of describing a policy which you want to enforce on your remote nodes. They can be used to manage configurations and deployments on remote nodes. On a technical side of things, a playbook is a YAML file in which we write our tasks which we need to perform on our remote nodes. For our tutorial, we will be creating a playbook named lamp.yml to provision our box.
Let's move forward and create our playbook. To do so, create a file named lamp.yml in the same directory where your Vagrantfile is located and add the following lines to it:
- hosts: all
sudo: true
tasks: - name: Update cache
apt: update_cache=yes - name: Install Apache
apt: name=apache2 state=latest - name: Install Mysql
apt: name=mysql-server state=latest - name: Install PHP5
apt: name=php5 state=latest
Now, let's iterate over the above file and see what the individual lines mean.
hosts: all--- specifies that our playbook should run over all the hosts defined in our Ansible configuration. Since, we have not configured any hosts yet, the playbook will run on localhost.sudo: true--- states that the tasks should be performed with root privileges.tasks:--- specifies the tasks which should be performed when our playbook is run. Under the tasks section, we have - name: ... which is used to provide a descriptive name to our task.apt:--- specifies that the task should be executed by using the apt module. The statements name, state and update_cache are key=value pairs we are providing to the apt module.
So, let me explain what or playbook does here. When this playbook is executed, it will first update the apt cache and then install the latest version of Apache2, PHP5 and Mysql on our box.
Now, we are done with writing the playbook for our box. Let's move on and provision our Vagrant box.
Provisioning our box
Now, a few final steps remain before we will be using our Vagrant box provisioned using Ansible.
To run this provisioning, we move forward and execute the following command:
vagrant up --provider virtualbox
The above command will start our Vagrant box and download the base box image on the host system if it is not already present and then run our playbook lamp.yml to run the provisioning setup.
If everything works fine, you will see an output which look somewhat similar to the one shown below
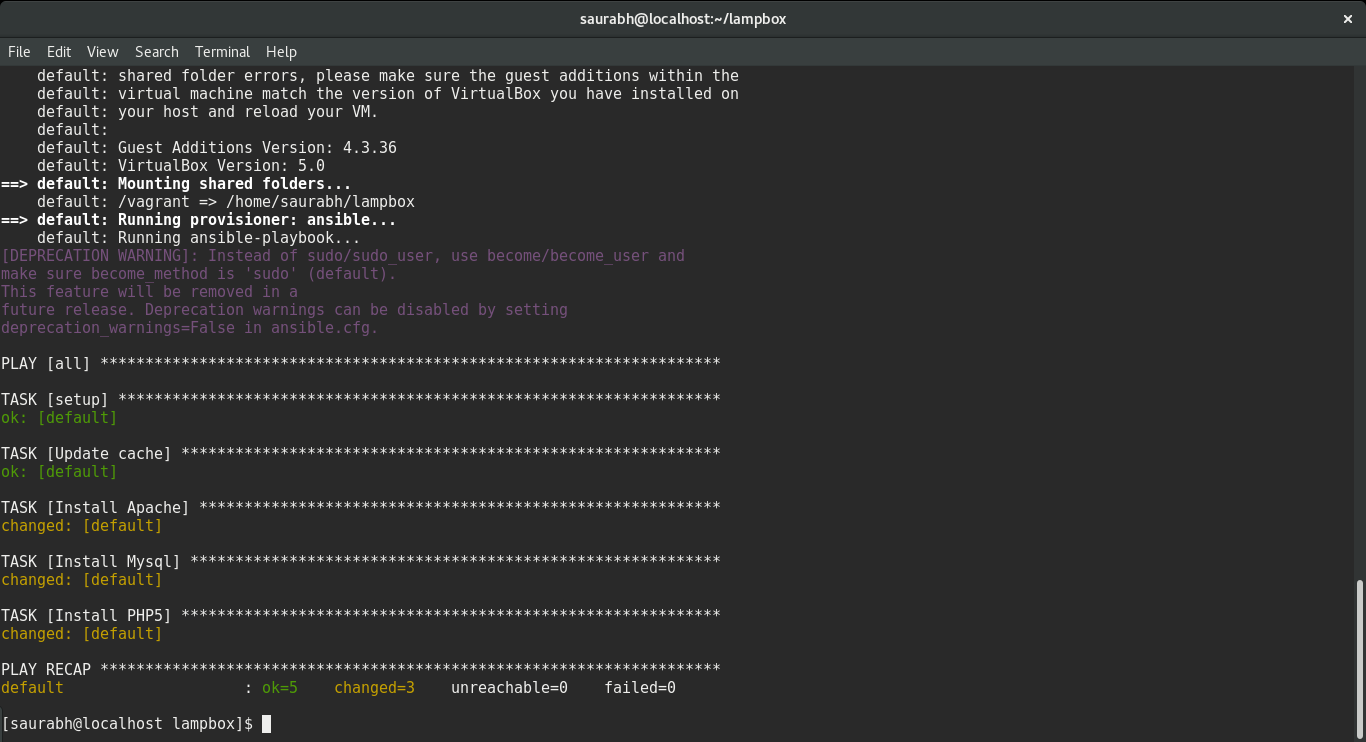
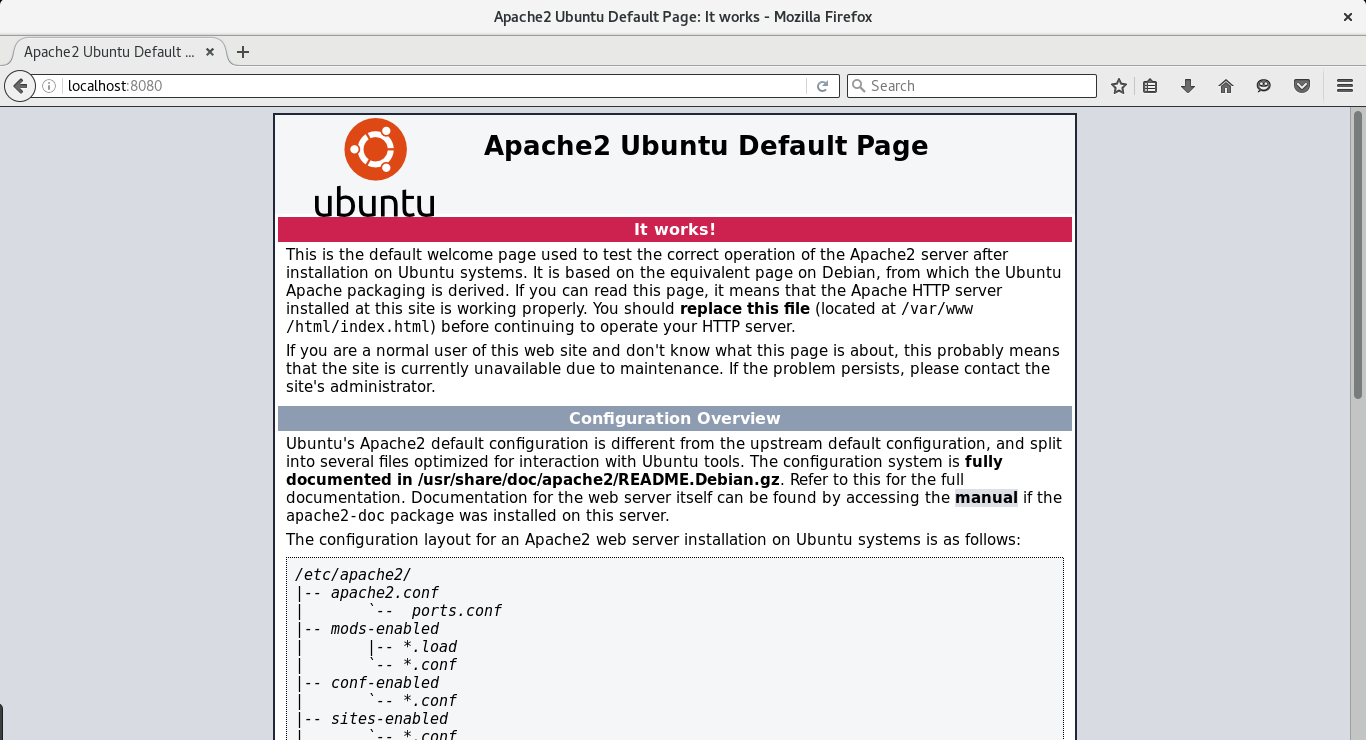
The output above shows that our box has been provisioned. Now, we can go ahead and check if our server is accessible or not. To check this, open your web browser on the host machine and type the following address: http://localhost:8080 (remember, we mapped port 8080 of our host to port 80 of our vagrant box). If everything worked good, you will be greeted with the Apache welcome page like the one shown below:
And with this, we saw how we can use Ansible to provision our Vagrant boxes. Although, this was a very basic example, but there are a lot of possibilities like deploying our complete applications along with the up-to-date version of required tools, etc.
Go ahead, try come up with something creative on how you can use Ansible to provision your remote nodes or containers.
Last updated: March 16, 2023