Overview: Launch Red Hat OpenShift Data Science
Red Hat OpenShift Data Science is a managed cloud service for data scientists and developers of intelligent applications. It provides a fully supported sandbox in which to rapidly develop, train, and test machine learning models in the public cloud before deploying them in production. When you use OpenShift Data Science, you are running in a sandbox set up in the service called Red Hat OpenShift Dedicated, which simplifies cloud operations.
In this learning path, we use a pre-existing Jupyter Notebook project to start exploring data science. Project Jupyter offers the interactive JupyterHub and JupyterLab tools, which we'll introduce in this article.
In this learning path, you will learn how to:
- Explore the OpenShift Data Science dashboard
- Launch JupyterHub
- Select options for your notebook server
- Explore the JupyterLab environment
- Clone a Git repository
- Learn how to use a Jupyter notebook
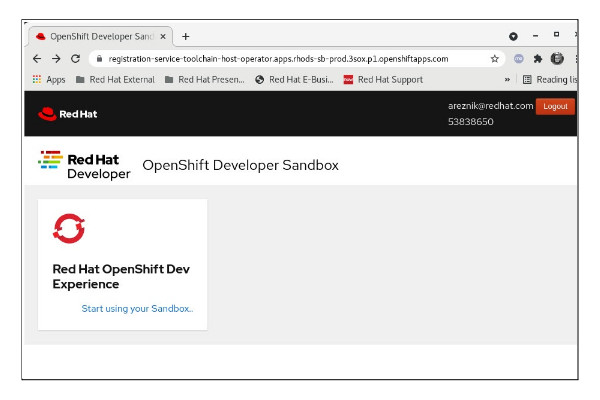
From the Red Hat OpenShift Dev Experience tile, select Start using your Sandbox (Figure 1).
A login screen will appear, as shown in Figure 2.
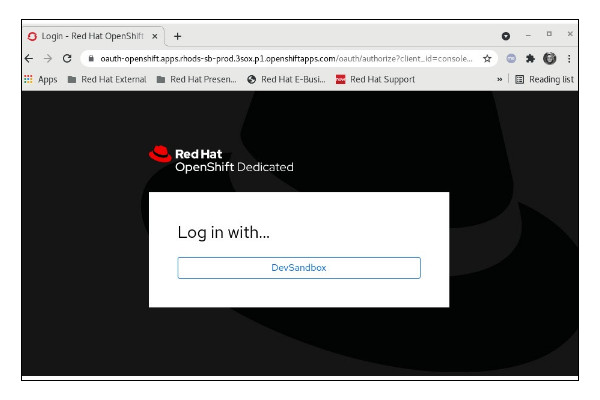
Select the DevSandbox button to continue logging in.
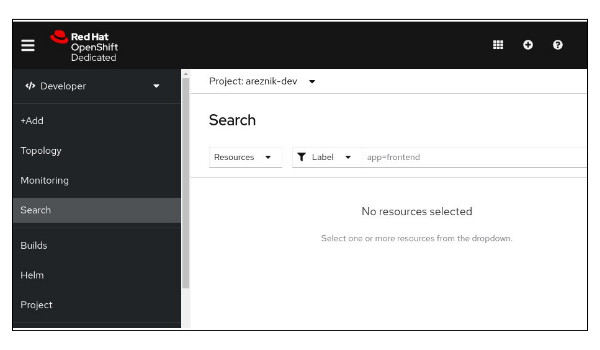
The Red Hat OpenShift Dedicated dashboard appears next (Figure 3). From this dashboard, you can launch the Red Hat OpenShift Data Science platform.
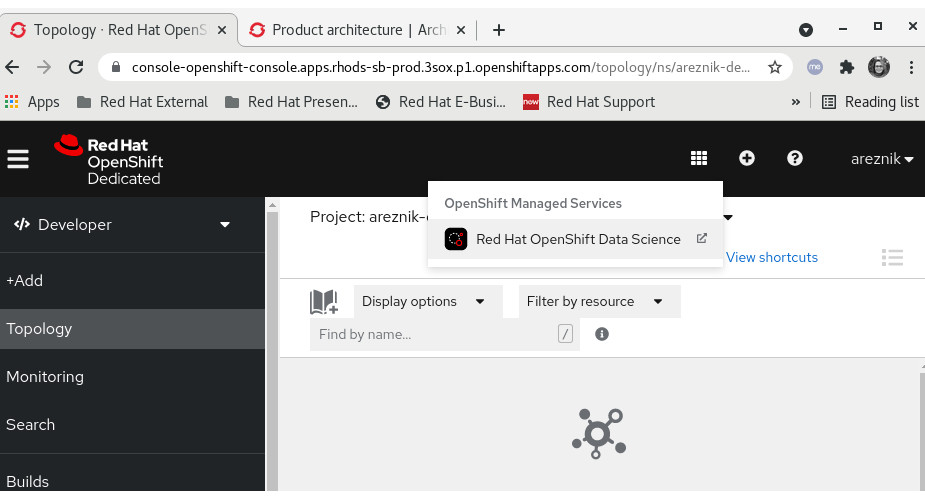
In the upper right-hand corner of the dashboard is a black-and-white icon that resembles a grid. Click this icon (Figure 4).

Under the Openshift Managed Services menu option, select Red Hat OpenShift Data Science to launch the Openshift Data Science dashboard (Figure 5).
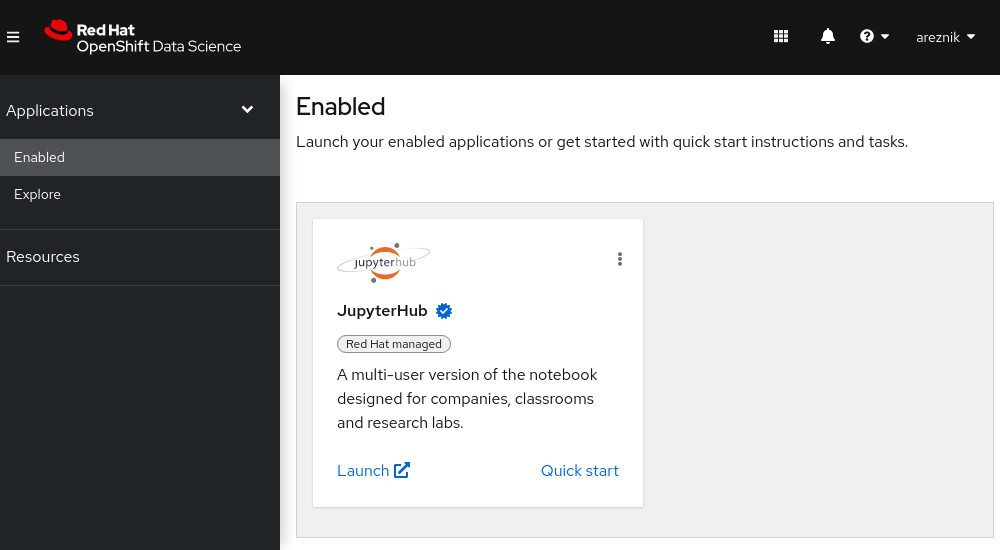
After the OpenShift Data Science dashboard launches, it displays all currently enabled applications. In this case, JupyterHub is enabled (Figure 6).
You can return to OpenShift Dedicated Console by using the launcher button (the black-and-white icon that looks like a grid), and choosing the OpenShift Console (Figure 7).

The Explore menu option takes you to a variety of available applications (Figure 8). These include:
- Red Hat managed cloud services: Applications that have been developed by Red Hat, such as OpenShift Streams for Apache Kafka.
- Partner managed services: Services created by one of Red Hat's external partners, such as Intel oneAPI AI Analytics Toolkit Container. These services are available to you in the OpenShift Data Science dashboard.
- Self-managed software: Other types of software developed by one of our external partners, such as OpenVino. This software is available to you in the Openshift Data Science dashboard.
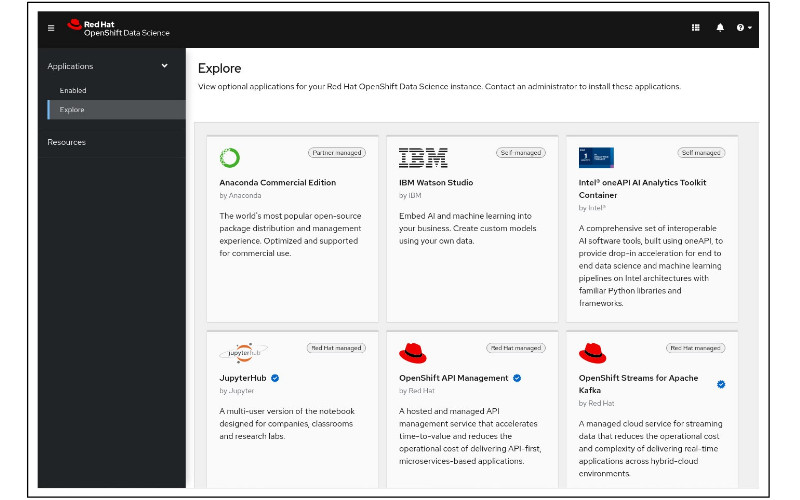
Click on any of the application tiles to learn more about each application and how to get started.
