Page
Learn how to use a Jupyter notebook
What’s a notebook?
This section provides a small introduction to Jupyter notebooks. If you’re already at ease with Jupyter, you can directly head to the next learning path in this series.
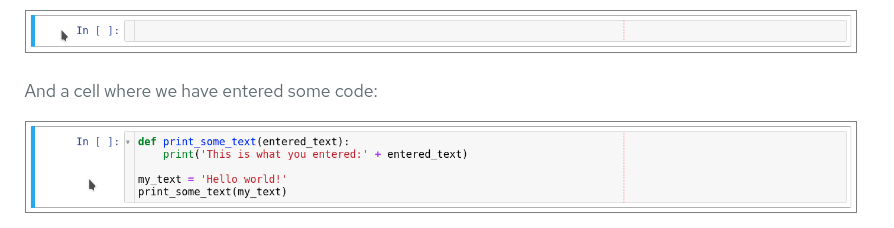
A notebook is an environment where cells display formatted text or code. Figure 17 shows an empty cell and a cell where a developer has entered some code.
Code cells contain Python code that can be run interactively. That means you can modify the code, then run it. The code will not run on your computer or in the browser, but directly in the environment you're connected to, OpenShift AI in our case.
To run a code cell, just select it (click in the cell, or on the left side of it), and click the Run button from the toolbar (Figure 18). You can also press Ctrl+Enter to run a cell, or Shift+Enter to run the cell and automatically select the following one.
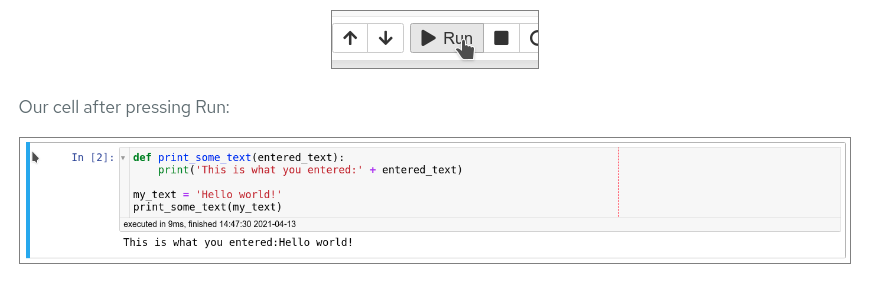
After the code runs, the cell displays the result as well as information on when this cell ran.
When you save a notebook, both the code and the results are saved. So you can always reopen the notebook to look at the results without having to run all the cells again, while still having access to the code.
Notebooks are so named because they resemble a physical notebook: they feel as if you are taking notes about your experiments (which you will do), along with the code itself, including any parameters you set. You can see the output of the experiment inline (this is the result from a cell once it’s run), along with all the notes you want to take. To take notes, switch the cell type from Code to Markup, using the menu.
Time to play
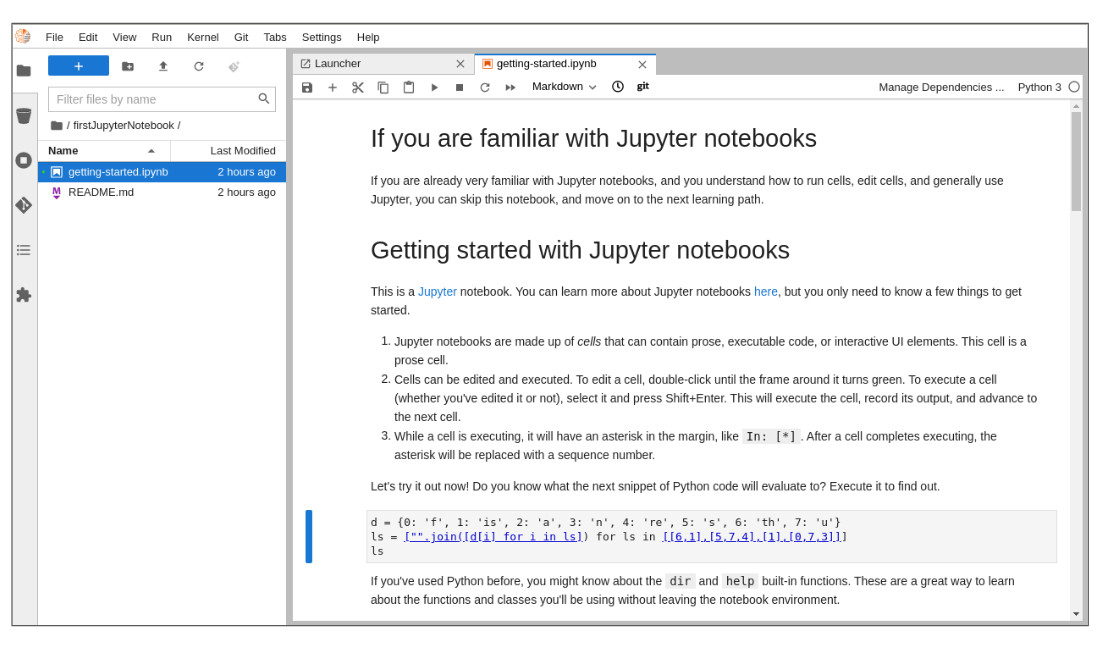
Now that we have covered the basics, give your notebook a try. Your Jupyter environment (the file explorer-like interface), contains the getting-started.ipynb file. Double-click on it to launch the notebook. It will open another tab in the content section of the environment (Figure 19).
Feel free to experiment, run the cells, add some more cells, and create functions. You can do what you want—it’s your environment, and there is no risk of breaking anything or affecting other users. This environment isolation is another great advantage brought by OpenShift AI.
You can also create a new notebook by selecting File→New→Notebook from the menu on the top left, then select a Python 3 kernel. This instructs Jupyter to create a new notebook that runs the code cells using Python 3. You could have different kernels, with different languages or versions for different notebooks, but that’s a story for another time…
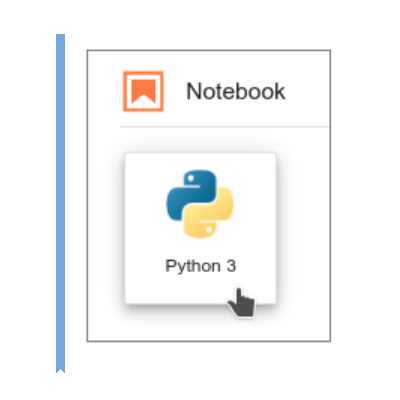
You can also create a notebook by simply clicking on the icon in the launcher (Figure 20).
When working with Jupyter notebooks, there are two actions that you should know how to perform:
- How to restart a notebook kernel and clear your current Jupyter notebook results.
- How to change your notebook image.
Restarting a kernel
To restart the Jupyter notebook kernel and clear all the outputs, follow these steps:
- Click the Kernel menu item.
- Choose Restart Kernel and Clear All Outputs (Figure 21).
- The Restart Kernel? dialog box will appear. Select Restart.

Change your notebook image
Sometimes you may wish to use a larger deployment size for your notebook image. Or you may wish to change the notebook image you are currently using, e.g., Standard Data Science, to another image such as PyTorch. Both tasks require you to make changes to the notebook image you specified in JupyterHub.
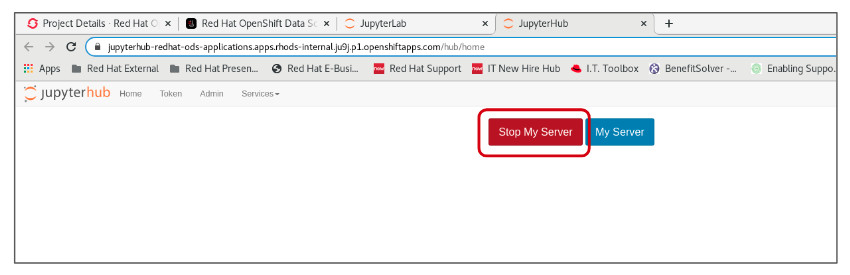
Before making changes, stop the current instance of the notebook server. Go to the control panel by clicking the File menu option and selecting Hub Control Panel (Figure 22).

You will be taken back to JupyterHub, where you should click the Stop My Server button (Figure 23).
Info alert: You may need to click this button twice.
When the server stops, you will see a single button labeled Start My Server (Figure 24).
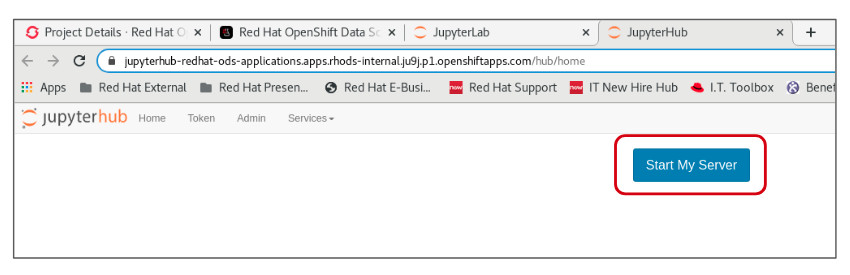
Click the Start My Server button to return to the main Start a notebook server page. Now you can change your image, deployment size and environment variable options (Figure 25).

This concludes our brief introduction to Jupyter notebooks. If you would like to learn more about Jupyter notebooks, head to the Project Jupyter site.
Now that you’re more familiar with notebooks, you’re ready to start the next learning path.
