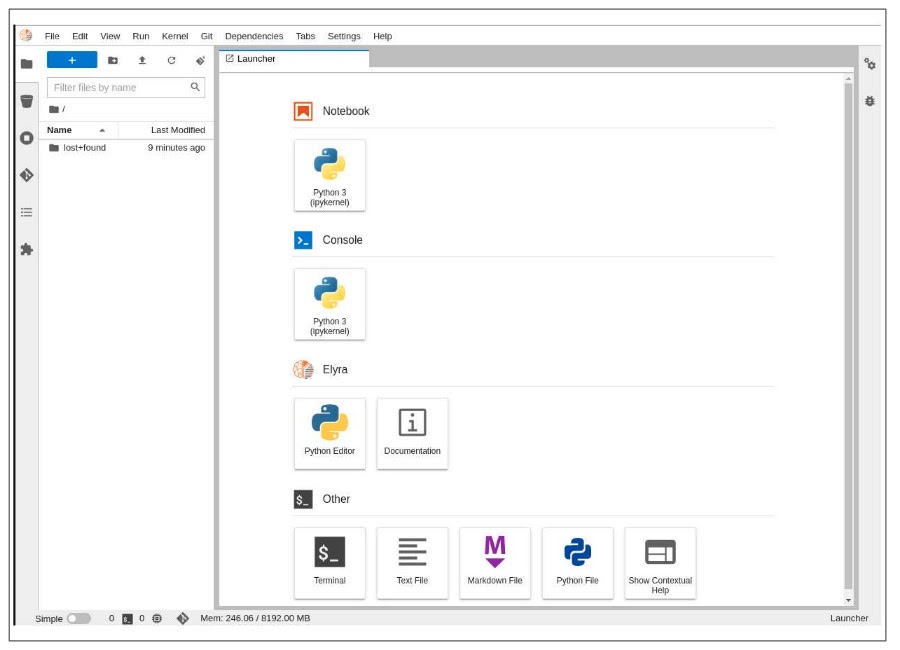
Figure 2. The Name explorer panel in a JupyterLab workspace shows available options.
Page
You are now inside your JupyterLab environment (Figure 2). It's a web-based environment, but everything you do here is actually happening on the OpenShift Data Science cluster. This means that, without having to install and maintain anything on your own computer, and without consuming lots of local resources such as CPU and RAM, you can conduct your data science work in this powerful and stable managed environment.
You are now in a window that resembles a file browser on a desktop. The window displays the files and folders that are saved in your personal space inside OpenShift Data Science. The window is pretty empty right now, though. So the first thing we will do is add content into this environment by using Git.
You can clone a Git repository in JupyterLab through the left-hand toolbar or the Git menu option in the main menu (Figure 3).

Let's clone a repository using the left-hand toolbar. Click on the GitHub icon, shown in Figure 4.

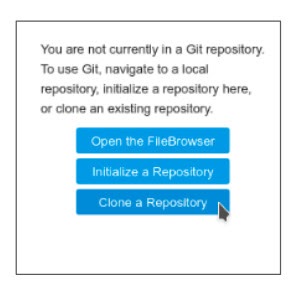
Then click on Clone a Repository (Figure 5.)
Enter your Git repository URL, which for this learning path is https://github.com/rh-aiservices-bu/access-s3-data. Then click CLONE (Figure 6).

Cloning takes a few seconds, after which you can double-click and navigate to the newly-created folder (access-s3-data) which contains your cloned Git repository.
For this learning path, double-click and navigate to the newly-created folder, named access-s3-data. The Git repository contains an empty datasets directory and the following files (Figure 7):
downloadData.ipynb
simpleCalc.ipynb
Requirements.txt
README.md

In the Name menu, double-click the downloadData.ipynb notebook (Figure 8).

Run each cell in the notebook, using the Shift-Enter key combination, and pay attention to the execution results. Using this notebook, we will:
Inside the ‘datasets’ directory, double-click the 'newtruckdata.csv' file. File contents should appear as shown in Figure 9.
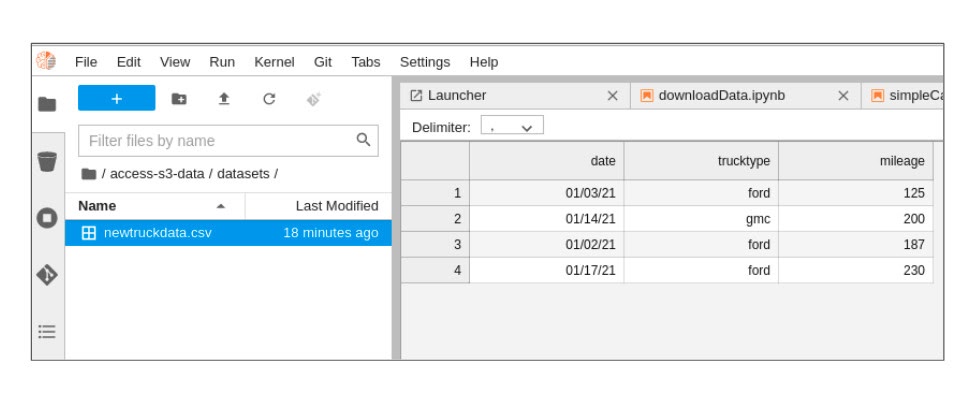
The file contains the data you will analyze. Now we can move to the next learning resource and perform some analytics.

Build here. Go anywhere.
We serve the builders. The problem solvers who create careers with code.
Join us if you’re a developer, software engineer, web designer, front-end designer, UX designer, computer scientist, architect, tester, product manager, project manager or team lead.