When I was first introduced to Java Enterprise Integration, the ServiceMix platform was transitioning to OSGi (ServiceMix Version 4.0). From its origins in embedded systems and mobile devices, the OSGi standard promoted many qualities that were advantageous to the Enterprise (flexible, modular, life cycle management, services, security) so under this umbrella the tenants of the stack Apache Camel, Apache ActiveMQ, and Apache CXF flourished.
"Apache ServiceMix is a flexible, open-source integration container that unifies the features and functionality of Apache ActiveMQ, Camel, CXF, and Karaf into a powerful runtime platform you can use to build your own integrations solutions. It provides a complete, enterprise ready ESB exclusively powered by OSGi."
Fast forward a number of years, and now the Internet of Things (IoT) is proliferating across embedded devices. Small single-board computers such as the Raspberry Pi and BeagleBone have made the entry into building an IoT solution much more accessible because of their low cost, support in the open source community, and growing support for devices and sensors. At the same time, JBoss Fuse (with its ServiceMix and Fabric lineage) has become central to Enterprise Integration.
So now is the time for Enterprise Integration to go full circle and contribute back to these Embedded Systems. Apache Camel, an implementation of the Enterprise Integration Platterns, is a perfect choice to assist a developer in communicating with these devices and sensors. Out of the box, message mediation, routing, transformation, along with a set of patterns (throttling/sync/asynch) to implement on a message endpoint is possible. But to make this a full solution, Camel Components are required to interface with new standards such as Raspberry Pi GPIO, I2C, Tinkerforge, as well as support for gateway frameworks such as Eclipse Kura (OSGi based). And once the device/sensor information is available, this information needs to be communicated via a set of backend services through a protocol of your choice.
This is the premise behind Rhiot, which is now being rolled in Eclipse Kura and Eclipse Kapua.
Founded by Claus Ibsen, Rob Davies, Greg, and Henryk Konsek this project initially started as Camel IoT Labs, but as the scope went beyond just camel the project was renamed to Rhiot. The documentation for the project can found at gitbooks.
This article will now document how to get Rhiot up and running on a Raspberry Pi.
Getting Started
The first step purchasing a Raspberry Pi. A good resource is the Raspberry Pi website, along with its description of the products they offer. Of note, the Raspberry Pi website does not sell the products, but rather redirects to preferred distributor.
As part of this getting started guide, Eclipse Kura is provisioned to your Raspberry Pi so it is important to select a device from the list of supported devices. At the writing this article, Raspberry Pi 3 is available, but Kura did list it as a supported device so this guide will concentrate on the Raspberry Pi 2, Model B.
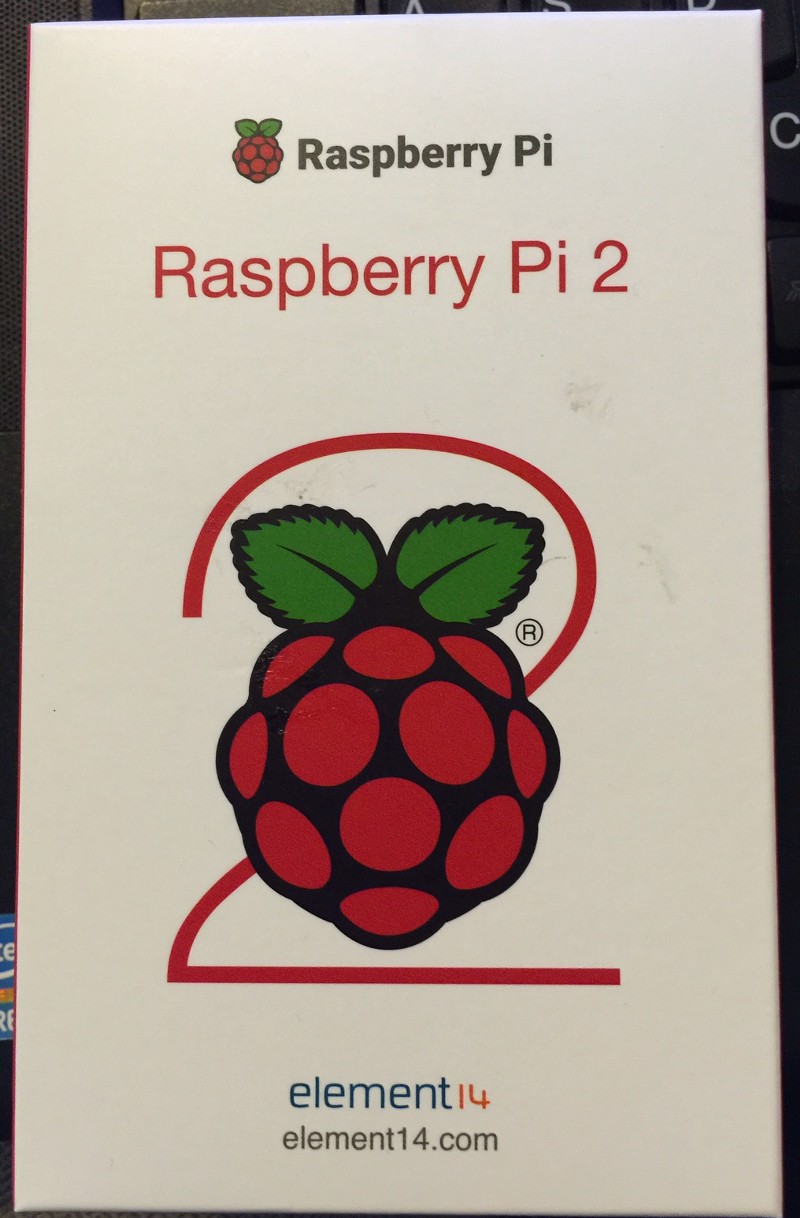
For reference, I bought my device from element14 which comes in a package that looks like the following and was available at my local Micro Center.:
This package only provides the board. Unlike the Raspberry Pi 3, there is no Wifi on board, so you will have to purchase a Wifi dongle separately. That combined with the fact that there was no power cable supplied in the package, I also went ahead and bought a “Ultimate Kit” from Inland. There are a number of “kits” available from various manufactures that fit this need, so just make you sure you check the parts list and buy what you need. These kits can also provide cases, software w/ SD Card, buttons, resistors, heat sinks, HDMI cables, and LEDs which are helpful in getting your environment built.
I also recommend having a USB Keyboard and Mouse available during the installation, especially if you want to continue working directly on the device. Once I had everything setup, I found the Keyboard / Mouse was no longer necessary as I made more use of remote shell. If you want to free up a USB port, a wireless keyboard/touchpad similar to this one from Rii could be useful.
Installing the Raspbian OS
The preferred operating system for the Raspberry Pi is the Debian based Linux distribution called ‘Raspbian’. The OS can be downloaded from the raspberry pi website. There are two choices to download, NOOBS or Raspbian. NOOBS is an installation manager for Raspberry Pi, supporting multiple OS provisions — but the latest release only contains Raspbian by default.
After going through both installation procedures, I found that the NOOBS procedure to be the easiest and worked each time. The Raspbian image had trouble detecting my network on startup, which is most likely something I did wrong — but this is the purpose of NOOBS. It makes the appropriate choices to configure your SD Card so that it may host Raspbian correctly, especially for new folks like myself!
Another gotcha I ran into was that I attempted to install the image on a card greater than 32 Gigs. This issue is documented here. I found it is easier to just go with a smaller SD Card, but feel free to follow the extra instructions if you want a large capacity. The type of SD Card to purchase is documented here.
Since I run Fedora at home, I followed an excellent set of instructions outlined by Norman Dunbar which detail how to setup your SD Card via ‘dd’. Windows and Mac folks can use a software utility that is available from the Raspberry Pi Website.
Starting up Raspberry Pi
After you have placed NOOBs on your SD card, hook up the keyboard, mouse, display and then insert the SD card. Then it is time to plug in the power and watch the magic happen. A video hosted on the Raspberry website outlines the choices you make in the NOOBS menu, but basically you are to select Raspbian, Keyboard Layout, Time and let it provision your SD Card for you.
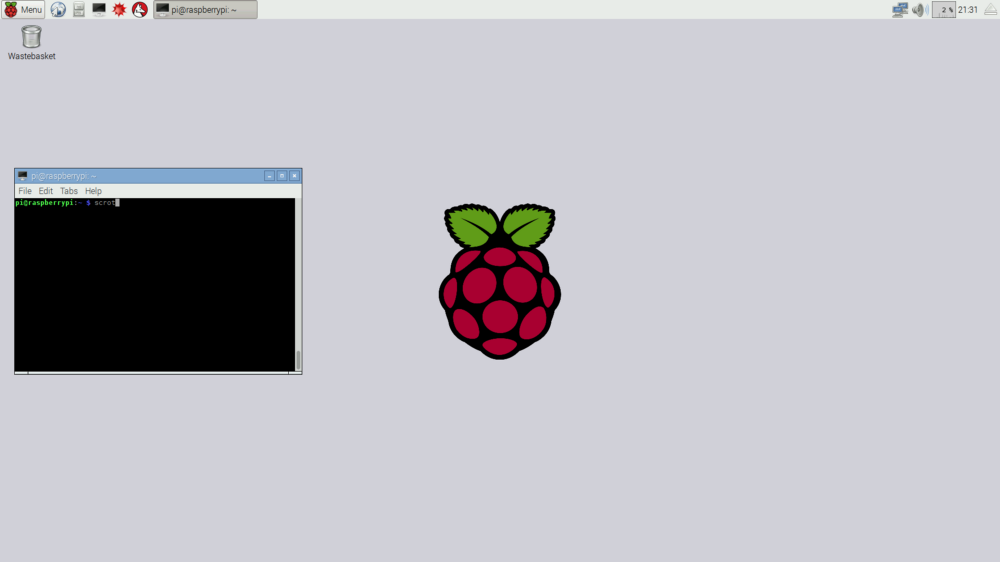
After the SD Card is provisioned, Raspbian will then boot on the next restart of Raspberry Pi. Your screen will look similar to the following:
The next step will be to install Eclipse Kura on the device, but before doing this step I found it useful to make sure your packages / distribution are up to date.
sudu apt-get update
sudu apt-get dist-upgrade
The dist-upgrade takes a little while to happen, so use this time to think about all the wonderful IoT projects you can do. I would start with Greg’s blog as he has already outlined a number of working labs.
Eclipse Kura
Eclipse Kura is a Internet of Things Gateway which runs on top of the Java Virtual Machine (JVM) and leverages OSGi. Eclipse Kura is a first class citizen of rhiot and is used as part of the Kura Camel Quickstart project that is detailed in this article.
From the downloads section of Eclipse’s Kura website, select the Raspbian (Model2, with Web UI) — Stable debian package and download it. The instructions on how to install the debian package can be found on their website.
I also found it easier to install the prerequisite debian packages first:
sudo apt-get install hostpad
sudo apt-get install bind9
sudo apt-get install isc-dhcp-server
sudo apt-get install iw
sudo apt-get install monit
sudo apt-get install dos2unix
sudo apt-get install telnet
sudo apt-get install ethtool
Once installed, then you can reboot your Raspberry Pi
sudo reboot
Now, if you are using Wifi on your device to connect to your local network, please note that the installation of Eclipse Kura actually changes your Network Configuration. This is discussed in a message board where I learned a lot about how Kura works with your network. Because of this network change, and very notably, when I restarted my Raspberry Pi device an error message was displayed during startup
A start job is running for LSB: Raise network interfaces ( 2s no limit)
After about 80 seconds the startup continues and Raspbian starts up without further incident, but the device will no longer be reachable via your internet because network configurations have changed.
To ‘fix’ this, open up a browser on Raspbian and login to the Kura Web Gui located at http://localhost/kura. The default username / password is admin/admin.
The welcome screen should look like the following:

From there, select the Network tab, wlan0 interface name, and then Wireless tab:

Change the Wireless mode to Station Mode from Access Point. This will also mean you have to enter your Network Name and Wireless Security/Wireless Password.
On the TCP/IP tab, make sure it looks like the following:

The Status should be ‘Enabled for Wan’ and then choose whether you want to use DHCP or Manually configure your address. I choose manual so that the IP was static.
After doing these steps, ‘Apply’ the settings and this will refresh your Network Configuration and then your Raspberry Pi will be accessible once again. Also note, there are good reasons in the future to have a Wireless mode as Access Point, but for the purposes of the demonstration Station Mode is preferred.
Also note that after doing these steps, the Kura console is available via any computer via the network and you should also be able to ssh into the device too. So at this point, you don’t need the Raspberry Pi /keyboard/mouse/display anymore, but feel free to keep it around if you like!
Kura Camel Quickstart
The Kura Camel quickstart will demonstrate how to create a Camel route OSGi bundle and deploy into the Eclipse Kura gateway. The documentation for this quickstart is located in the rhiot gitbook.
In your development environment:
git clone git@github.com:rhiot/quickstarts.git
cp -r quickstarts/kura-camel kura-camel
cd kura-camel
mvn install
Just to note, I have found what I believe to be issues with the quickstart and have fixed them in a cloned git repository located here: https://github.com/joelicious/quickstarts
The issues are related to recent updates made within the rhiot stack, and the quickstart just needed to be ‘stepped up’. I have a pending pull request on my git repo, so perhaps this will be merged in the future.
The documentation for the kura camel quickstart should also include installing dependencies for the project into the Kura container. The missing dependencies are the following:
- camel-core-2.16.2.jar
- camel-core-osgi-2.16.2.jar
- camel-kura-0.1.4.jar
To grab these dependencies, I just went to my local maven repository and scp’d the files to the [RASPBERRYPI_IP]/home/pi directory on your raspberry pi.
Then you should be able to scp the project artifact (rhiot-kura-camel-1.0.0-SNAPSHOT.jar) to [RASPBERRYPI_IP]/home/pi directory and proceed with the installation into Eclipse Kura.
Upon starting the bundle, tail the /var/log/kura.log and you should see evidence of the Camel Context starting and executing the route on a Timer. This quickstart is very simplistic, but demonstrates how to get Camel up and running in the Eclipse Kura container.
What to do Next?
Now that Kura is able to execute a Camel Context, you can now explore other Camel Components in order to monitor / invoke your sensors / devices. There are a number of Camel Components already written and some in the planning phase. These can be viewed in the git repository for rhiot.
In addition, there is a Cloud Platform quickstart that explores how the Cloud Platform runtime and the related components (protocol adapter / services) can be used to developer a complete IoT end to end solution. This will be a subject for a future article, but documentation can be found in the gitbook.
Last updated: September 19, 2023