Welcome to part 3 of Red Hat JBoss Data Virtualization (JDV) running on OpenShift.
JDV is a lean, virtual data integration solution that unlocks trapped data and delivers it as easily consumable, unified, and actionable information. JDV makes data spread across physically diverse systems such as multiple databases, XML files, and Hadoop systems appear as a set of tables in a local database.
When deployed on OpenShift, JDV enables:
- Service enabling your data
- Bringing data from outside to inside the PaaS
- Breaking up monolithic data sources virtually for a microservices architecture
Together with the JDV for OpenShift image, we have made available several OpenShift templates that allow you to test and bootstrap JDV.
Introduction
In part 1 and part 2 we described how to get started with JDV running on OpenShift and to service enable your data using OData. We are now combining these two parts into a more advanced setup.
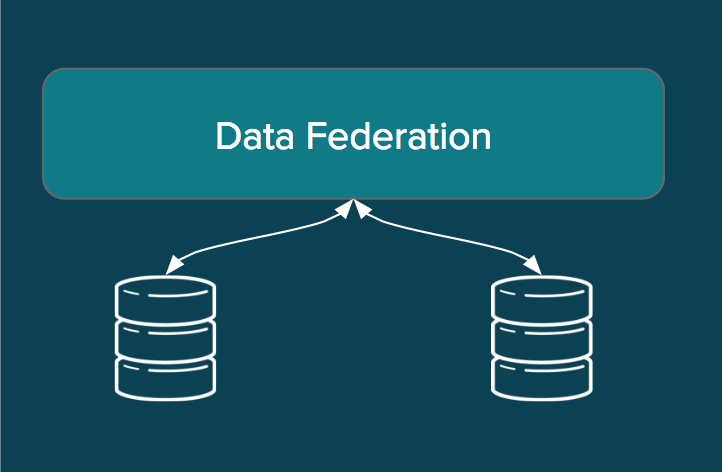 We'll demonstrate how to access a Virtual DataBase (VDB) to enable data federation across multiple data sources (i.e., relational databases and other data sources). In this example we have customer data residing in both a MySQL and PostgreSQL database.
In order to expose all the customer data to the user we need to federate the customer data from both databases, while at the same time not exposing any details inner workings, nor writing any code.
Using the above two data sources, we created a VDB called Financials in JDV derived from the JDV Workshop, that will give access to customer, account and accountholdings data from both these data sources.
Once the Financials VDB is deployed you can issue an OData-based REST service request (as we have seen in part 2) spanning both these data sources as if they are a single source using JDV.
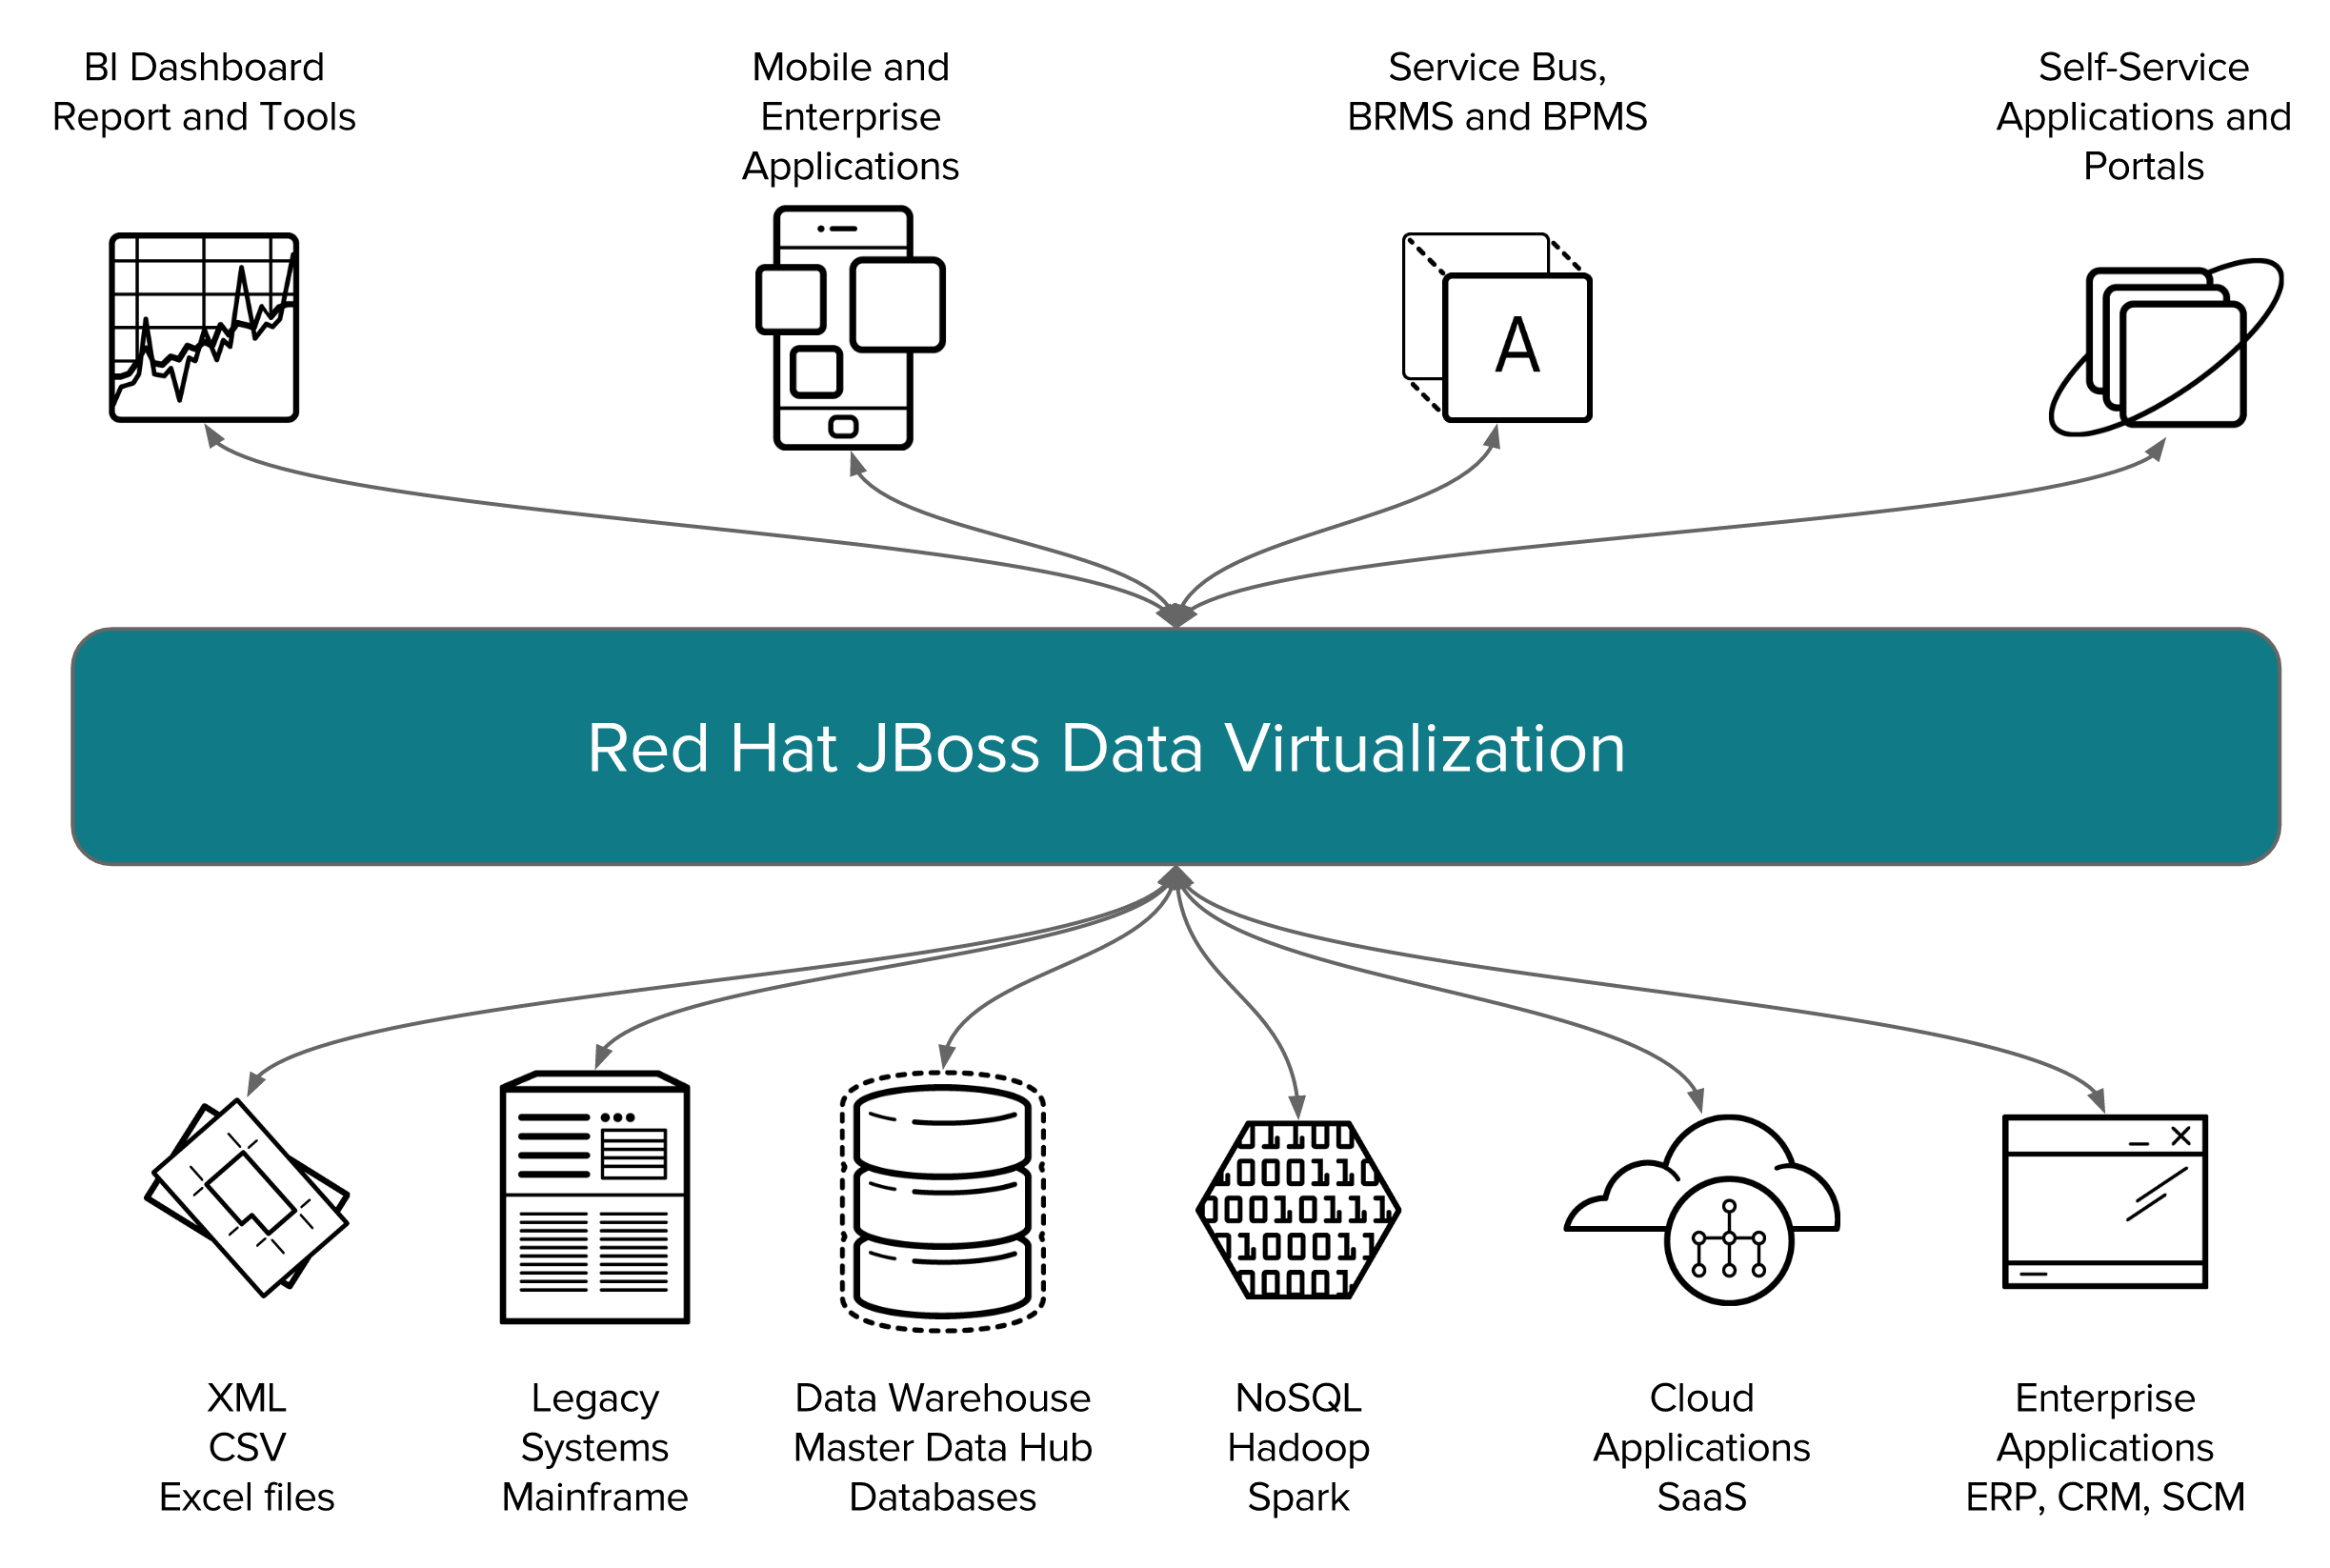
Note that none of these steps are copying the data from the original data source(s), the data still resides in the original data sources unlike in ETL (Extract, Transform and Load) tools as depicted below.

You can think of JDV as a Logical Data Warehouse without hassle of moving the data. We don't know anything about how, where, when the data is collected and supplied to the calling application. So effectively, it provides a Data Abstraction layer as depicted below.
In JDV we typically build several layers of view models on top of the data source model. The Financials VDB contains three view layers on top of the data source models – with the transformational logic for each view being fairly simple, and complex data transformations achieved by this use of several view layers of these models. Now, in a traditional relational database, such a design would have a fairly heavy performance penalty at runtime to deal with all of these view layers, which is why in a traditional database you’d see a use case like this defined as a single view defined with a very lengthy and complex SQL statement, but one of the really nice things about JDV is that it compresses all of these layers at run time down to a single layer, so there is not really any such performance penalty to using layered view models with JDV. The layers inside the Financials VDB are described in the following figure.

The first view layer we define in the Financials VDB is the Virtual Base Layer (VBL). This view layer in most projects is just a series of views that have an one-to-one mapping to each of the source model tables. The reason we have this view layer is to provide an abstraction layer to handle any future changes to the data source schemas – if there is such a change, having this layer gives us a place to mask any changes to the actual source schema from the higher level view model layers. The language that JDV uses to define view transformations is plain old ANSI SQL-92. This is another very nice aspect of JDV – we don’t make you learn a new language to define transformations, you just use normal SQL syntax, which is something that we find most data architects are already fairly comfortable with. We find that the learning curve for our SQL dialect is very low for data architects coming from any of the major RDBMS’s (Oracle, DB2, MS SQL Server, PostgreSQL or Sybase etc.), since JDV syntax is as I mentioned essentially just ANSI SQL-92, which is a very large subset of the SQL functionality of any of the major databases.
The next view layer up are the models in the Enterprise Data Layer (EDL). What these models do is resolve the slight semantic differences between the eucustomers (eucustomers-mysql.sql) MySQL database and uscustomers (uscustomers-psql.sql) PostgreSQL database – for example the customer source model in the uscustomers database includes a field "ssn" where the customer source model of the eucustomers database this field is called "customerid" and the customer model in the uscustomers database doesn't have a country field.
What we do next is, define a set of standard, generic views of the federated data that are not specific to the requirements of any one use case, but rather are the architect’s data model on how the data from the various data sources should be joined together in the Federated Data Layer. Each of these models federates an additional source to our original model as we discussed earlier, with JDV we try to have each model layer only take a small step towards our eventual goal, and perform complex federations by building multiple view layers of the models. First we have the All_Customers.CUSTOMER model. What this model does is union together the EU and US customer view models from the EDL layer to form a federated view of all customers. If we look at the transformation for the All_Customers.CUSTOMER model here, you’ll see again that this is done with some fairly straightforward SQL – this is just a SQL union between two view models from the EDL layer. See below.
 SELECT * FROM EU_Customers_EDL.CUSTOMER
 UNION ALL
 SELECT * FROM US_Customers_EDL.CUSTOMER;
Let's see this in action.
Add new OpenShift template
The OpenShift template (datavirt63-extensions-support-s2i.json) we were using in part 1 contains the JDV environment only. To add a MySQL and PostgreSQL environment we're going to use a new OpenShift template (datavirt63-ext-mysql-psql-s2i.json) based on the previous template but now includes a MySQL and PostgreSQL environment and add it to our OpenShift environment as described below.
$ vagrant ssh
[vagrant@rhel-cdk ~]$ oc login -u admin -p admin
Login successful.

You have access to the following projects and can switch between them with 'oc project <projectname>':

 * default (current)
 * openshift
 * openshift-infra
[vagrant@rhel-cdk ~]$ oc project openshift
Now using project "openshift" on server "https://127.0.0.1:8443".
[vagrant@rhel-cdk ~]$ oc create -f https://raw.githubusercontent.com/cvanball/jdv-ose-demo/master/extensions/is.json
[vagrant@rhel-cdk ~]$ oc create -n openshift -f https://raw.githubusercontent.com/cvanball/jdv-ose-demos/master/templates/datavirt63-ext-mysql-psql-s2i.json
Note: In the template datavirt63-ext-mysql-psql-s2i.json we are using a so-called post-deployment hook. The capability of "hooks" - performing actions both before and after the deployment. In other words, once an Source-2-Image (S2I) build is complete, the resulting Docker image is pushed into the registry. Once the push is complete, OpenShift detects an ImageChange and, if so configured, triggers a deployment.
- The pre-deployment hook is executed just before the new image is deployed.
- The post-deployment hook is executed just after the new image is deployed.
We're running a shell script populatedbms.sh in the post-deployment hook to populate the eucustomers and uscustomers databases with schemas, tables and sample data.
Create new OpenShift project
Files for runtime artifacts are passed to the JDV for OpenShift image using the OpenShift secrets mechanism. This includes the environment files for the data sources and resource adapters, as well as any additional data files. These files need to be present locally so we create OpenShift secrets for them.
There are two types of data sources:
- Internal data sources supported by Red Hat JBoss Middleware for OpenShift. These are PostgreSQL, MySQL, and MongoDB. Internal data sources do not require additional environment files to be configured.
- External data sources that do are not supported by default by OpenShift. Configuration of external data sources is provided by environment files added to OpenShift Secrets.
Since we are using the internal supported data sources by Red Hat JBoss Middleware for OpenShift: MySQL and PostgreSQL, we only have to configure the datasources in the datasources.properties file so no extra configuration needed for jboss modules, drivers and translators.
$ oc login -u openshift-dev -p devel
$ oc new-project jdv-datafederation-demo
$ oc create -f https://raw.githubusercontent.com/cvanball/jdv-ose-demos/master/dynamicvdb-datafederation/mysql-postgresql-driver-image/datavirt-app-secret.yaml
$ curl https://raw.githubusercontent.com/cvanball/jdv-ose-demos/master/dynamicvdb-datafederation/mysql-postgresql-driver-image/datasources.properties
$ oc secrets new datavirt-app-config datasources.properties
Add to project, build and deploy
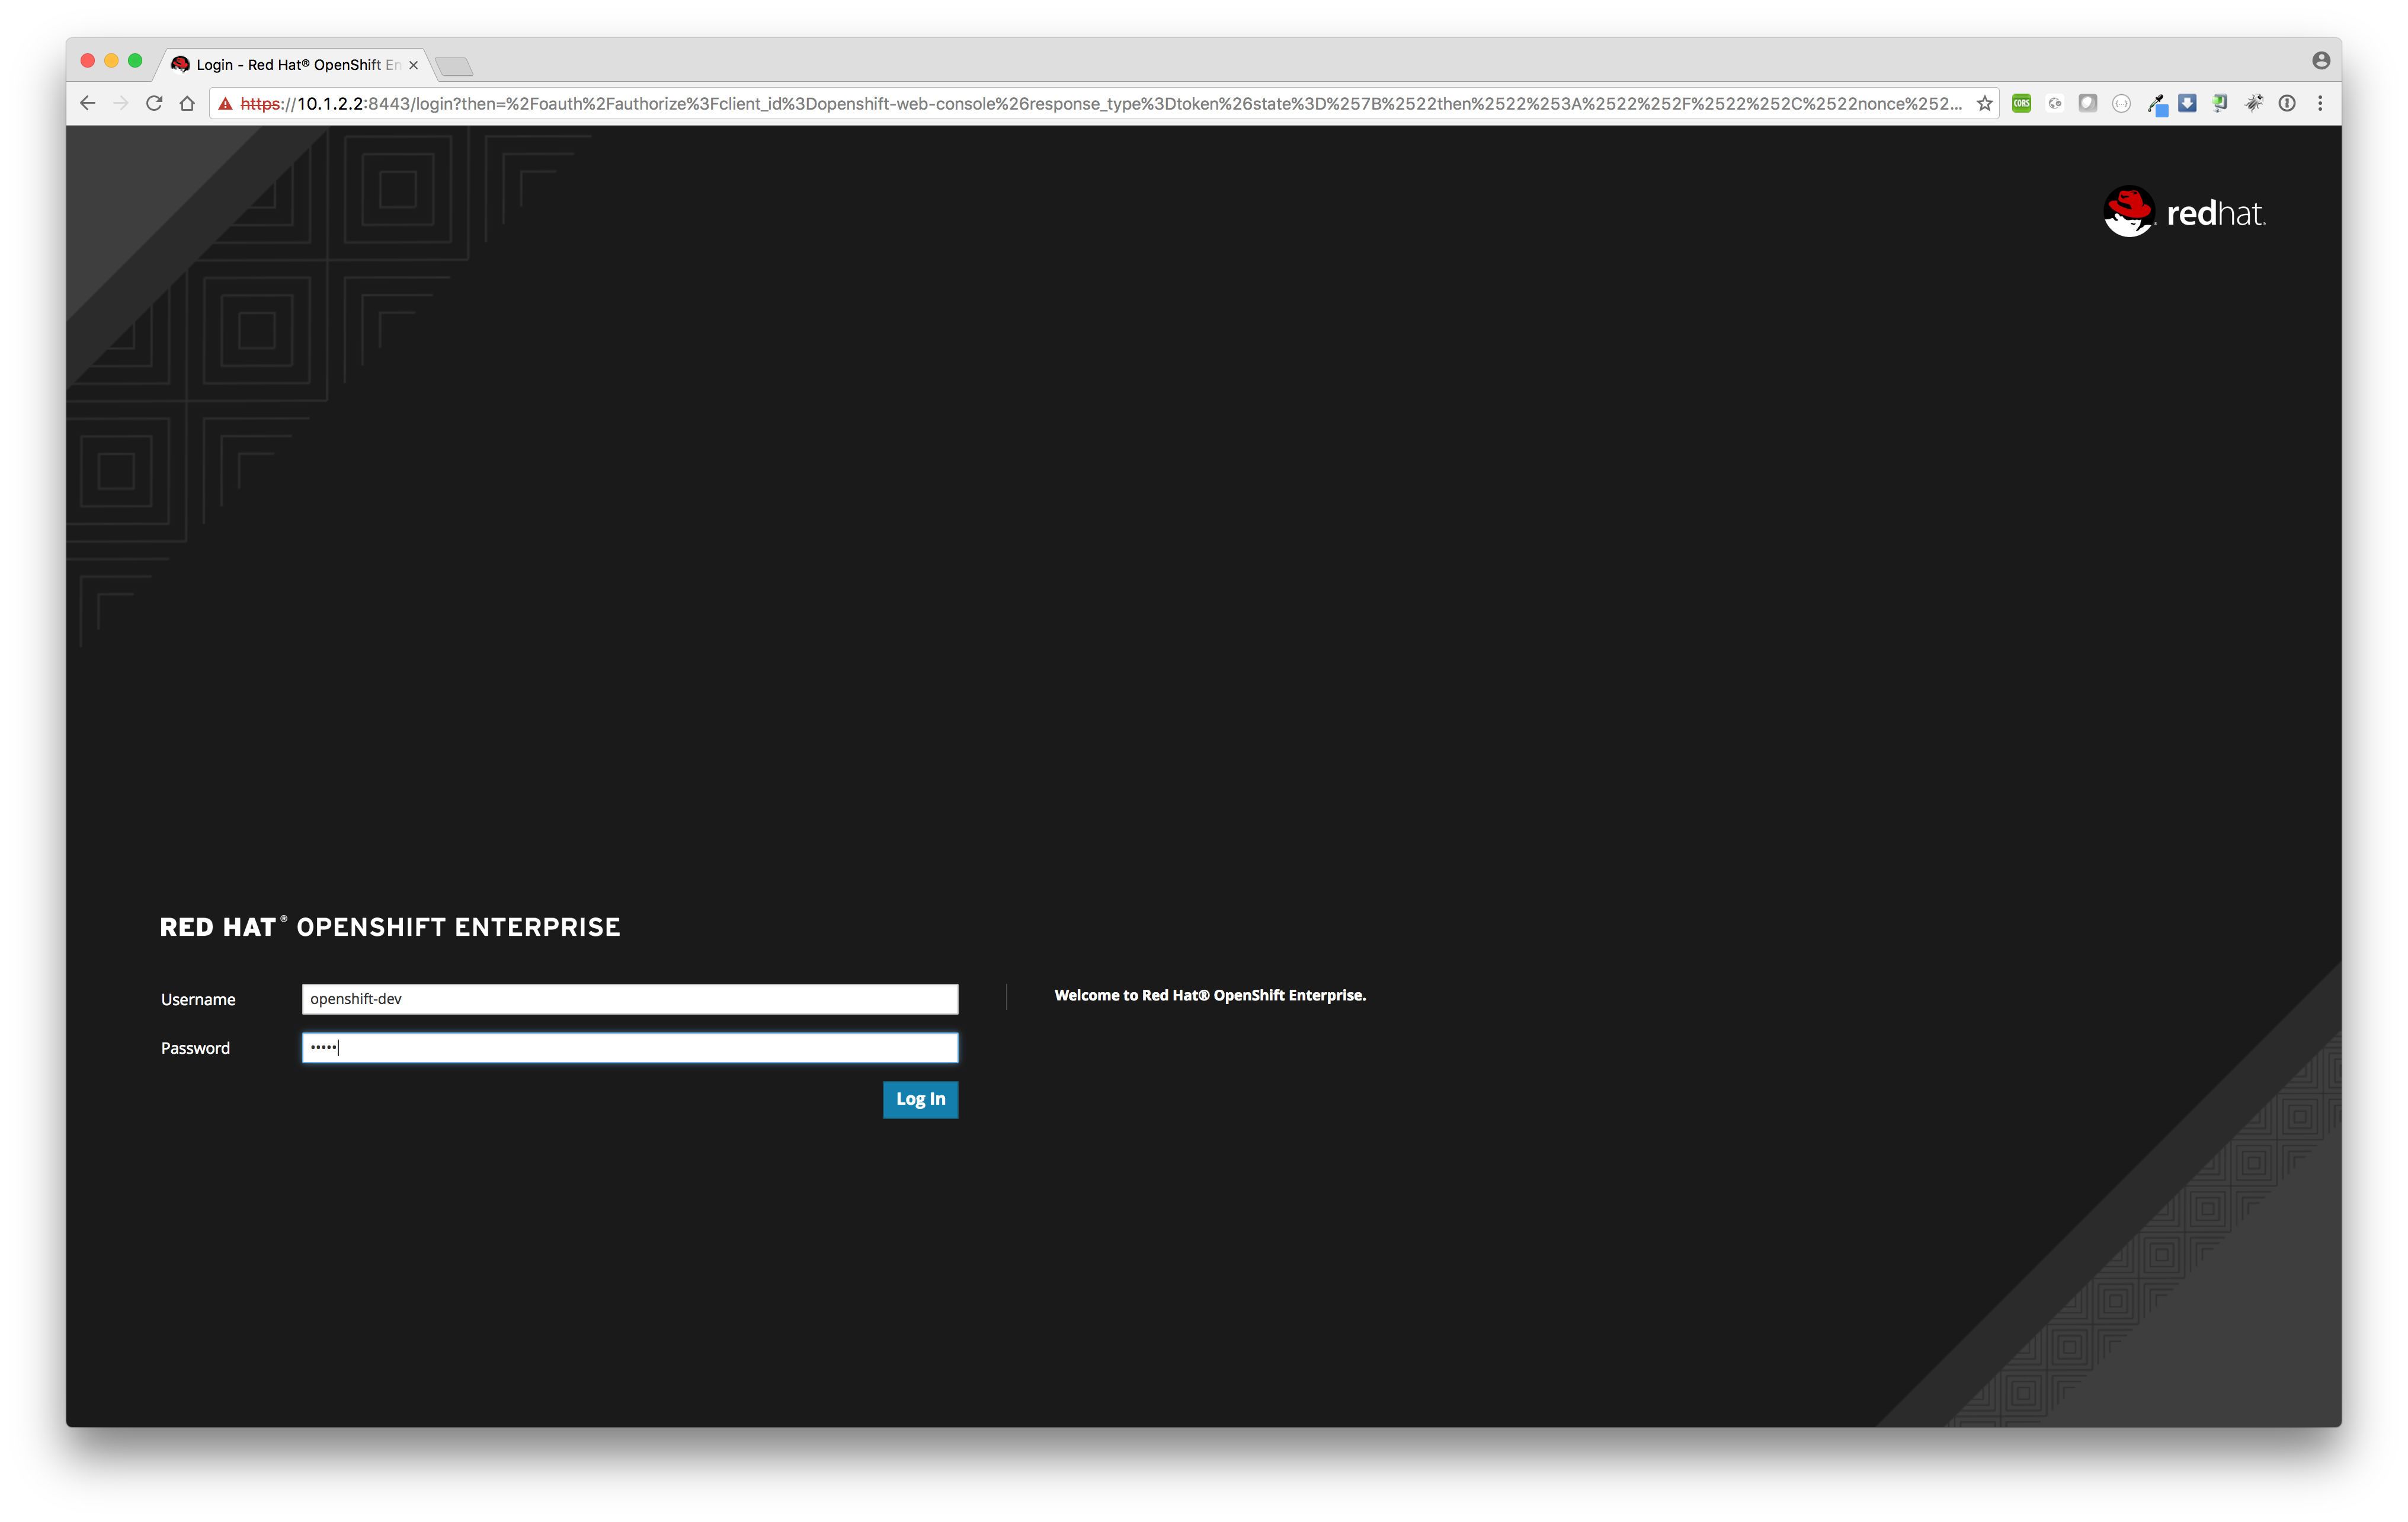
Log in to the OpenShift web console with username "openshift-dev" and password "devel"
- Add to project
Now we need to attach the new OpenShift template to our project.
One should see project jdv-datafederation-demo in the project list.
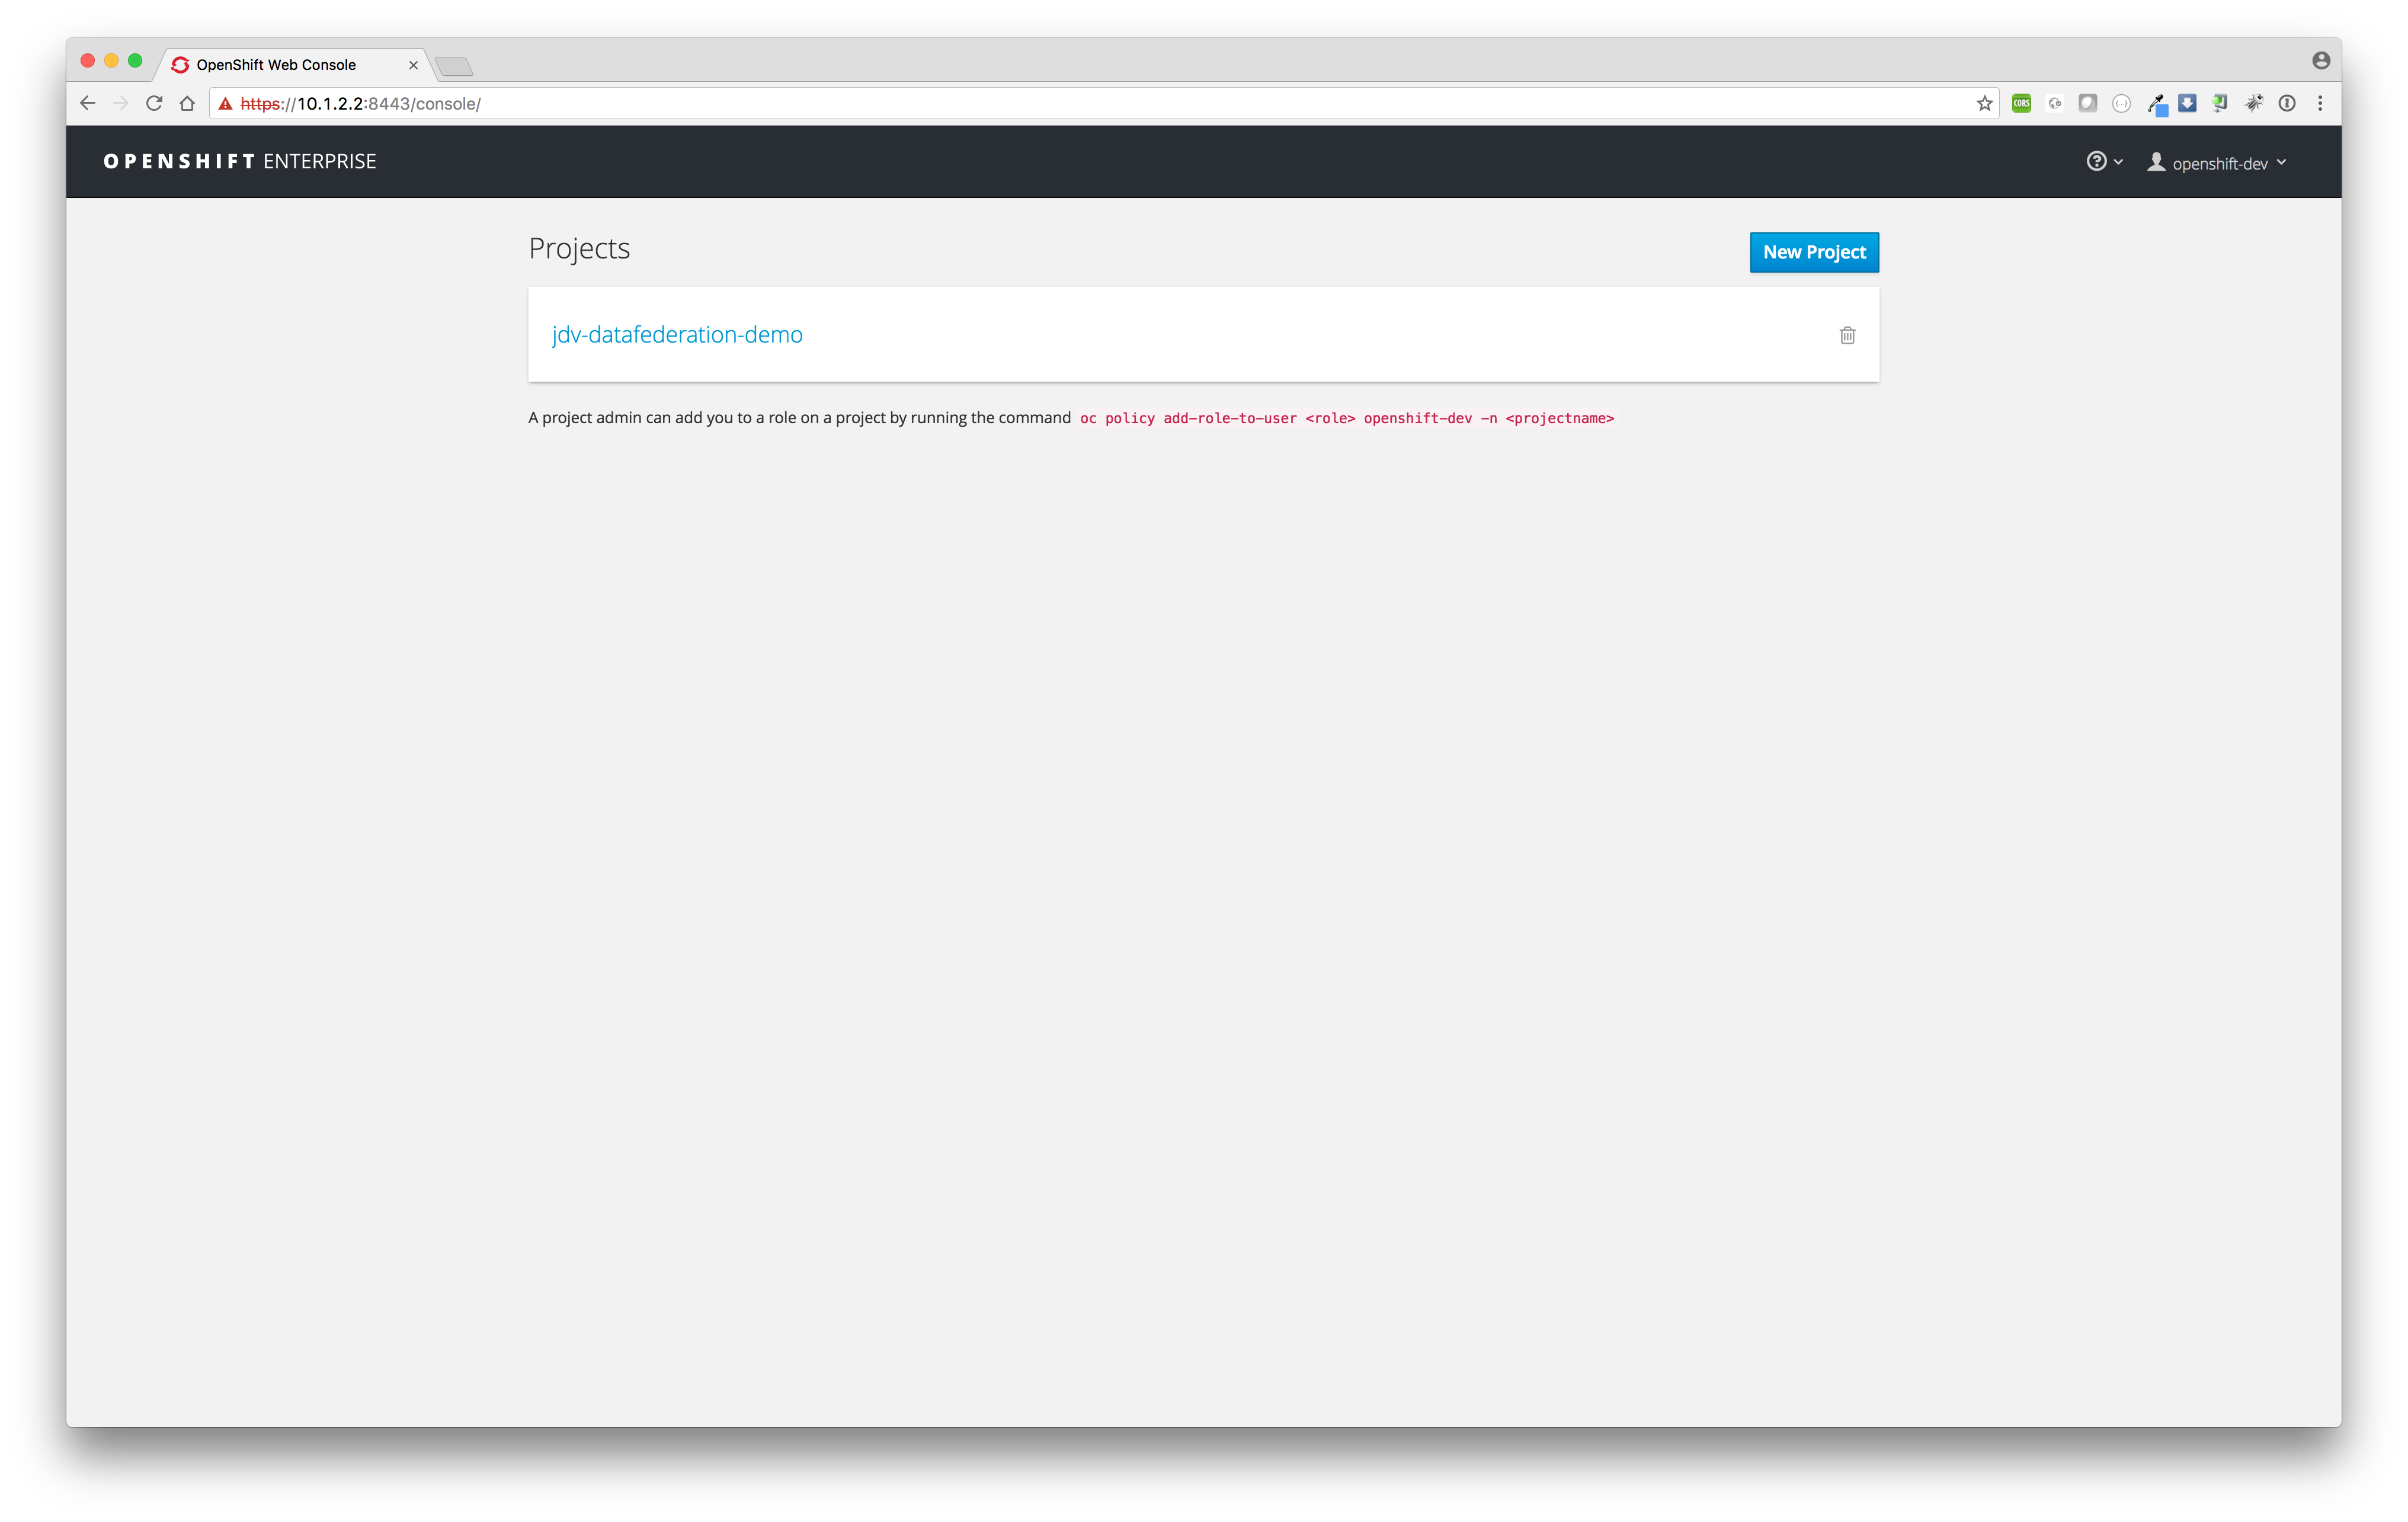
Click at project jdv-datafederation-demo.

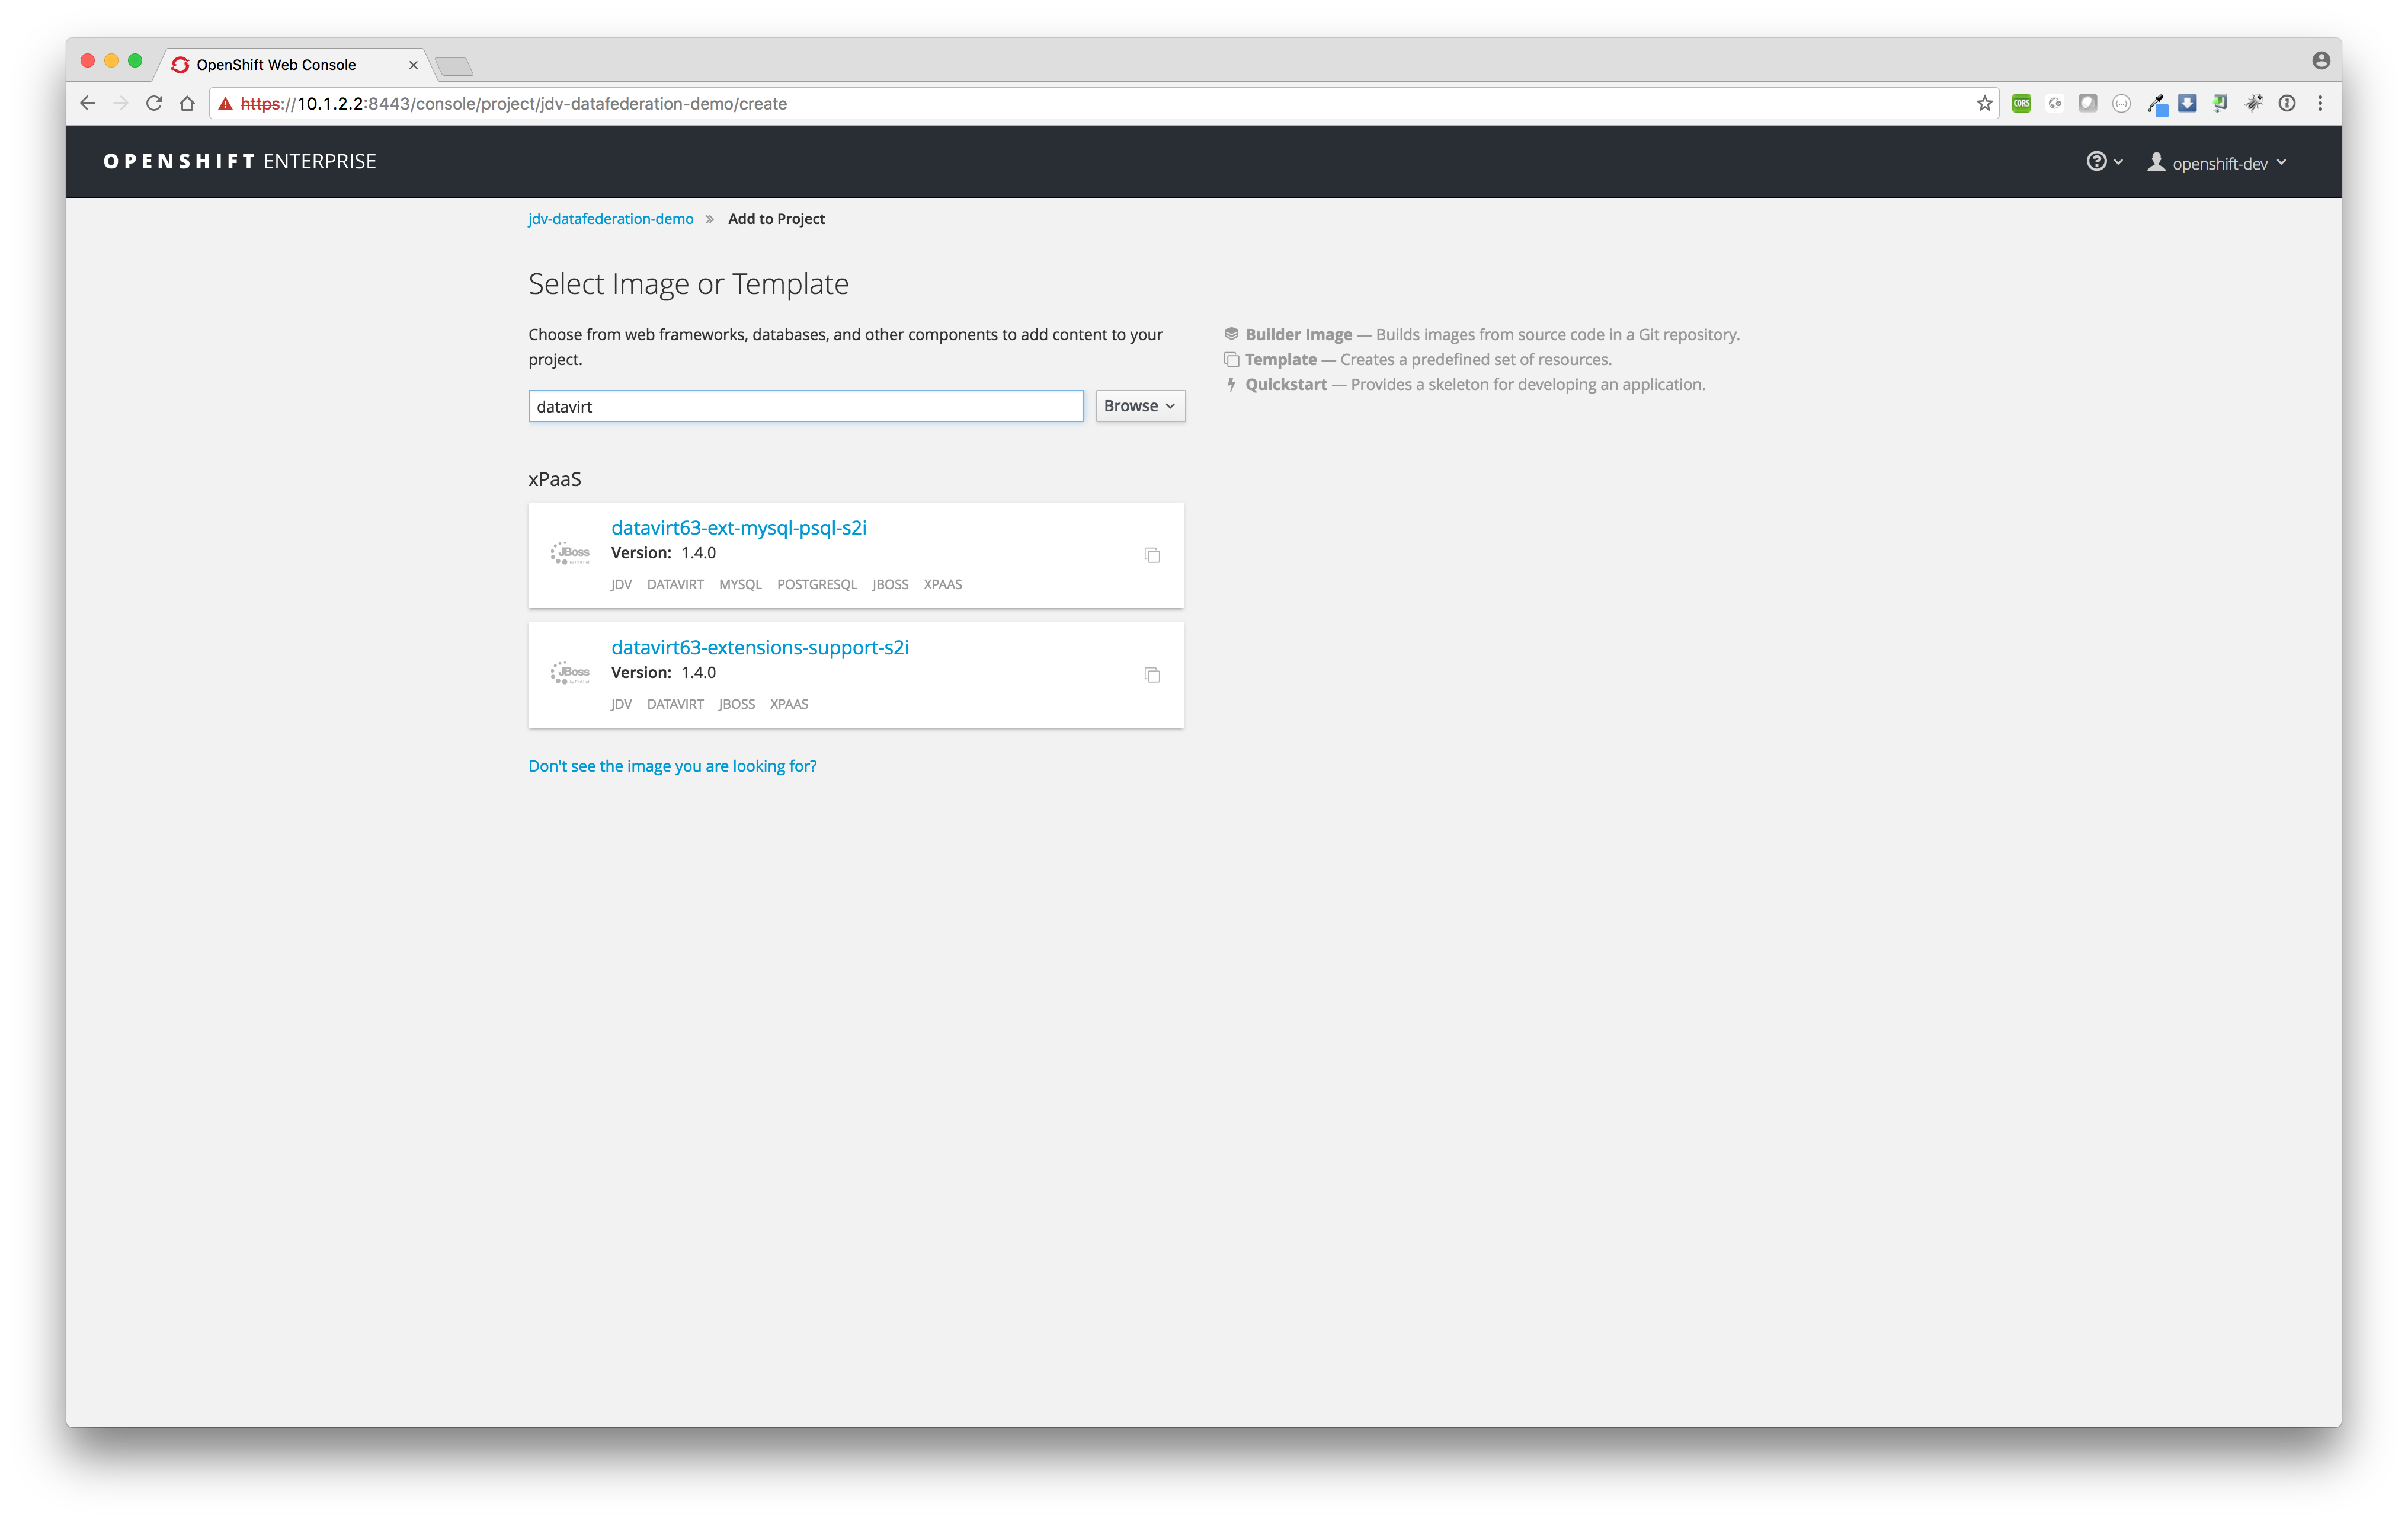
Click button Add to project and search for template datavirt.

Now you should get two templates in category xPaas in the search results, select template
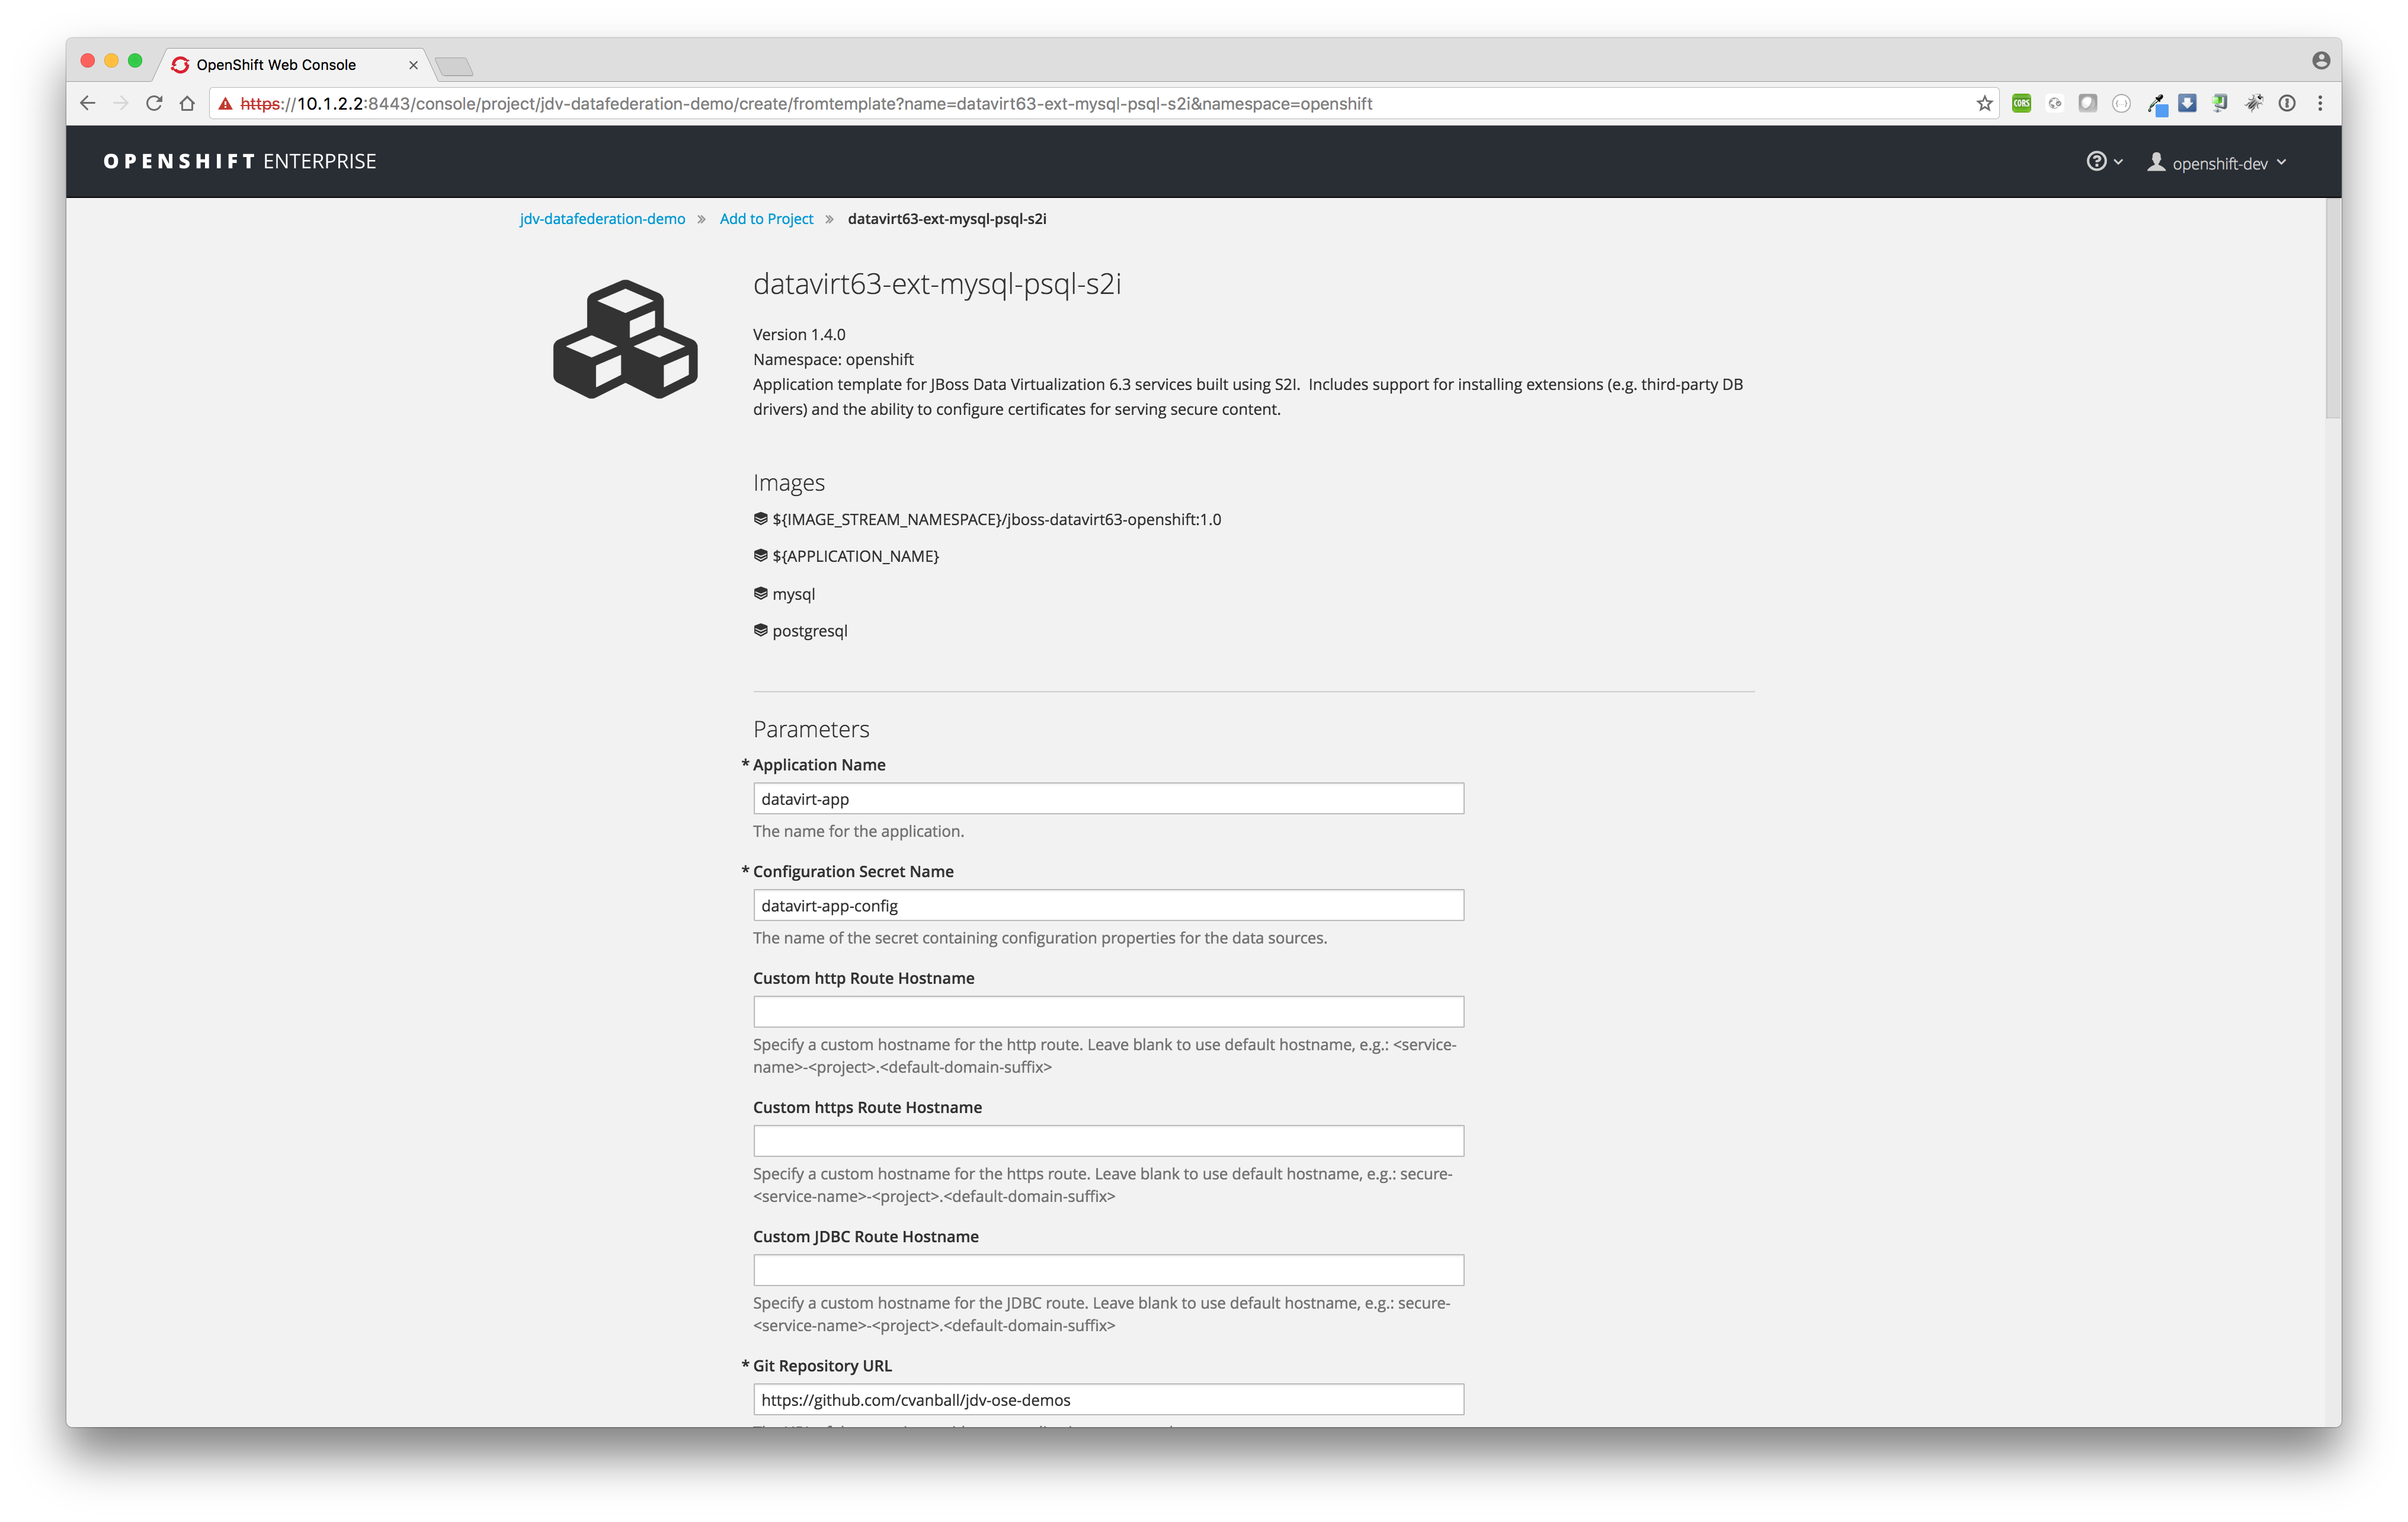
datavirt63-ext-mysql-psql-s2i


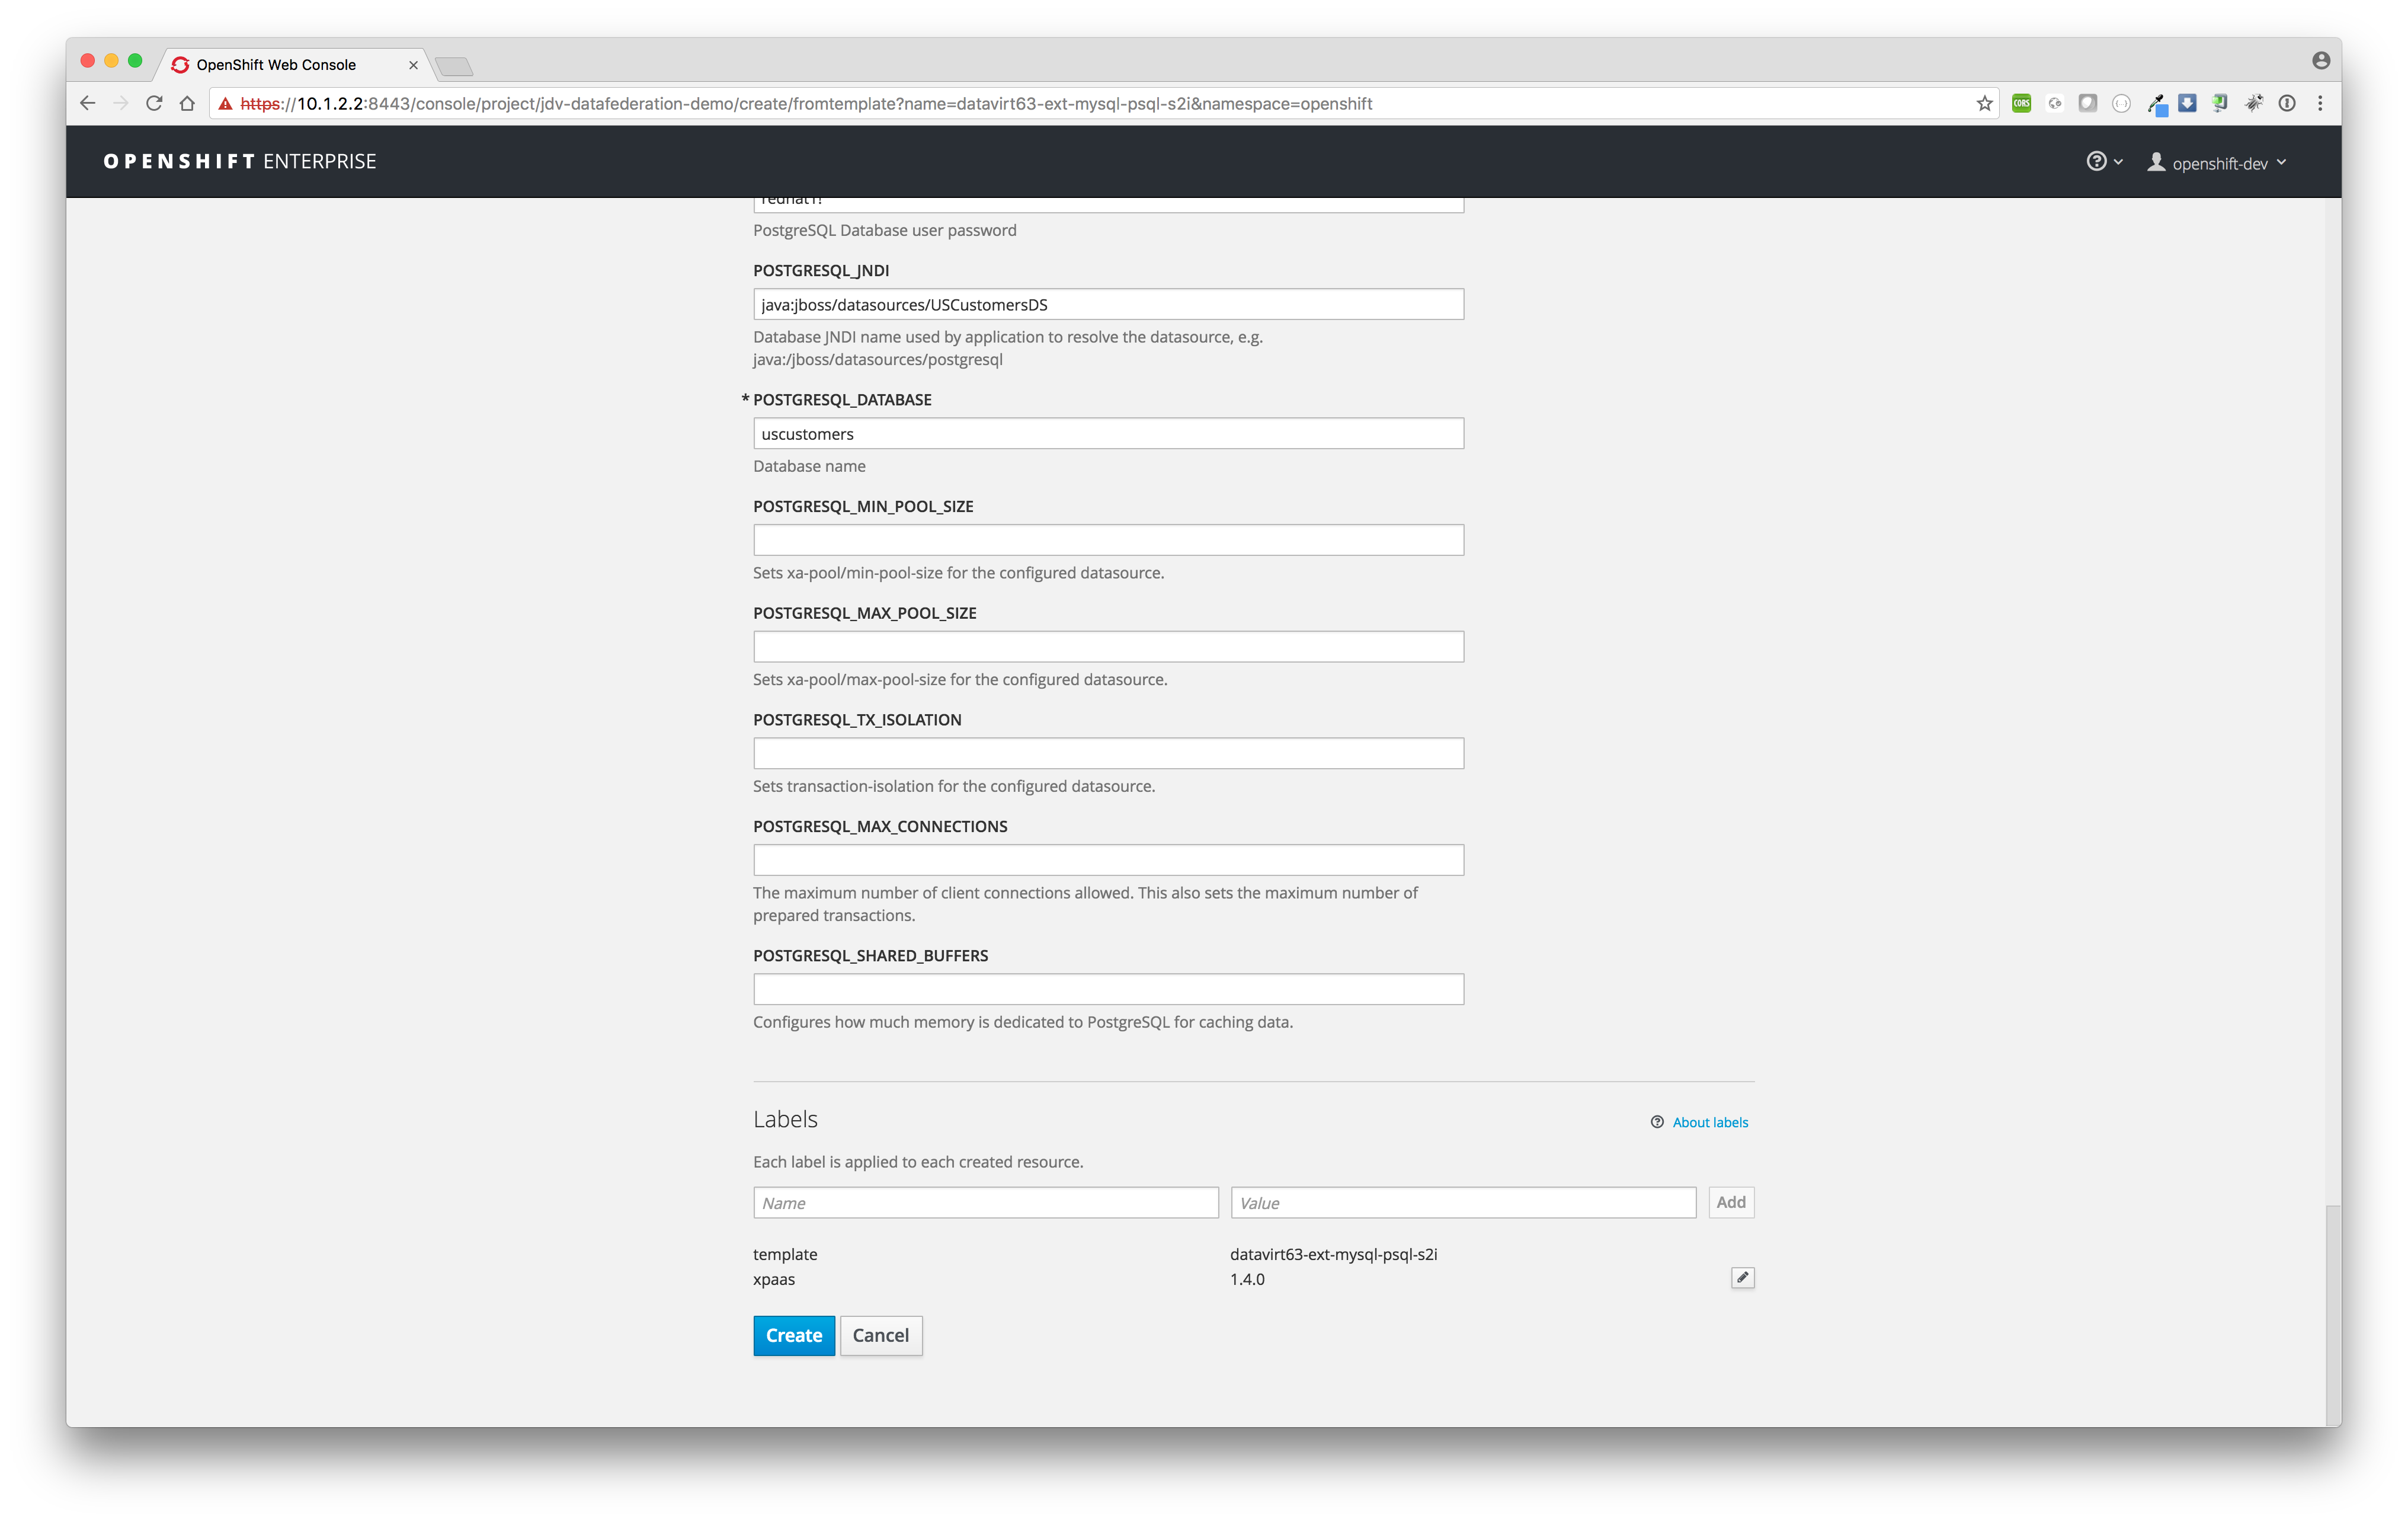
Since we have configured the template datavirt63-ext-mysql-psql-s2i in such a way one don't need to change any template variables and proceed with just a click on the Create button to start the build and deployment process. - Build and deploy
After the clicking the button Create it will start the build and deployment process of the MySQL, PostgreSQL and JDV pods.

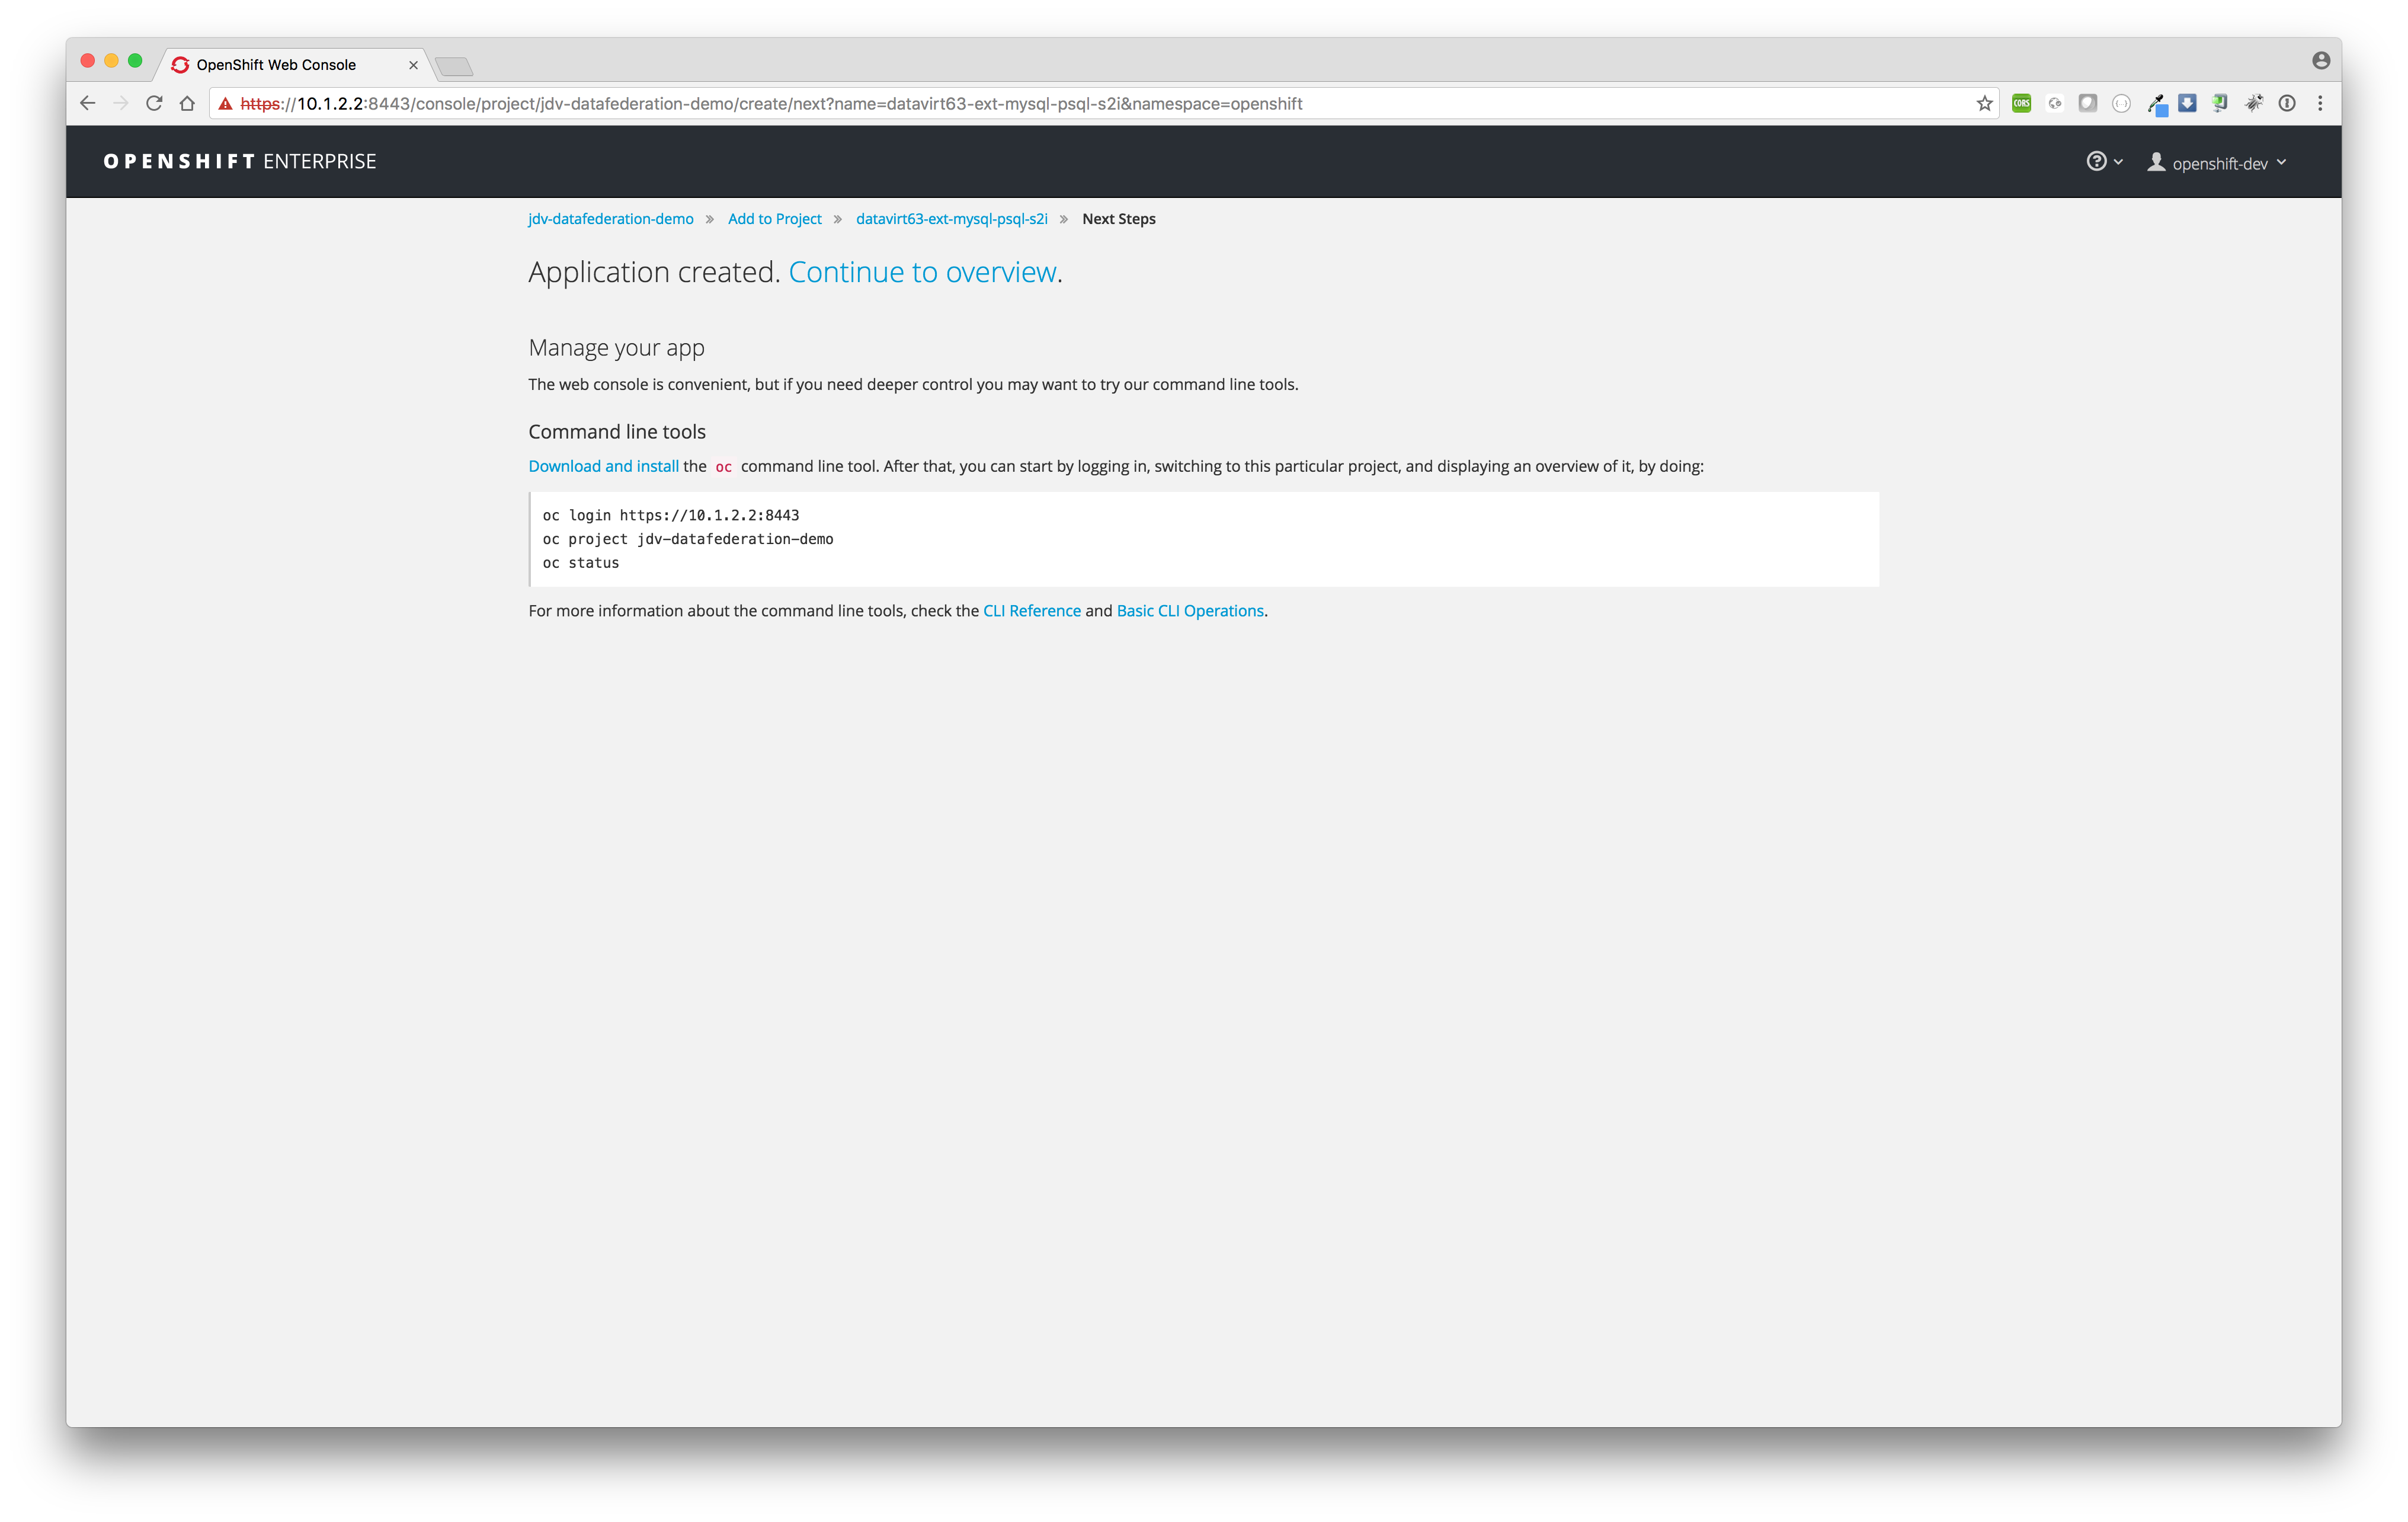
Click link Continue to overview. to see the progress of the build and deployment process.

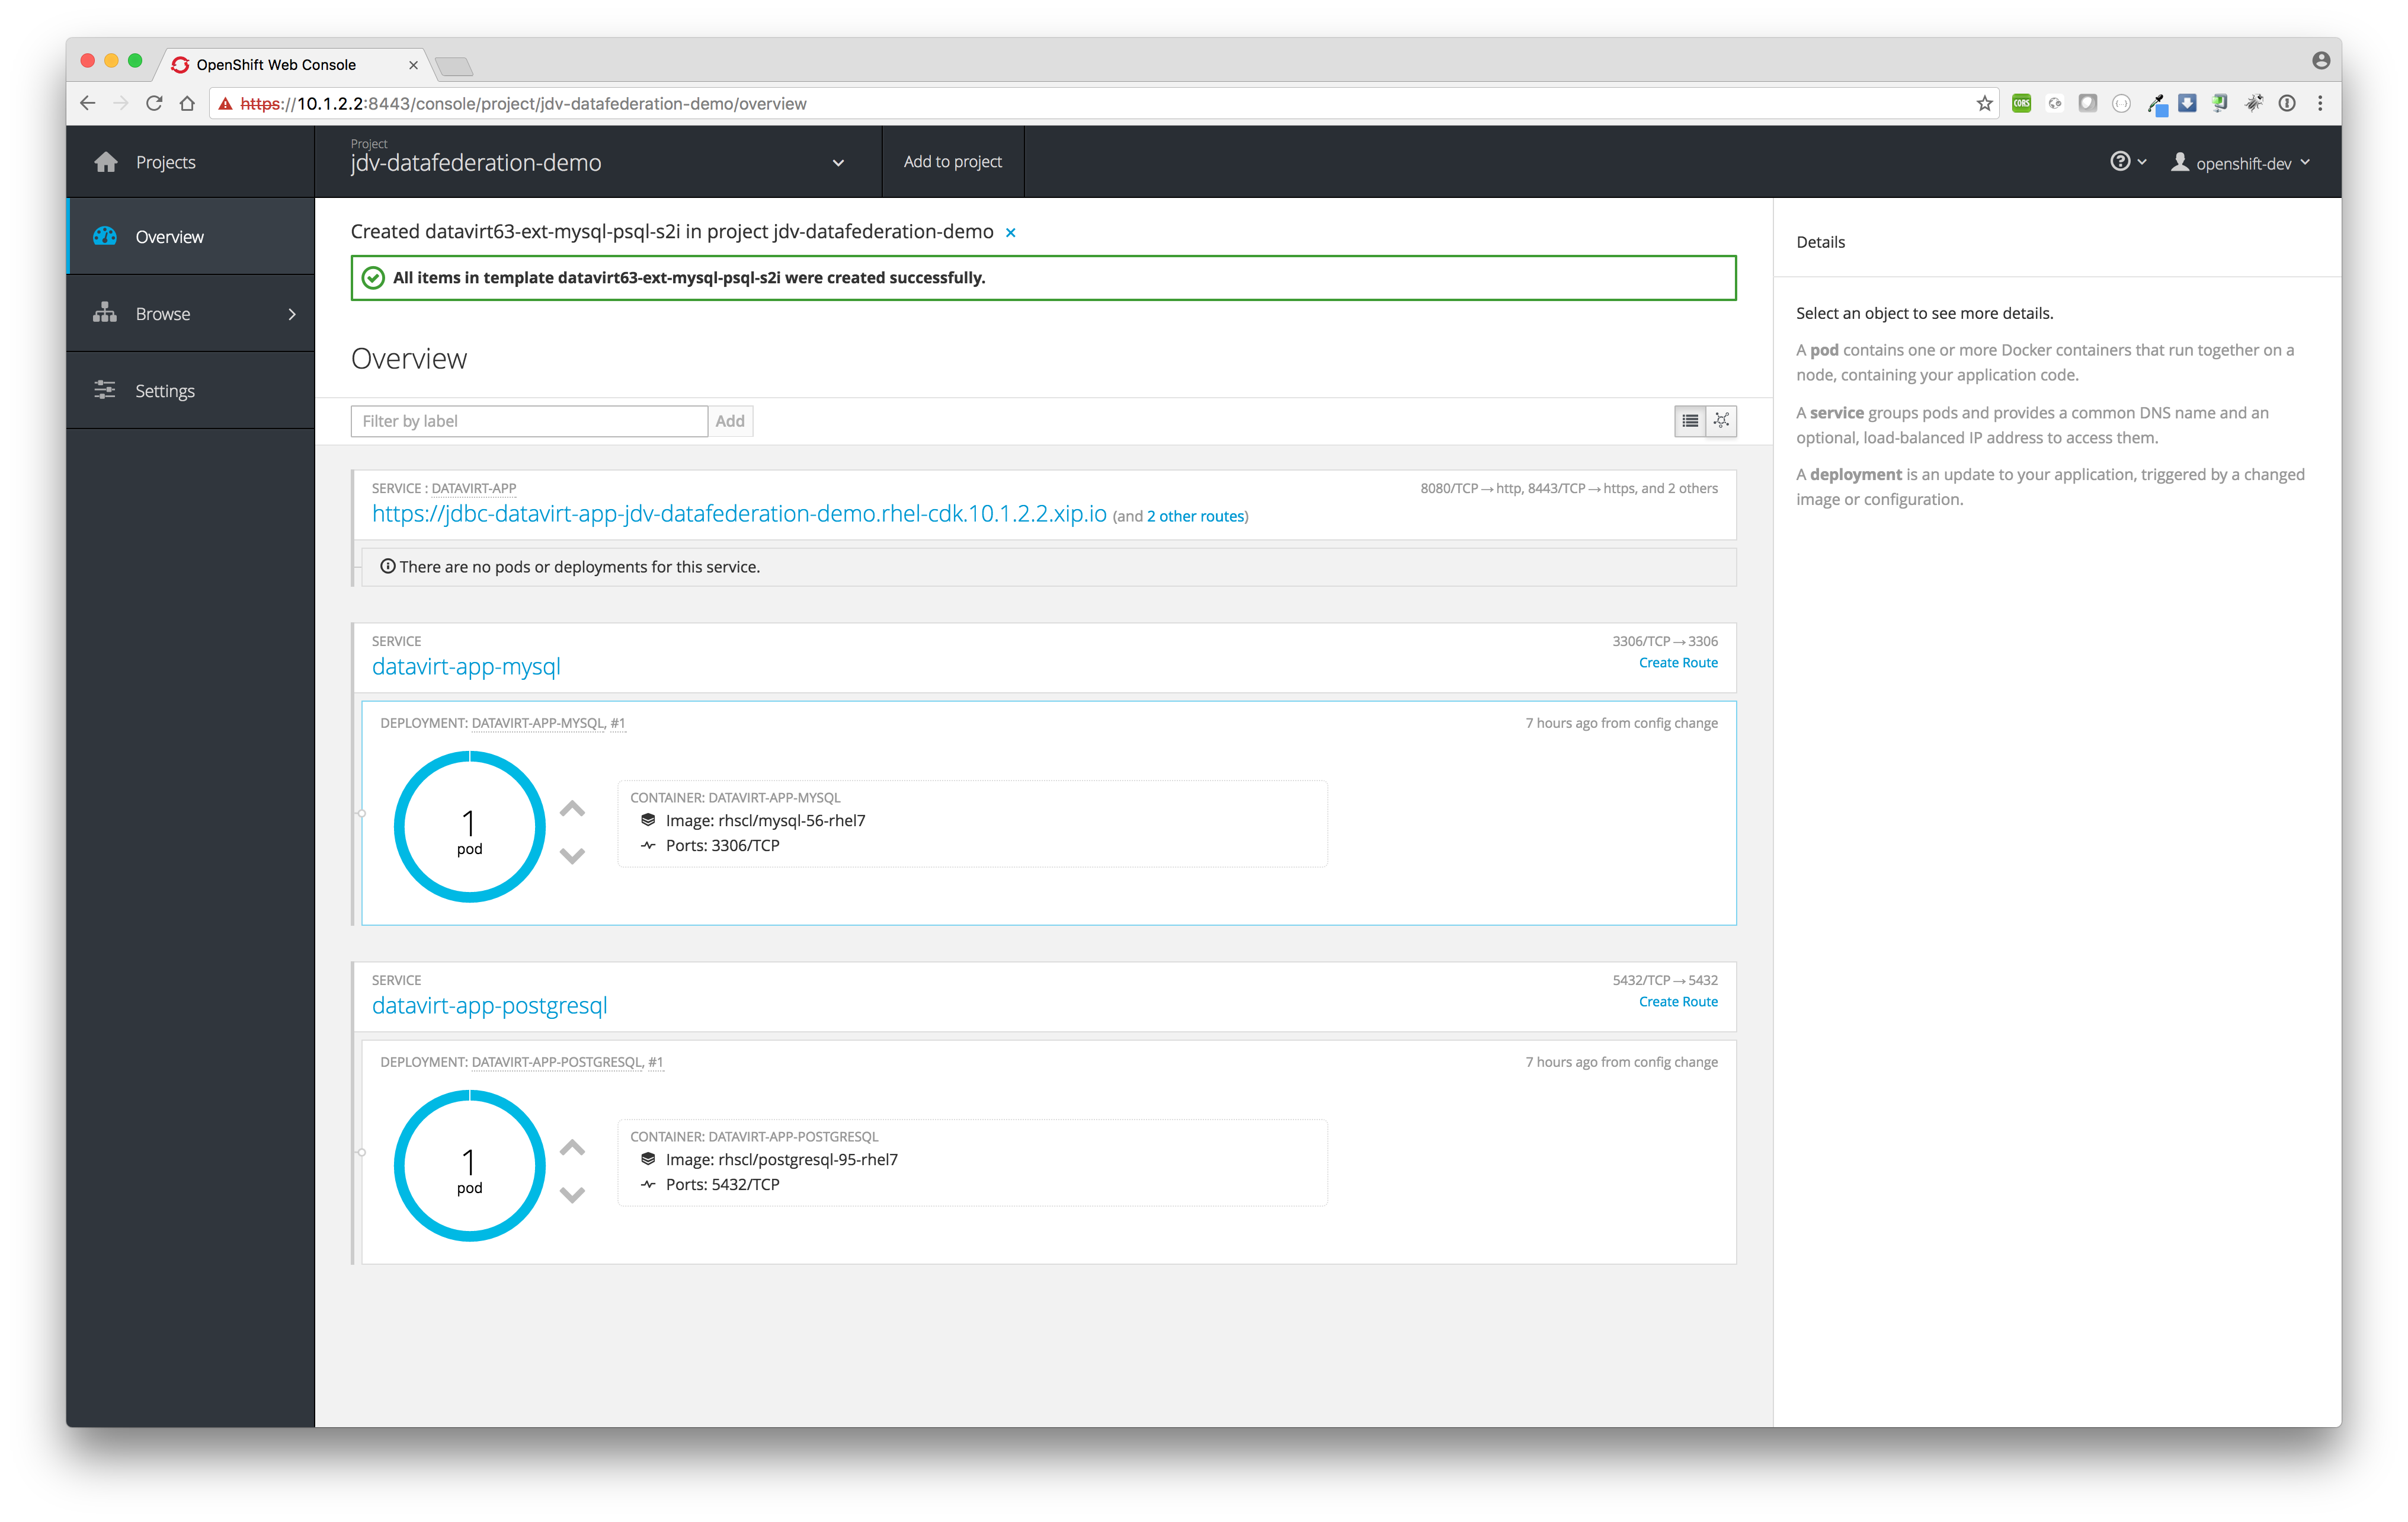
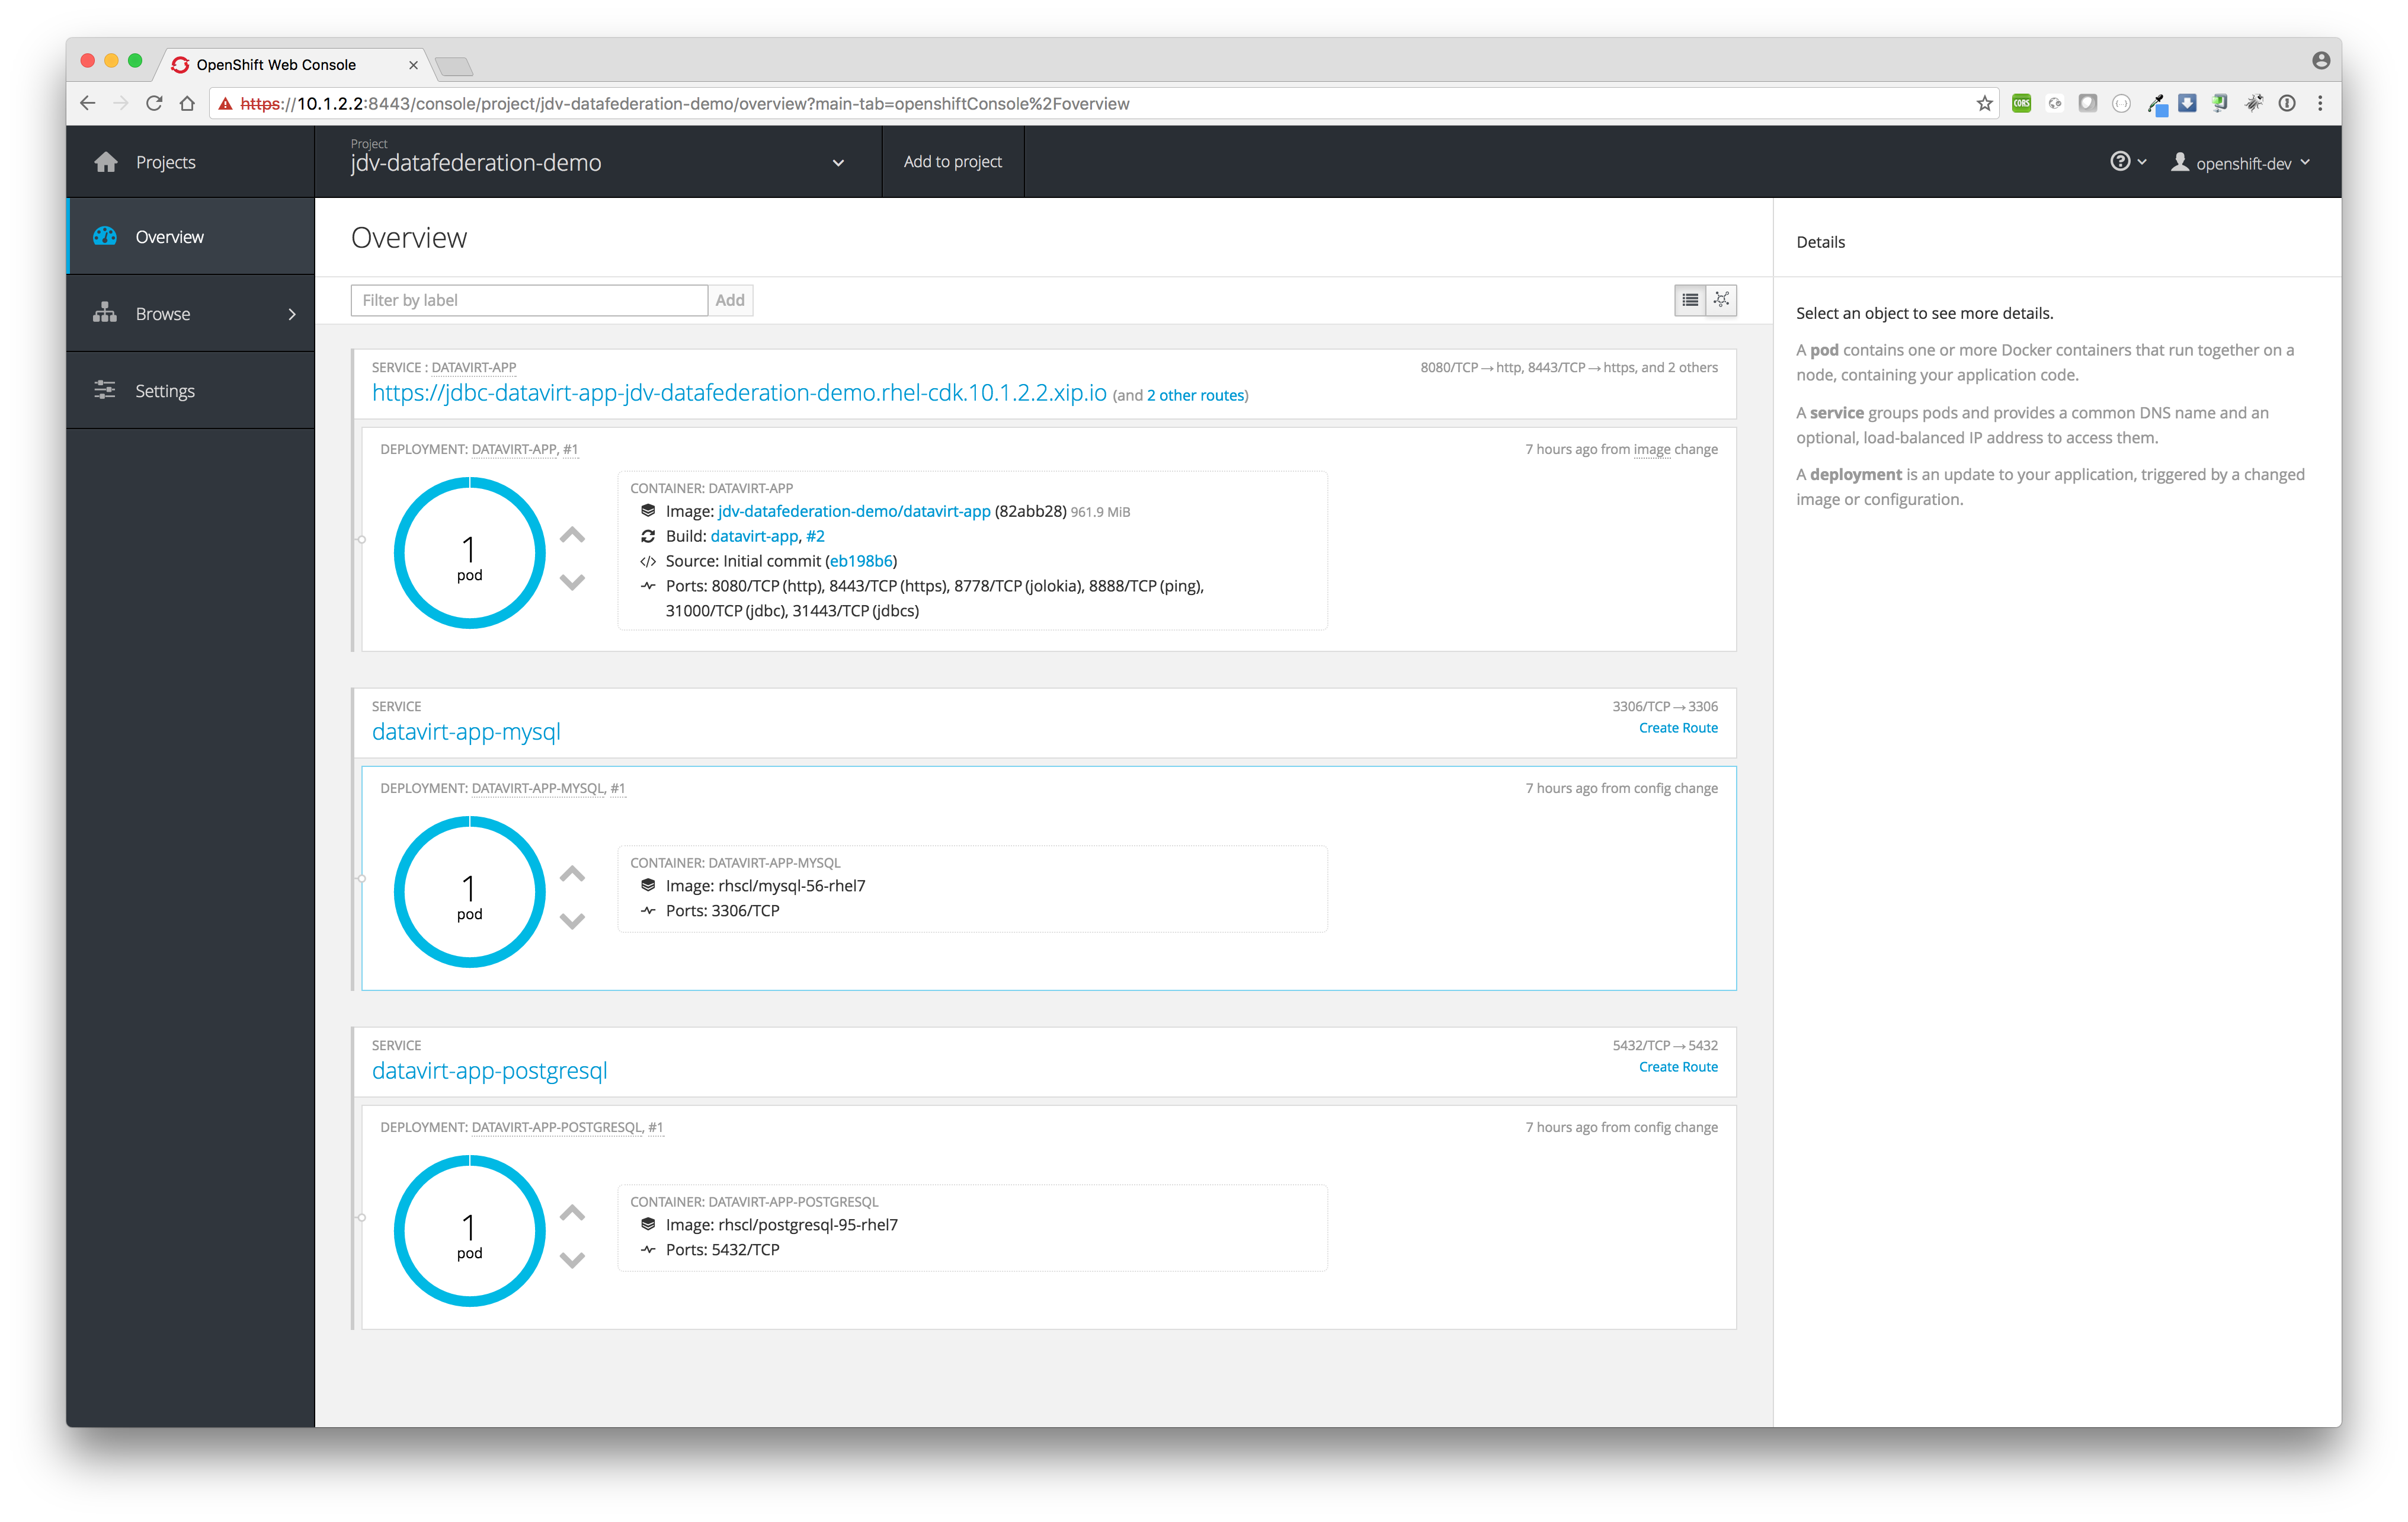
The MySQL and PostgreSQL pods will be created first before JDV will be build and deployed. If everything is build and deployed successfully one should see similar results as depicted in the image below.

Access the federated view model All_Customers.CUSTOMER using OData.
After successful build and deploy we can now access the federated view model All_Customers.CUSTOMER by using the following OData url:http://datavirt-app-jdv-datafederation-demo.rhel-cdk.10.1.2.2.xip.io/odata4/Financials/All_Customers/CUSTOMER?$format=json
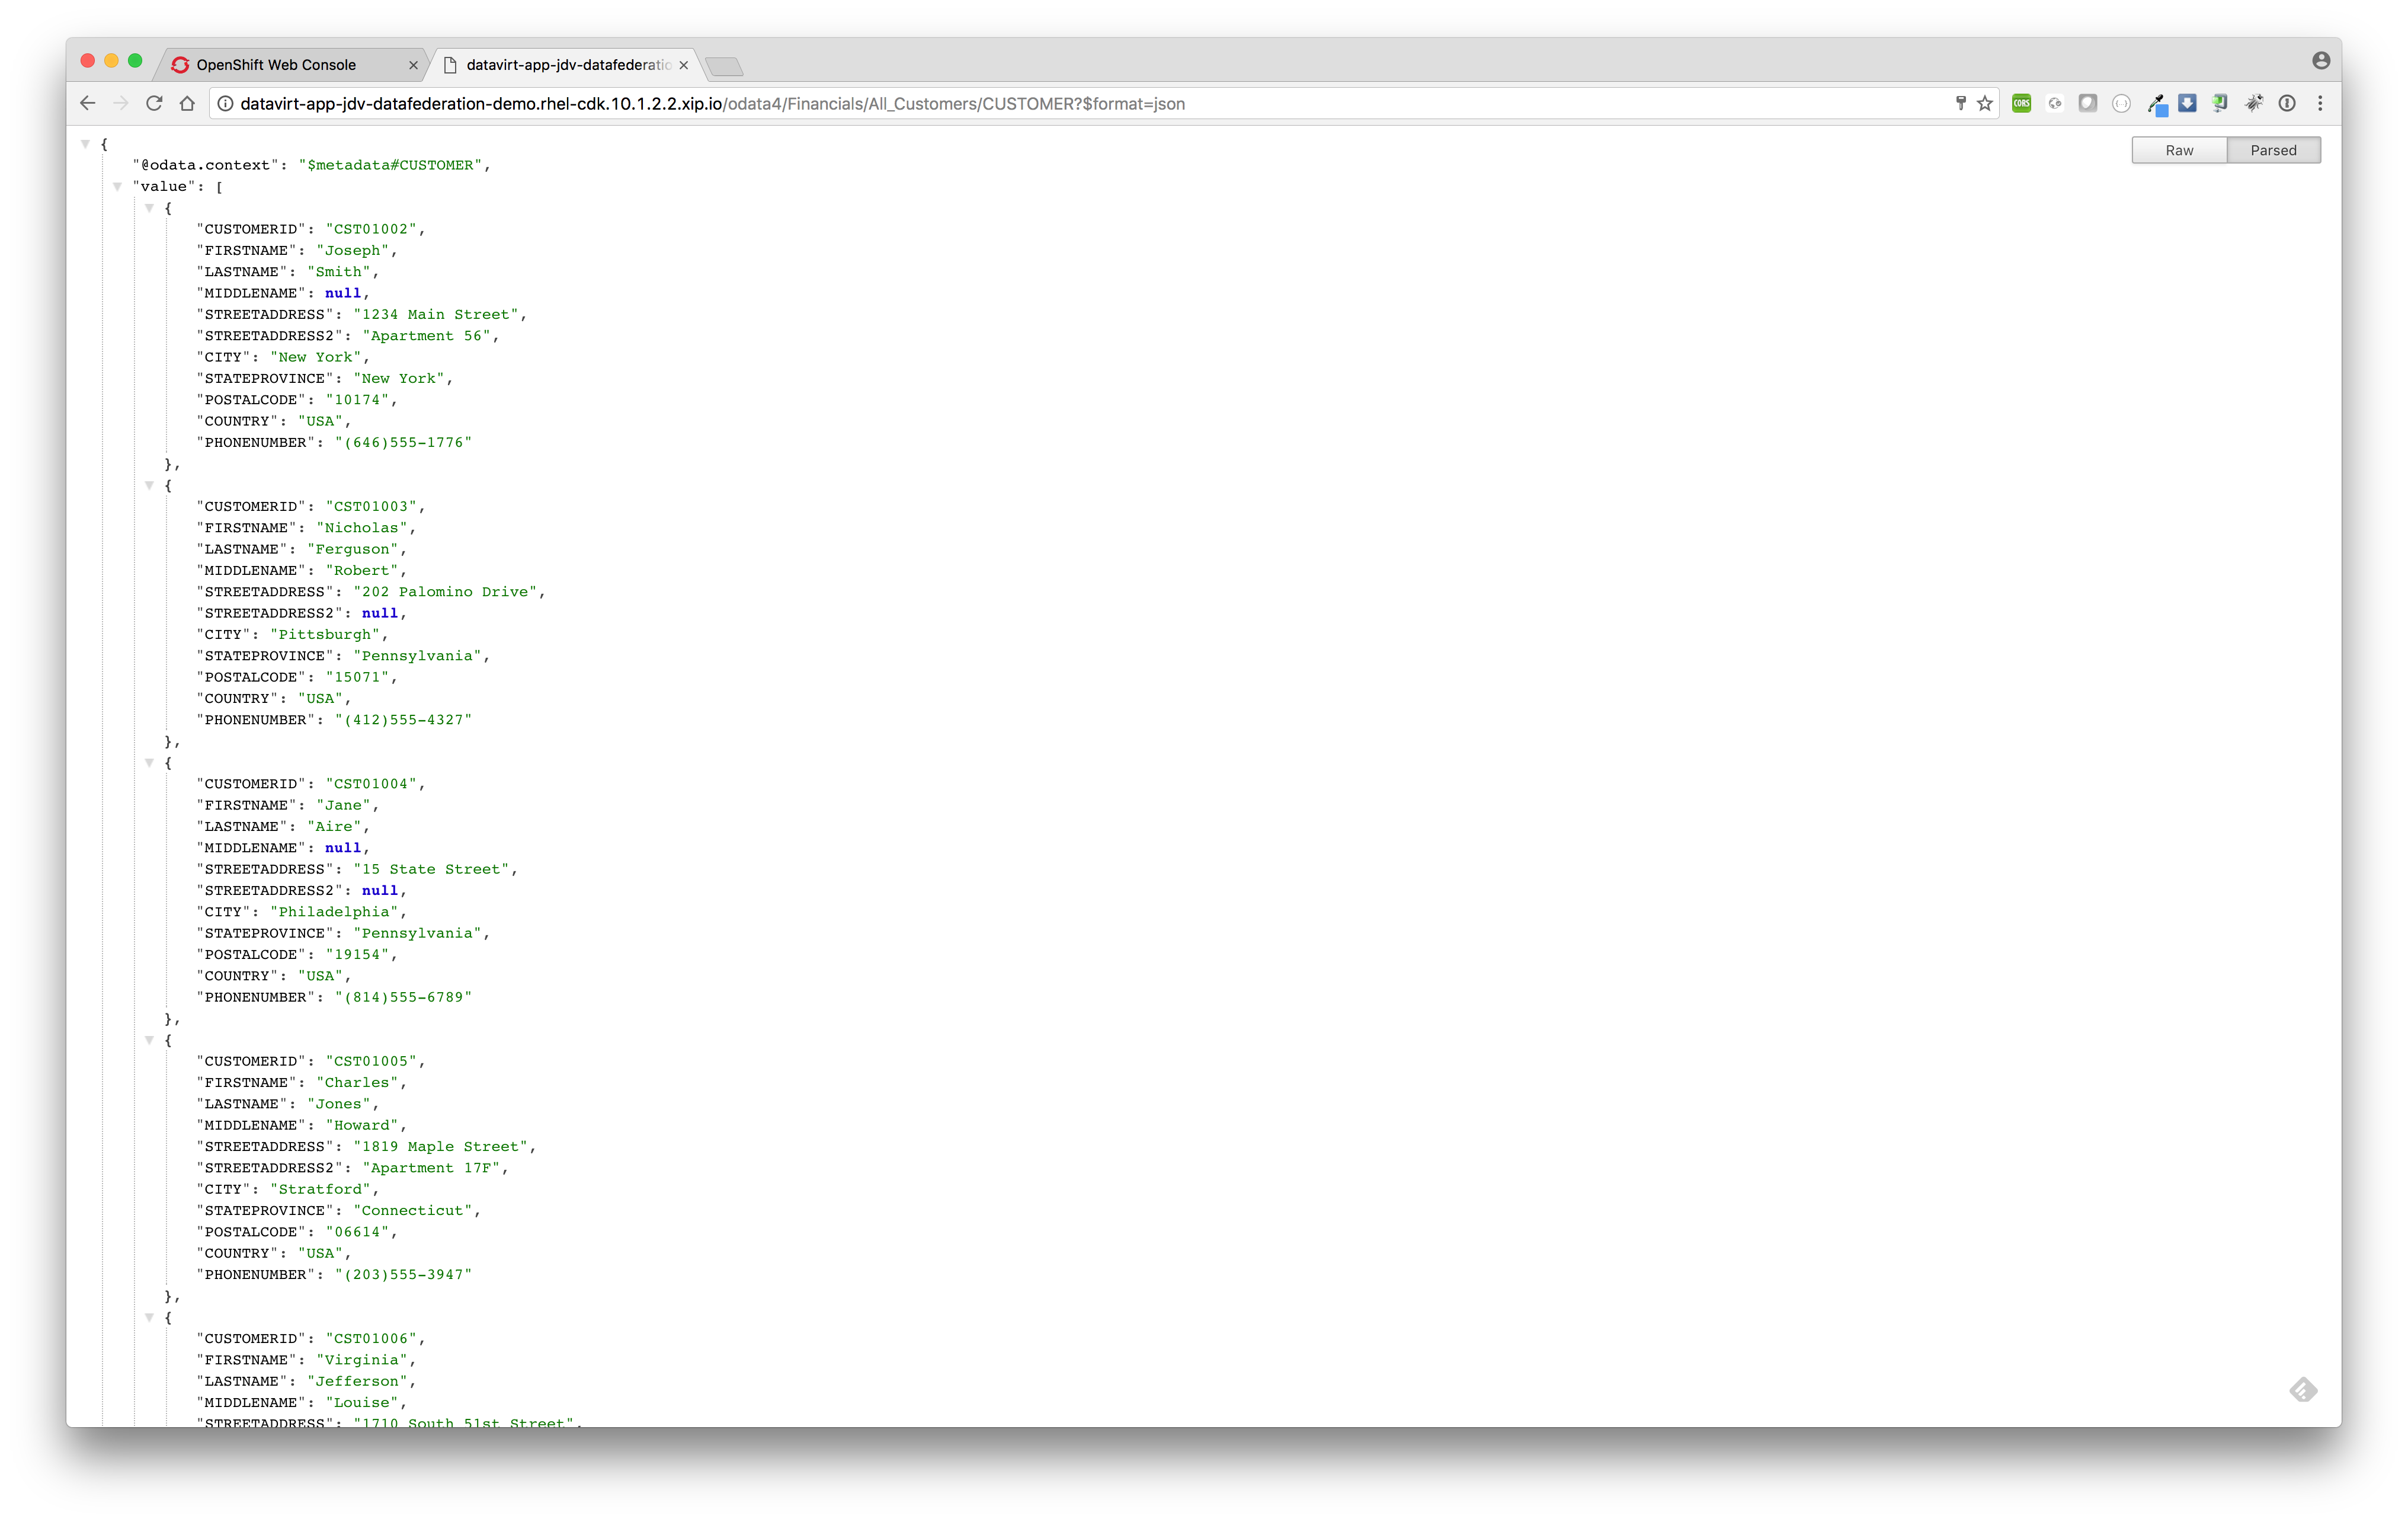
Note: when asked for username/password use teiidUser/redhat1!


Demonstration
In the following video we will demonstrate how to federate customer data coming from different data sources (MySQL and PostgreSQL) into one single unified view using JDV running on OpenShift as described in the previous steps.
Red Hat JBoss Data Virtualization on OpenShift: Part 3 – Data federation from Cojan van Ballegooijen on Vimeo.
For your convenience we provide a shell script called jdv-ocp-setup.sh to run the above setup completely from the command line.
Conclusion
In just a few clicks we created a new OpenShift project added a JDV, MySQL database and PostgreSQL database environment using a ready to go OpenShift template, populated the two databases with schemas, tables and customer data and deployed the Financials VDB to be able to federate customer data from two separate data sources (MySQL and PostgreSQL database) and access the federated model All_Customers.CUSTOMER using OData-based REST service provided out-of-the-box by JDV running on OpenShift.
Resources
- Red Hat JBoss Data Virtualization on OpenShift: Part 1 – Getting started
https://developers.redhat.com/blog/2016/12/06/red-hat-jboss-data-virtualization-on-openshift-part-1-getting-started/ - Red Hat JBoss Data Virtualization on OpenShift: Part 2 – Service enable your data
https://developers.redhat.com/blog/2016/12/07/red-hat-jboss-data-virtualization-on-openshift-part-2-service-enable-your-data/ - Red Hat JBoss Data Virtualization on OpenShift: Part 4 – Bringing data from outside to inside the PaaS
https://developers.redhat.com/blog/2017/01/26/red-hat-jboss-data-virtualization-on-openshift-part-4-bringing-data-from-outside-to-inside-the-paas - Designing a logical data warehouse
https://www.redhat.com/en/resources/designing-logical-data-warehouse-whitepaper - JDV Workshop
https://github.com/DataVirtualizationByExample/DVWorkshop - OData
http://www.odata.org - PostgreSQL
https://www.postgresql.org/ - MySQL
http://dev.mysql.com/ - Red Hat JBoss Data Virtualization
https://developers.redhat.com/products/datavirt/overview - OpenShift
http://www.openshift.com
