
Vagrant gives developers a uniform way of configuring their virtual environment, regardless of the underlying hypervisor chosen (eg. KVM/QEMU, VirtualBox, VMware, Hyper-V). It's also available for Mac OS and Windows making it easier to run virtual Linux environments from these platforms.
Today we'll be creating a simple virtual machine, using the Eclipse Vagrant Tooling plugin. This will be shipping as part of the Linux Tools Project 4.2.0 release (along with the Docker Tooling). The Vagrant tooling is targeted to make its way into the release of DTS 4.1 (Developer Toolset) and Fedora 23.
Before using the Vagrant Tooling, we need to make sure we have all the pre-requisites installed.
On Fedora, we'll need vagrant, and vagrant-libvirt for our provider. Our user will need to be under the libvirt group so that vagrant commands may run without the need for a password prompt. We'll also need to ensure that the libvirt daemon is started.
dnf install vagrant vagrant-libvirt
usermod -a -G libvirt $USER
systemctl start libvirtd.service
It may be necessary to log back in to ensure our user permissions have been updated. We could also use other providers such as VirtualBox and our Eclipse Vagrant Tooling supports this, but in Fedora it's pretty simple to use KVM/QEMU through libvirt.
The Eclipse Vagrant Tooling was released recently as part of Linux Tools 4.2.0, under the Docker Tooling repository for now : http://download.eclipse.org/linuxtools/update-docker-1.2
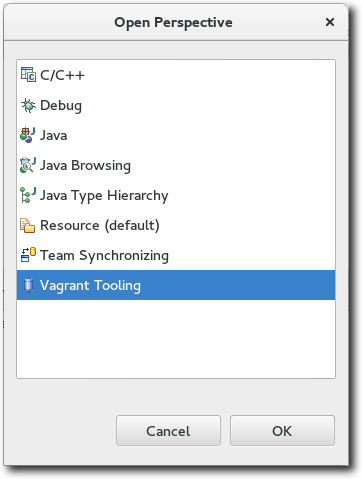
Once installed, you'll see that the Vagrant Tooling is exposed in two ways. Either may be used as it's a matter of preference.
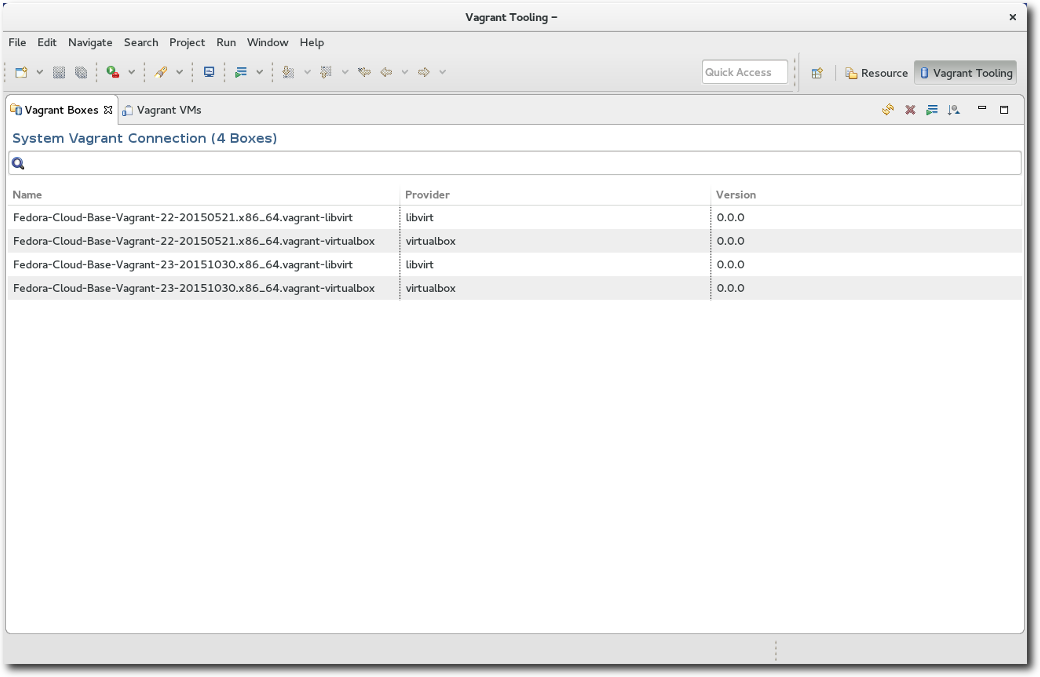
The Vagrant Tooling perspective contains a view of known Vagrant Boxes, as well as existing virtual machines.
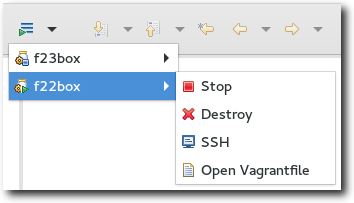
The Vagrant Toolbar menu button resides in the main workbench toolbar and exposes the virtual machine creation wizard. This contains a pull-down menu that will list the existing VMs, along with sub-menus for performing relevant actions. This addition to the workbench toolbar is always available so it doesn't require switching to the Vagrant Tooling perspective.
So with the introduction out of the way, let's create our very first virtual machine.
Switching into the Vagrant Tooling perspective, we'll go into the Box View, and click the Create VM button located near the top-right of the view toolbar. This will bring up the virtual machine creation wizard.
We'll name our VM f23_test and we'll provide a URL for the Box Reference input. The Box we want can be found on the Fedora Cloud download page as :
https://download.fedoraproject.org/pub/fedora/linux/releases/23/Cloud/x86_64/Images/Fedora-Cloud-Atomic-Vagrant-23-20151030.x86_64.vagrant-libvirt.box
We can now hit finish.
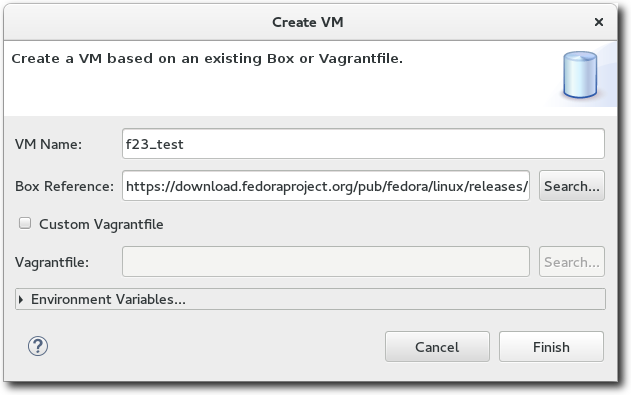
Note: If we had a Vagrantfile already configured, we could have simply used that instead (by selecting Custom Vagrantfile).
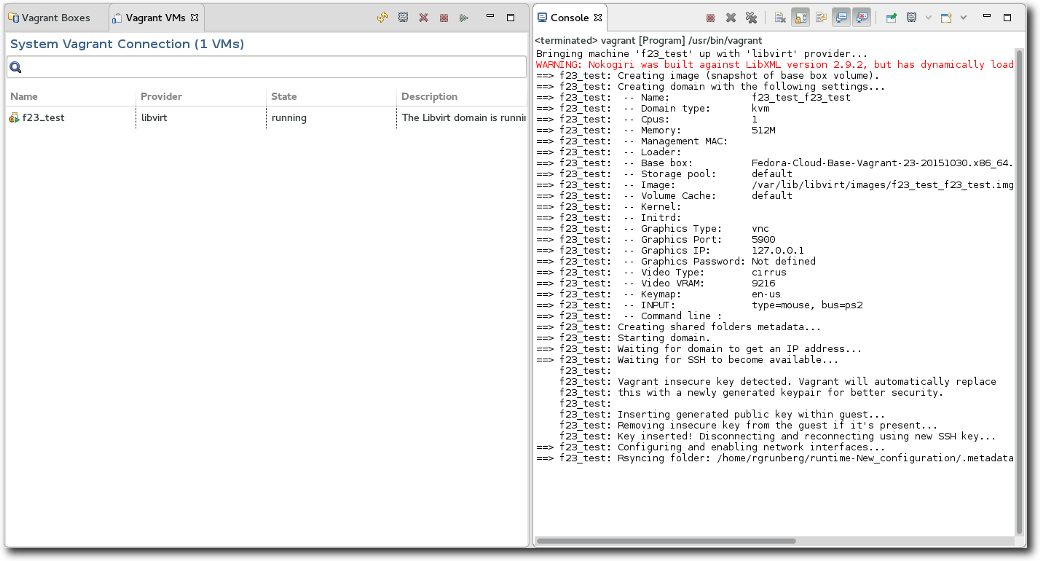
Once the creation process starts, we'll see an Eclipse Console come up to allow us to monitor the progress of the download operation, as well as the VM creation. This can take a bit of time so it's good to have some detailed feedback on how much longer is left.
Once the creation process has terminated, we can begin working with our VM. In some cases it might even be possible to begin interacting with the VM before creation completes although it's ideal to wait as certain configuration steps may still be taking place.
To SSH into our newly created VM, we select it from the Vagrant VM View, and click the SSH toolbar icon located near the top-right corner of the view.

This plugin is new, and there are plenty of additional options/workflows to support (eg. package, provision, suspend) but this small demonstration shows how easy it is to get started.
Last updated: February 7, 2024